Are you looking for an easy and fun way to sketch an orange?
If so, then you’ve come to the right place!
This tutorial will show you how to draw an orange using simple steps.
How To Draw An Orange – A Step By Step Guide
1. Cartoon Orange Drawing
Step 1: Draw a medium-sized circle to form the main body of the orange.
Inside the circle, draw a curved line to represent the highlight on the orange.
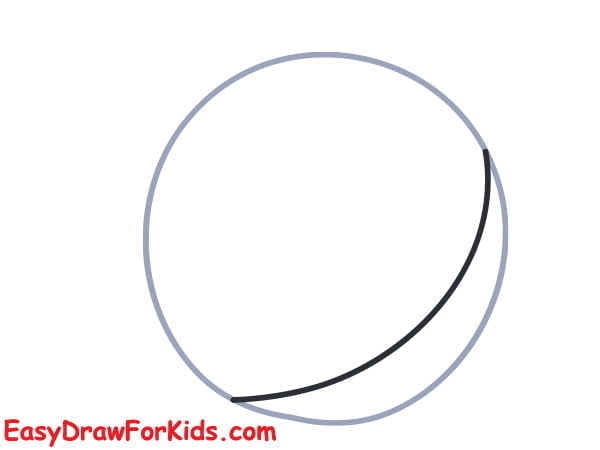
Step 2: Draw the cartoon face
Draw two oval shapes for the eyes
On the upper edge of each eye, add a few curved lines to represent eyelashes.
Beneath the eyes, draw a curved line to create a smiling mouth.
Draw a curved line extend out from the top of the orange to form the stem

Step 3: Draw two small curved lines on the top of the stem that extend outward on each side, forming a leaf shape.

Step 4: Within the leaf shape, draw a few curved lines to represent the veins of the leaf.

Step 5: Adds some texture and detail to the cartoon orange.

Step 6: Color the body of the orange a bright orange shade. Color the highlight a lighter yellow.

2. Cute Orange Drawing
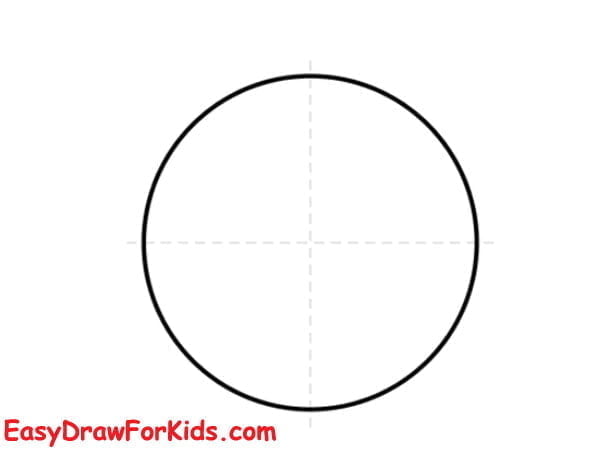
Step 1: Draw a circle
Next, draw a horizontal line that intersects with the vertical lines to create a guideline.
Step 2: Draw a stem and cute face in orange

Step 3: Add the eyelashes and the leaf

Step 4: Erasing any unnecessary guidelines

Step 5: Color your cute orange drawing

3. Realistic Orange Drawing
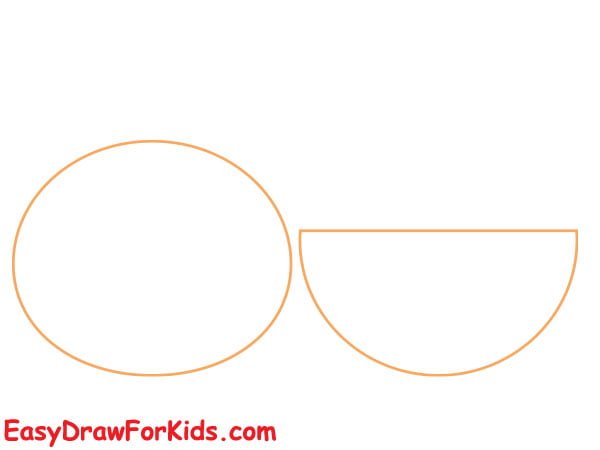
Step 1: Draw a circle and half-circle as shown in the picture
Step 2: Draw a stem and a wavy line to represent the peel of the orange.

Step 3: Inside the orange slice, draw a few curved lines radiating from the center to the outer edge to form the sections of the orange
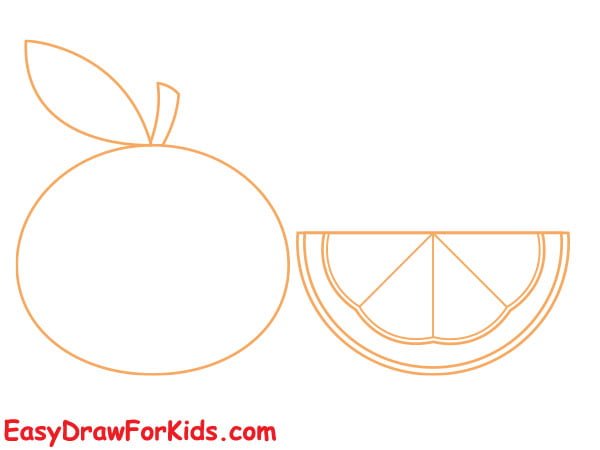
Step 4: Add details
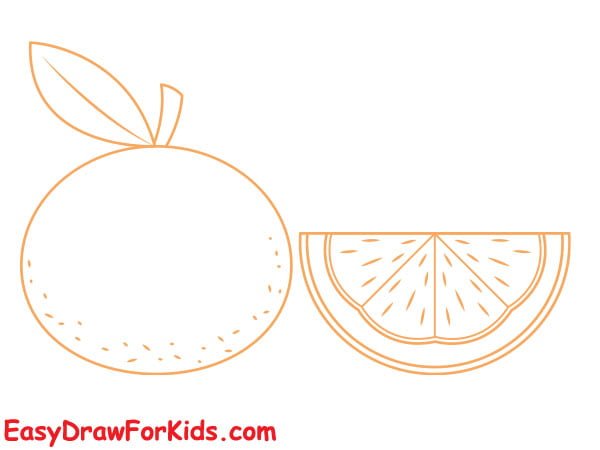
Step 5: Once you have the details down, you can start to add in the color.

4. Simple Orange Drawing
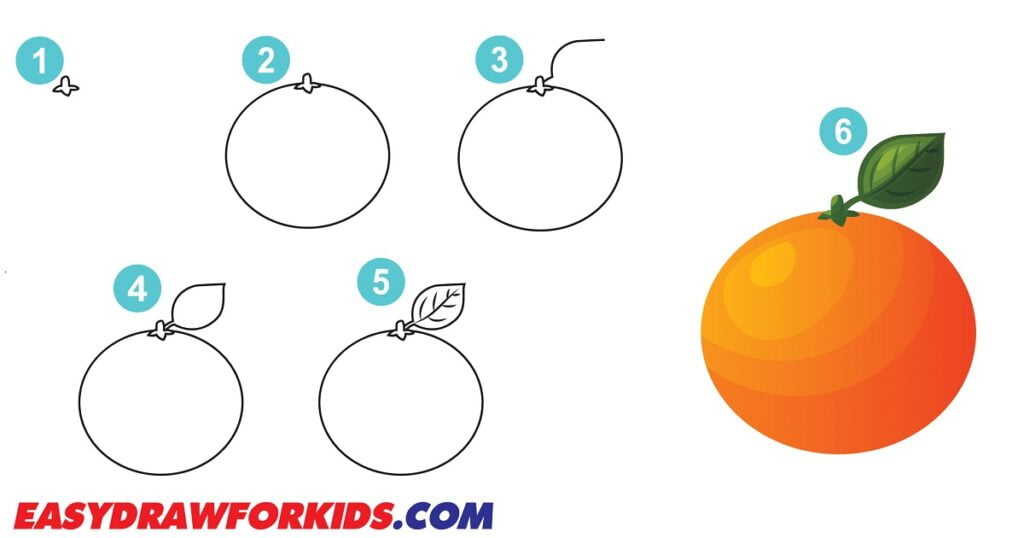
Step 1: First, sketch the orange’s stem using straight and curved lines as shown in the picture

Step 2: Draw a large oval below the stem for the body of the orange

Step 3: Start drawing the orange leaf
From the previously drawn stem, depict a straight and curved line.

Step 4: Draw a curved line to complete the leaf outline

Step 5: Draw the veins on the leaf.
To complete this step by draw many thin, curved lines.
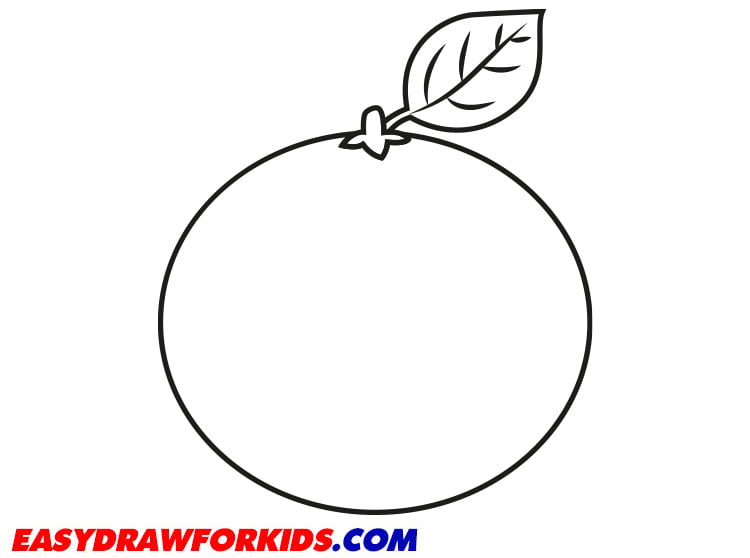
Step 6: Color orange drawing
Now it’s time to start adding color. For the body of the orange, use a light orange color
To add even more realism to your drawing, start shading the different areas as shown the picture

5. Orange Slice Drawing
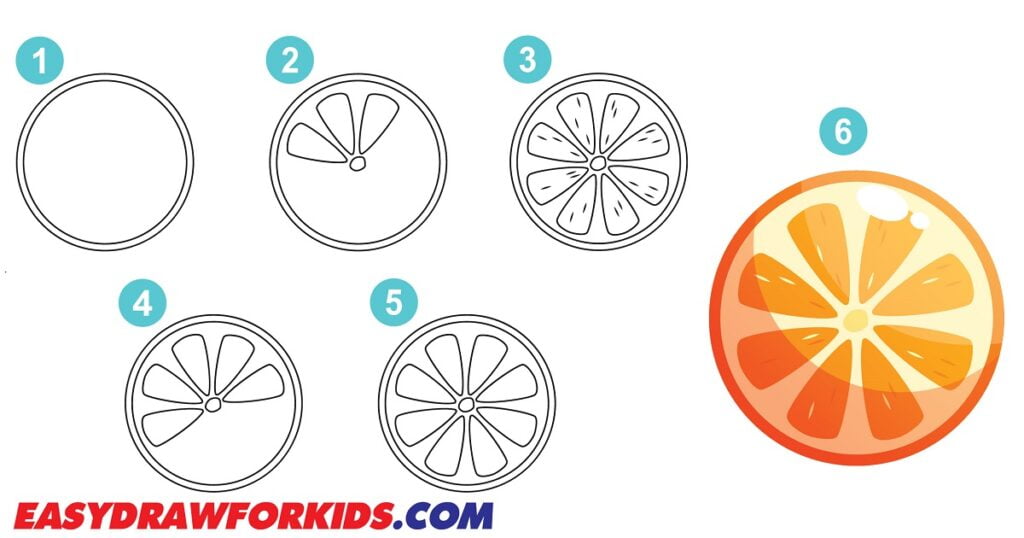
Step 1: Sketch out the Orange slice.
First step on guide how to draw an orange, draw two large circle as shown in the picture.

Step 2: Add more segments (juice) and the pulp.
Draw an oval shape at the center of the orange’s pulp.
Draw a V-shape, then enclose it with a curved line.
Make sure that the V-shape will start from the small circle to the edge of the orange.
Do it the same on the right side as shown in the picture

Step 3: Continue add more segments (juice)
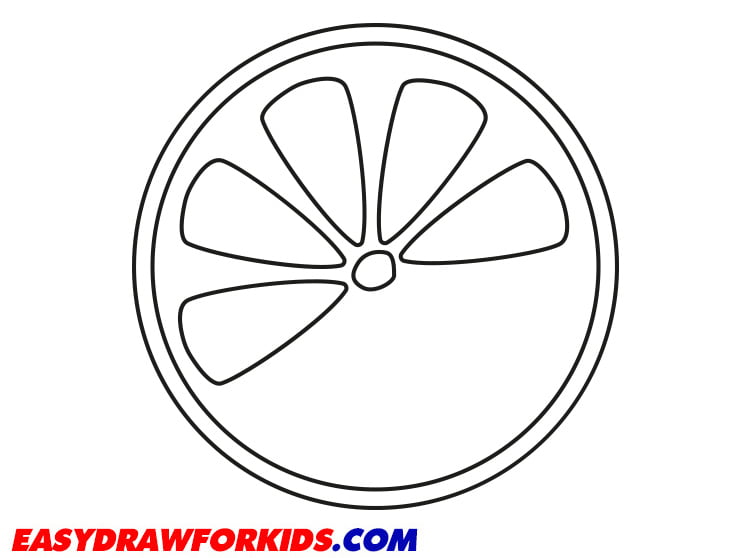
Step 4: Complete the segments (juice)

Step 5: Add the seeds to make them stand out more.

Step 6: Color the orange slice

And that’s it! You can draw an orange that looks just like the real one with some practice.
Overall, learning how to draw an orange is relatively easy.
Just make sure to start with the basic shape and then add in the details.


