Welcome, artists and Hello Kitty fans!
If you’ve ever wanted to learn how to draw the world’s most lovable kitty, this is the perfect place to start.
In this tutorial, easydrawforkids.com will take you learn how to draw Hello Kitty step by step – from her rounded head and signature bow to her tiny nose and outfit details, while also adding your own personal touch.
Ready to draw some cuteness? Let’s begin!
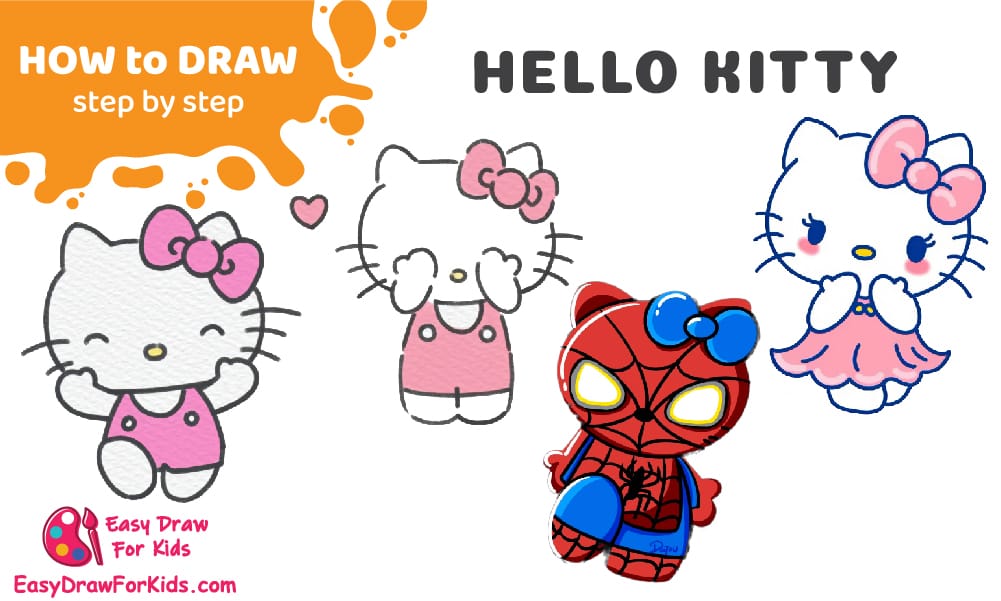
How To Draw Hello Kitty – A Step by Step Guide
1. Cute Hello Kitty Drawing
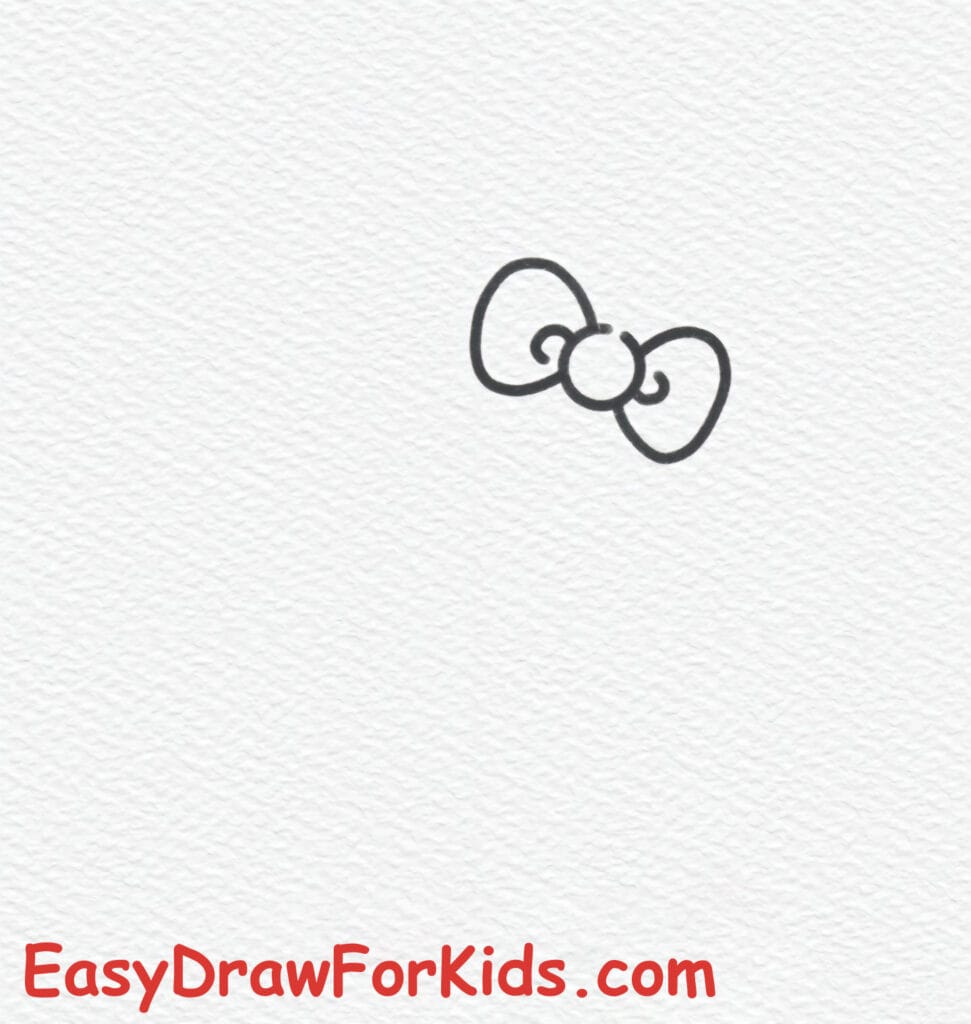
Step 1: Start this method how to draw Hello Kitty by drawing Hello Kitty’s bow in the upper center area.
Draw a small circle in the middle. Add two loops on each side of the circle to form the bow’s shape.
You can also draw tiny folds inside the loops for added detail.
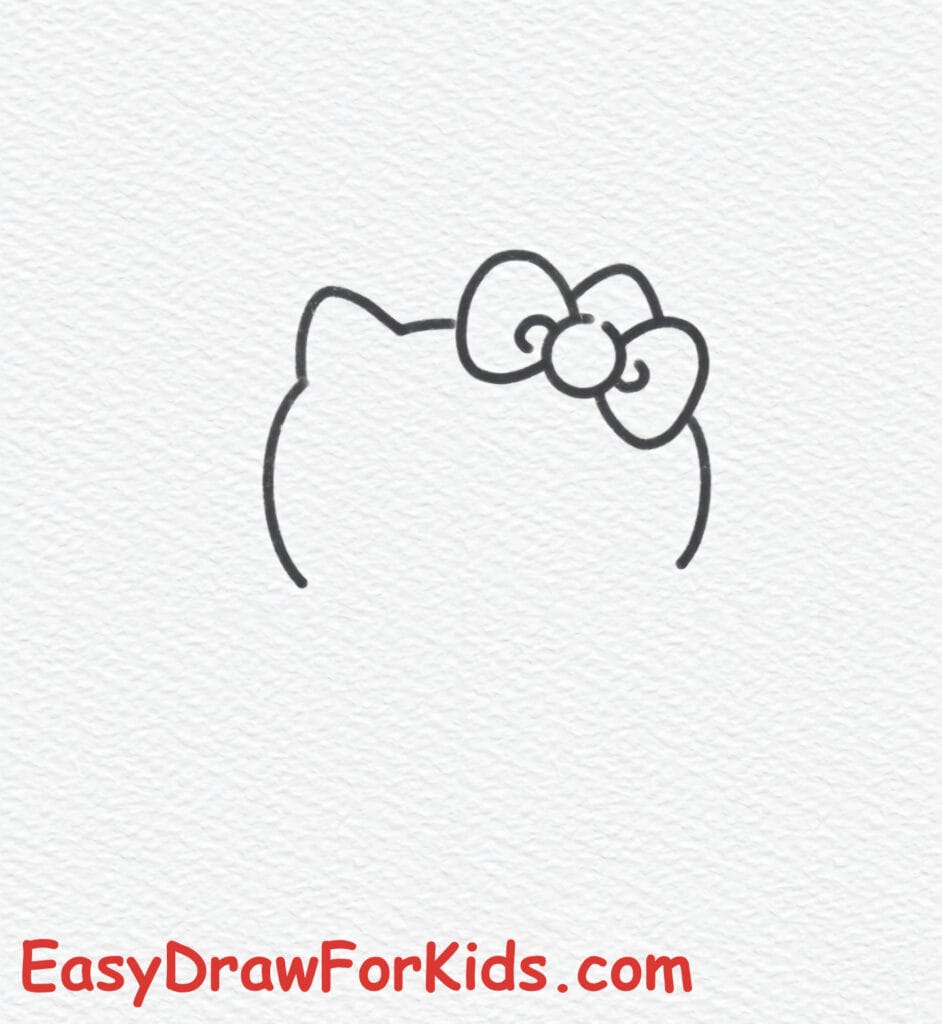
Step 2: From the bow, sketch the outline of Hello Kitty’s head.
The head is a large oval with slight indentations on the sides (kind of like a rounded square).
Don’t forget to draw two triangle-like ears at the top corners of the head.
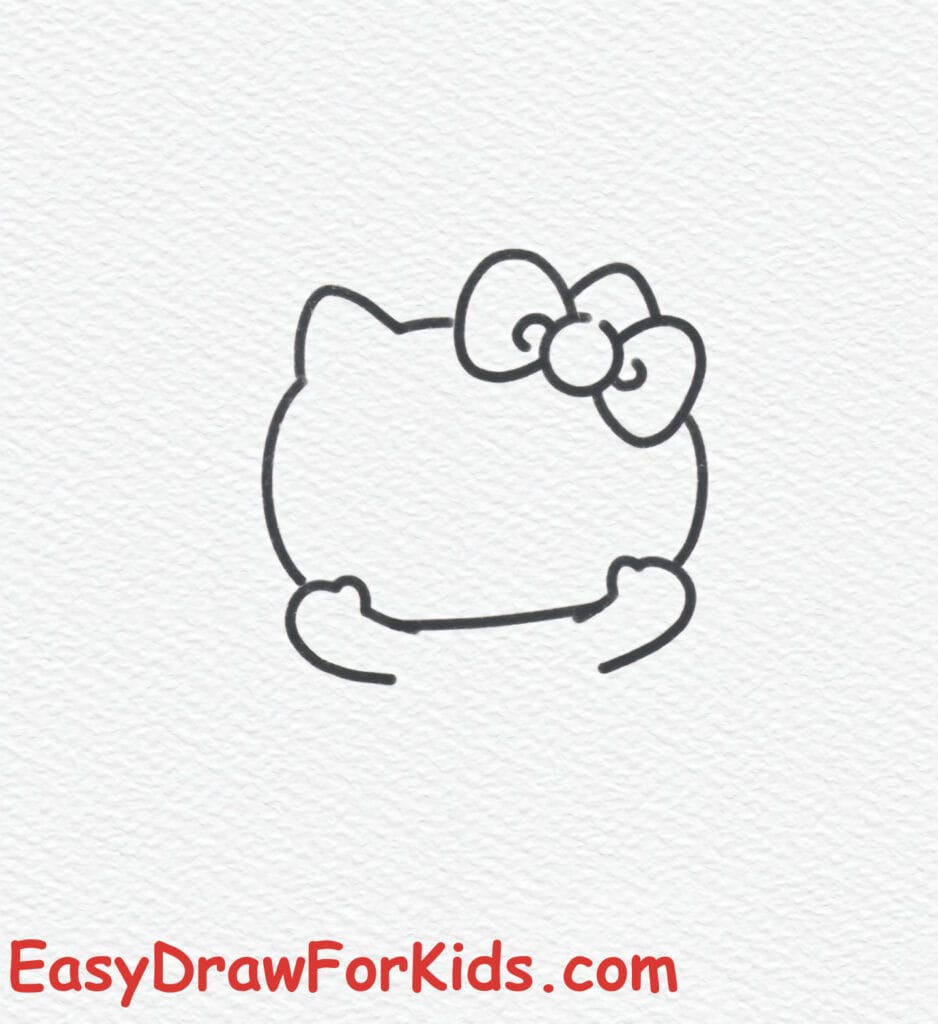
Step 3: Under the head, draw two short arms pointing slightly outward. They look like small ovals or curved shapes.
You may notice the arms are already bent, which gives a cute, chibi-like effect.
Step 4: Between the arms, draw a small collar of the dress (like two small curves).
Extend downward from the arms and collar to draw a rounded torso, forming the upper part of her dress.
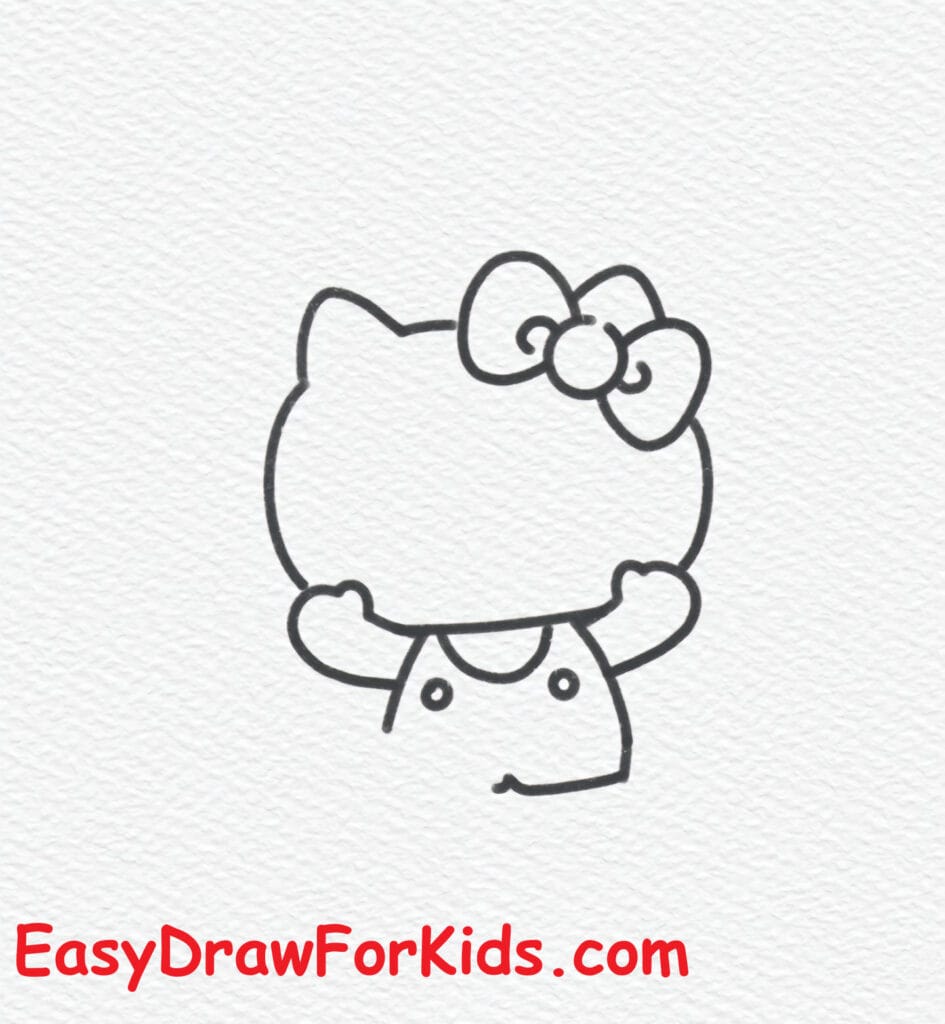
Step 5: Add two short oval-shaped legs under the dress.
One leg is slightly bent and the other points straight down, giving a sitting or relaxed pose.
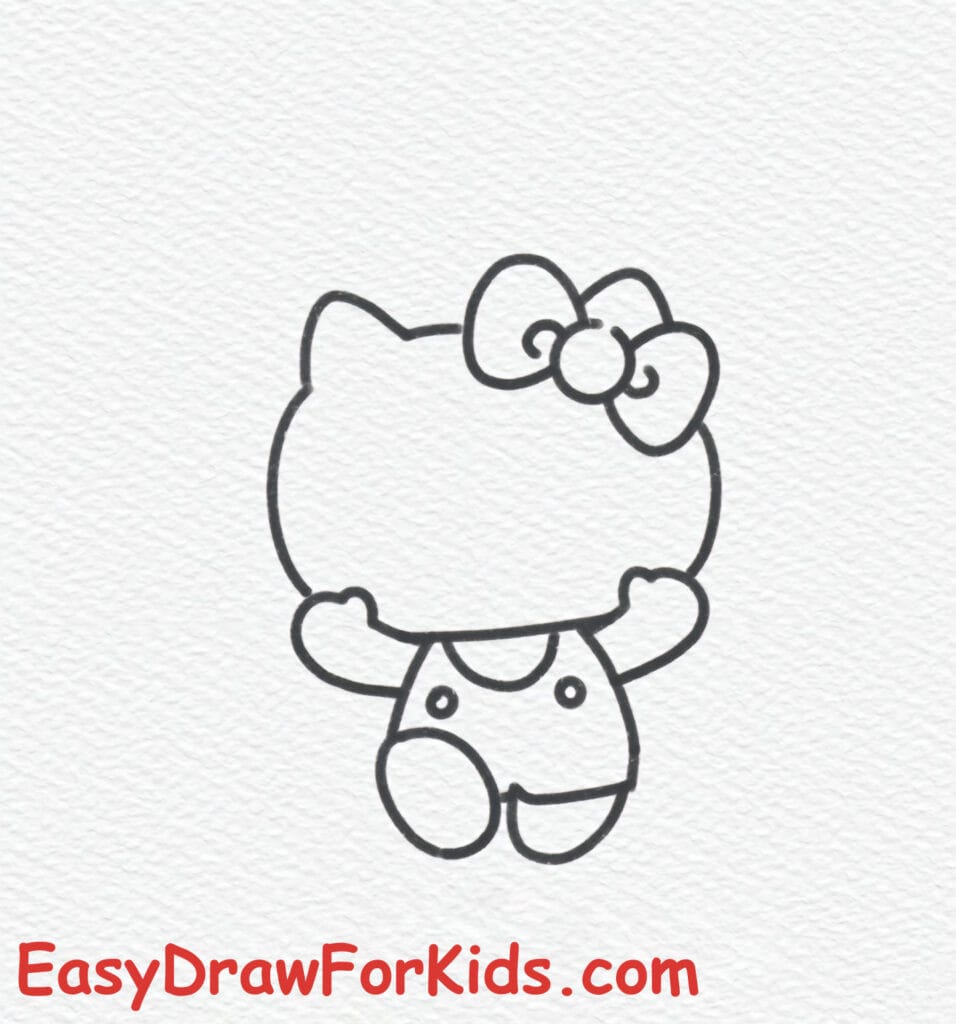
Step 6: Now, it’s time to draw the facial features for your cute Hello Kitty
- Draw two small ovals for the eyes.
- A small oval nose in the middle of the face.
- Add three whiskers on each side of the face by short straight lines.
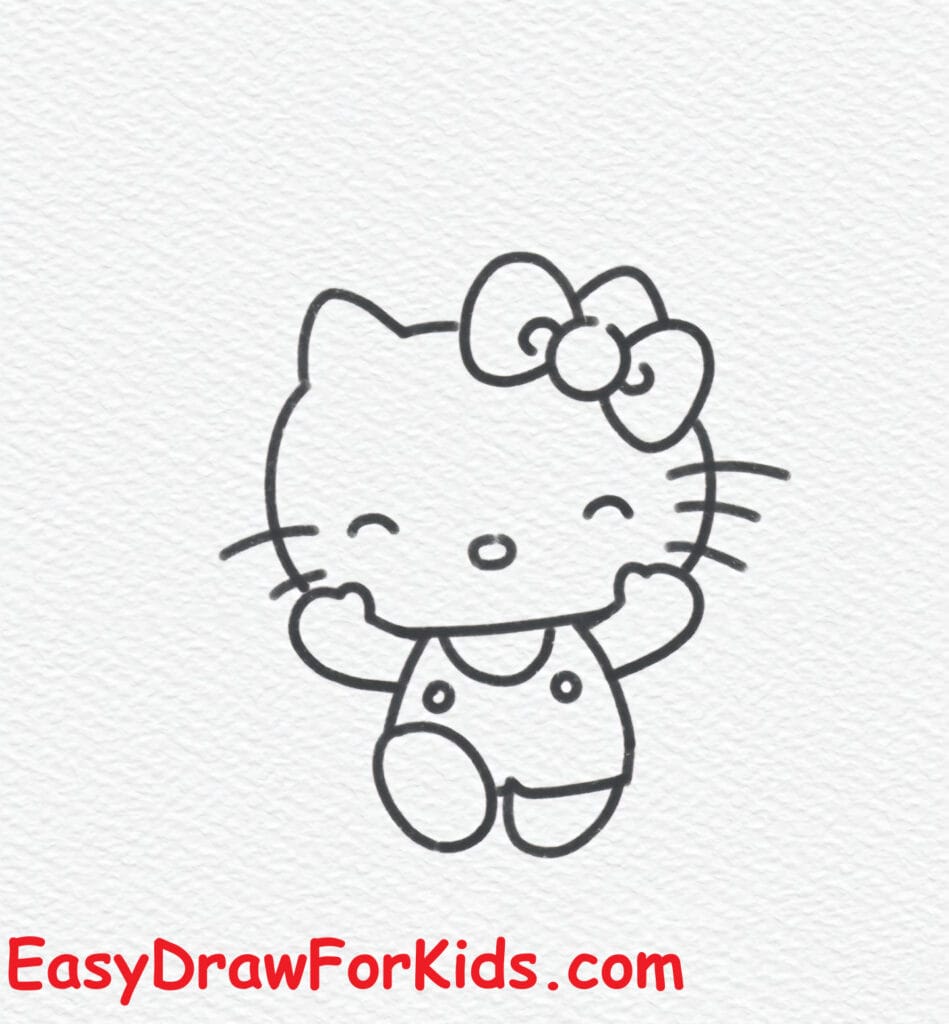
Step 7: Color your Hello Kitty drawing to complete, use pink or red to color bow, dress. You can add bluss to her cheeks.
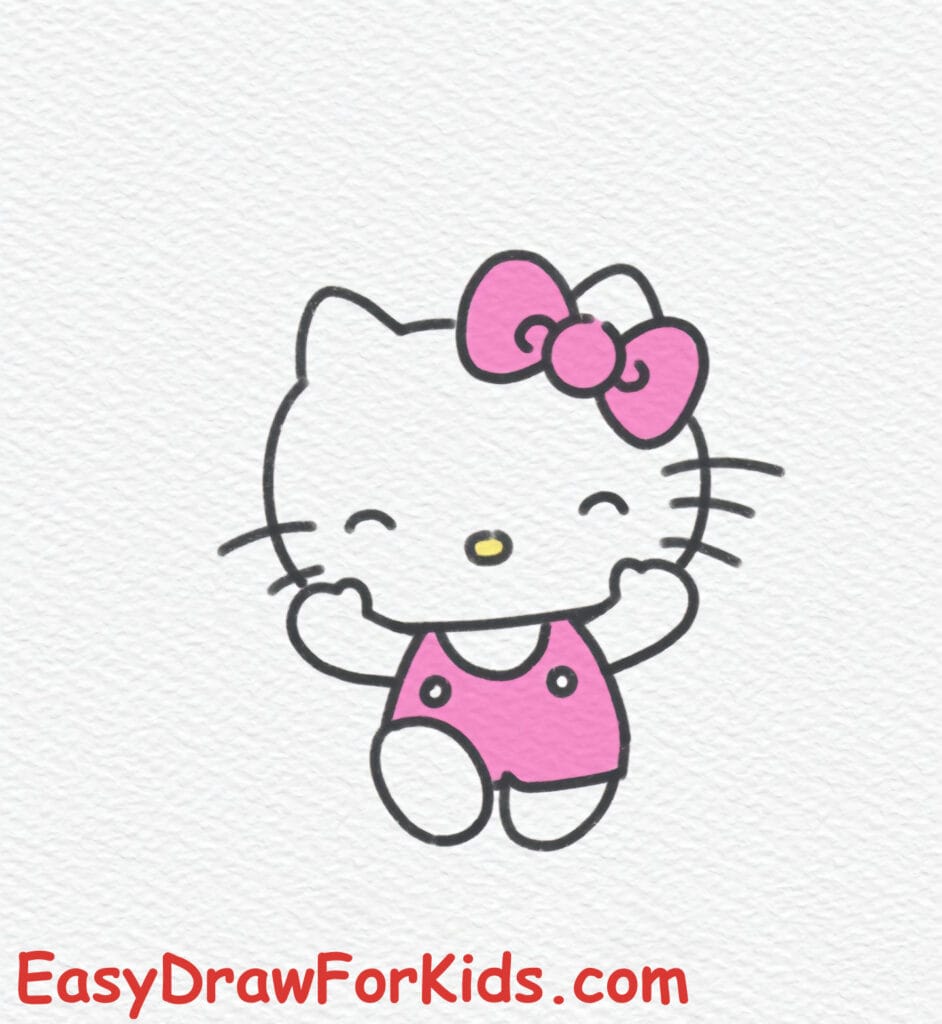
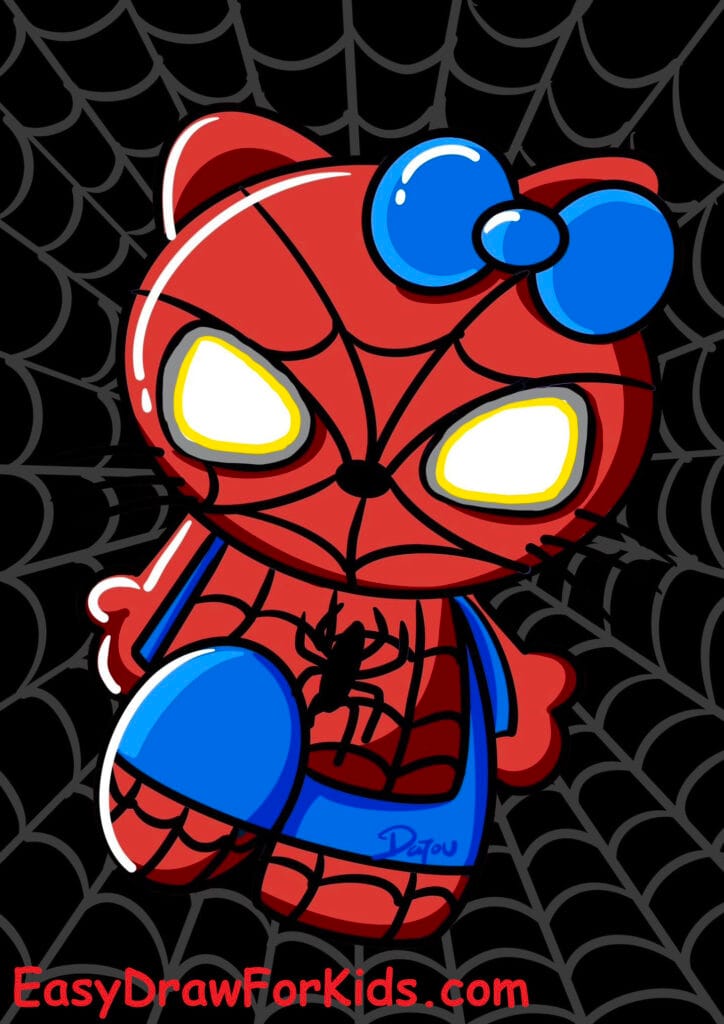
2. SpiderMan Hello Kitty Drawing
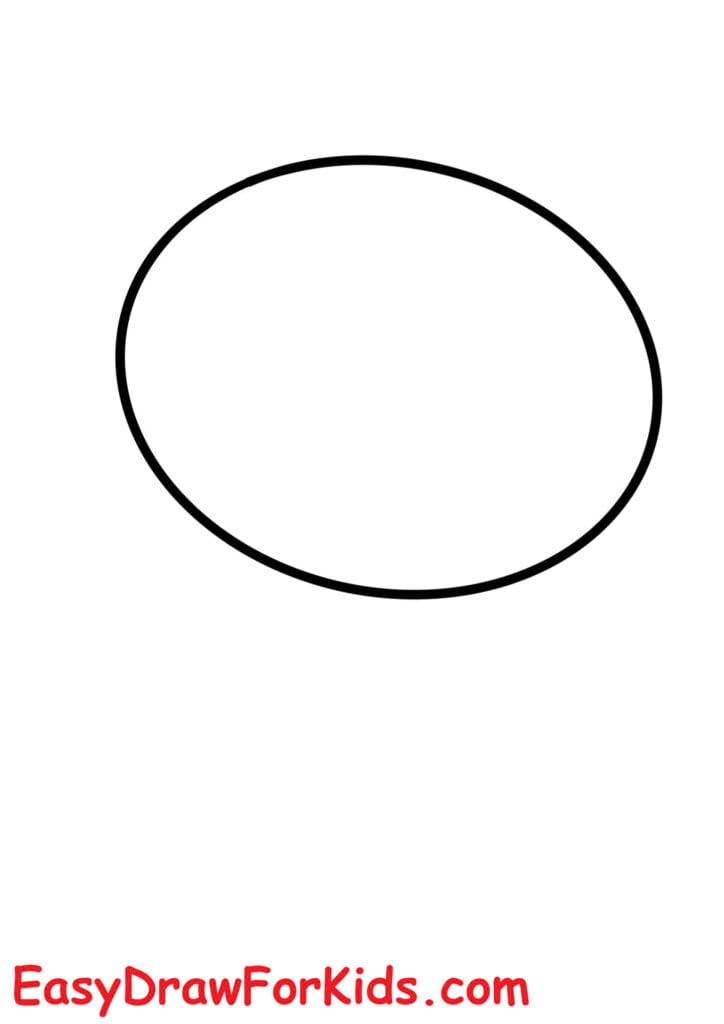
Step 1: Begin with a large horizontal oval for the head shape. This will be the base of Hello Kitty’s head in Spider-Man style.
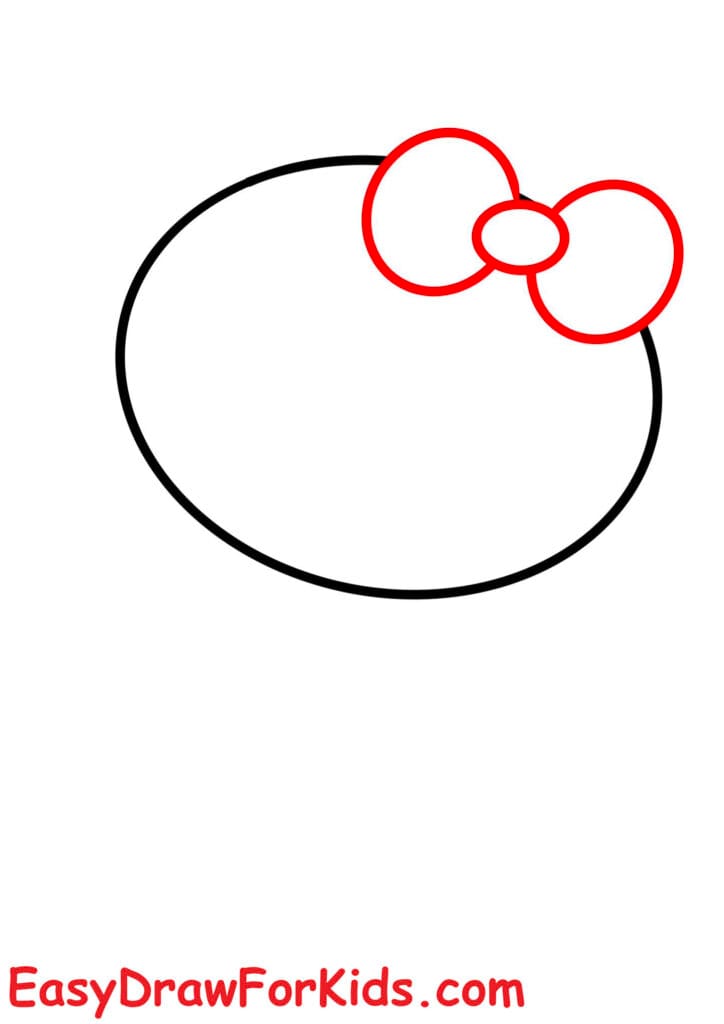
Step 2: On the upper left side of the head, draw a small circle in the center. Add two petal-like loops on each side of the circle for the bow.
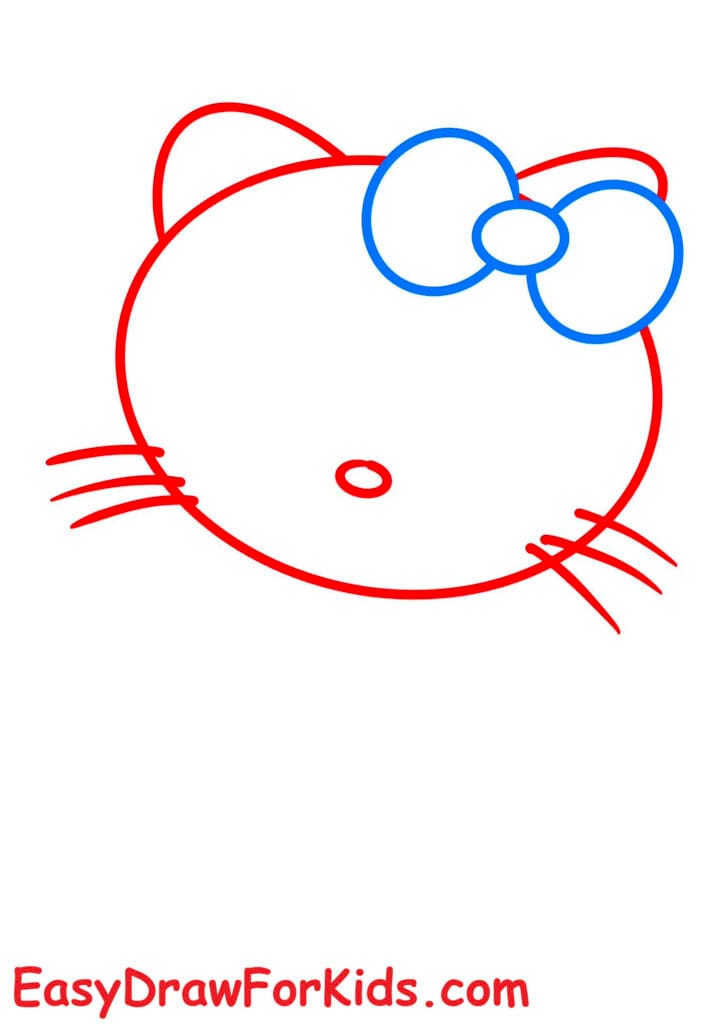
Step 3: Draw two dots in the middle for the nose and mouth area.
Add three whiskers on each side extending outward from her cheeks.
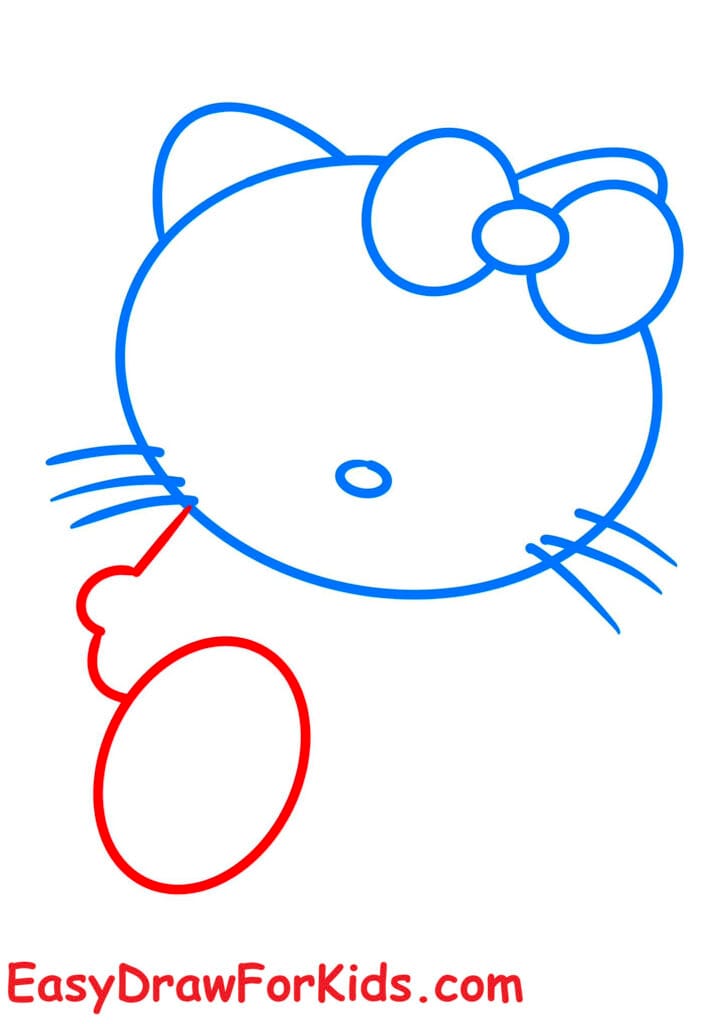
Step 4: On the lower left side of the body, draw a large oval tilted outward — this is the raised leg.
Add a short arm shape to the left side.
Step 5: Now add the torso by drawing a rounded trapezoid shape under the head.
Add the other arm on the right side. Draw two curved lines on the leg to indicate her foot’s position.
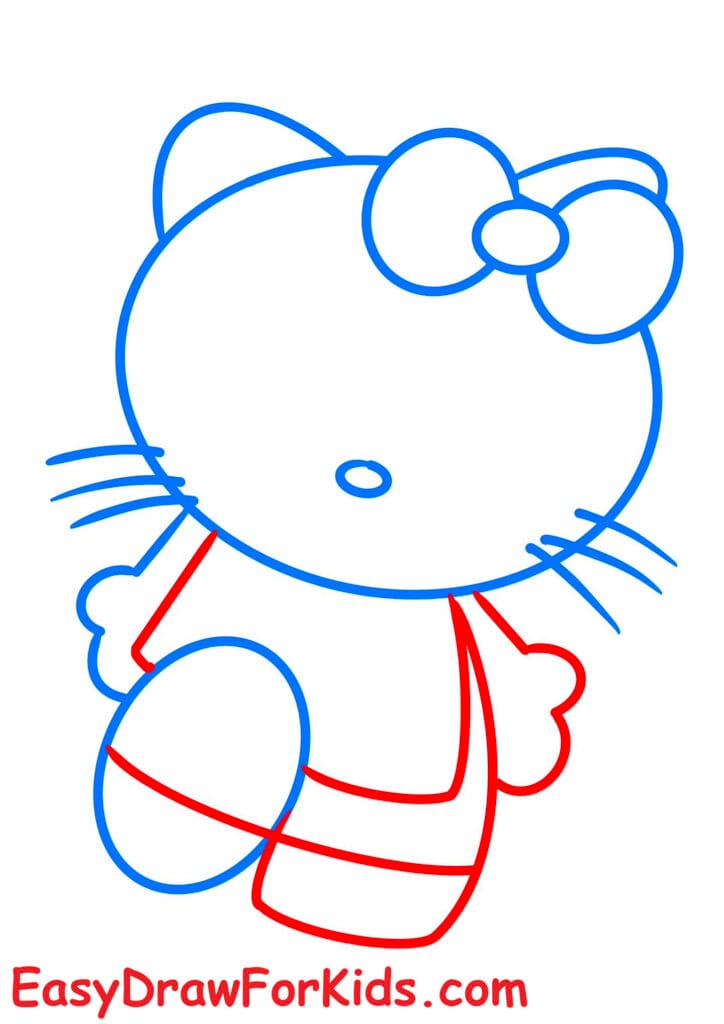
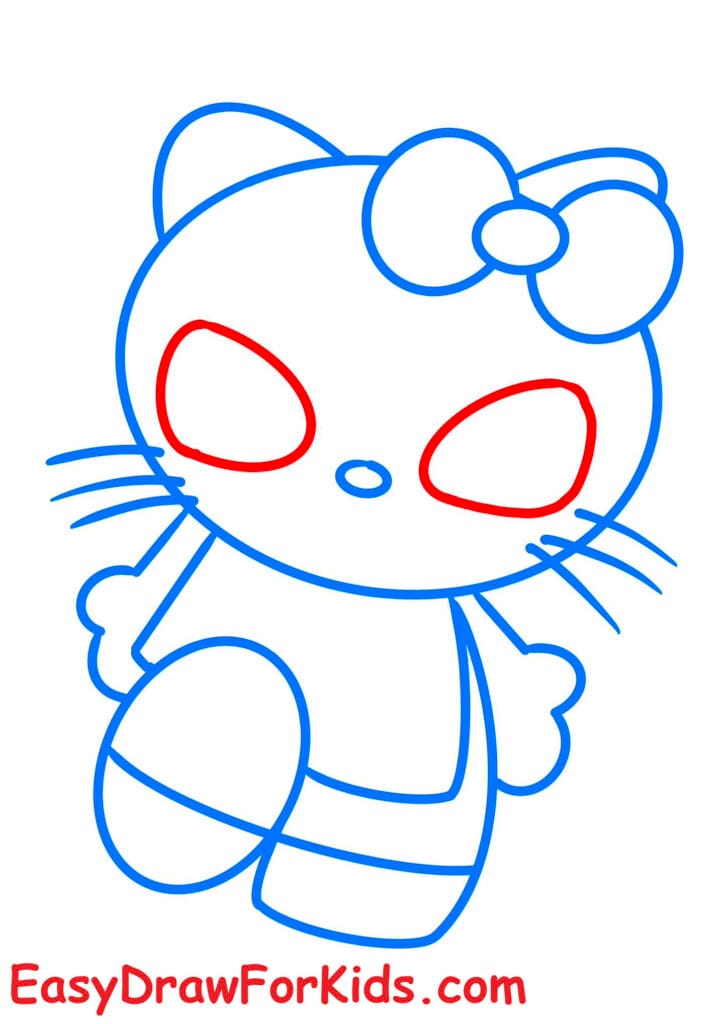
Step 6: Inside the face, draw two large almond-shaped eyes (Spider-Man style) slanted inward, pointing toward the center.
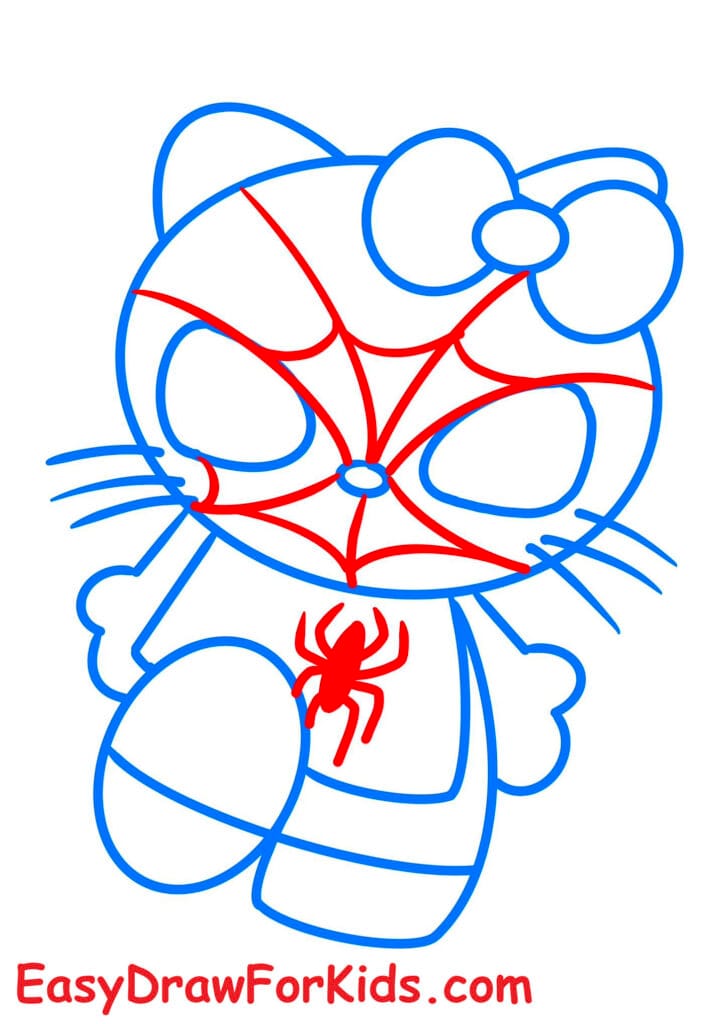
Step 7: Draw webbing lines on the face from between the eyes and create radiating lines outward.
Add connecting curved lines between those to mimic a web. Draw a small spider symbol on the chest area.
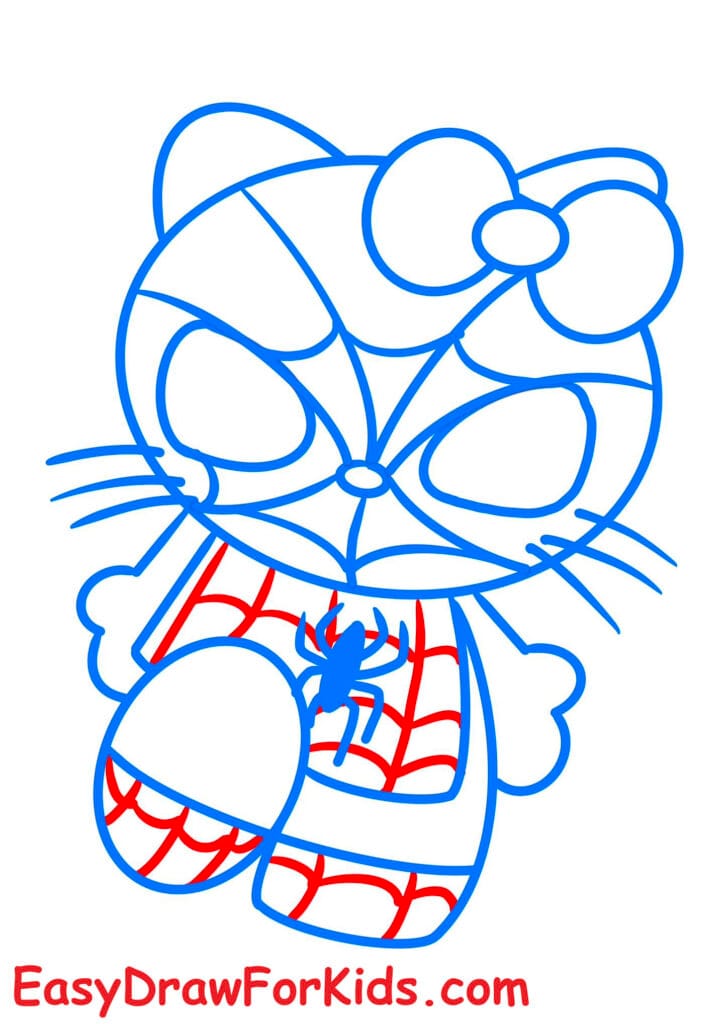
Step 8: Add webbing on the body and legs. Draw boot lines at the bottom of the legs.
Add curved lines around the shoulders and torso to divide red and blue suit parts.
Step 9: Now, you color your Spiderman Hello Kitty drawing by your style or as shown the picture.
>>>Read more: How To Draw Stitch – 3 Ways (With Pictures)
3. Shy Hello Kitty Drawing
Step 1: Draw the Lower Body and Legs
Start by drawing two short horizontal curves forming the top of her legs.
Then add two small vertical lines connecting downward.
Close the shape with a curve below to complete the legs and lower part of the dress.
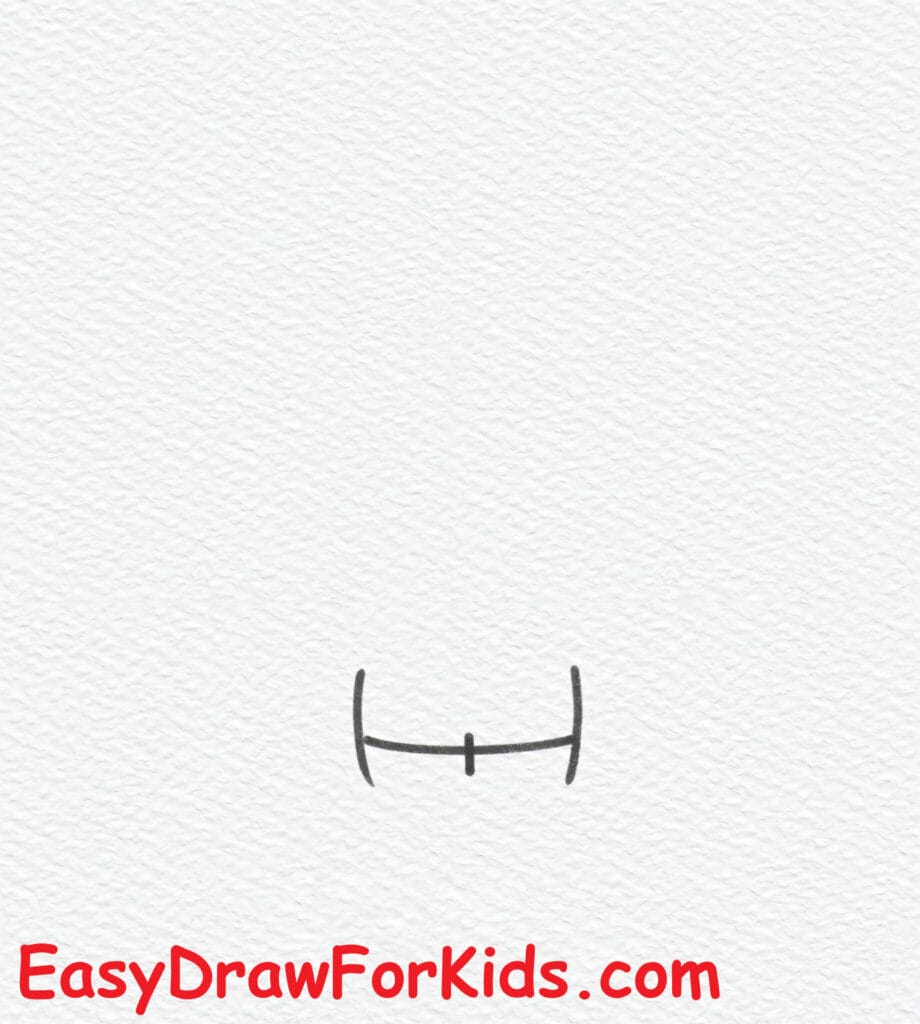
Step 2: Inside the leg shapes, draw two small curved lines horizontally to define her feet.

Step 3: Above the body, draw two short curved lines – these represent her closed eyes in a shy pose.

Step 4: Draw two large, rounded shapes above the eyes, tilted inward – these are Hello Kitty’s hands covering her face.

Step 5: Draw the sides of her torso/dress, connecting it to the arms.
Add some gentle curves to the sides to give the dress a cute, rounded look.
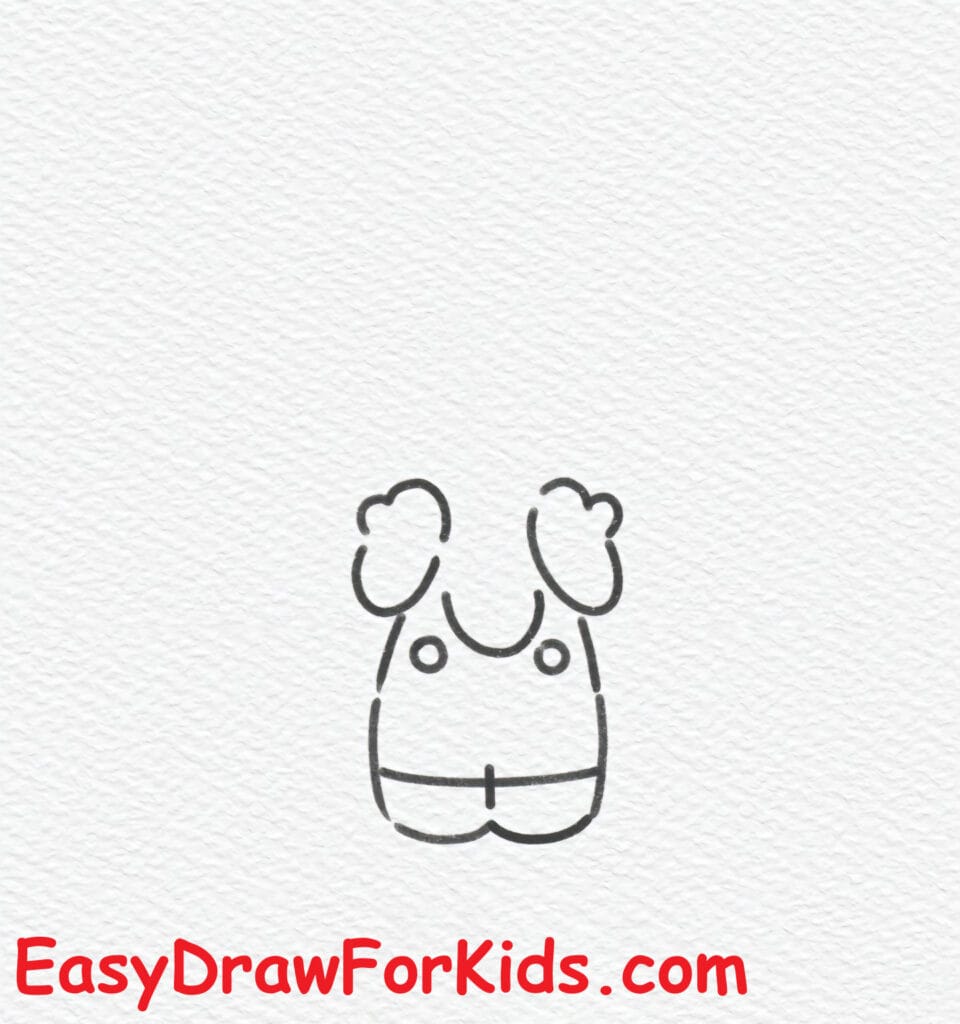
Step 6: Draw Hello Kitty’s signature bow on the top right of where the head will be.
Start with a small center circle. Add two loops to the sides and extra small curves inside to show the folds.
Add two ears on top corners — short, rounded triangles.

Step 7: Use a wide oval or rounded-square shape to outline the entire head around the bow and arms.
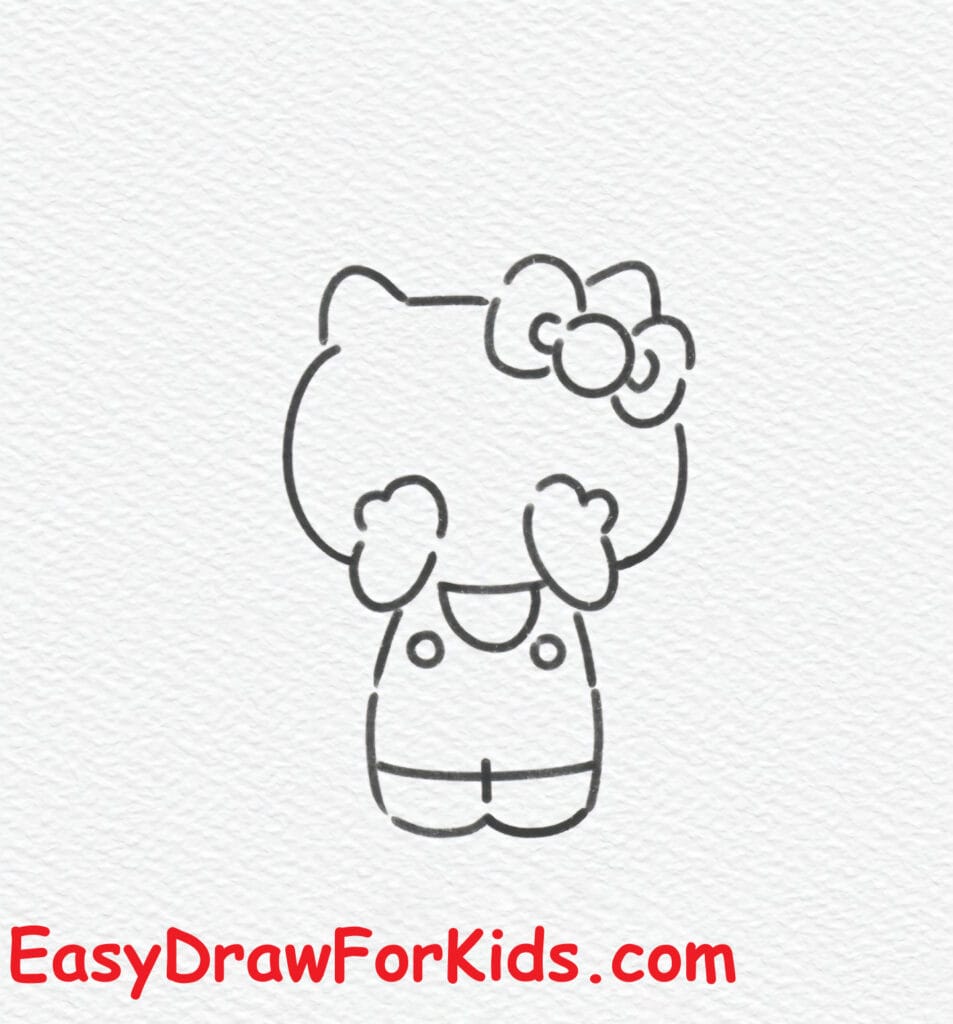
Step 8: Draw three short whiskers on each side of the face. These are straight lines coming out from behind her hands, giving a shy expression.
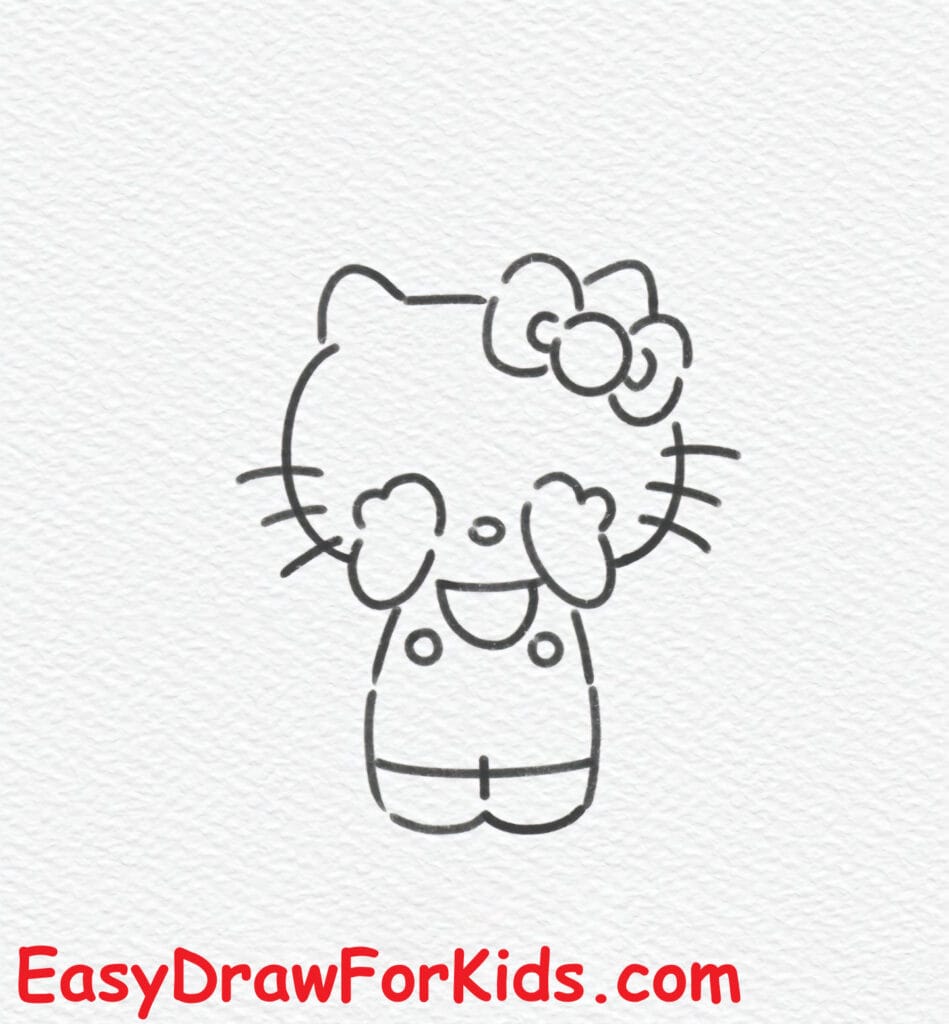
Step 9: Color the drawing by use red and pink for bow and red.
Add a small pink heart near her head for a cute effect.

>>>Read more: How To Draw Doraemon – 2 Ways (With Pictures)
4. How to draw Hello Kitty step by step
This is a simple and easy method for drawing Hello Kitty in a Kawaii style, very suitable for beginners, from which you can develop many other ideas for your Hello Kitty drawings.
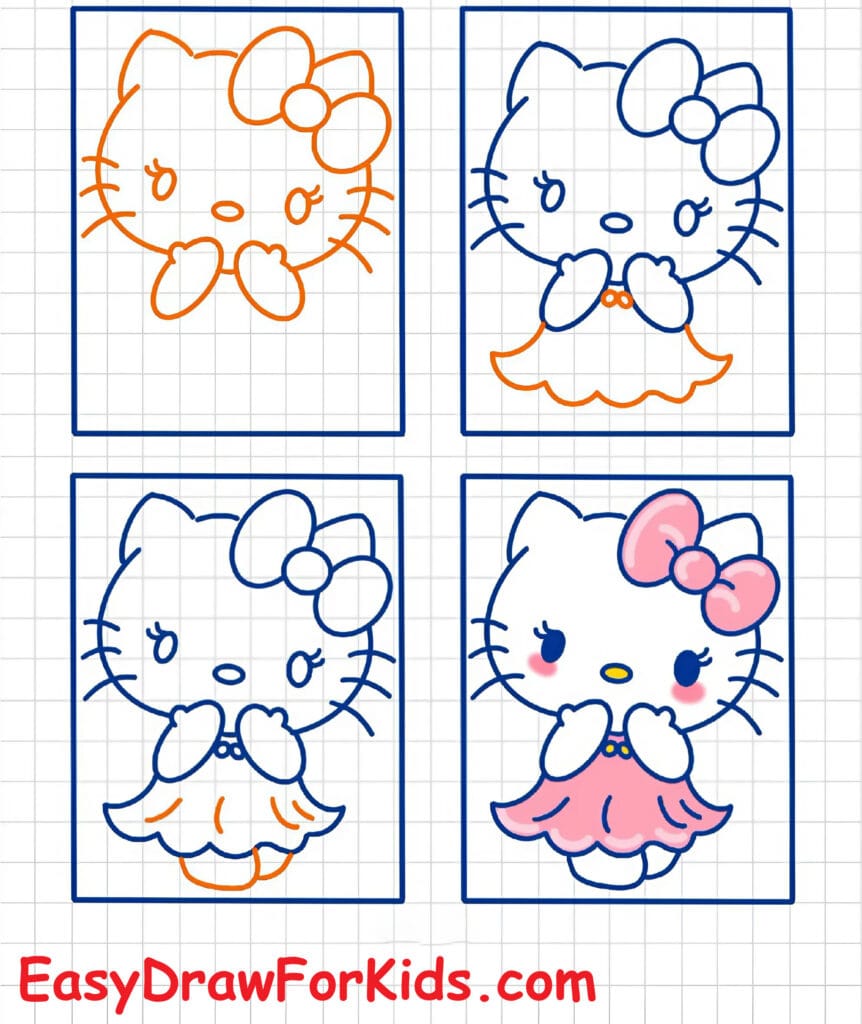
You’ve just completed your Hello Kitty drawing — great job!
It’s amazing how a few simple shapes can come together to create such a beatiful character.
Now that you’ve mastered her basic look, why not try experimenting with different clothing, accessories, or expressions?
Keep experimenting with different poses or scenes, and try drawing Hello Kitty with her friends like My Melody or Keroppi.
The more you draw, the more confident and creative you’ll become.


