Welcome, Bleach fans!
In this guide, I’ll show you how to draw Ichigo Kurosaki like a pro.
We’ll break it down into easy steps so anyone can follow along.

How To Draw Ichigo Kurosaki from Bleach – A Step by Step Guide
1. How To Draw Ichigo kurosaki From Bleach
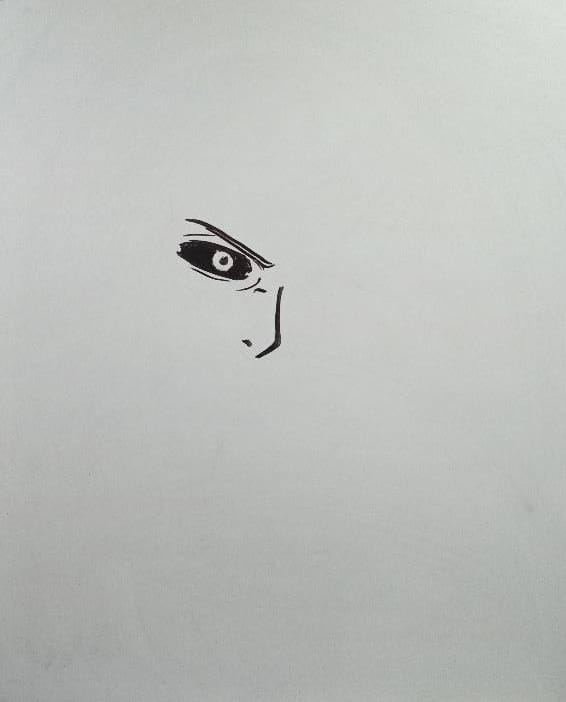
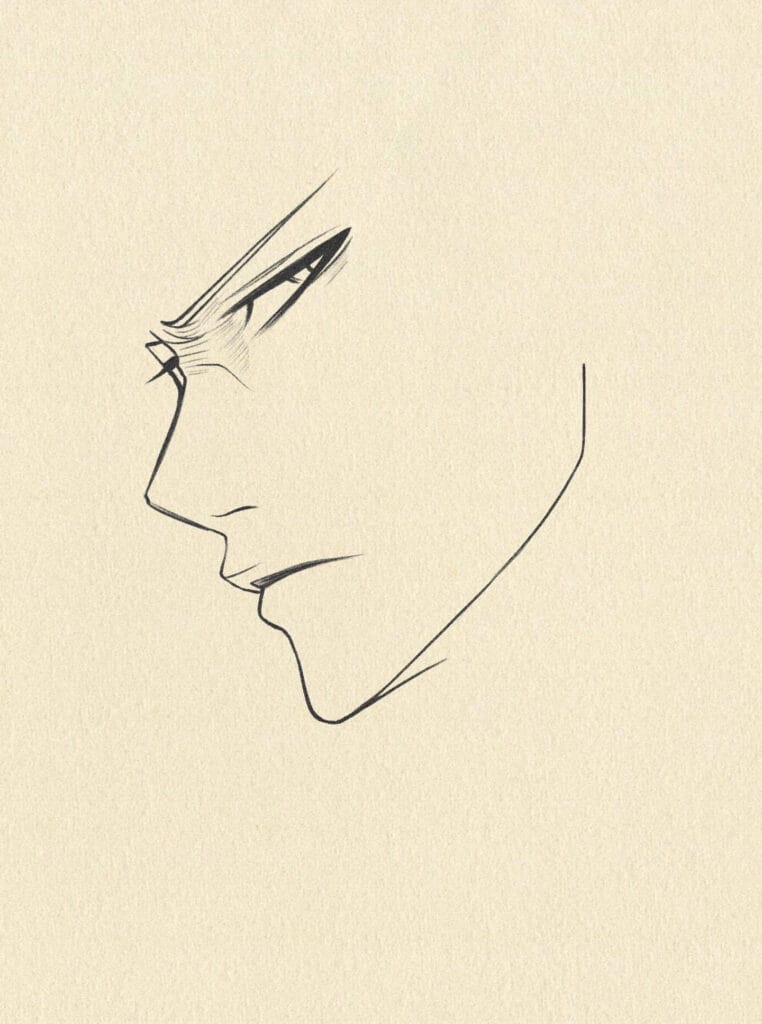
Step 1 – Draw the Eye and Nose
Start with Ichigo’s right eye.
Draw a narrow, sharp eye shape with a thick upper lash line to show intensity.
Add the small pupil and inner shading for the iris.
Sketch a short line for the nose bridge and a dot for the nostril.
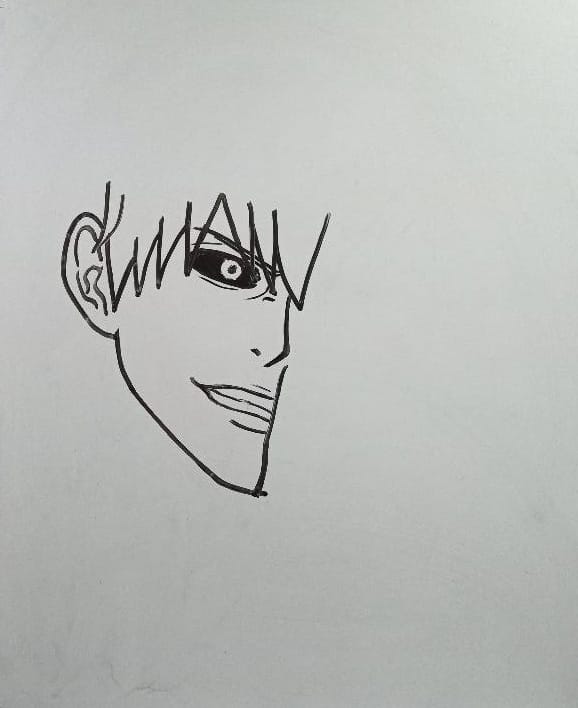
Step 2 – Draw the Face Outline and Hair Base
Sketch the outline of Ichigo’s face, including his jaw and ear.
His expression should look confident or slightly aggressive.
Add a few early hair spikes above his forehead to establish direction.
Use angled lines to shape the chin and neck for a masculine look.
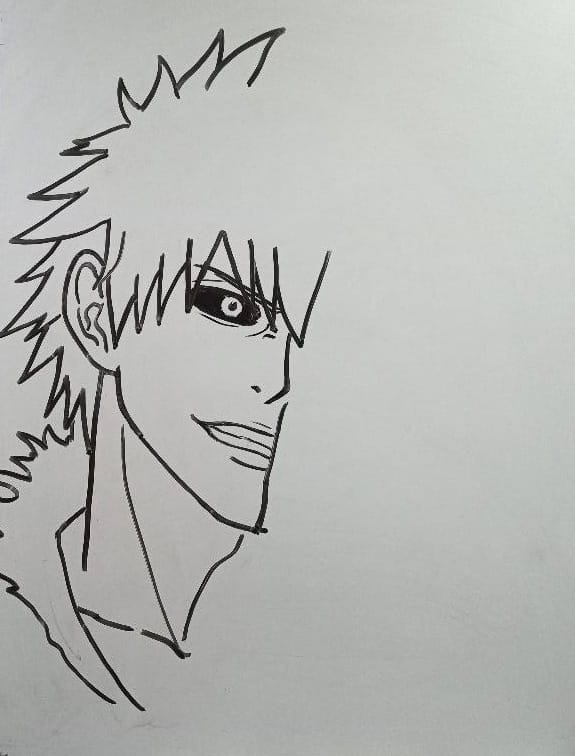
Step 3 – Add Hair and Neck Details
Continue drawing Ichigo’s spiky hair. The hair should radiate outward with uneven, sharp points.
Add his neck and collarbone area.
Lightly outline his clothing or robe on the shoulders.
At this point, the character should already look recognizable as Ichigo.
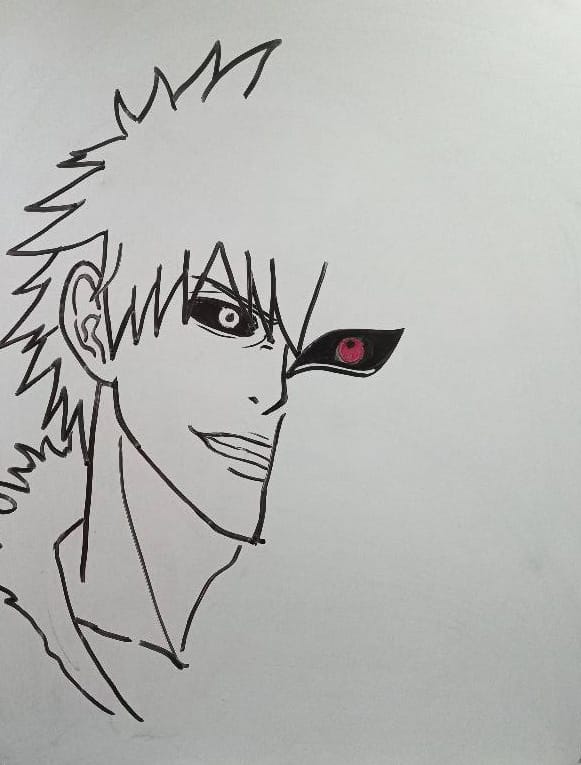
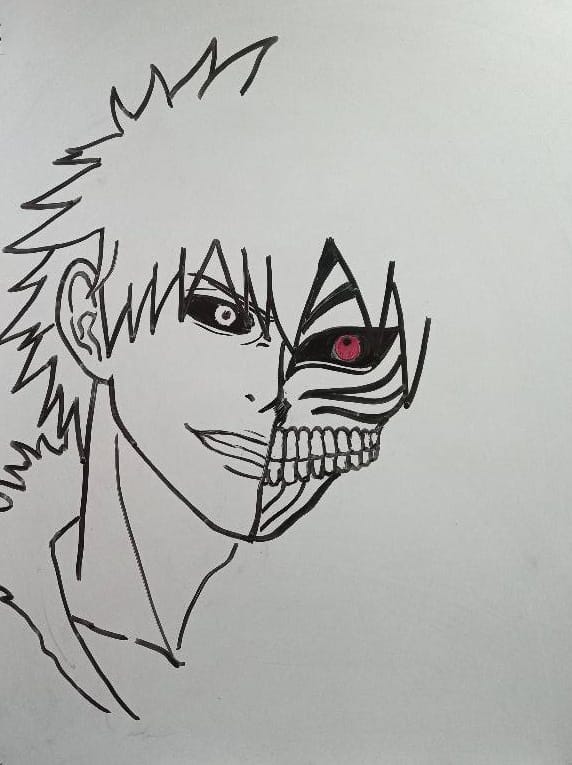
Step 4 – Draw the Hollow Eye Mask
Draw a black mask fragment covering part of his face.
The mask should start from above the eyebrow and go diagonally toward his cheek.
Inside the mask area, draw a dark hollow eye with a red iris and black sclera — this represents Ichigo’s Hollow side.
Make sure the shape feels organic, not symmetrical.
Step 5 – Add the Hollow Mask Lines
Draw jagged, bone-like lines extending from the mask around his face.
Start adding teeth-like designs near the right cheek, showing the transition from skin to Hollow mask.
Shade the mask sections in black and red for depth.
Refine the smile and facial contours.
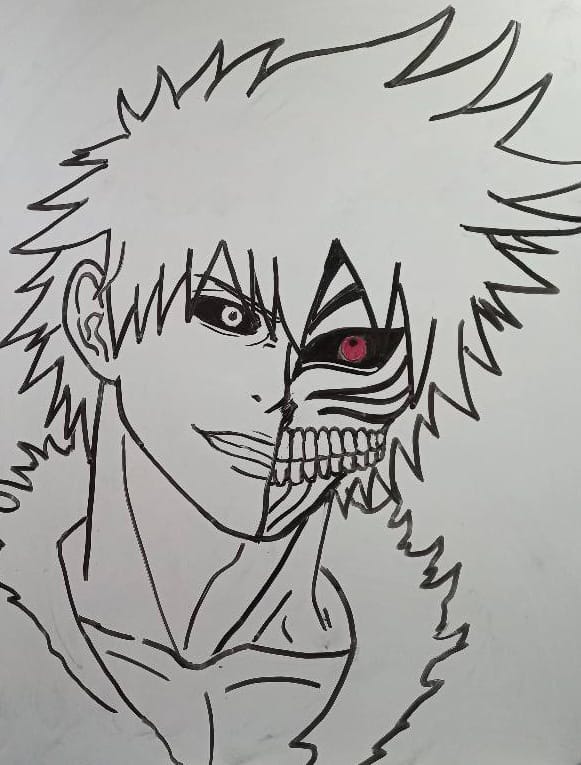
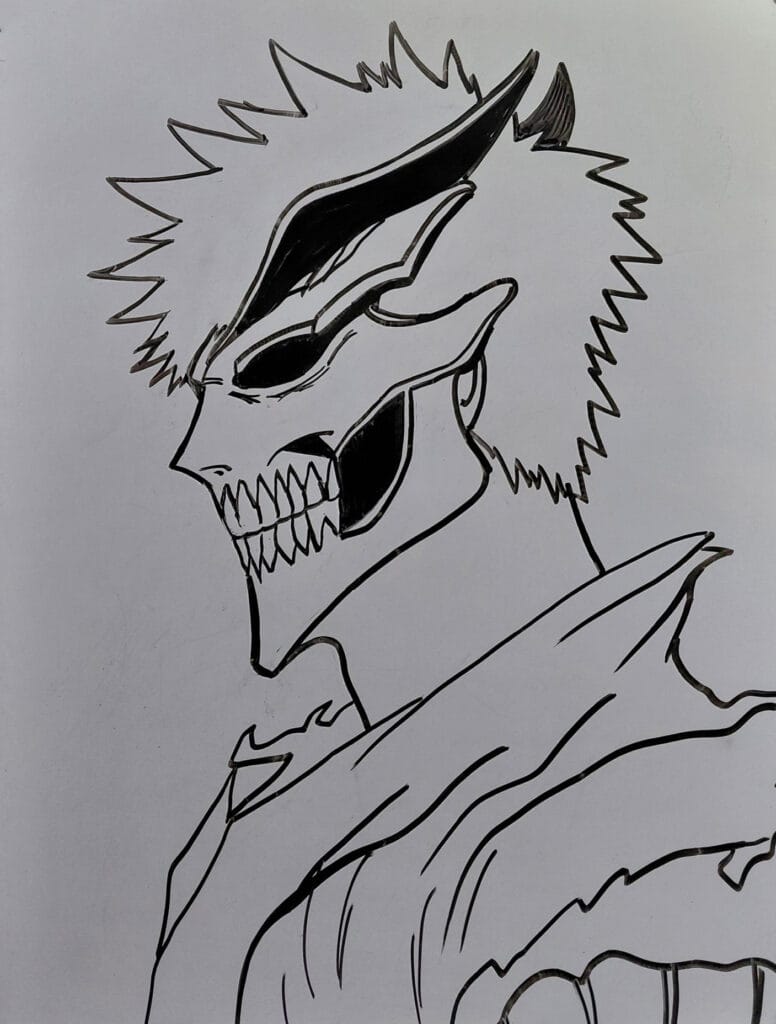
Step 6 – Complete the Mask and Add More Details
Extend the Hollow mask up to the forehead and around the temple area.
Add additional spikes or cracks to make it look fragmented.
Deepen the shading inside the mask for contrast.
Add more definition to the hair, neck, and robe folds.
The combination of dark mask and wild hair should give him a fierce, supernatural aura.
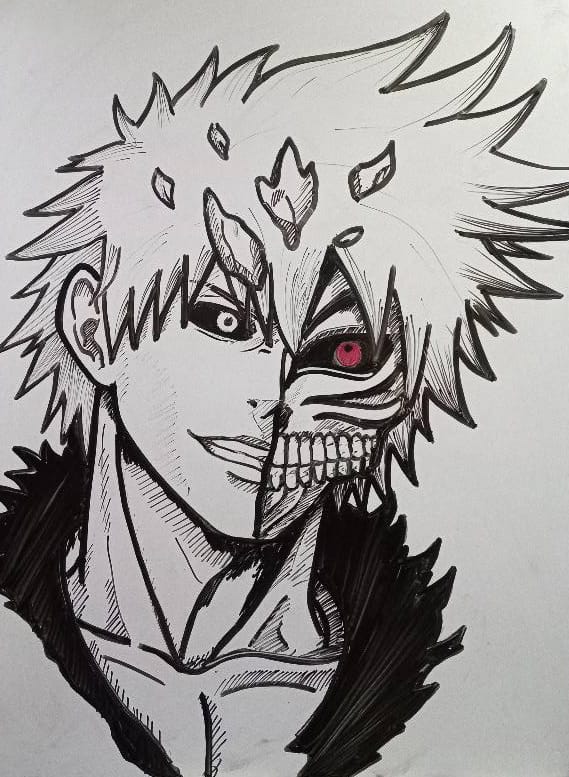
Step 7 – Final Shading and Finishing Touches
Fill in the remaining parts of the Hollow mask with strong black tones.
Shade Ichigo’s outfit (especially the collar area) with deep shadows.
Emphasize his hair spikes and add light reflections for volume.
Darken the Hollow eye and enhance the mask’s bone structure for a dramatic finish.
Finally, outline everything cleanly to give a polished, powerful look.
2. Ichigo Kurosaki Drawing Easy
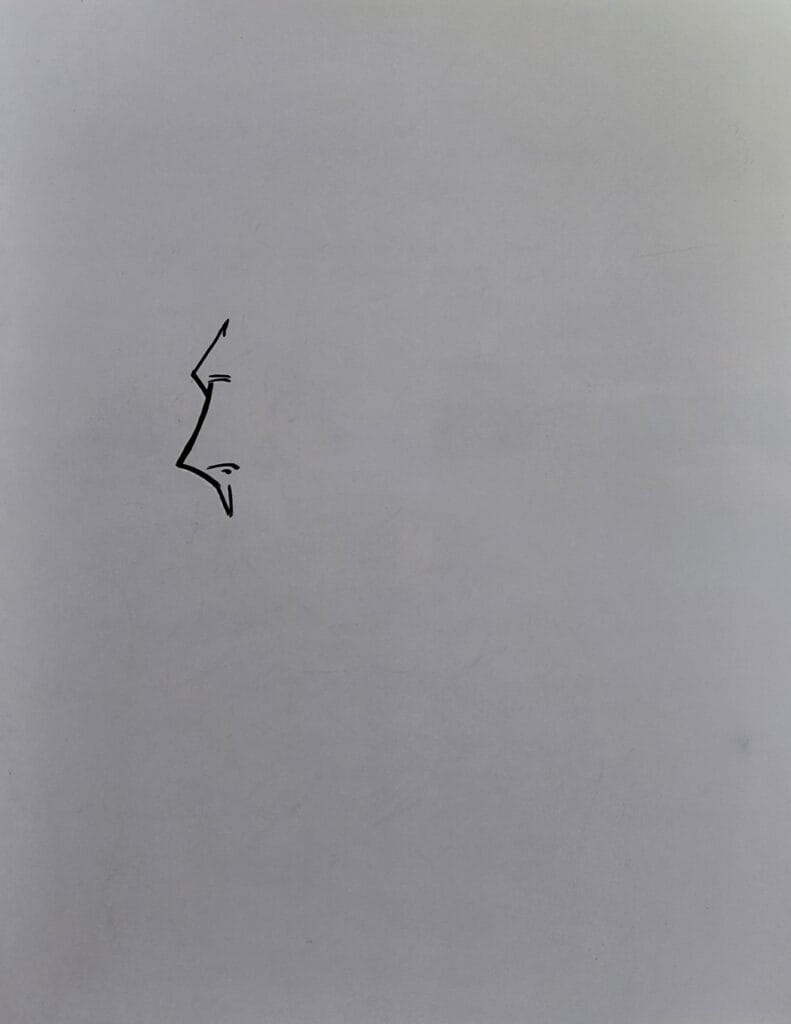
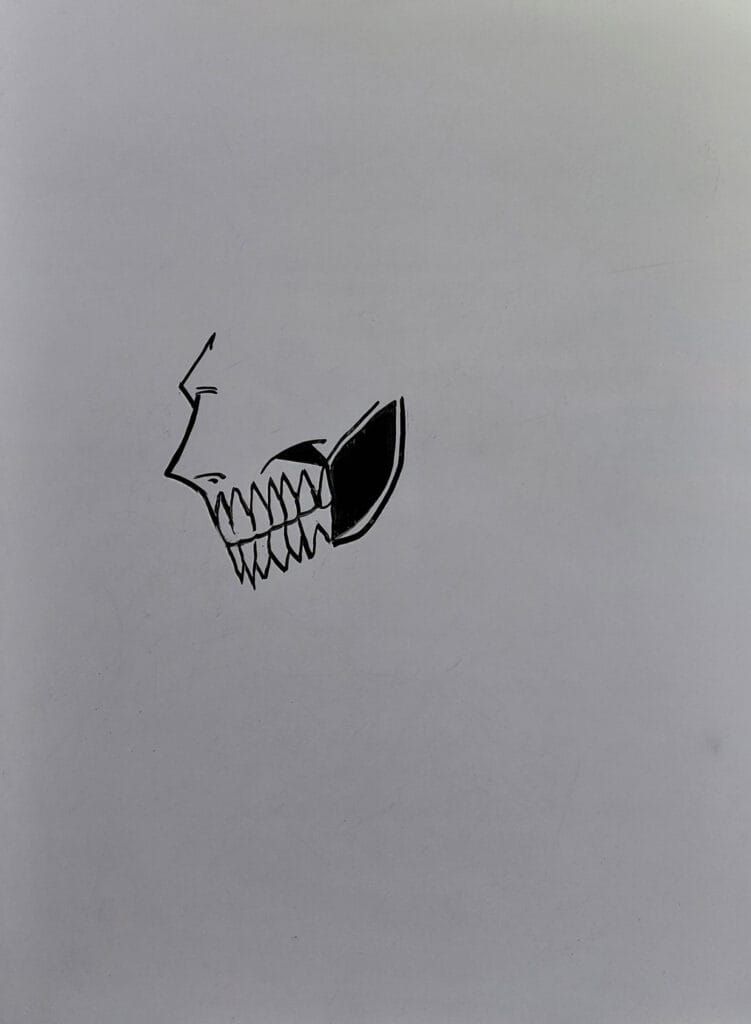
Step 1 – Start with the Basic Facial Outline
Begin by sketching a simple side profile of Ichigo’s face.
Draw a curved line for the forehead, nose, and mouth area.
Add the small triangle for the sharp nose tip and a short line for the mouth.
Keep your strokes light and precise, as this will form the base for the mask later.
Step 2 – Draw the Hollow Mask Teeth
Start adding the mask details along the lower half of the face.
Sketch a row of sharp, fang-like teeth curving along the cheek area — this forms the skeletal jaw of the Hollow mask.
Darken the space inside the mouth with black shading to show depth and menace.
Refine the jawline and make the teeth slightly uneven for a natural bone-like look.
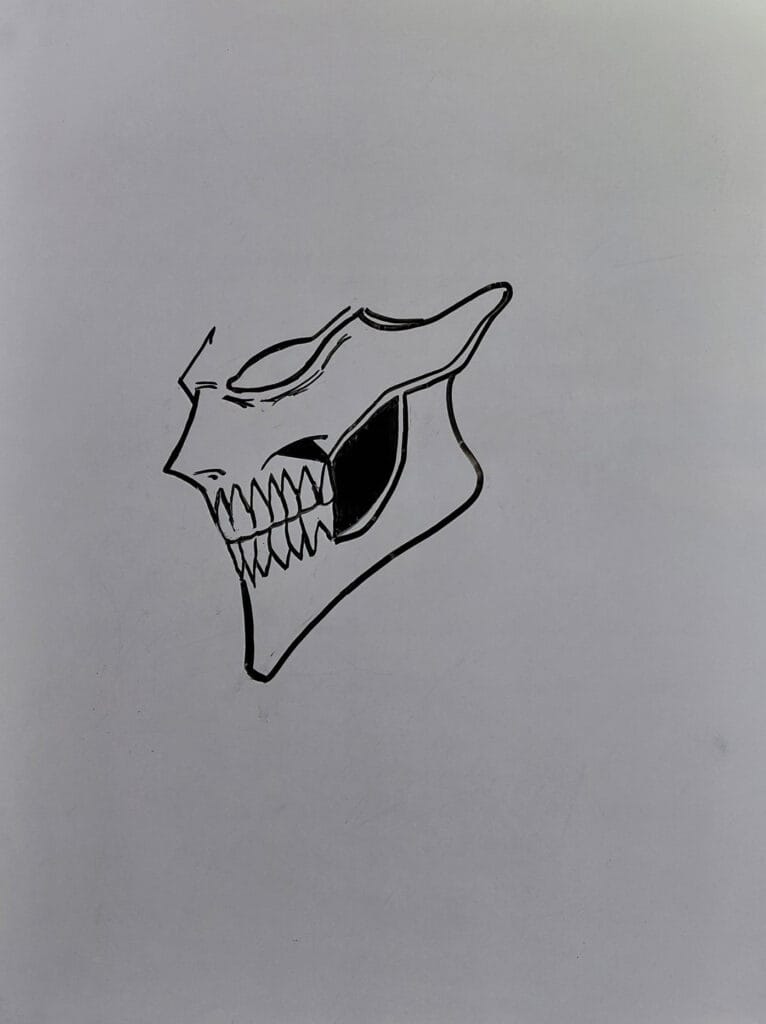
Step 3 – Add the Mask’s Main Shape and Eye Hole
Extend the outline of the mask upward to form the full face structure.
Draw the hollow eye hole — large, dark, and slightly angled back for a fierce expression.
Add ridges and bone textures around the eye and forehead to emphasize the mask’s skeletal design.
Erase extra sketch lines and clean up the overall shape.
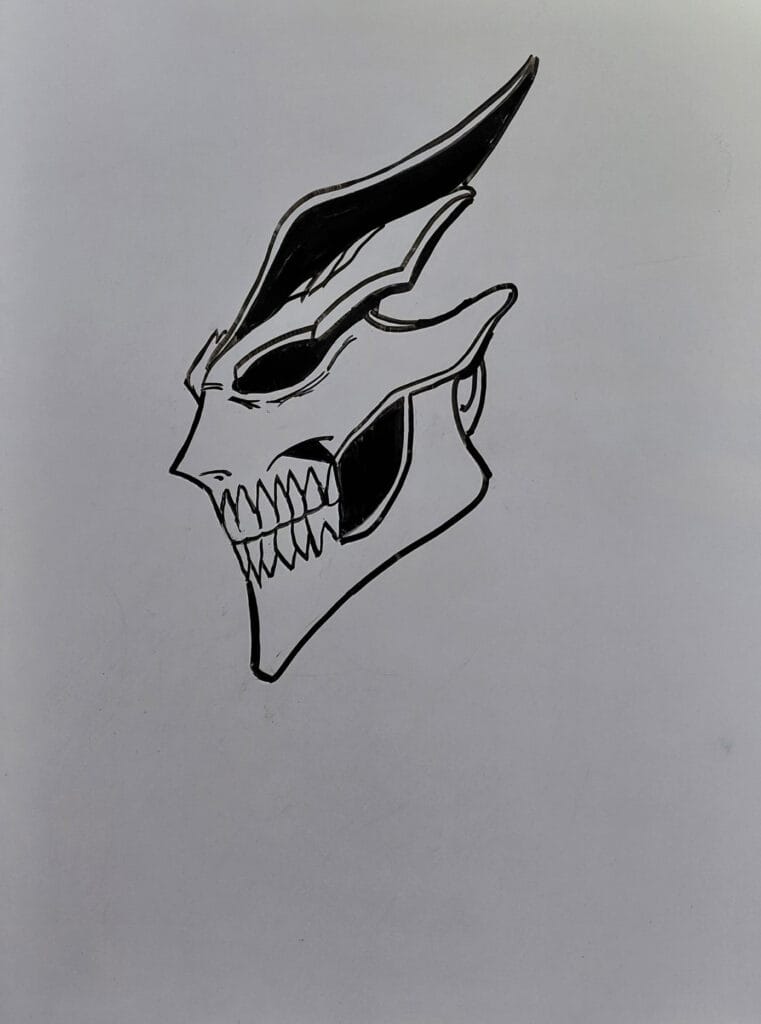
Step 4 – Draw the Mask Horn and Upper Head
Sketch the long horn that extends from the top of the mask backward — this is a key feature of Hollow Ichigo.
Shape it like a sharp, curved spike following the head’s contour.
Add muscle and jawline details below the mask to connect the head to the neck.
Shade parts of the horn and eye socket to create contrast.
Step 5 – Add Hair and More Head Details
Begin sketching Ichigo’s spiky hair behind the horn.
His hair should look wild and irregular, with sharp, uneven spikes spreading outward.
Add small overlapping lines for hair texture.
Slightly refine the neckline and shoulder base to prepare for the outfit.
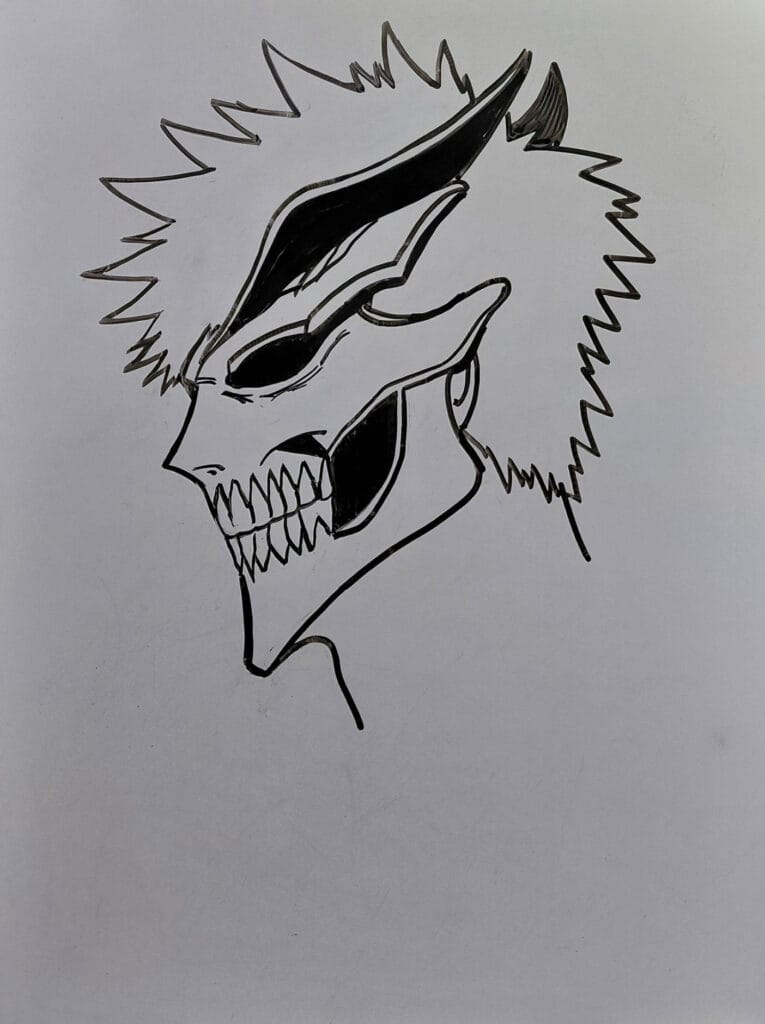
Step 6 – Draw the Body and Shoulder Armor
Add the neck muscles and upper body structure.
Sketch the collar and clothing folds of Ichigo’s Shinigami uniform.
Define the shoulder line, and add shadows under the mask and along the robe to make the drawing more dynamic.
At this point, Hollow Ichigo’s fierce and powerful appearance should be clear.
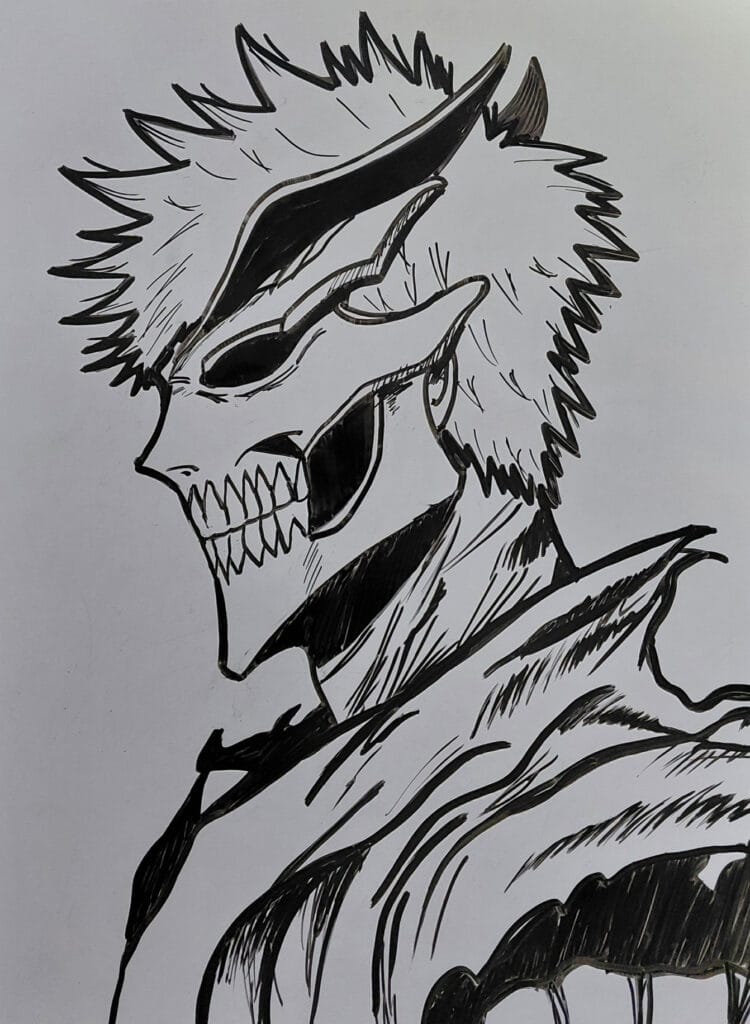
Step 7 – Final Details and Shading
Deepen all black areas: inside the eye socket, along the horn, and within the hollow mask sections.
Add final shadows to the neck, hair roots, and robe to increase depth and realism.
Outline the teeth sharply and refine hair spikes for a clean finish.
3. Bleach Ichigo Drawing
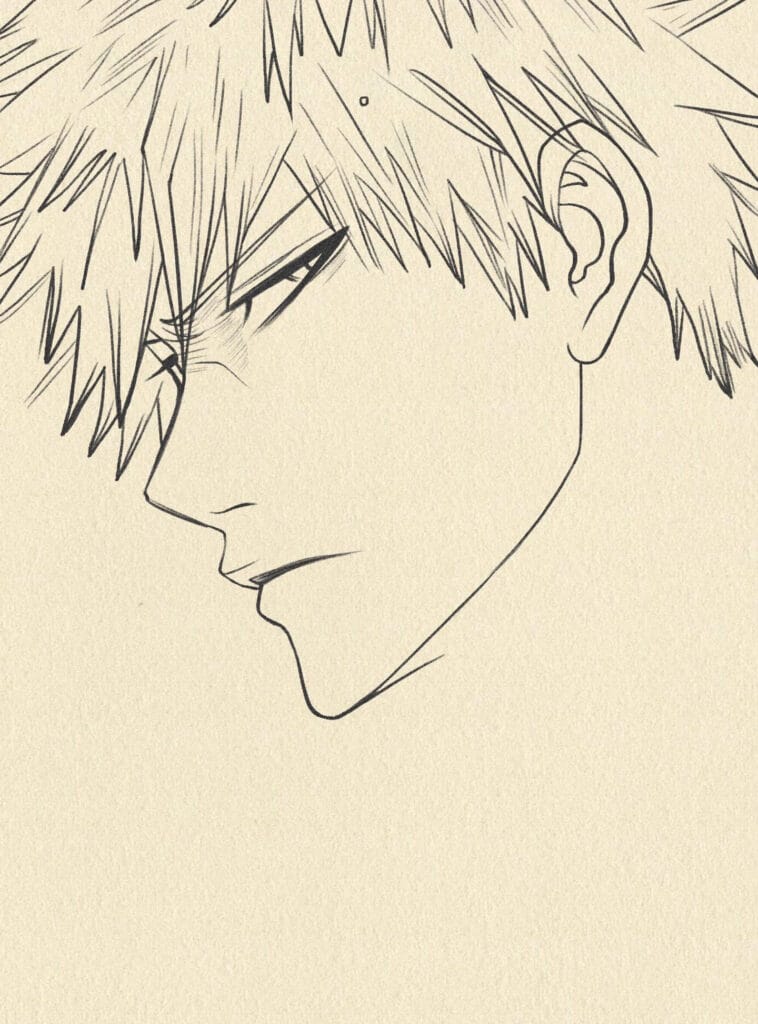
Step 1 – Draw the Basic Outline of the Face
Start by sketching the side profile of Ichigo’s face using light pencil strokes.
Draw a vertical guide line for the face angle.
Then outline the forehead, nose, lips, chin, and jawline.
Add a sharp, confident expression by emphasizing the brow line and mouth curve.
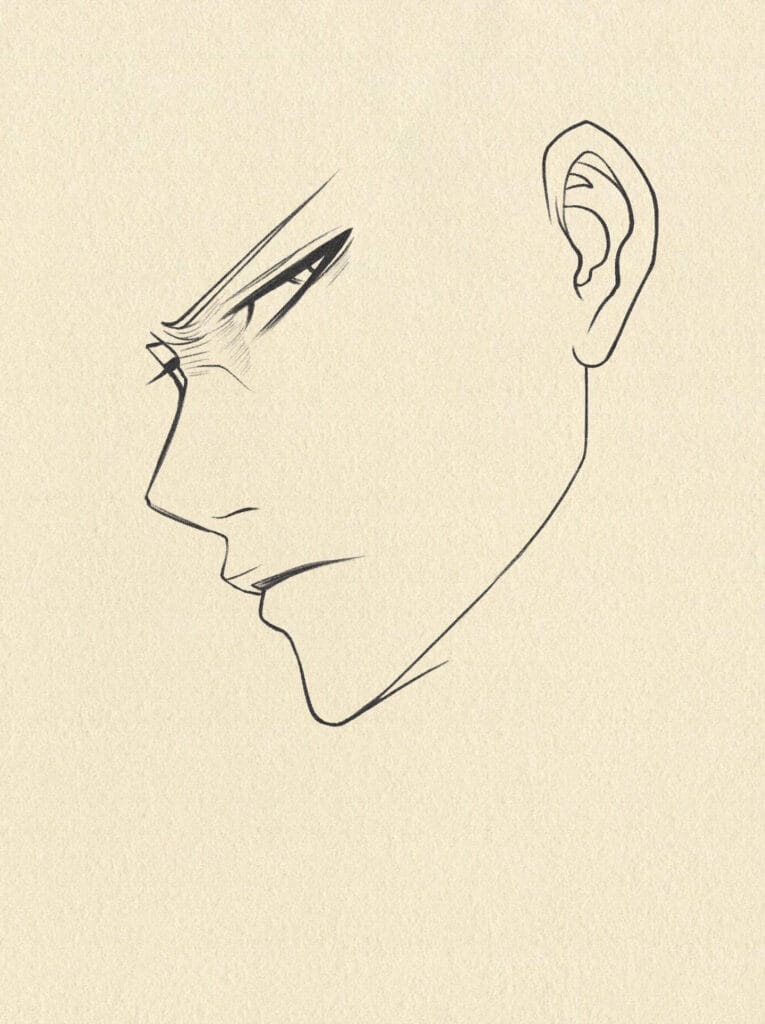
Step 2 – Add the Eye and Ear Details
Refine the eye, keeping it narrow and slightly angled to give Ichigo his intense look.
Sketch the eyebrow thick and sharp.
Add the ear outline, paying attention to its position relative to the eye.
Clean up unnecessary lines to keep the shape defined.
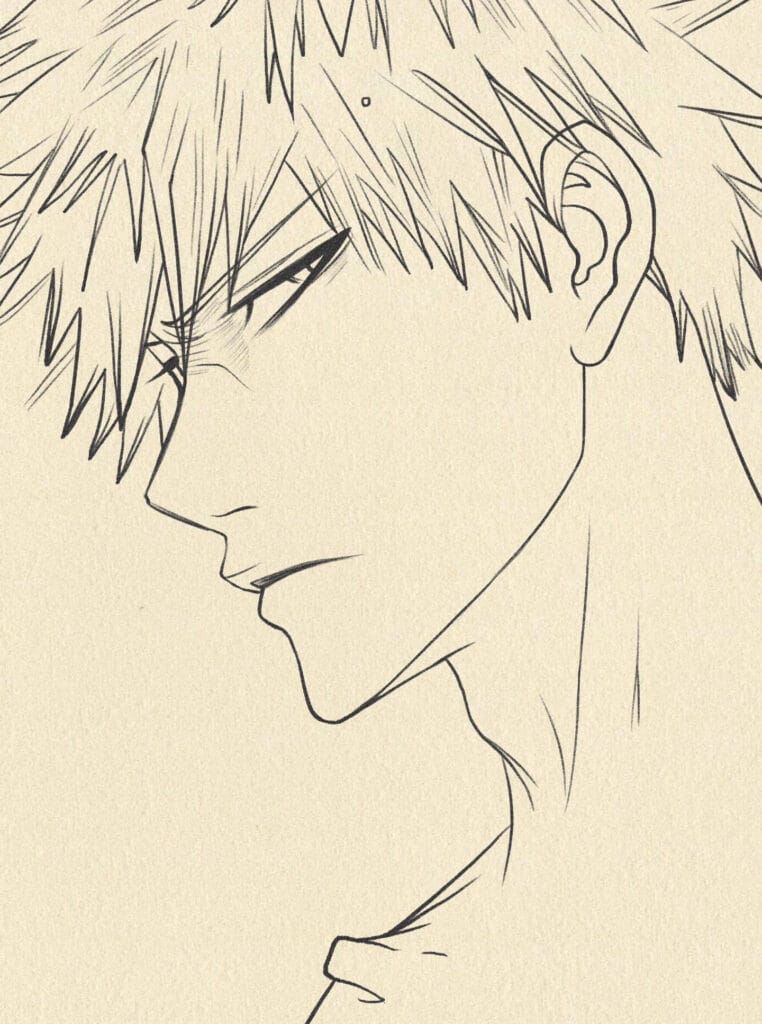
Step 3 – Draw the Hair Outline
Begin sketching Ichigo’s spiky hair. His hair should look wild and uneven, pointing in different directions.
Use short, quick strokes to form the texture.
Make sure the hairline starts above the forehead and follows the head shape naturally.
Step 4 – Add Neck and Collar Details
Sketch the neck and shoulder connection.
Add subtle muscle lines around the neck for realism.
Begin to outline the collar of his Shinigami outfit or kimono.
Refine the jaw and ear area to ensure smooth proportions.
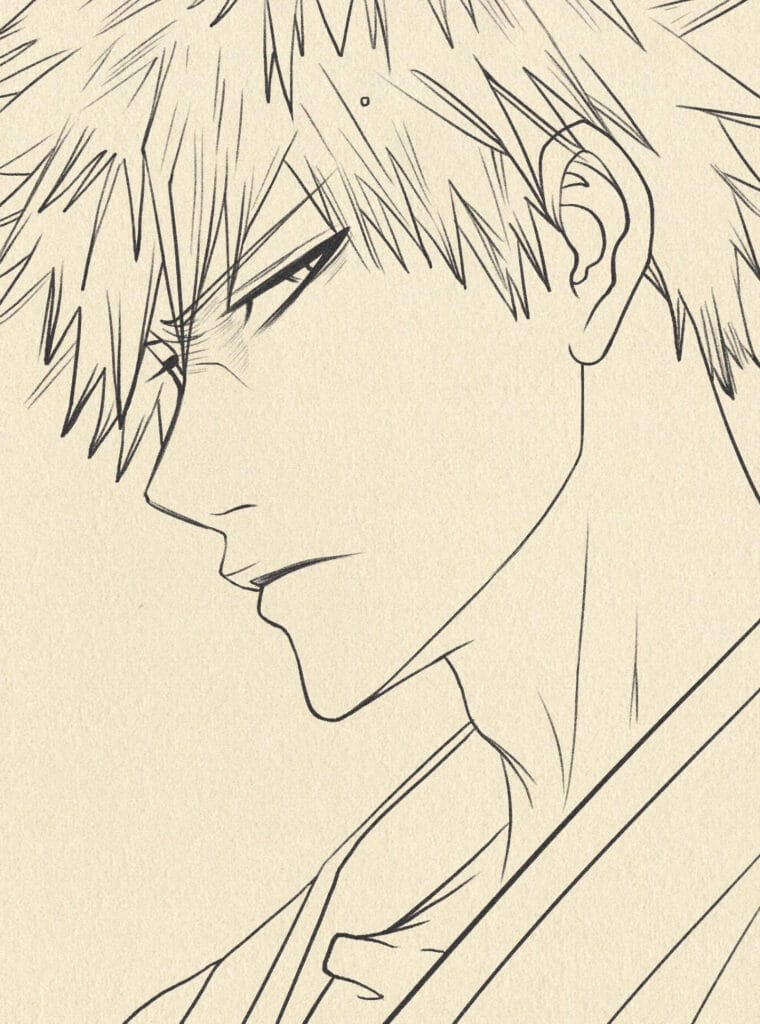
Step 5 – Draw the Clothing and Define Line Art
Continue detailing Ichigo’s kimono collar and folds of the fabric.
Use bold and clean lines to define the entire figure.
Erase construction lines.
The drawing should now have clear outlines of his head, neck, and outfit.
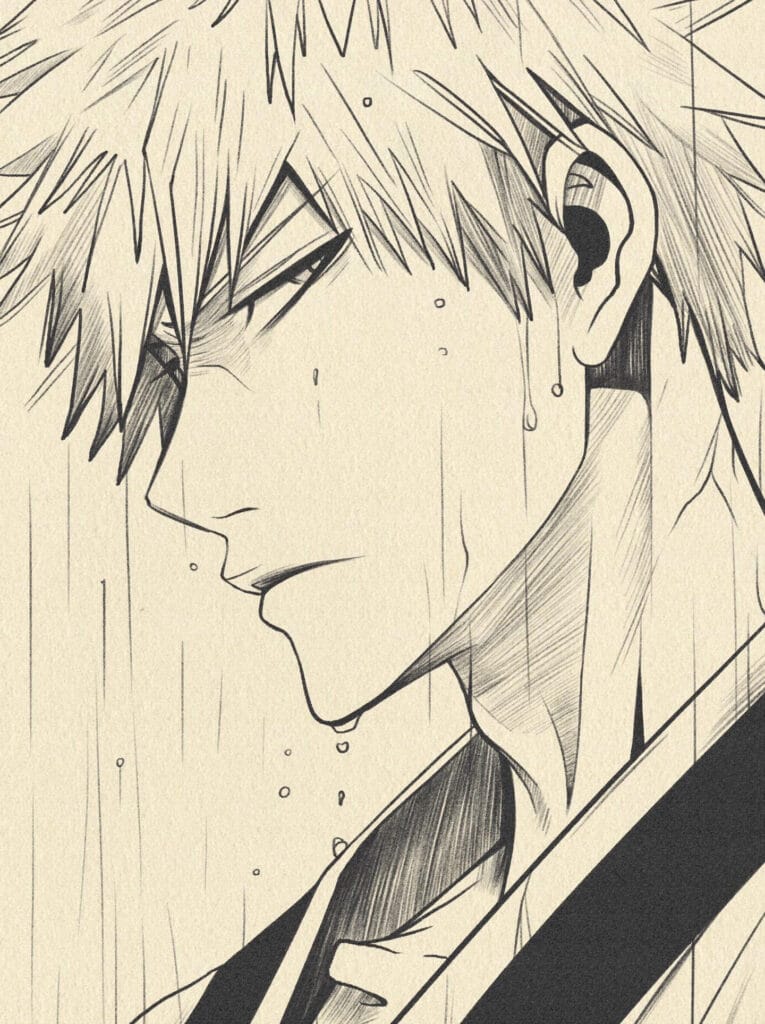
Step 6 – Add Shadow and Rain Details
Begin adding shading to give depth — under the hair, along the neck, and under the chin.
Sketch rain streaks falling across the drawing to create a dramatic effect.
Add light shadow lines on his face and clothes for realism.
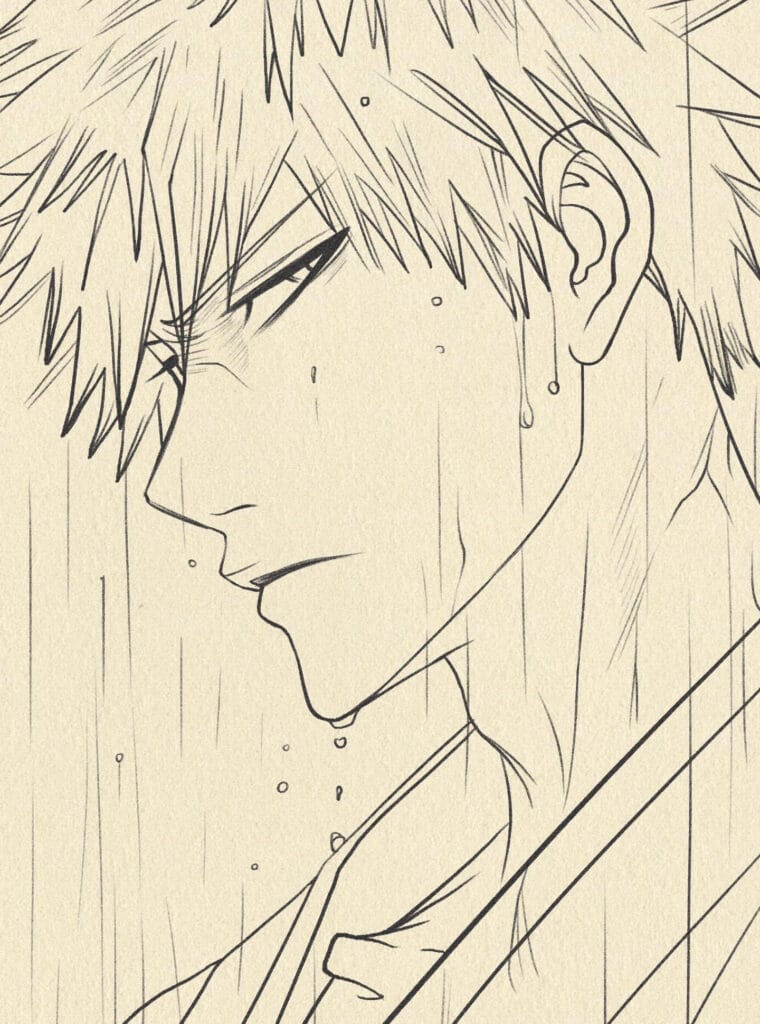
Step 7 – Final Touches and Highlights
Deepen the contrast by darkening the hair and clothing folds.
Add final shading under the eyes and around the mouth.
Reinforce the rain and water droplet effects for a melancholic mood.
Finish by cleaning edges and enhancing highlights where the light hits.
Thank you for following along! You now know how to draw Ichigo Kurosaki like a true Bleach artist.
Keep exploring more anime art styles and discover your own unique way of drawing.


