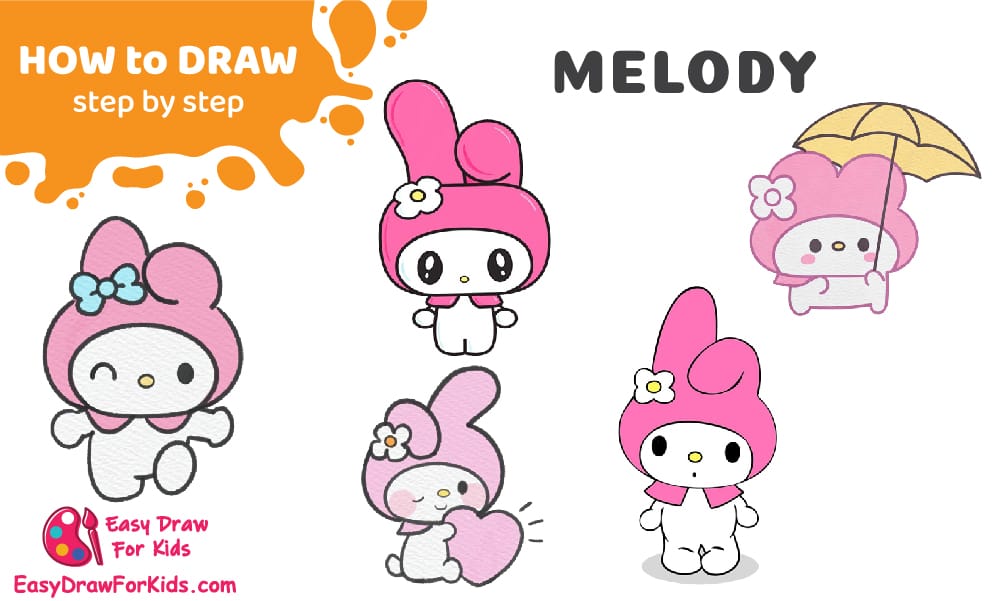
Welcome to the magical world of Sanrio, where characters like My Melody bring smiles and inspiration to fans of all ages.
If you’ve ever dreamed of drawing this gentle and adorable bunny, you’re in the right place!
This guide will teach you how to draw My Melody in a clear, easy-to-follow way, using basic shapes and soft lines.
By the end of this lesson, you’ll have created your own heartwarming version of this beloved Sanrio bunny.
How To Draw My Melody – A Step by Step Guide
1. Cute My Melody Drawing
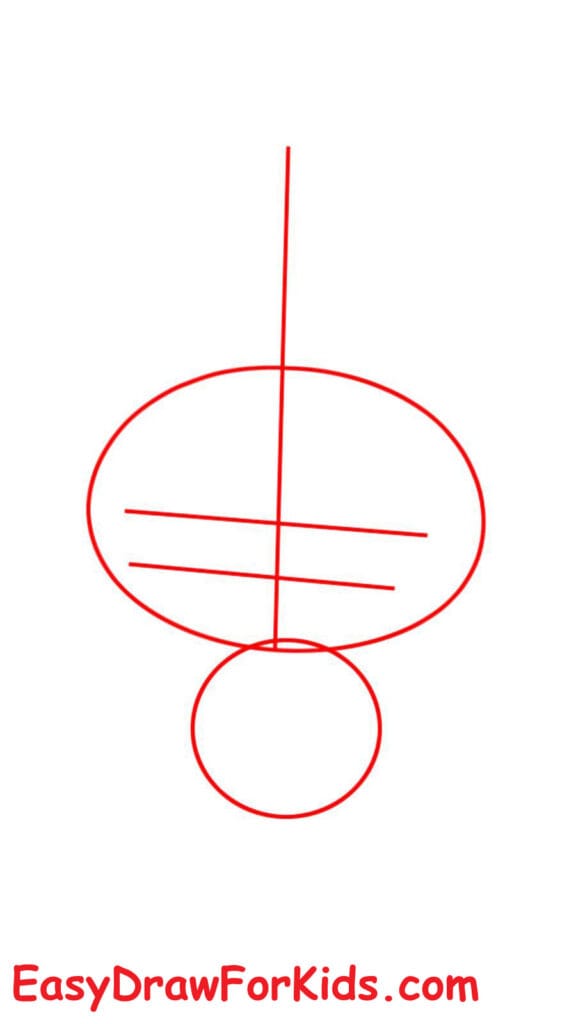
Step 1: Start with a vertical line to divide the face symmetrically.
Then draw a horizontal oval for the head.
Add a small circle under the head for the body.
Use guidelines inside the head to position facial features.
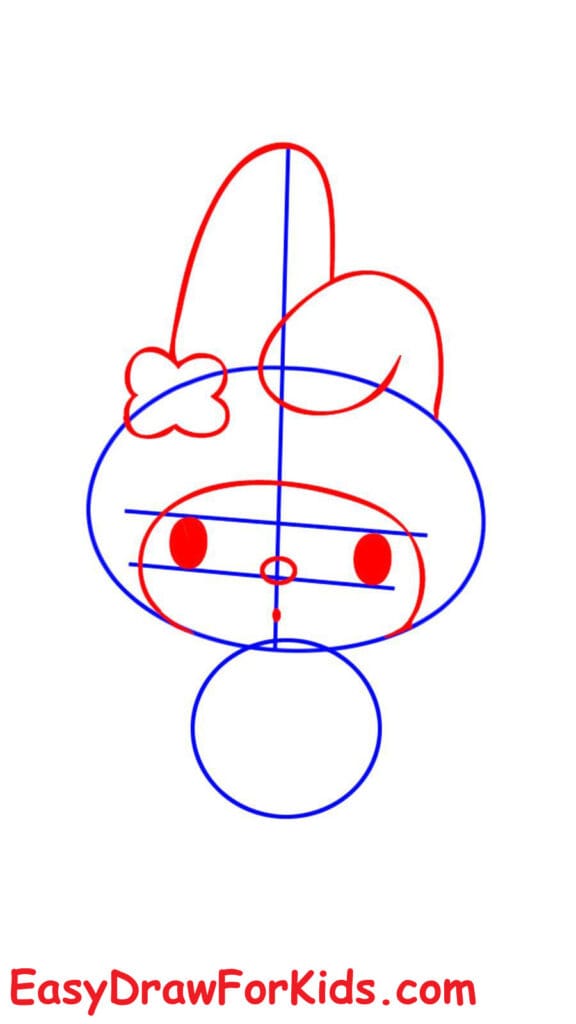
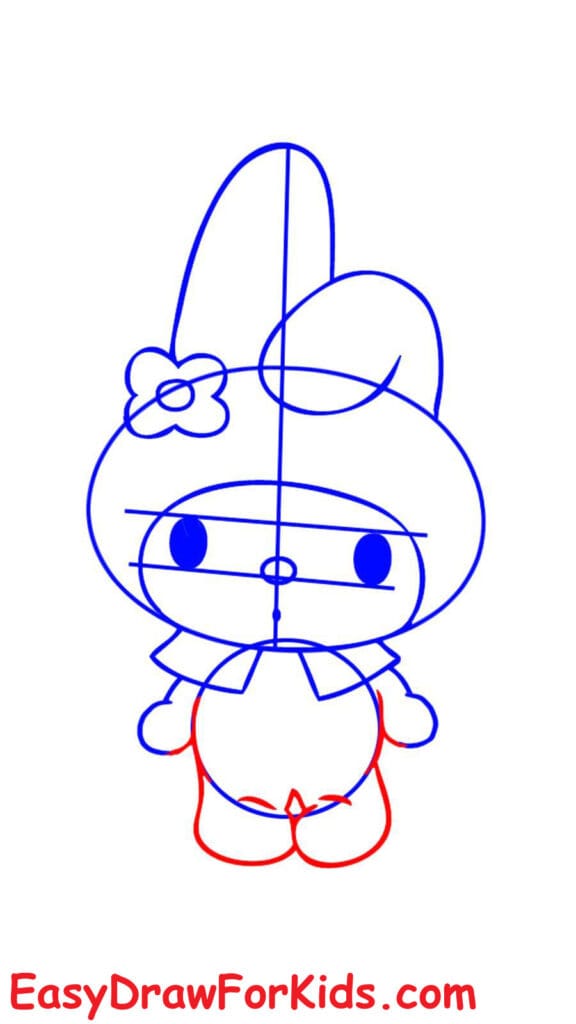
Step 2: Draw two big oval eyes using the guideline. Add a small round nose between the eyes.
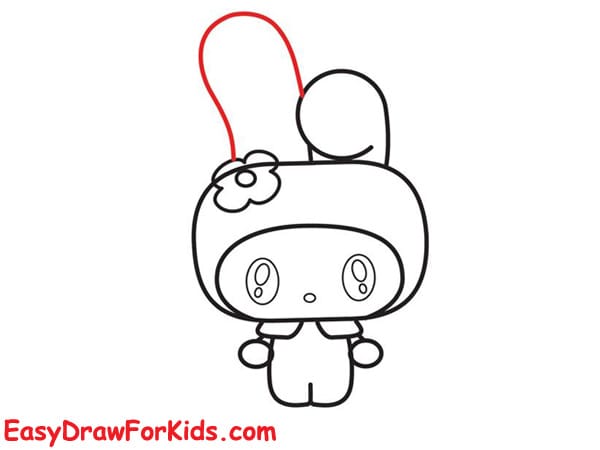
Outline the bunny ears — one ear up and one bent to the side. Add a small flower bow on the bent ear.
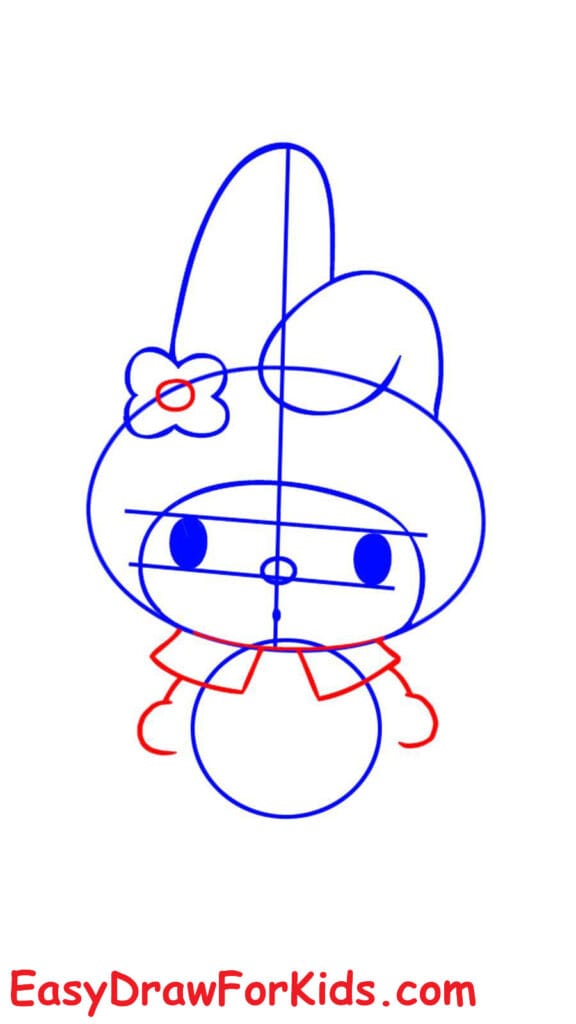
Step 3: Draw two small curved lines on each cheek to indicate a cute blush.
Draw the arms keeping them rounded and small. The arms should slightly curve inward.
Step 4: Sketch the legs spread out naturally. Add a small oval tail in the back.
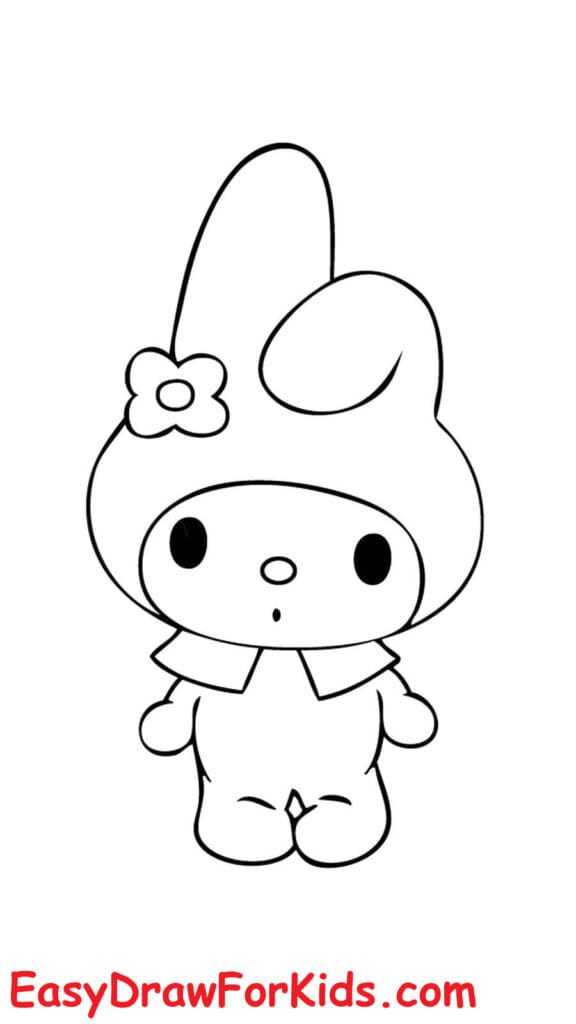
Step 5: Erase the guidelines. Darken the final outlines for the entire figure: head, ears, bow, eyes, nose, body, arms, and feet.
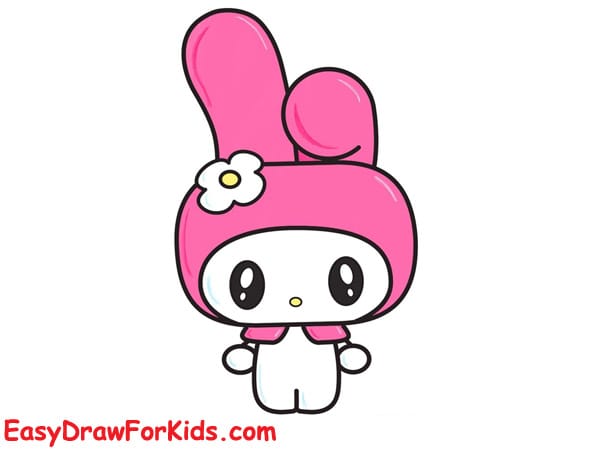
Step 6: Color the ears and head pink.
The face and body are white.
The flower bow is yellow with a white center.
Eyes are black, and cheeks can be shaded lightly pink.
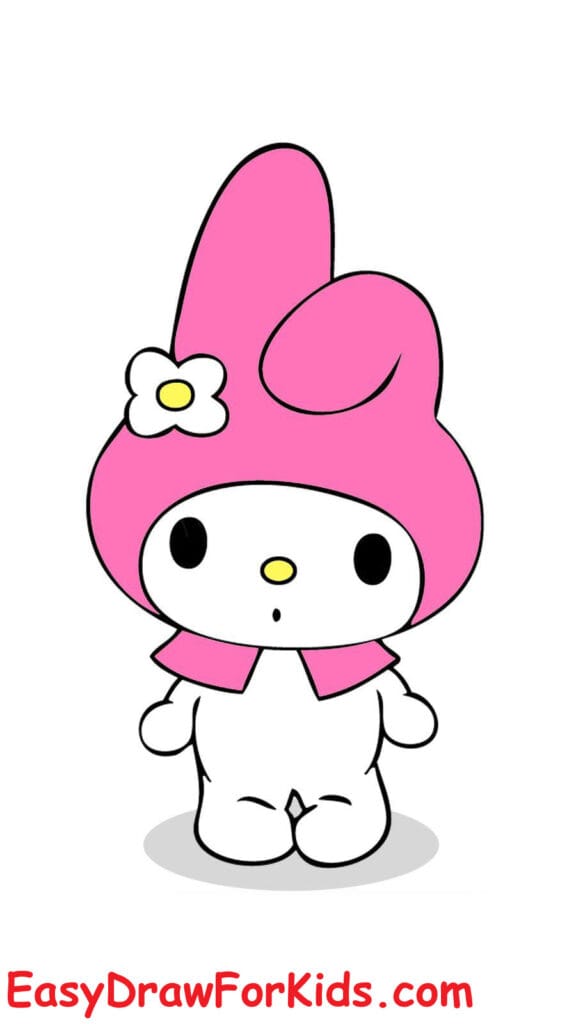
Step 7: Add clouds and a blue sky as background for extra cuteness.

>>>Read more: How To Draw A Unicorn – 5 Ways (With Pictures)
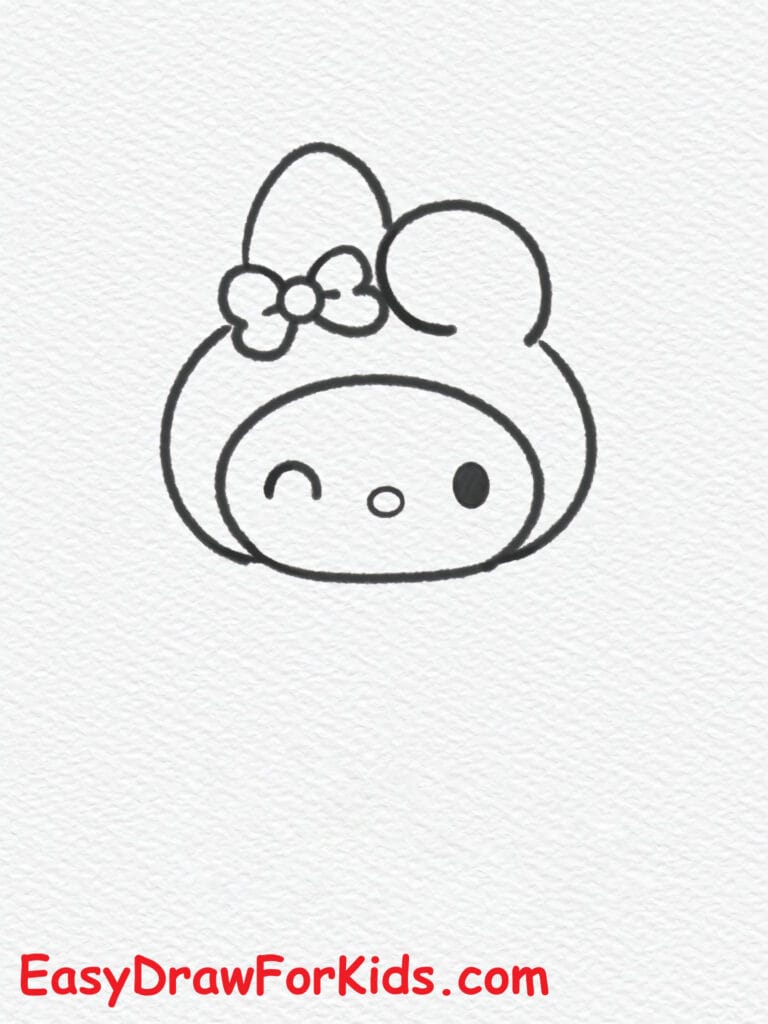
2. Kawaii My Melody Drawing
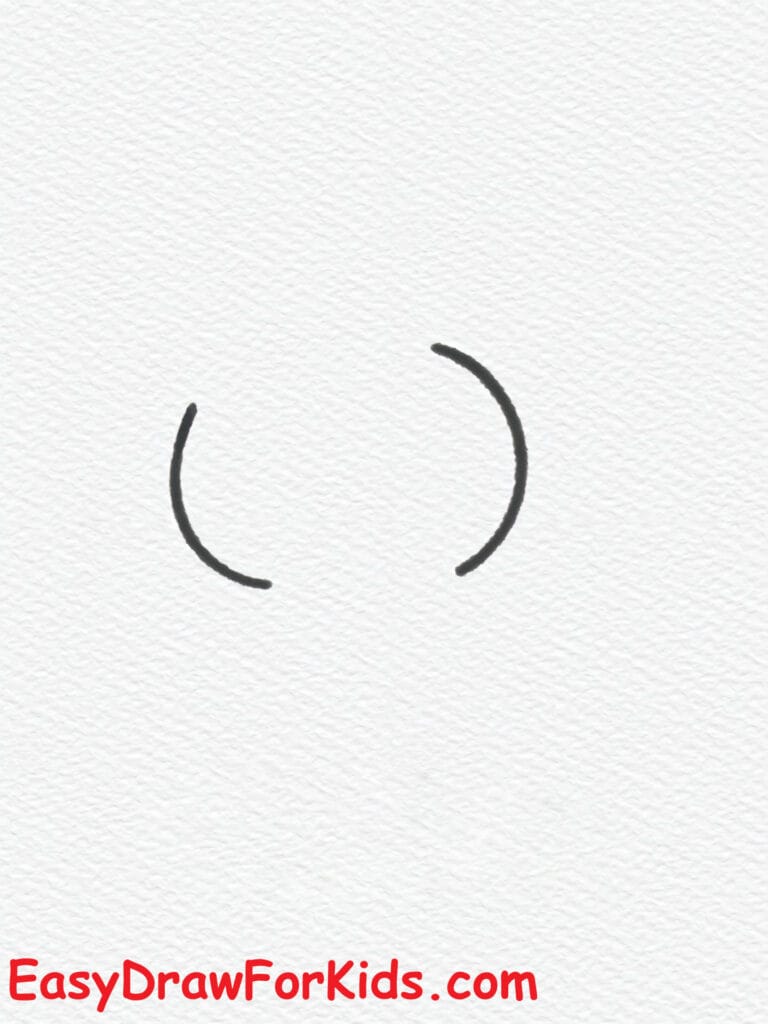
Step 1: Start with Head Curve
Draw two curved lines, like large parentheses, facing each other.
This outlines the sides of My Melody’s face.

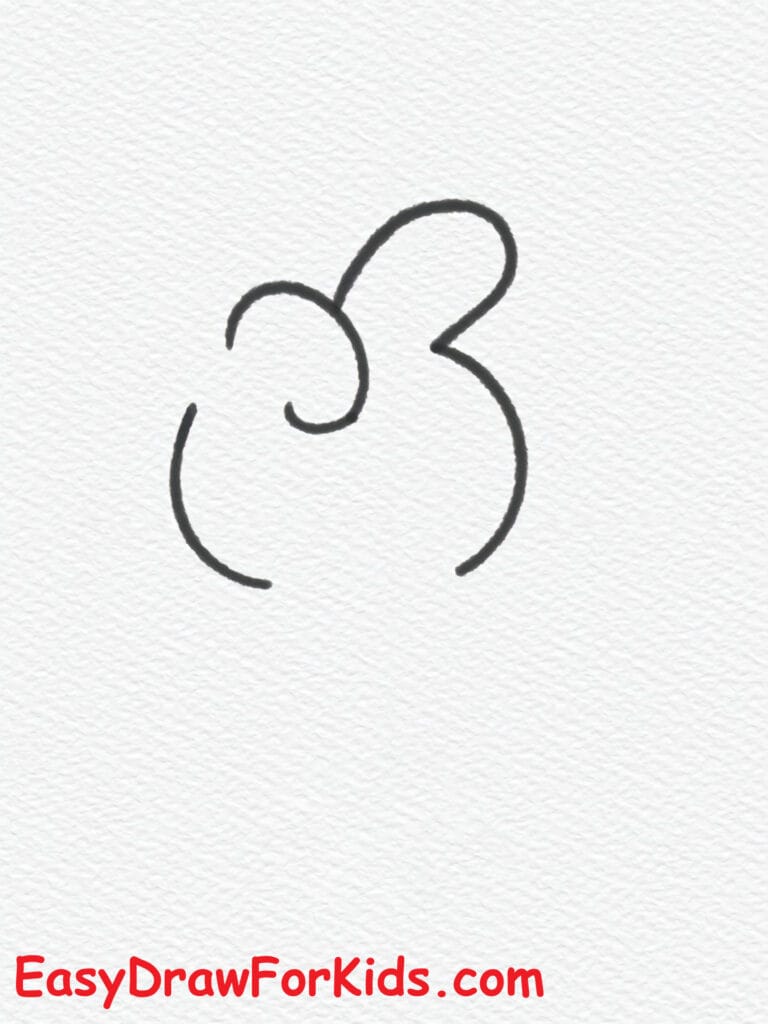
Step 2: Draw the Head and Bow
Connect the curved lines at the top to complete the face circle.
Add two ears:
- One pointed upright ear on the left.
- One curved bent ear on the right.
- Draw a bow in the middle of the ears using two side circles and a center knot.
Step 3: Draw Facial Features
Add two oval eyes evenly spaced.
Draw a small horizontal oval for the nose.
You now have the entire face complete.
Step 4: Add the Body Base
Draw a small oval underneath the head as a guide for the body.
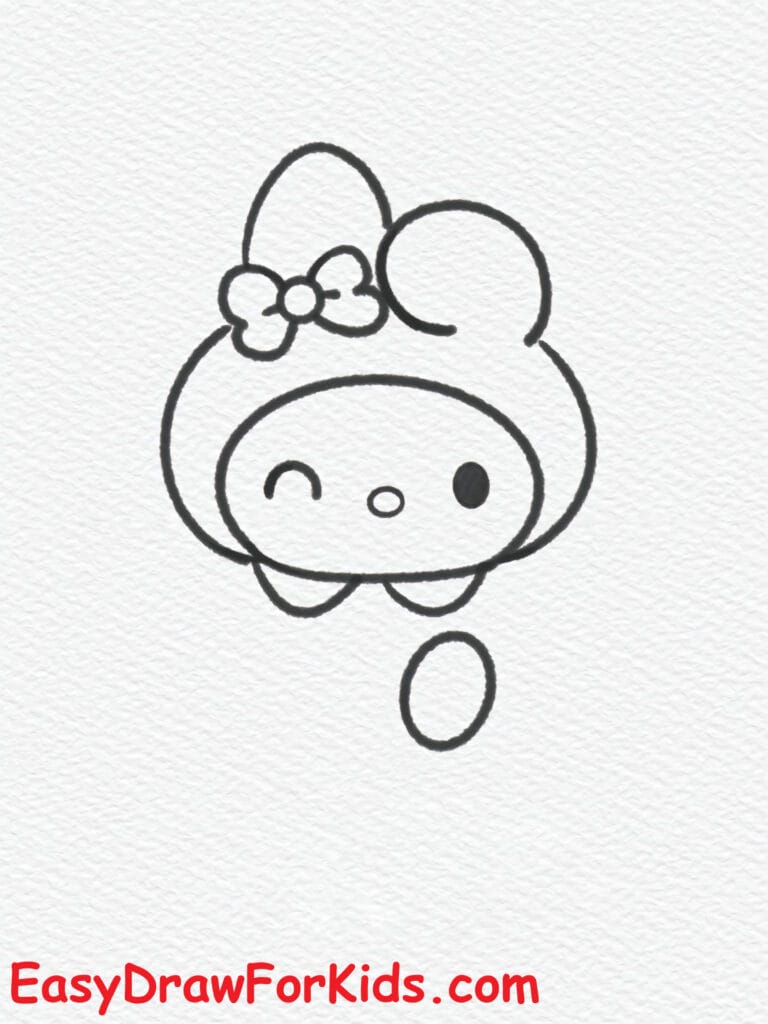
Step 5: Draw Arms and Legs
Add two curved arms on each side of the body.
Draw two small feet at the bottom of the oval body.
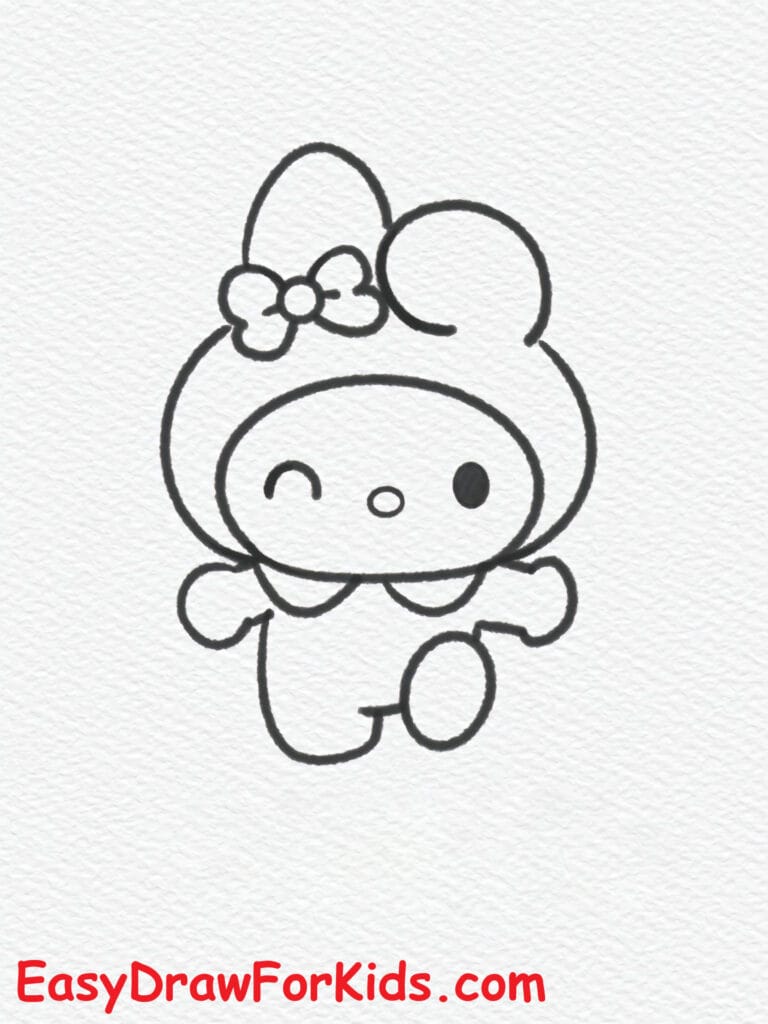
Step 6: Color your Melody drawing

>>>Read more: How To Draw A Giraffe – 7 Ways (With Pictures)
3. My Melody Drawing
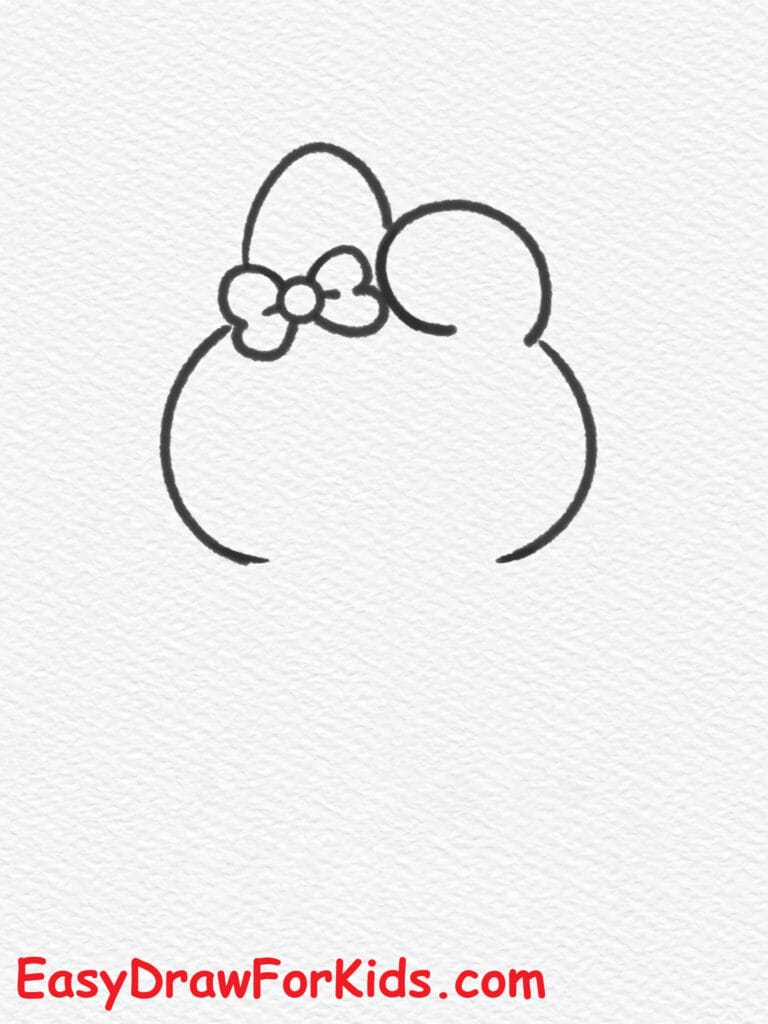
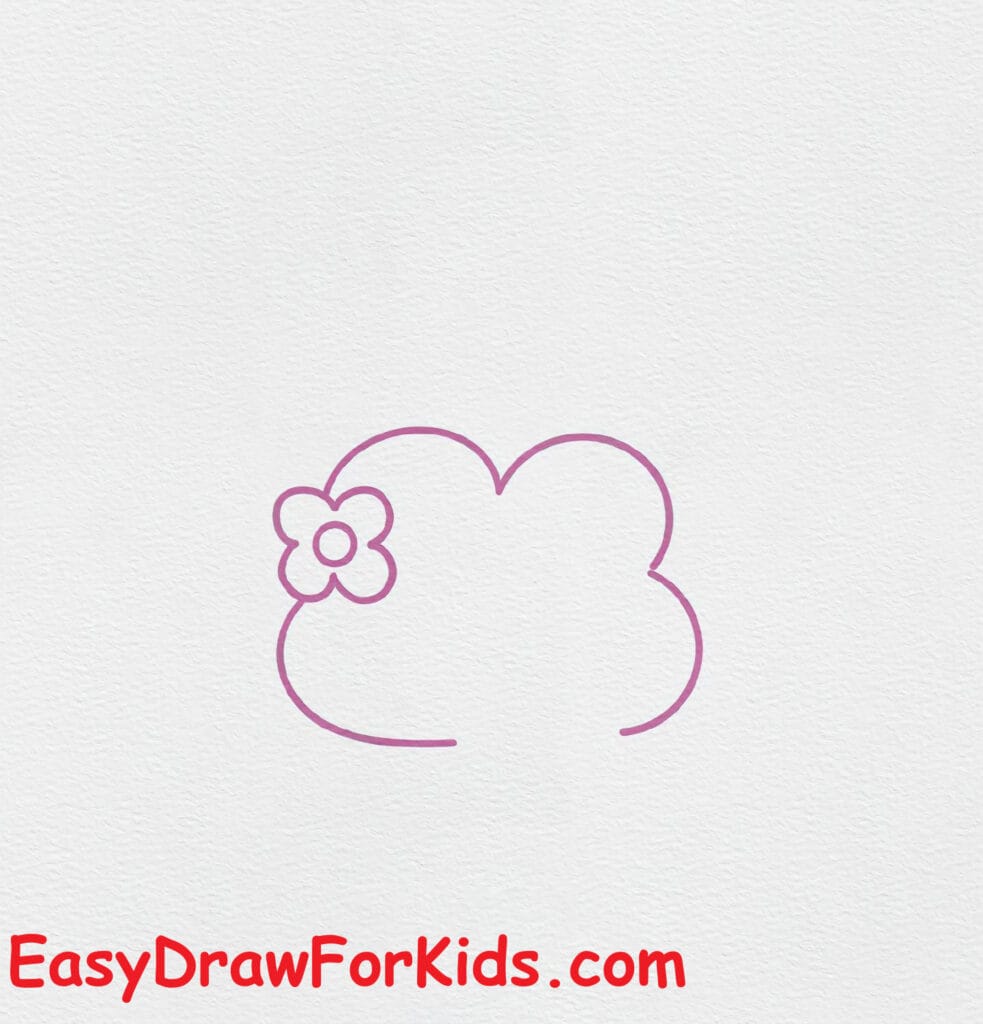
Step 1: The first step on guide how to draw my melody. Draw two curved bumps, like clouds. These form the top of My Melody’s ears.

Step 2: On the left bump, draw a flower-shaped bow. The bow has a circular center and rounded petal shapes.
Step 3: Complete the head with curved lines under the bumps, forming the side and bottom of the head.
Step 4: Continue the curve into a full oval-like shape for the face area.
It should look like My Melody’s snout or mouth area.
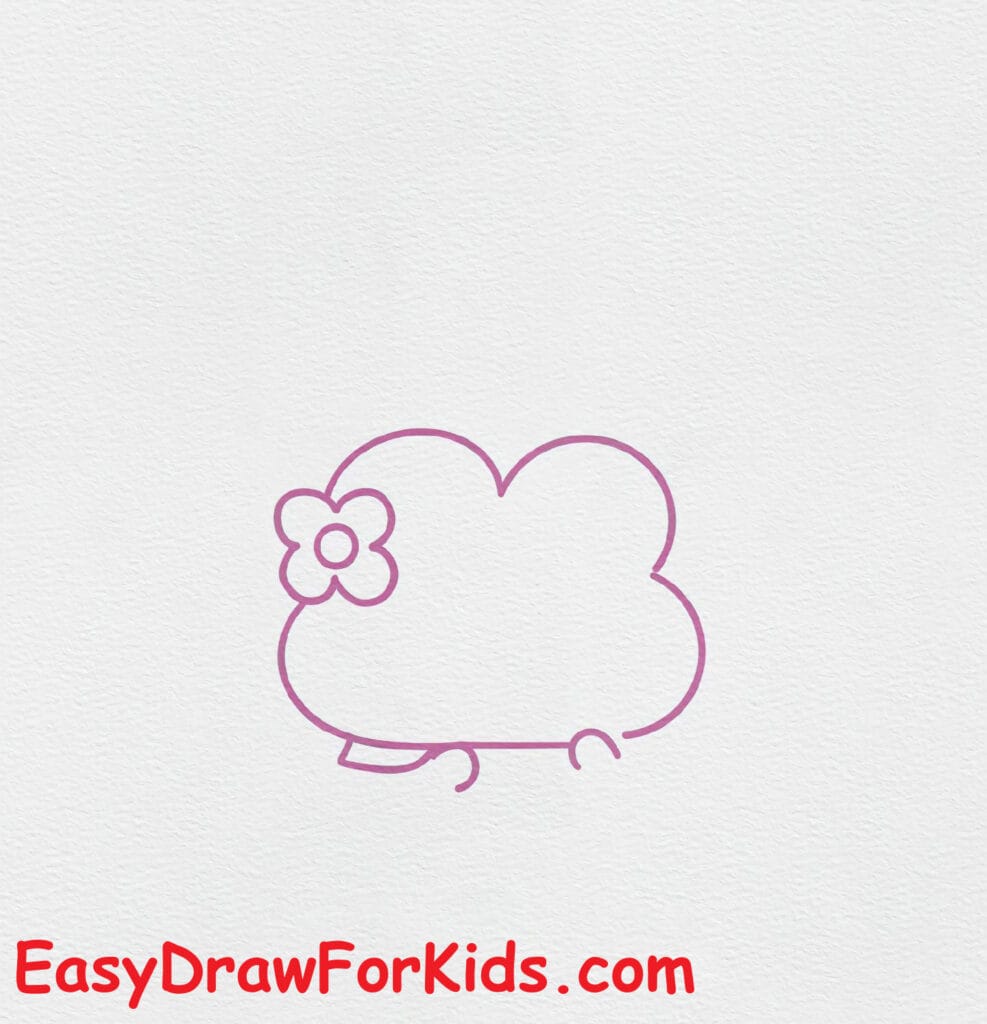
Step 5: Below the head, draw the body and arms, and legs of the melody in a cute style.
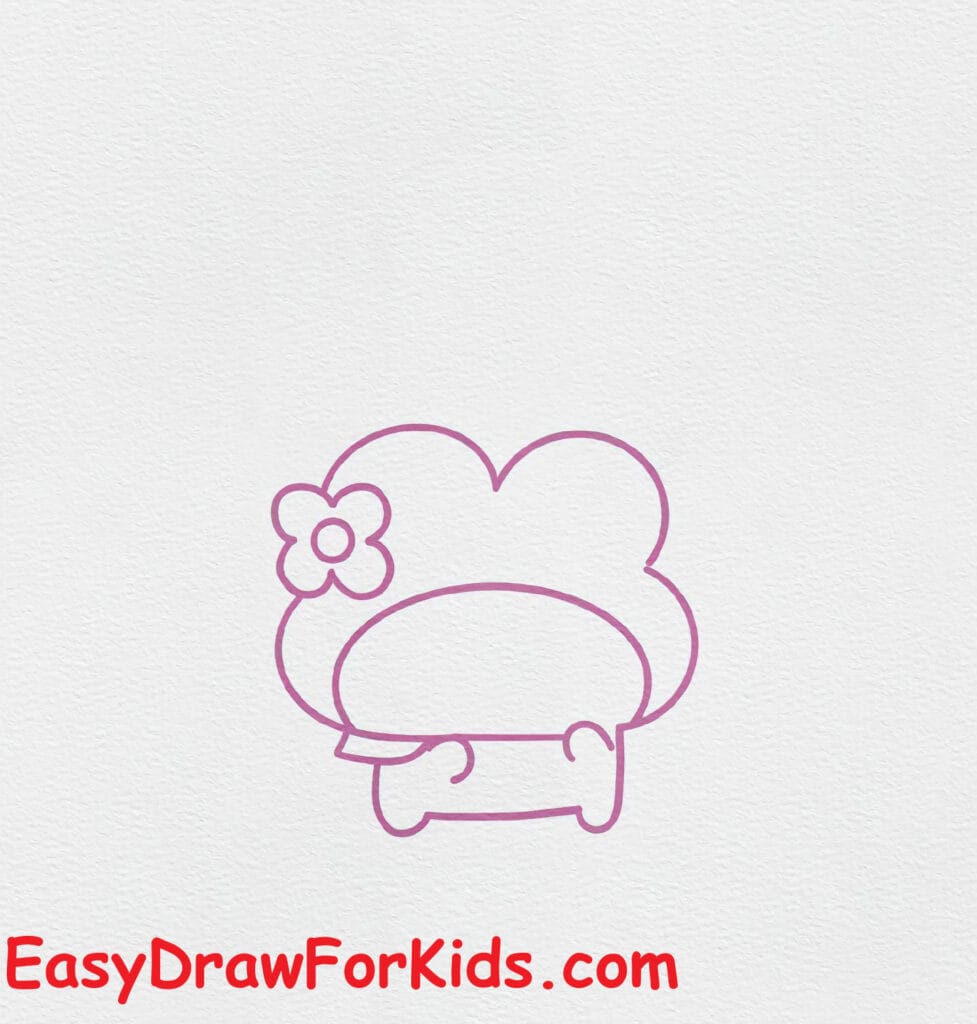
Step 6: Add two small oval eyes and a tiny oval nose inside the face area. You now have the complete head and face.

Step 7: Above the head, draw a curved umbrella canopy.
Add supporting lines from the top center outward like the umbrella ribs.
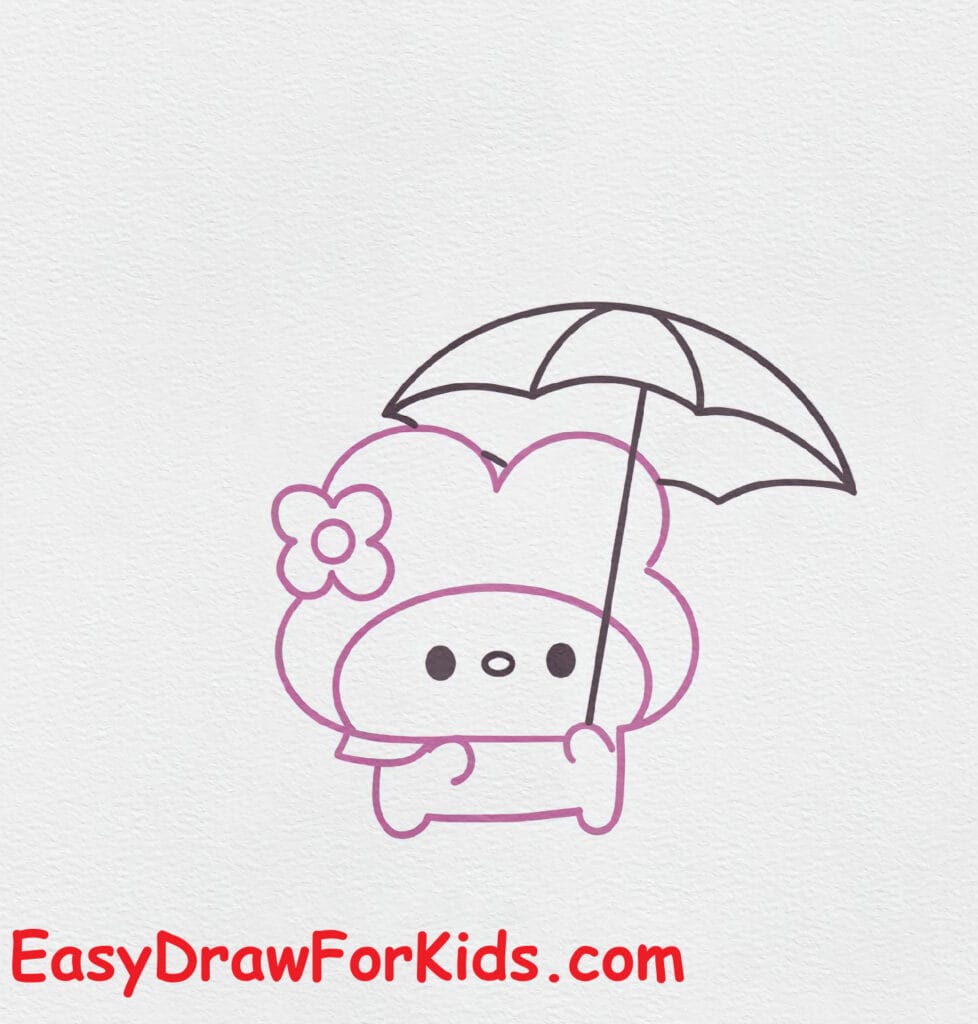
Step 8: Color the My Melody with Umbrella Drawing

>>>Read more: How To Draw A Gnome – 8 Steps (With Pictures)
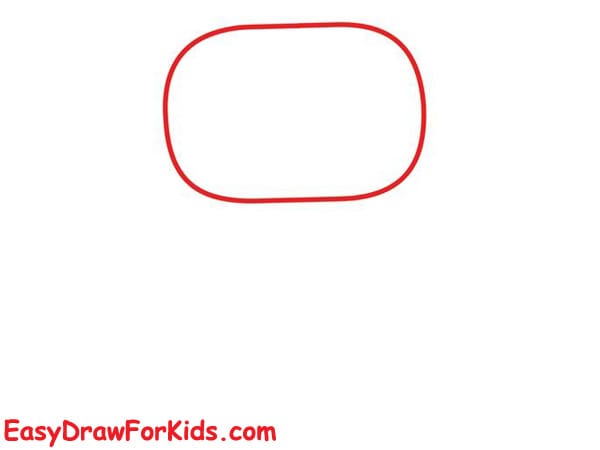
4. My Melody Easy Drawing
Step 1: Draw a large rounded rectangle, this forms the outline of My Melody’s head and face.
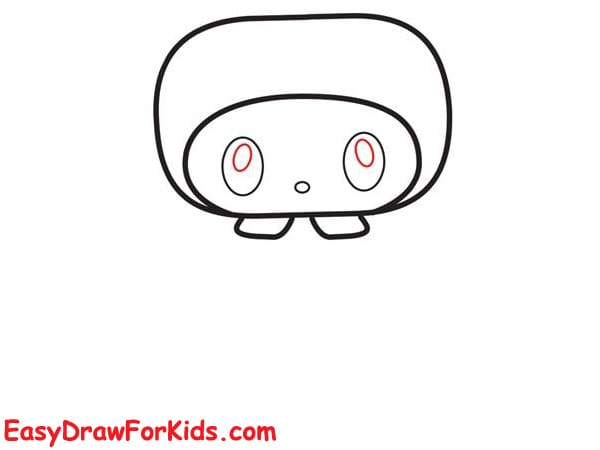
Step 2: Draw two big vertical oval eyes inside the head.
Add two bow tie just under the head using U-shaped curves.
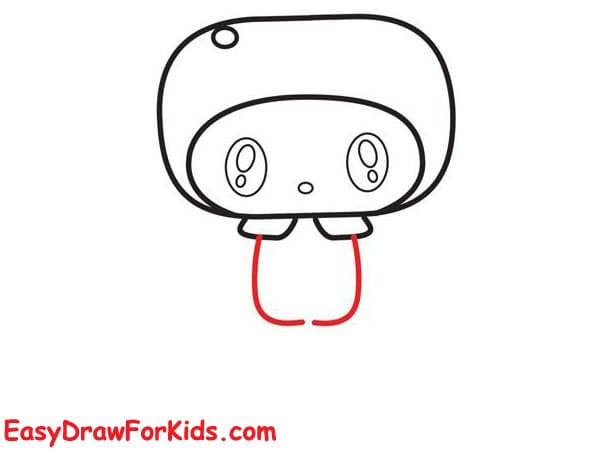
Step 3: Extend two long vertical U-shapes downward from the center, creating the torso and legs.
Add a small dot near the top left of the head – this will be part of the hood’s decoration.
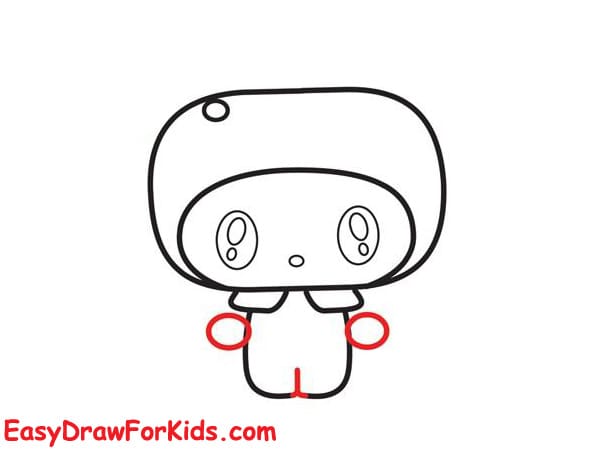
Step 4: Draw two oval shapes on both sides of the body. These are My Melody’s short arms.
Step 5: On the right side of the head, draw a long vertical ear stretching upward.
On the left, draw a shorter rounded ear. Add a flower bow between the ears.
Step 6: Color the Drawing
>>>Read more: How To Draw A Doll – 3 Ways (With Pictures)
5. My Melody Holding A Heart Drawing
Step 1: Start by drawing two curved lines like a large sideways “U” to form the sides of the head.
Step 2: On the top right, draw My Melody’s iconic long ear, pointing upward and curving slightly.
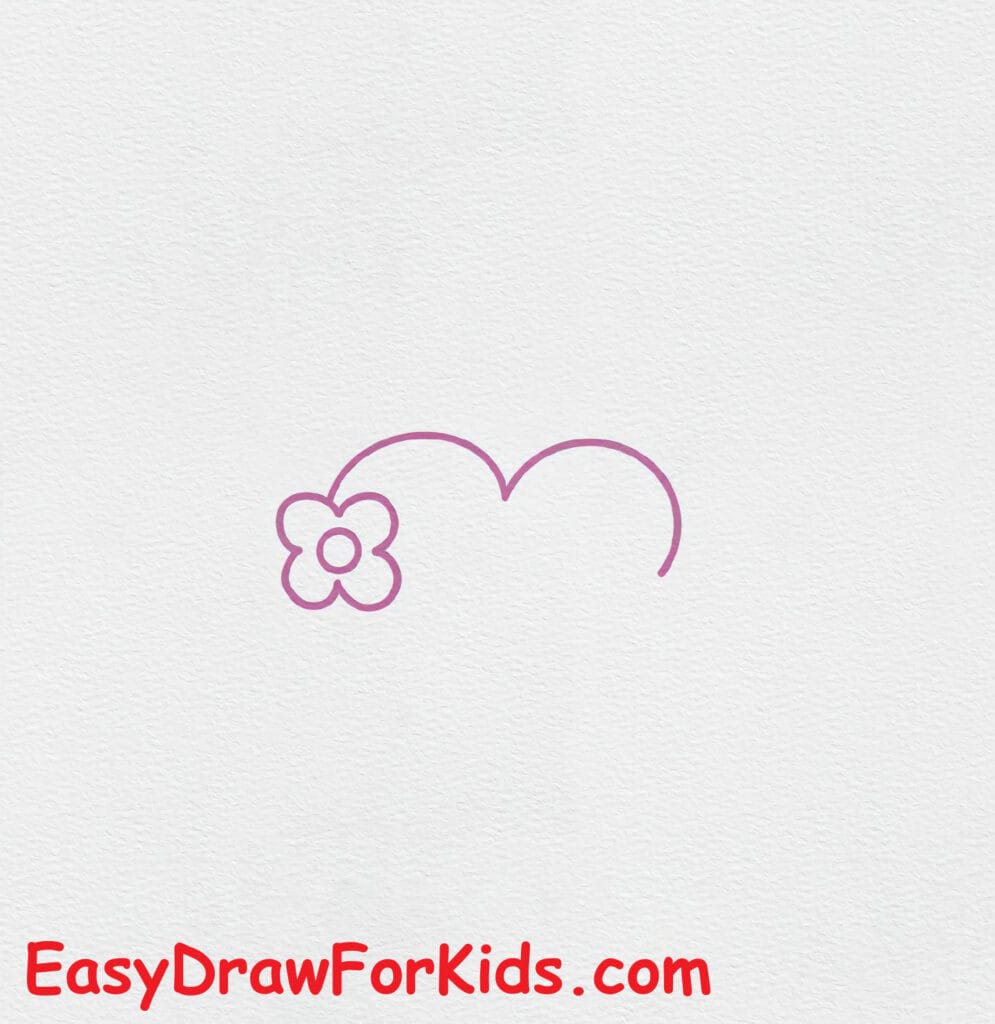
Step 3: On the left side, draw a flower with four petals.
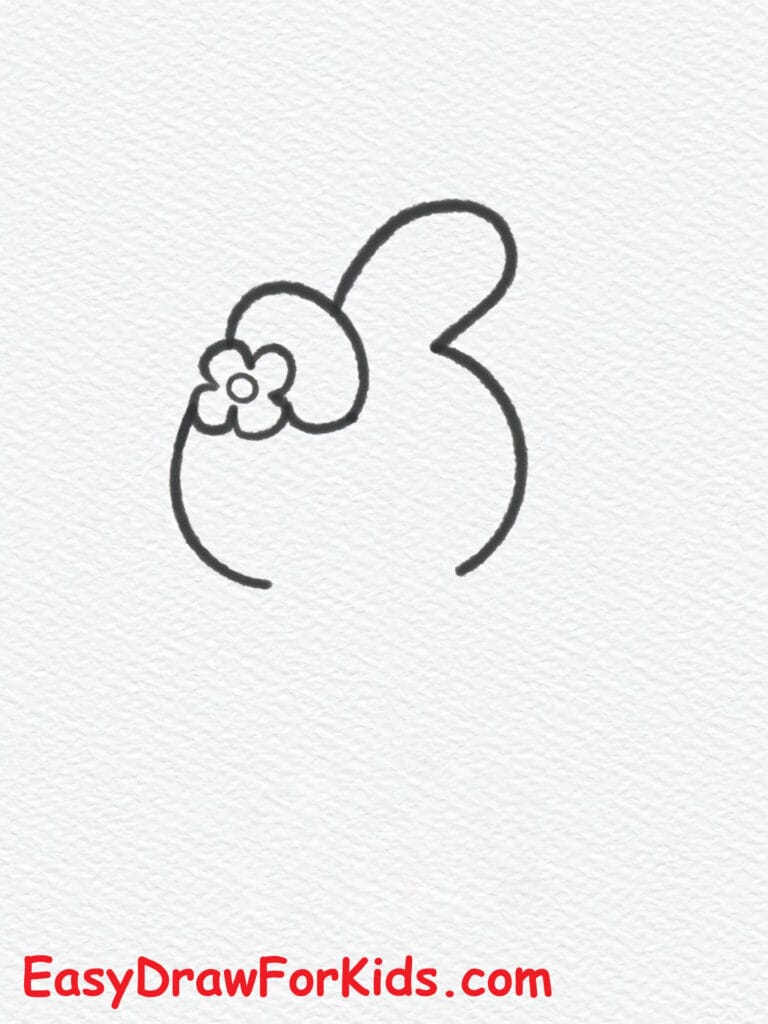
Step 3: Connect the ear and flower to the face outline. Now you have the full head and one ear completed.
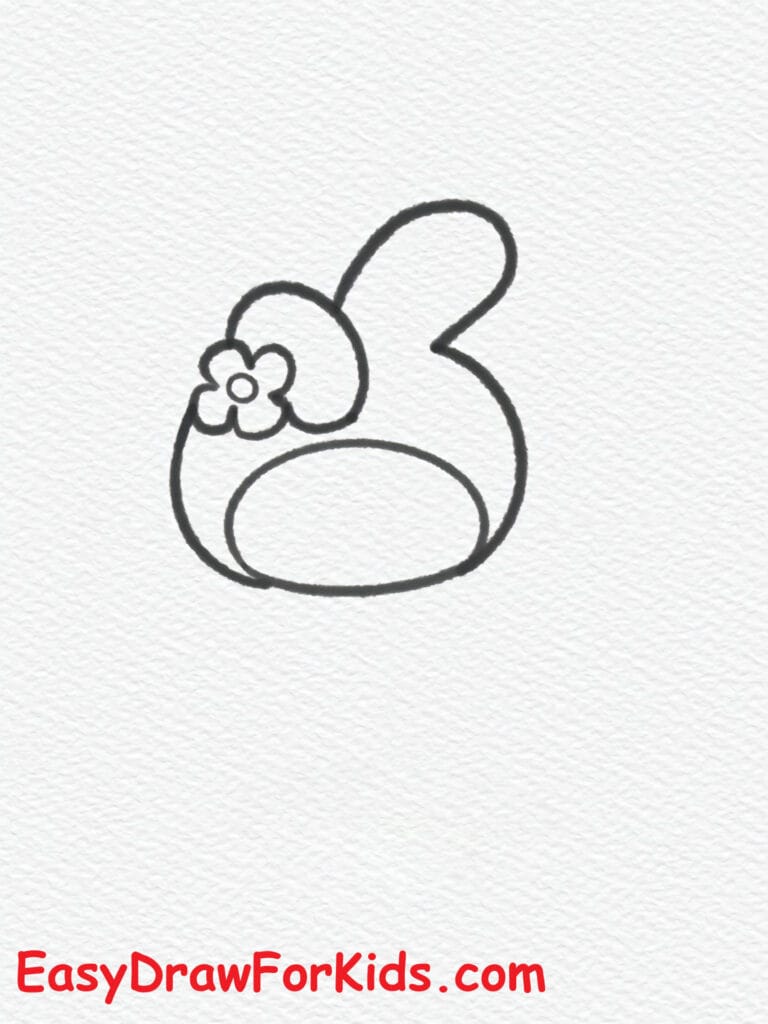
Inside the face, draw a large oval that outlines the white face area My Melody has. This will help define her facial structure.
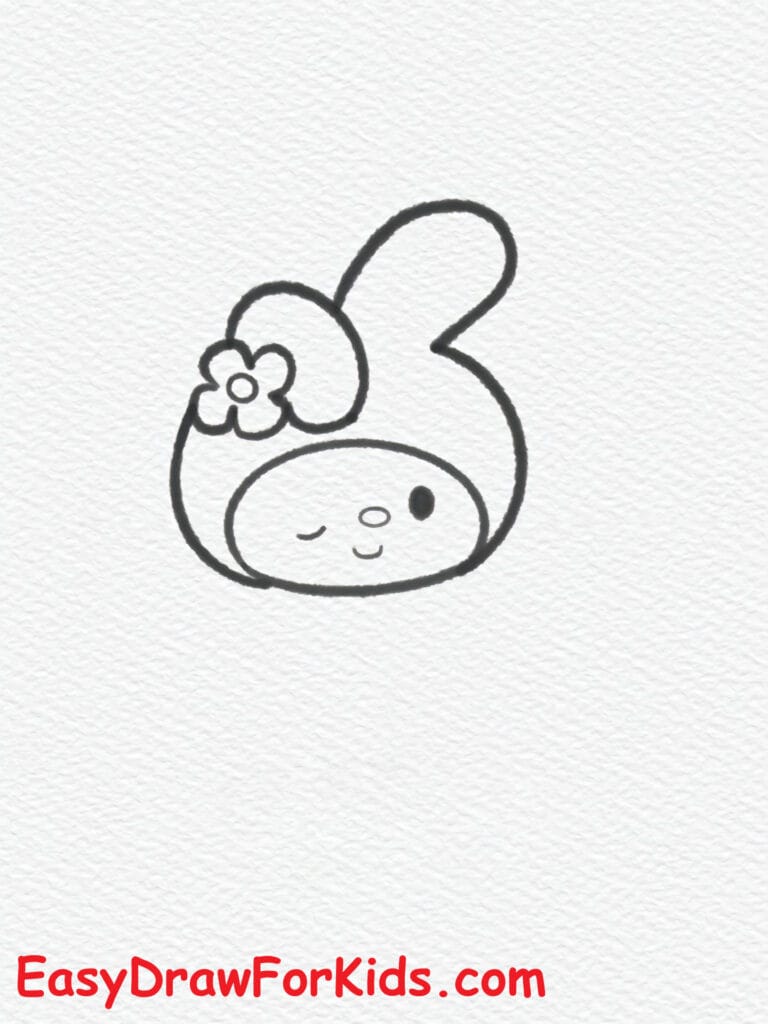
Step 5: Inside the face:
Draw two eyes (small vertical ovals).
Add a small dot nose between them.
Optionally, sketch gentle blush marks or freckles beneath the eyes.
Step 6: Draw a simple sitting body under the head with small legs and arms.
She’s in a sitting pose, getting ready to hold the heart.

Step 7: Behind My Melody, sketch a large heart shape.
Position it so that it looks like she’s hugging or holding it with both arms.

Step 8: Coloring

>>>Read more: How To Draw Hello Kitty – 4 Ways (With Pictures)
You did it! Your version of My Melody is complete, and it’s absolutely delightful.
From her soft round face to her gentle pose, you’ve brought this beloved Sanrio character to life.
Keep practicing and try drawing her in different outfits or with her friends.
The more you draw, the more confident and creative you’ll become.