Welcome back, artists!
In this tutorial, you’ll learn how to draw Roronoa Zoro — the fearless swordsman of the Straw Hat Pirates.
From his green hair to his signature swords, Zoro has one of the coolest designs in One Piece.
Let’s learn how to draw him like a pro!
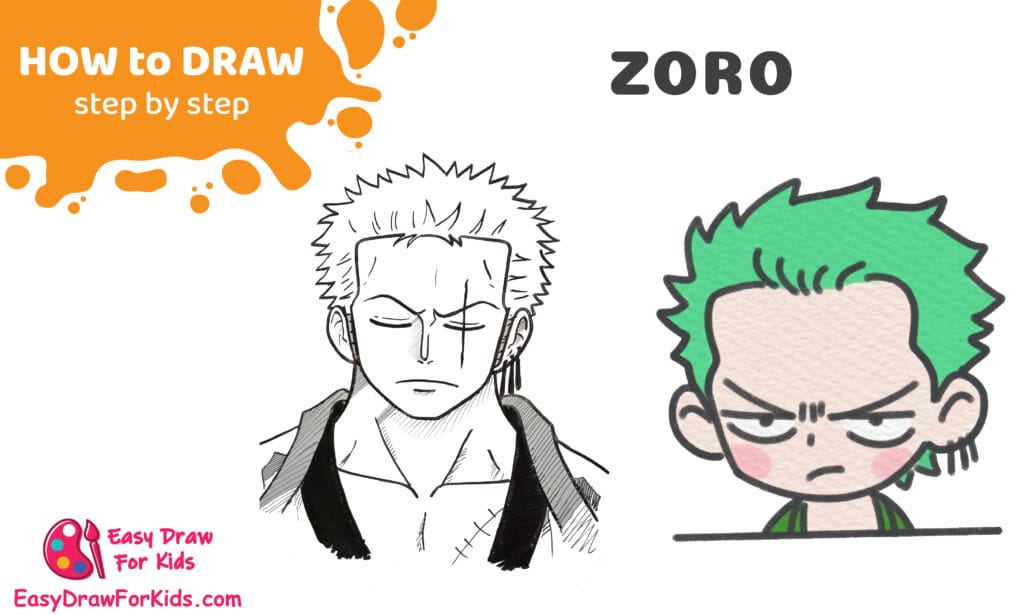
How to draw Roronoa Zoro from One Piece – A Step by Step Guide
1. Zoro Drawing Easy
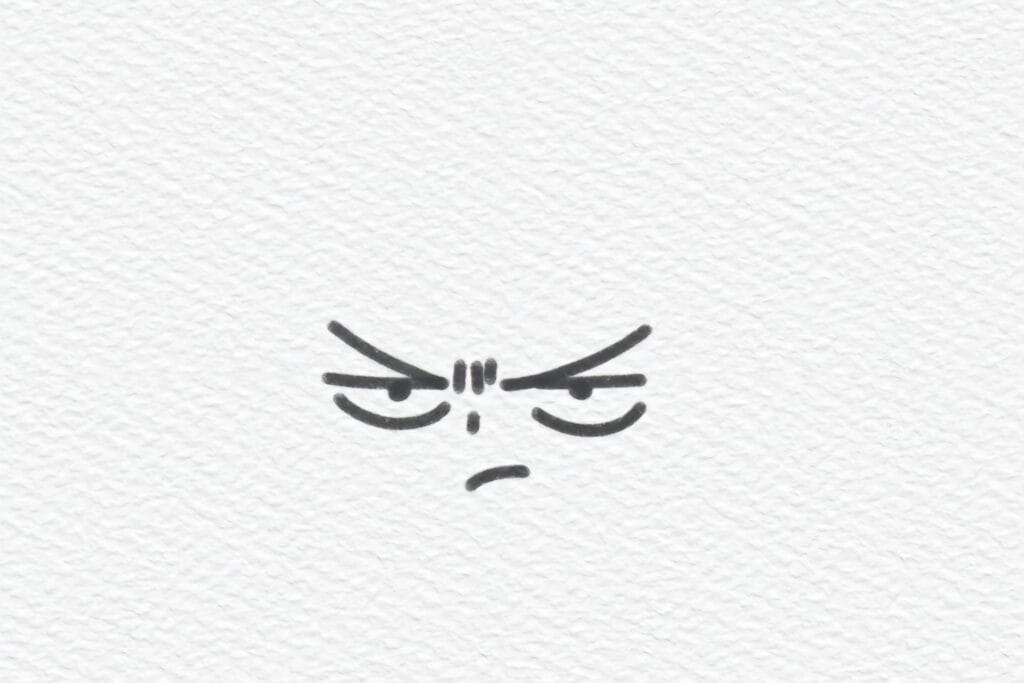
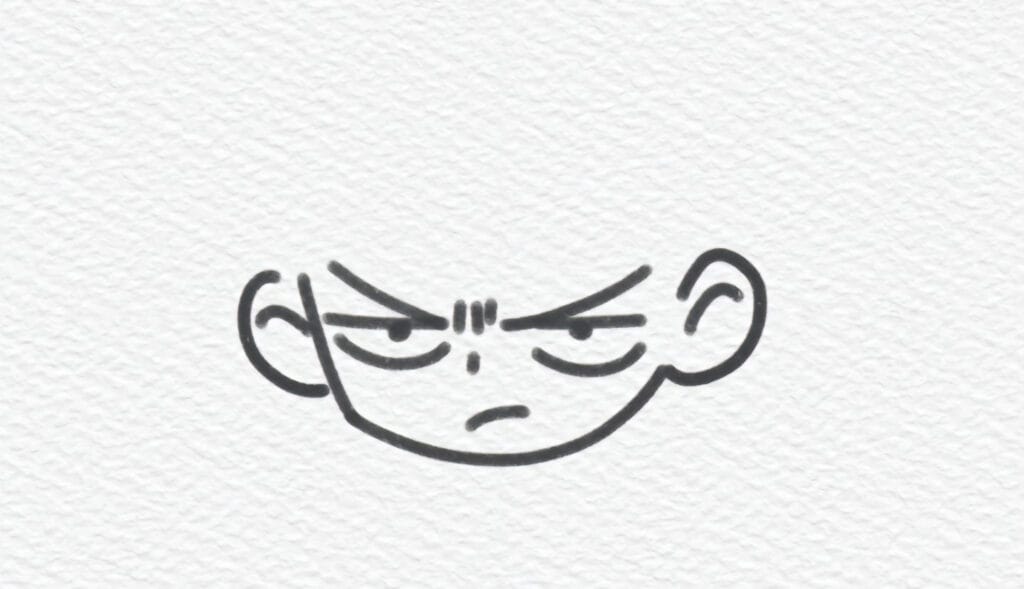
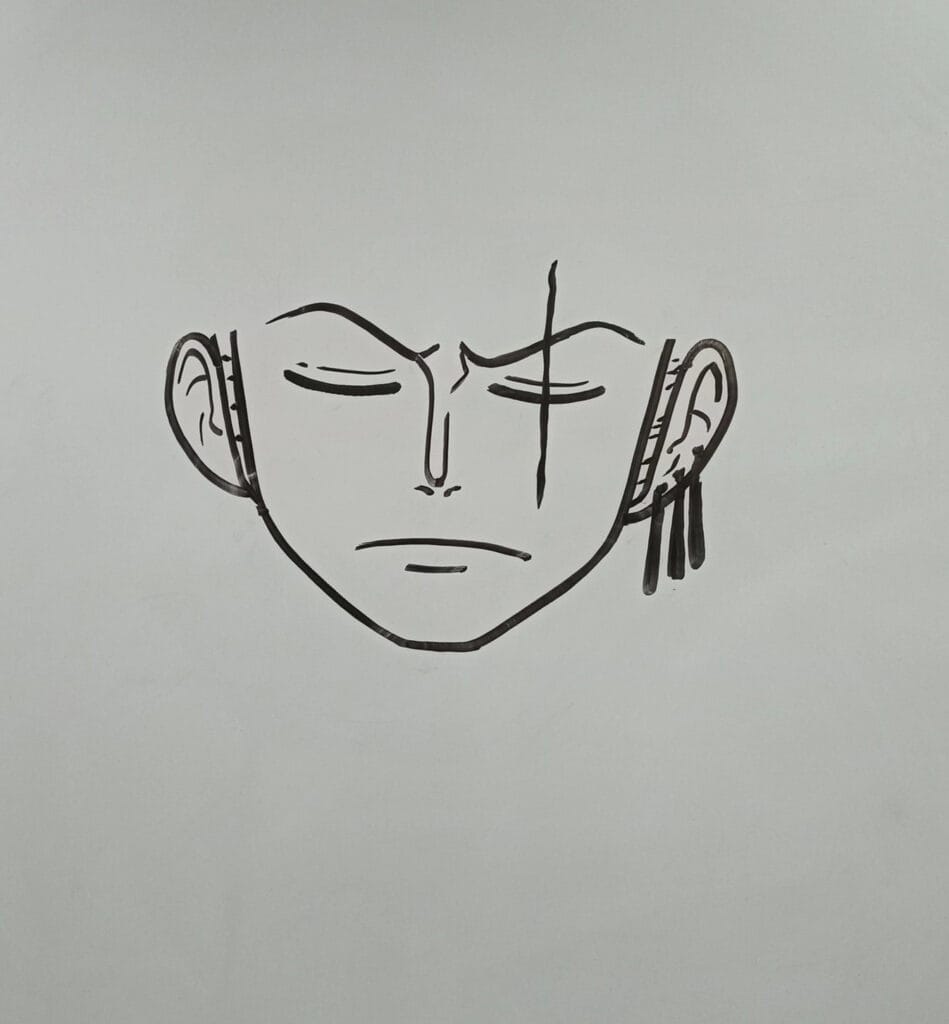
Step 1: Draw the Eyes and Eyebrows
Start your drawing by sketching Zoro’s sharp eyes.
Make his eyebrows angled downward to give him a serious expression.
Then, draw a small curved line for the nose and a short line for the mouth.
Remember, Zoro always looks calm but fierce — keep his expression focused.
Step 2: Add the Scars and Facial Details
Next, add Zoro’s iconic scar on his left eye — three small diagonal lines crossing it.
You can also slightly adjust the lines under his eyes to show strength and intensity.
At this point, the face starts to show his determined look.

Step 3: Draw the Ears and Face Outline
Now outline Zoro’s face by adding a curved jawline.
Draw two small, round ears on both sides of the head.
Inside the ears, sketch a few simple lines to indicate the ear details.
Step 4: Sketch the Hair
Use short, zigzag strokes around the top and sides of the head to create his wild hairstyle.
Make sure the spikes vary in size to keep it natural and dynamic.
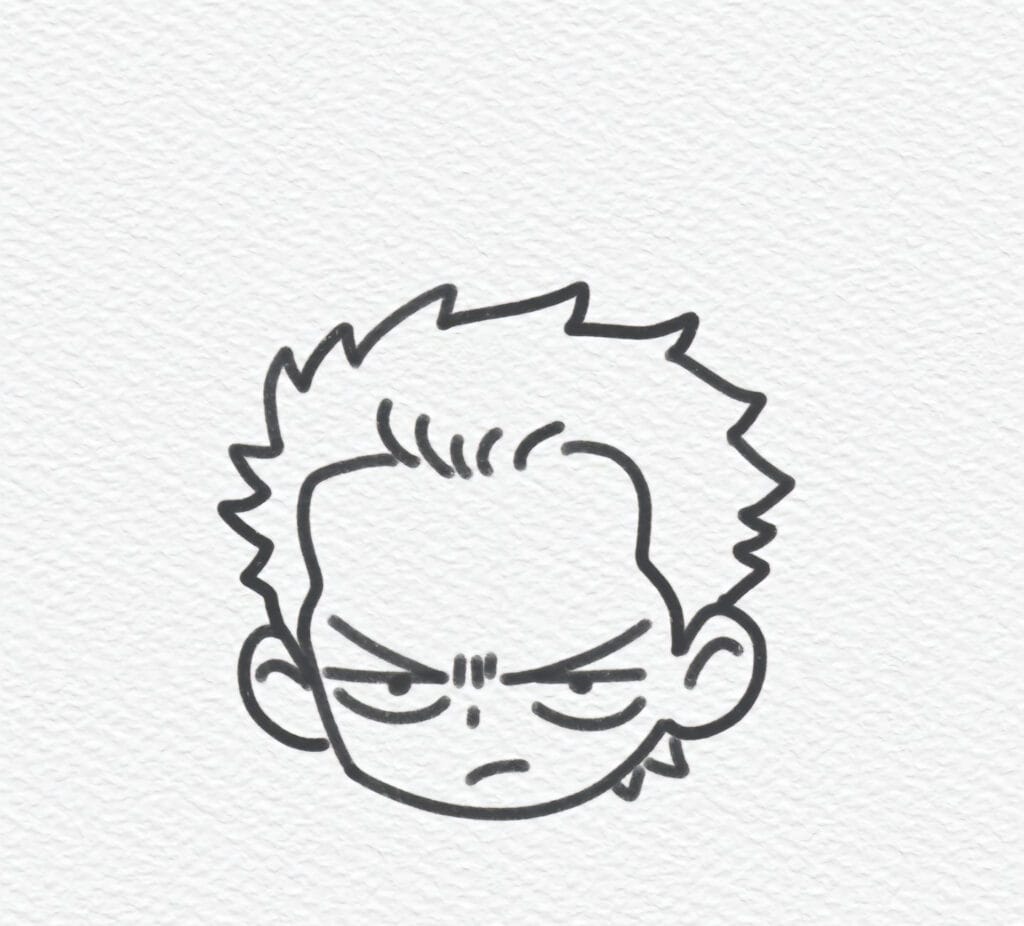
Step 5: Add Neck and Shoulders
From the head, draw two short lines downward for the neck.
Then, sketch his shoulders and part of the shirt collar.
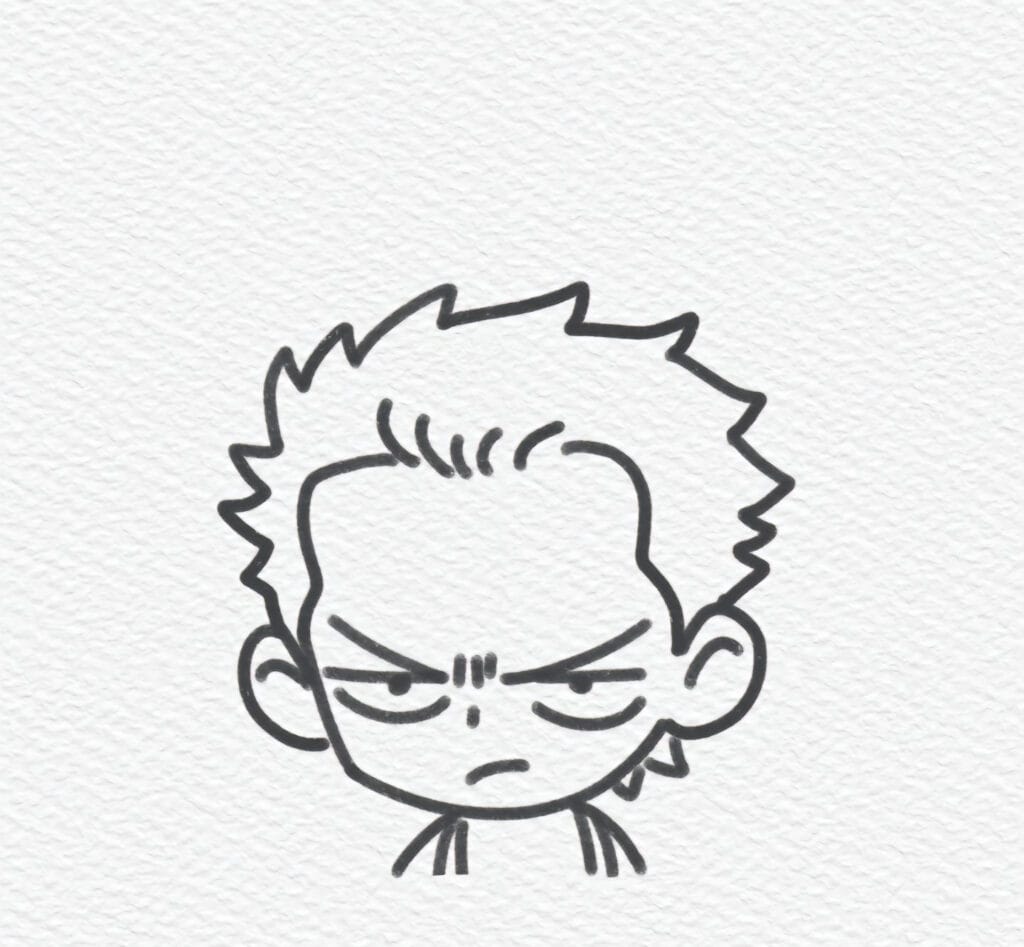
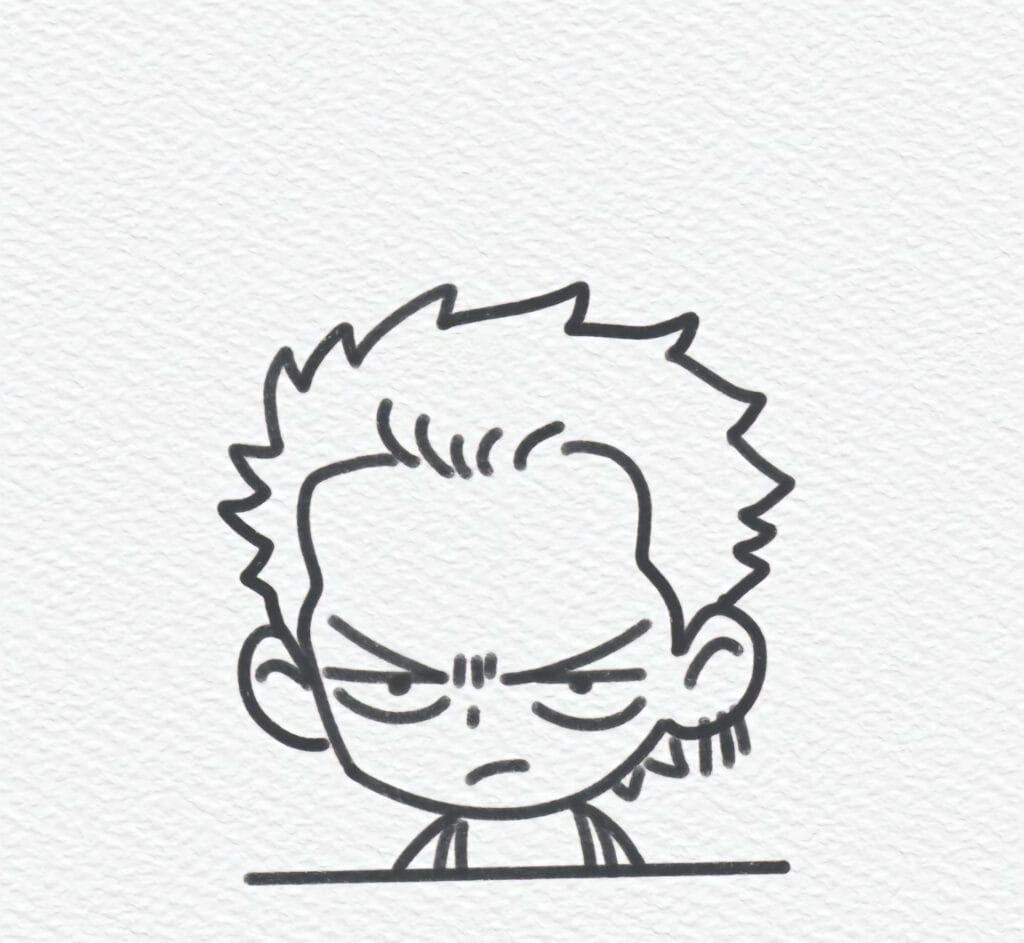
Step 6: Finalize the Outline
Add any missing details, such as the folds of his clothing or the thicker lines around the eyes.
Step 7: Add Colors
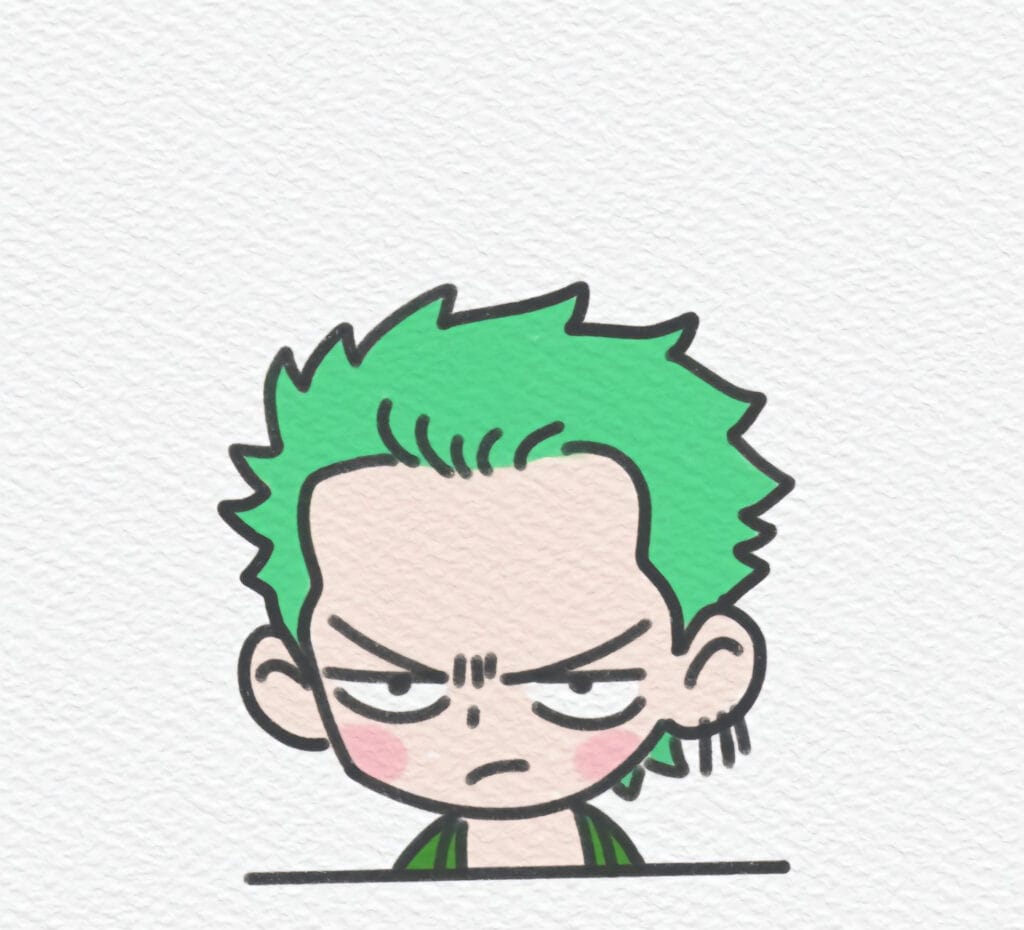
It’s time to bring Zoro to life!
Color his hair green — his signature look.
Shade his skin lightly, and use dark green for his outfit.
Finally, add some shadows under his hair and around his eyes to make him look bold and powerful.
2. How to Draw Zoro from One Piece
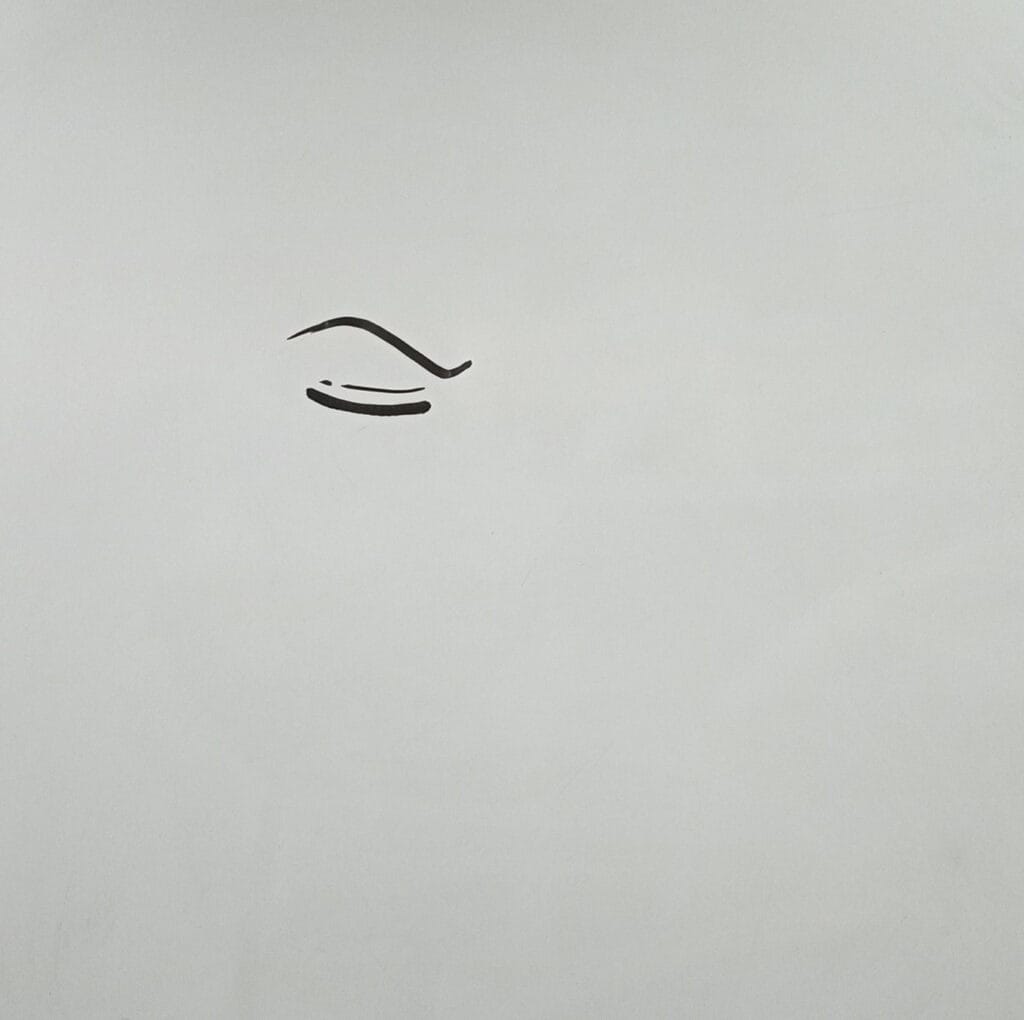
Step 1: Start by sketching Zoro’s right eye.
Draw a sharp, curved line for the upper eyelid and a short line below it for the lower lid.
Then, add a thick eyebrow above the eye to show his strong, serious expression.
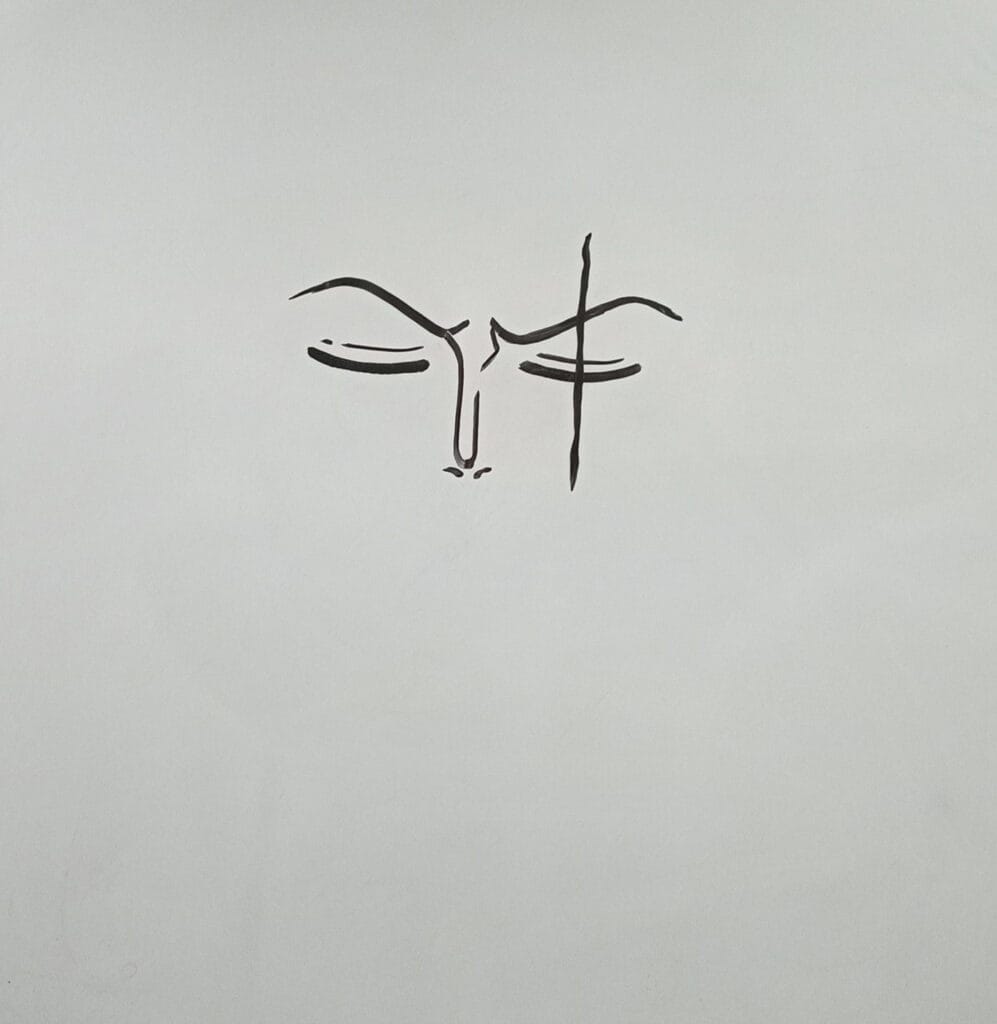
Step 2: Move down slightly and draw a simple, straight line for the nose bridge. At the bottom, curve it gently to indicate the nose tip.

Step 3: Now draw Zoro’s left eye. Zoro has a long vertical scar running over his left eye.
Draw a straight vertical line and a short horizontal one across it — this marks his iconic scar.
Keep it symmetrical to the first eye, but slightly closed to maintain his calm and confident look.
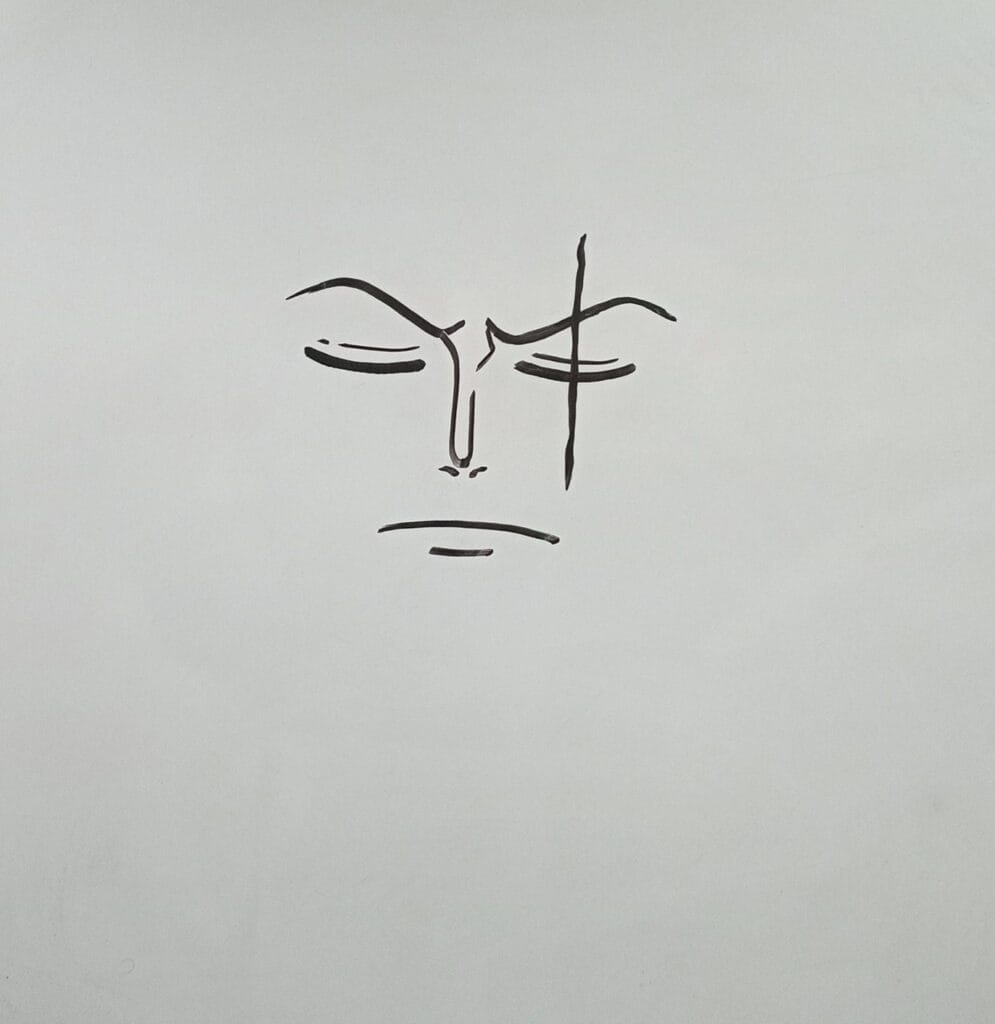
Step 4: Add a short, flat line for the mouth — Zoro usually looks serious, so don’t make him smile.
Step 5: Next, draw the outer shape of his face.
Start with smooth curves along the sides, then form a strong jawline that narrows toward the chin.
Zoro’s face should look angular and masculine, not too round.

Step 6: Add the Ears and Earrings
Draw both ears on each side of his head, slightly above the eye level.
Inside the right ear, sketch three small hoop earrings — one of Zoro’s most recognizable details.
This helps show his bold and tough personality.
Step 7: Draw the Neck and Shirt
From the bottom of his jaw, extend two lines downward to create the neck.
Then, sketch his open-collar shirt with wide folds.
Add the robe or sash lines over his shoulders to show the relaxed fit of his outfit.

Step 8: Add the Hair
Now, draw Zoro’s short, spiky hair using short, jagged lines all around his head.
His hair should look rough and natural, with uneven spikes.
You can also darken some areas near the roots for shading and texture.

Step 9: Add Details and Shading
Finish your drawing by refining all outlines with a darker pen or marker.
Add shadows to his neck, shirt folds, and hair for depth.
You can shade his clothing with darker tones to give the image more dimension and contrast.

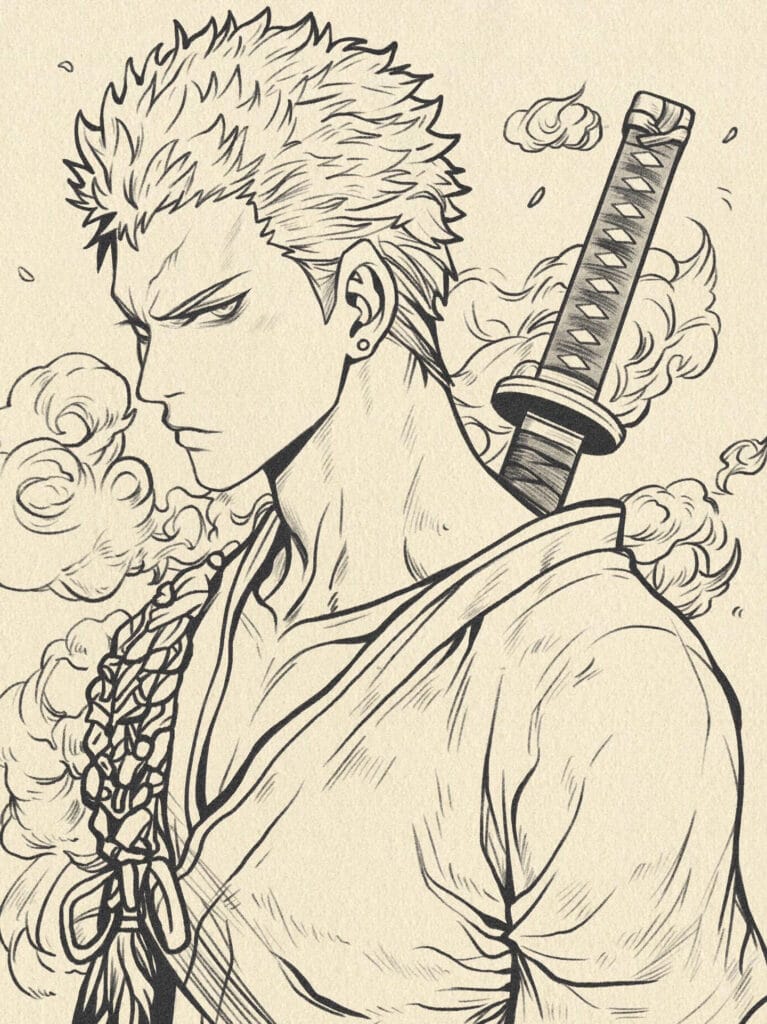
3. How to draw Roronoa Zoro
Step 1: Start by sketching Zoro’s face in profile view.
Draw a clean outline for the forehead, nose, lips, and chin — his jawline should look sharp and strong.
Then, add his closed eyes and eyebrows, angled downward to express focus and determination.
Keep the lines light and smooth, as this will serve as the foundation for the rest of the drawing.
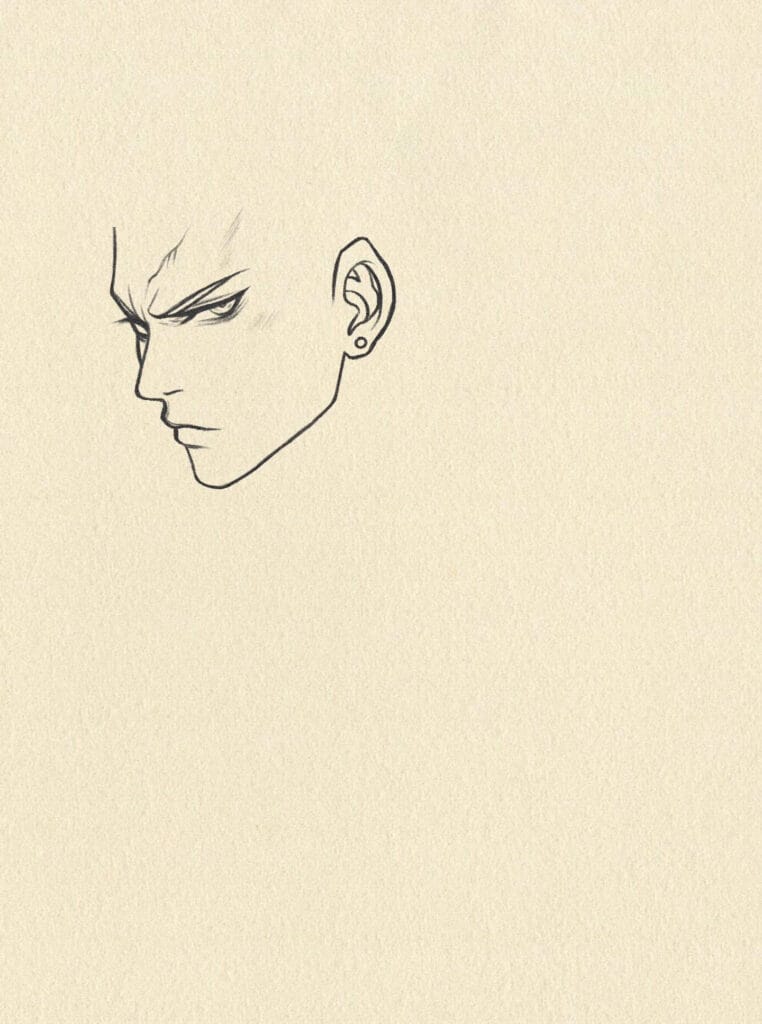
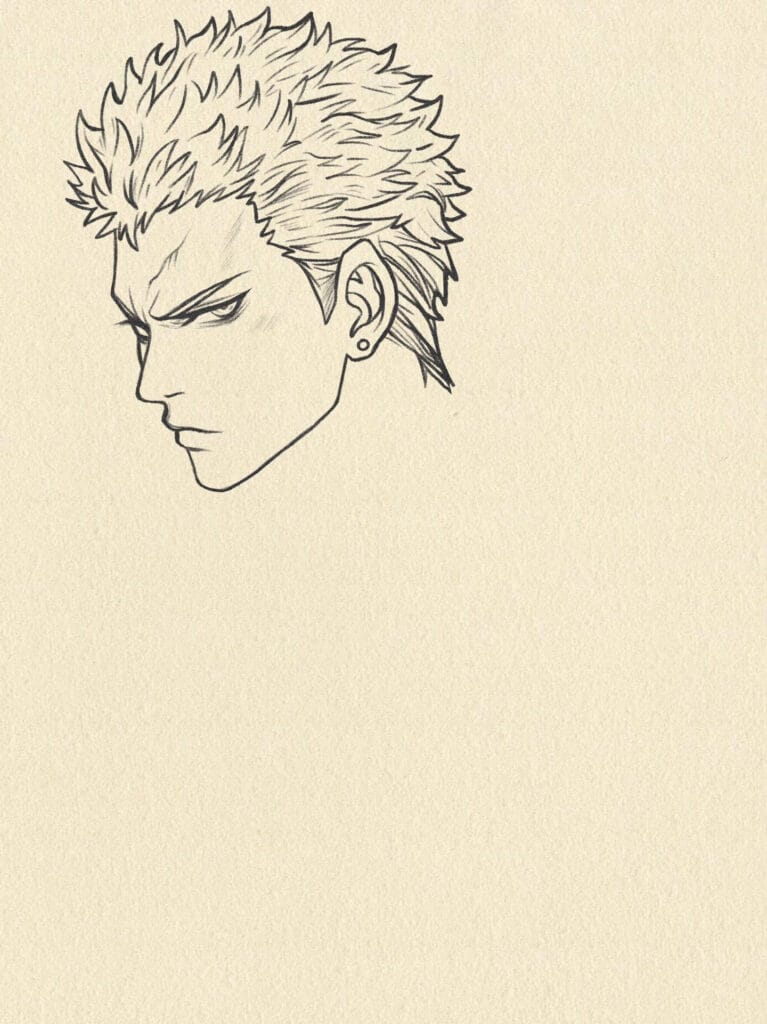
Step 2: Add the Hair and Ear Details
Next, sketch Zoro’s signature short, spiky hair using small, sharp strokes.
Make sure the spikes follow the curve of his head naturally.
Then, draw his ear just behind the eye level — add a few inner ear lines to give it depth.
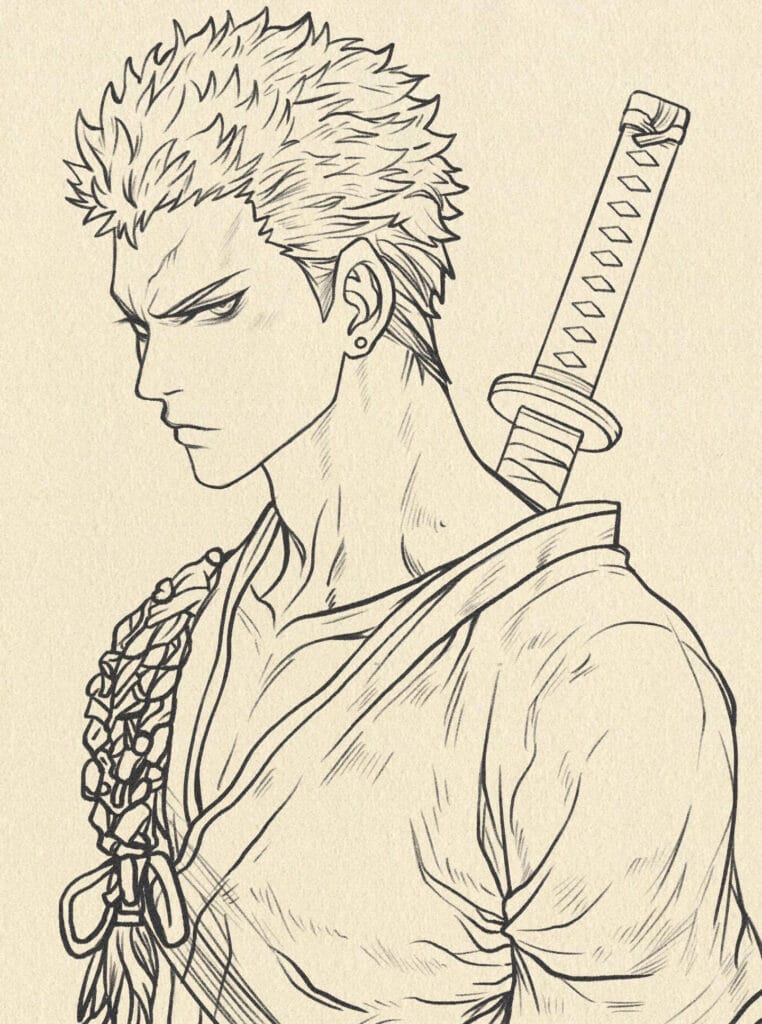
Step 3: Outline the Neck and Upper Body
From the jawline, draw two firm lines downward to form the neck.
Continue by sketching his shoulders and collarbone area.
At this stage, also outline his open shirt collar — Zoro often wears his robe casually.
Add folds in the fabric for a realistic look.

Step 4: Add the Swords and Clothing Details
Draw Zoro’s katana handles resting on his back.
Start with the handle closest to the neck, and then sketch the second one slightly behind it.
Use parallel lines for the handle and cross-hatch texture to show the wrapping.
You can now enhance his clothing by adding more folds and layering around the robe.

Step 5: Refine His Muscles and Outfit
Work on the definition of his neck muscles, collarbone, and the upper chest area.
Add lines that follow the natural flow of his body to emphasize strength.
Outline the fabric wrapping around his shoulder and the sash that holds his swords in place.
At this point, your sketch should start to look much more dynamic and lifelike.

Step 6: Go over your drawing with a fine liner or darker pencil.
Add texture to the hair by thickening certain spikes and softening others.
Refine the folds in the clothing and emphasize shadows under the jaw, inside the robe, and near the swords.
Step 7: Add Final Touches and Background
Finish by adding light shading or smoke-like background effects to create atmosphere.
You can also include faint lines around his swords to show movement or wind.
Finally, clean up all pencil marks — your Roronoa Zoro is complete!
Awesome work!
You’ve just completed this guide how to draw Roronoa Zoro, the swordsman who never loses his way (well, except sometimes).
Keep practicing and soon you’ll draw the whole crew!
Read more tutorial Chopper, Luffy, Sanji, Nami, Nico Robin….