If you want to draw scenery, this guide how to draw scenery is for you.
Here are some steps on scenery drawing you can follow.
How to Draw Scenery – A Step by Step Guide
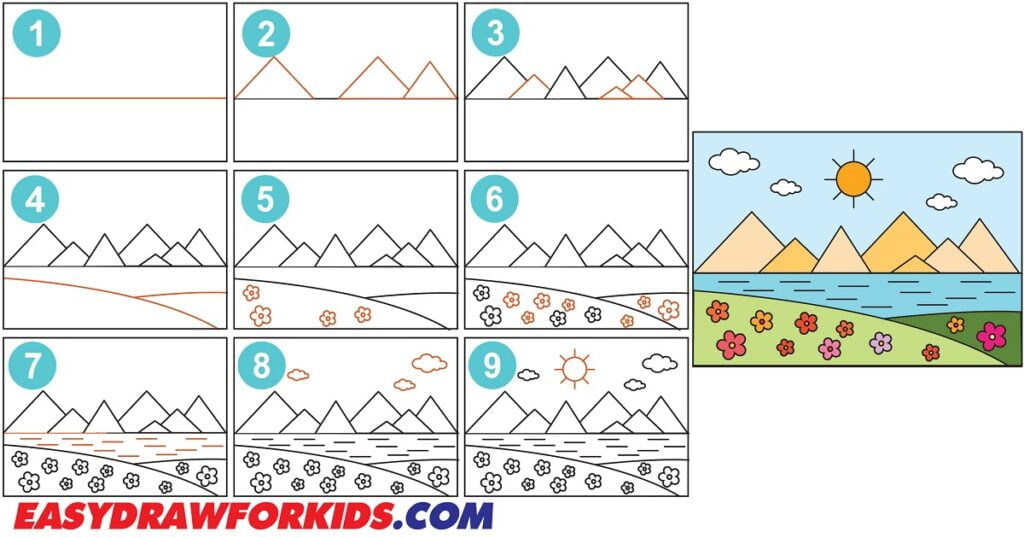
Step 1: Sketch the Outline of Your Drawing
Determine the size of the drawing and use straight lines to draw an even rectangle.
Draw the surface of the earth by using a straight line at the middle of the frame.

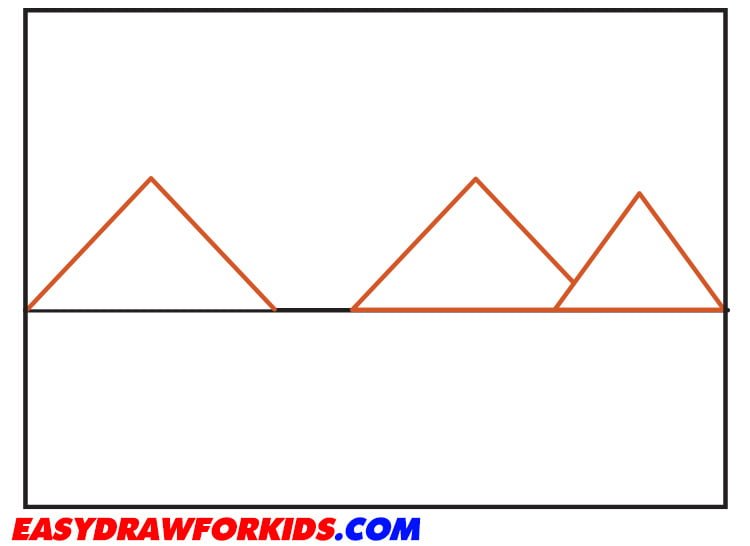
Step 2: Draw the moutain by draw two diagonal lines that meet at a point above the line
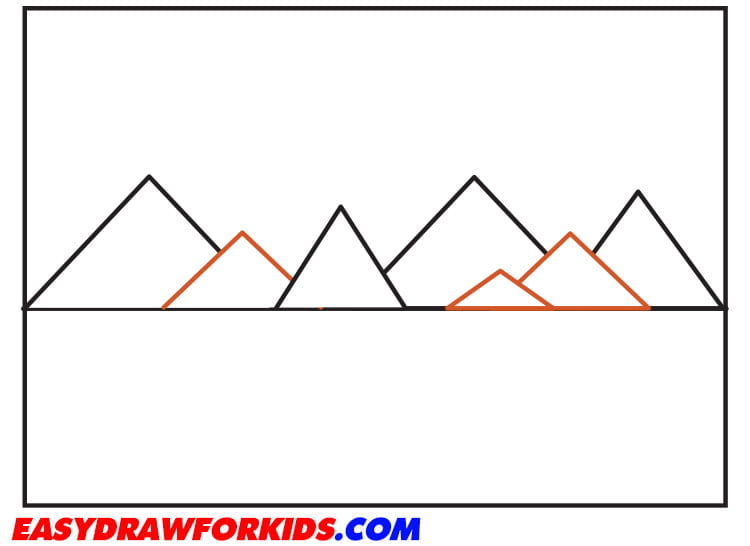
Step 3: Complete the Moutains
Add additional peaks or smaller mountains in the background by repeating steps 2.
You can vary the sizes and shapes to create a mountain range.
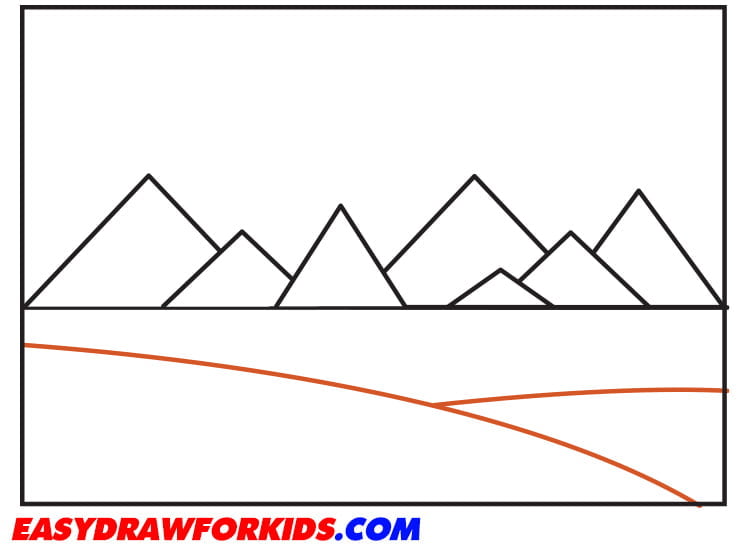
Step 4: Sketch the Land
Draw curved lines that extend upward or downward to represent the slopes or hills of the land.
Vary the size, height, and arrangement of the landforms to make the landscape more interesting.
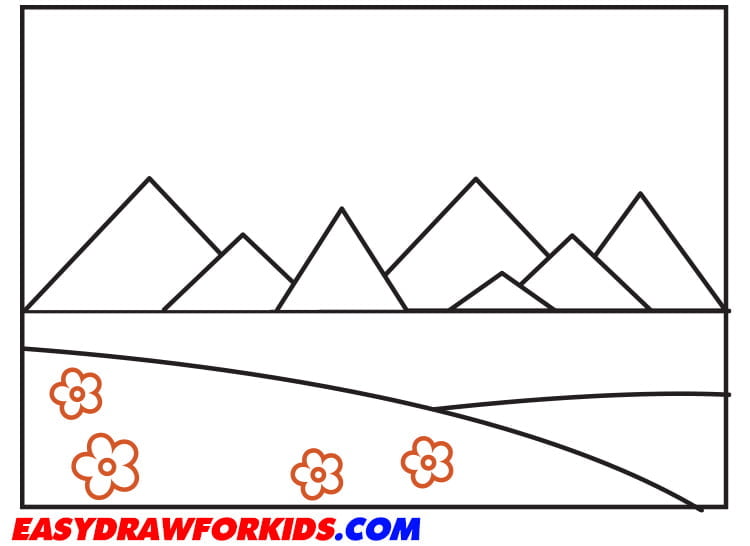
Step 5: Depict the Flowers
Draw flowers to your landscape and keeping in mind the principles of perspective and scale.
For example, flower that are closer to the viewer will appear larger, while those farther away will appear smaller.
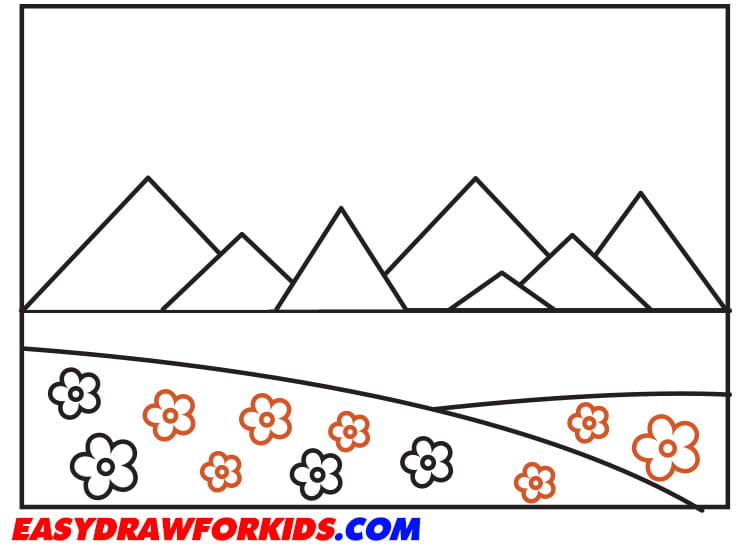
Step 6: Continue draw other flowers with different size
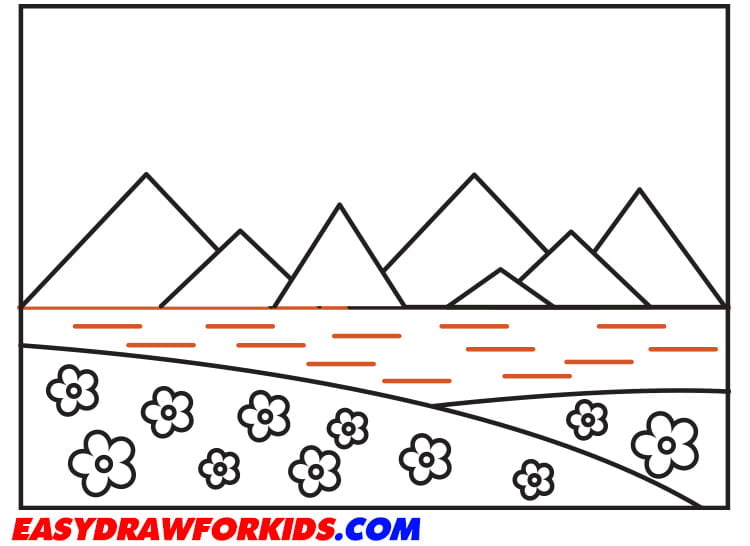
Step 7: Draw the Surface of the Water
In this step of this guide on how to draw scenery will focus depict the surface of the water
Below the mountain outline several straight horizontal lines of different lengths.
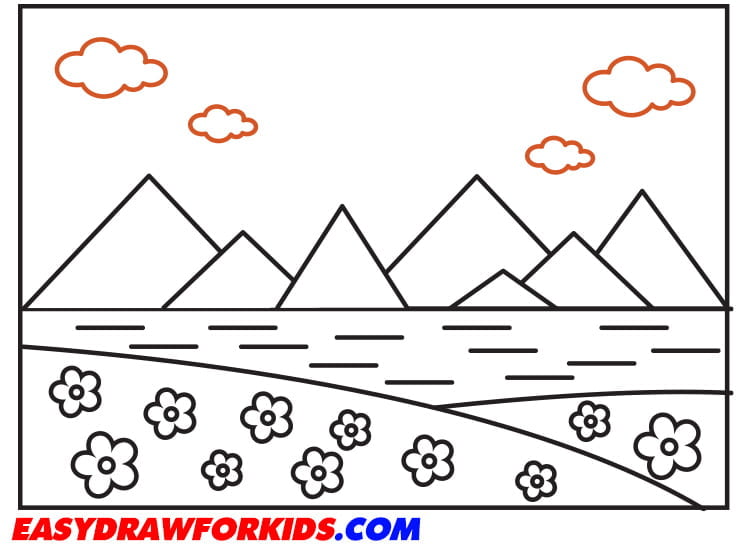
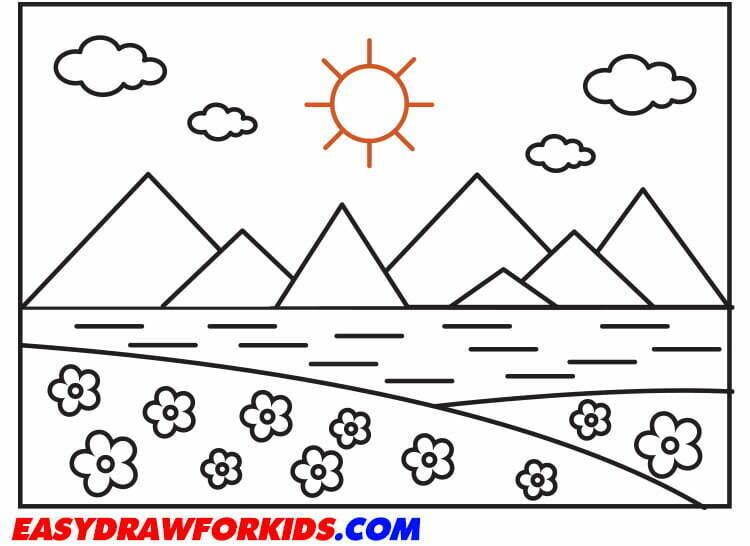
Step 8: Depict the Clouds
Use curved lines to create a shape that resembles a cloud.
It can be circular, oval, or even elongated depending on the type of cloud you want to draw.
Step 9: Draw a large circle for the sun, extend multiple straight lines outward from the sun for the sun rays.
Step 10: Add color to your drawing by your style or as shown the picture
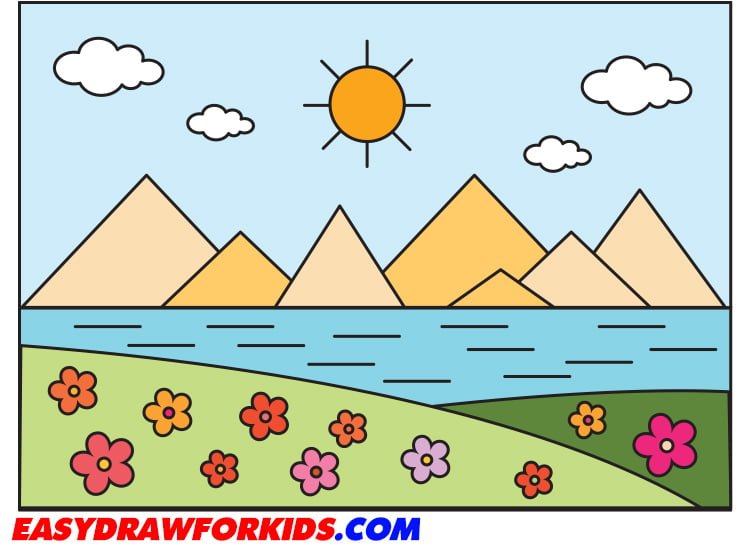
Follow this guide and practice regularly, you will soon be able to create beatiful scenery drawing.
Go for it!