Drawing the sun, a symbol of energy and vitality, is a beautiful way to express one’s connection to nature and the universe.
In this tutorial, easydrawforkids.com will provide you with a comprehensive guide on how to draw the sun in varied styles.
How to Draw the Sun – A Step by Step Guide
1. Cartoon Sun Drawing
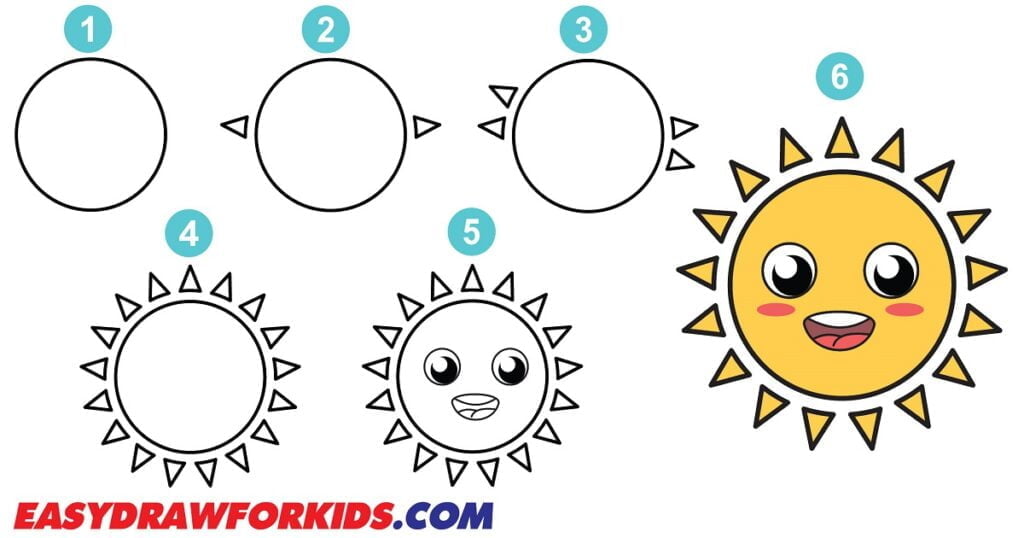
This guide on how to draw the sun in 6 steps to help you drawing a cartoon sun with ease!
Step 1: Draw the basic shape of the sun in a large circle.

Step 2: Draw the sun rays
The sun’s light emanates outwards in pointed beams or rays.
Sketch triangles around the circle, divide them evenly and direct them outward.

Step 3: Continue draw spiky triangles around the edge to portray sunbeams

Step 4: In this step on guide how to draw the sun will repeat this process to complete the rays

Step 5: Draw two large oval eyes and a curved line for a smiling mouth. You can add eyelashes, eyebrows, rosy cheeks or other decorative details.

Step 6: Use yellow and orange to colour your sun.

2. Kawaii Sun Drawing
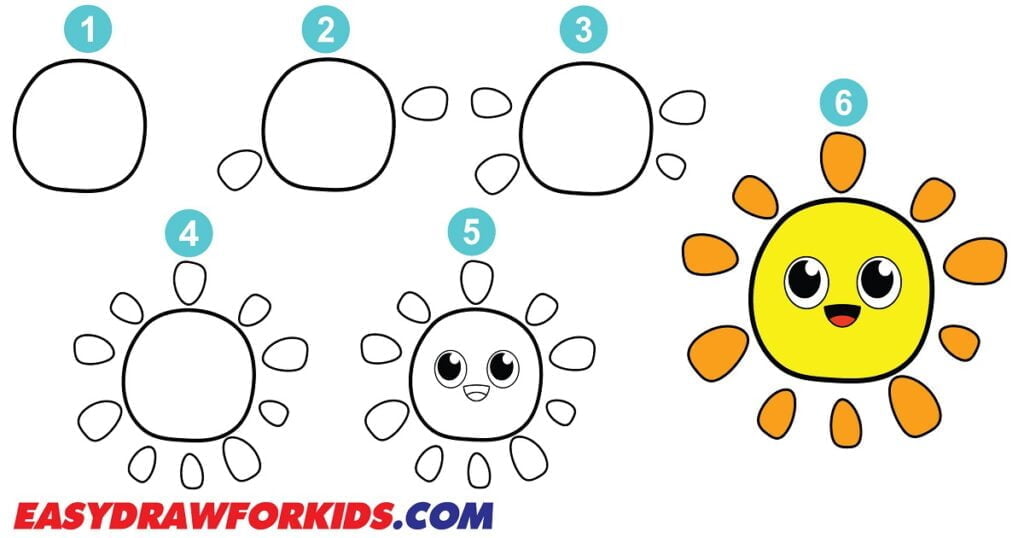
Step 1: Start with a Non-Traditional shape
Instead of a circle, draw the sun as an oval shape.

Step 2: Draw the freeform oval shapes for the rays of the sun; make sure to keep the rays evenly spaced apart

Step 3: Repeat this process by draw the small freeform oval shapes as shown in the picture

Step 4: Draw at least 8-12 rays, but you can add as many as you want. The rays represent the sun’s intense brightness.

Step 5: Depict the face of the Sun
Draw two small circles inside the sun to create the eyes.
Draw a small triangle shape beneath the eyes to create the nose.
Next, draw a curved line to create the mouth.

Step 6: Add color to your Sun drawing

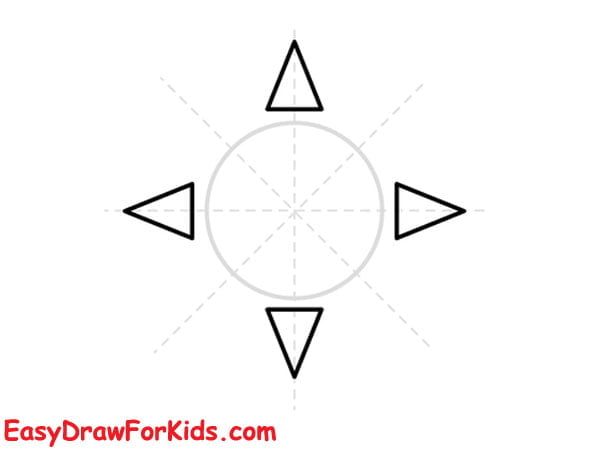
3. Cute Sun Drawing
Step 1: Start by drawing a big circle for the main shape of the sun’s face.
As shown in the picture, add guidelines go over the sun’s face.

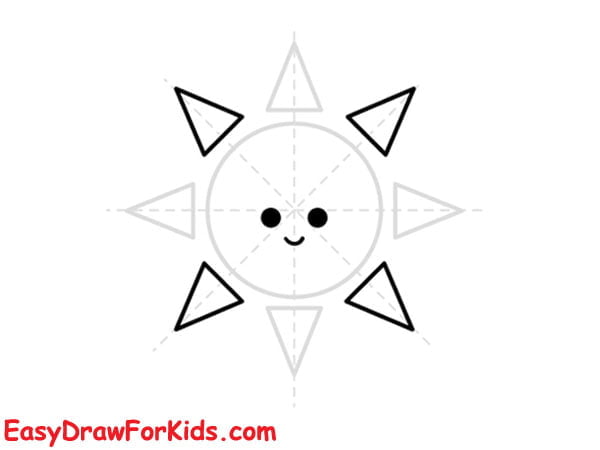
Step 2: Draw triangles outward from the edges of the sun’s face to create the sun’s rays.
Step 3: Inside the sun, draw two large, friendly eyes. Add a curved line beneath the eyes to form a smiling mouth.
Step 4: Carefully erase any guidelines that are no longer needed.

Step 5: Choose bright and cheerful colors such as yellow, orange to color the sun’s face, rays.

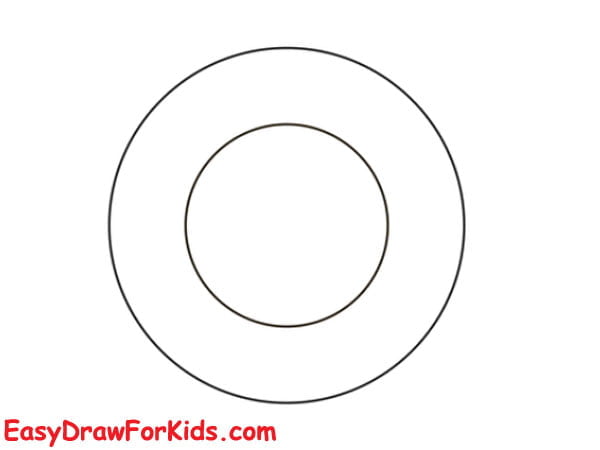
4. Simple Sun Drawing
Step 1: Draw two circles of different sizes, as shown in the picture, leaving a gap between the two.
Step 2: Sketch two circle with different size to form the eyes

Step 3: Inside the eyes, draw two small dots for the eyes, add a smiling mouth by drawing a curved line beneath the eye.

Step 4: Extend lines outward from the edges of the sun to create the sun’s rays.

Step 5: Go over your pencil lines with a darker pen to outline the sun and make it more defined.

Step 6: Add color to your simple sun drawing.

With some simple shapes and a dash of sunshine yellow, you can spread a little joy through your drawings.