Are you fascinated by the beauty of planet and want to learn how to draw a globe?
In this tutorial, easydrawforkids.com will take you through the process of drawing a globe from scratch.
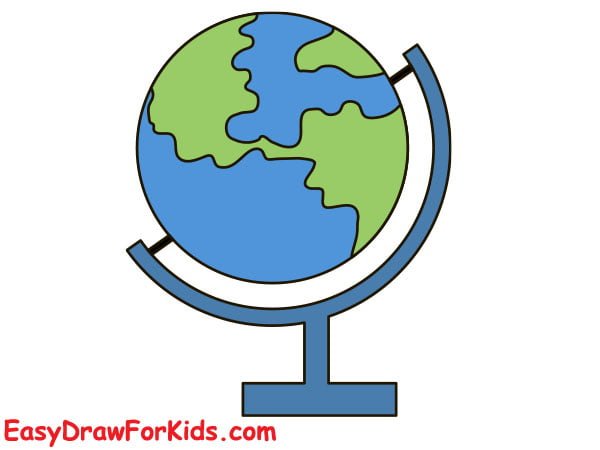
How to Draw a Globe – A Step by Step Guide
1. Cute Globe Drawing
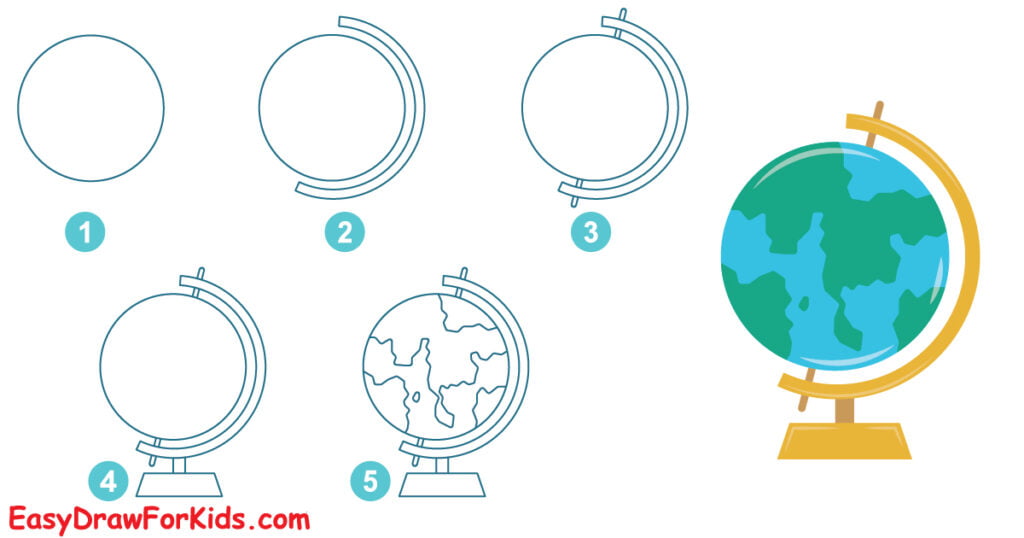
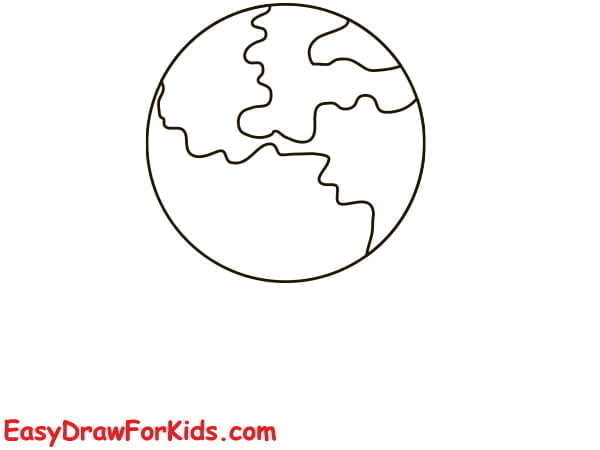
Step 1: Using a compass to draw a perfect circle.
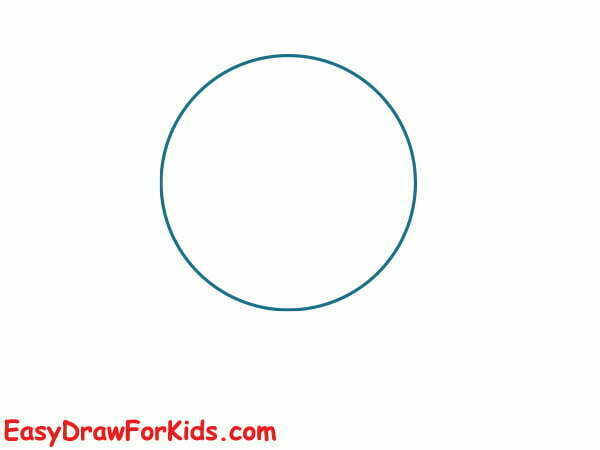
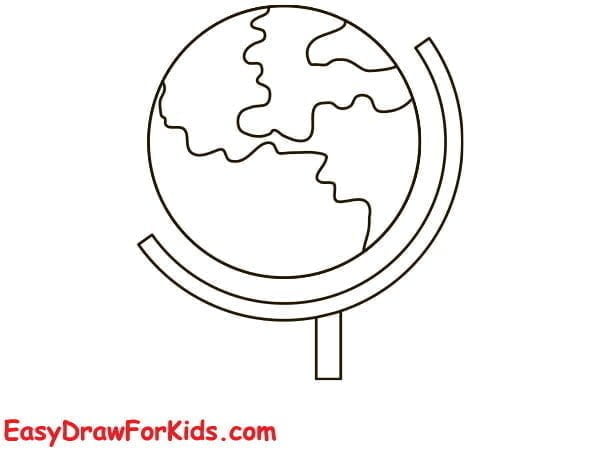
Step 2: Draw a crescent moon shape from peg to peg for the globe’s frame.

Step 3: Add two small rectangles on opposite sides of the circle for the pegs that will attach to the stand.
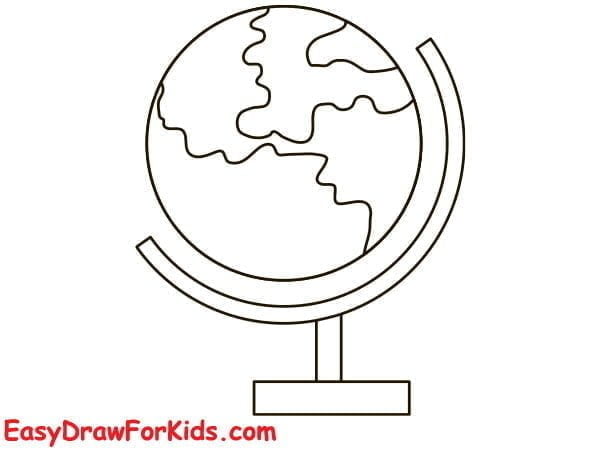
Step 4: Sketch the Base
Draw a short horizontal line under the bottom peg.
Extend curved lines outward for the sides of the base.
The base should be wide and sturdy beneath the globe.

Step 5: Draw the continents
In this step on guide how to draw a globe by sketching the continents and countries.
Focus on the general landmass shapes, then add smaller details, as you can see in the reference image.

Step 6: Use blue to color in the oceans. Color the continents with greens and browns.

2. Simple Globe Drawing
Step 1: Start this guide how to draw a globe by drawing a large circle on your paper to form the main shape of the globe.
Step 2: Using reference images, sketch the outlines of the continents onto the globe. You don’t need to add every detail, just the main shapes.
Step 3: Draw a thin, curved shape extending from one peg of the globe to the other to form the frame of the globe.

Step 4: Draw a small peg at the base of the frame.
Step 5: Draw a rectangle to form the base of the globe
Step 6: Erase unnecessary lines
Step 7: Add two small rectangular shapes to attach to the frame of the globe to form the pegs.

Step 8: Using different colors, fill in the continents and countries.
Learn how to draw a globe allows you to bring the world to life on paper.
Remember to be patient and practice regularly to improve your technique.