Cooking pans are a staple item found in most kitchens.
They come in a variety of shapes, sizes, and materials.
In this guide how to draw a pan, easydrawforkids.com will walk you through the steps for drawing a basic frying pan.
How To Draw A Pan – A Step By Step Guide
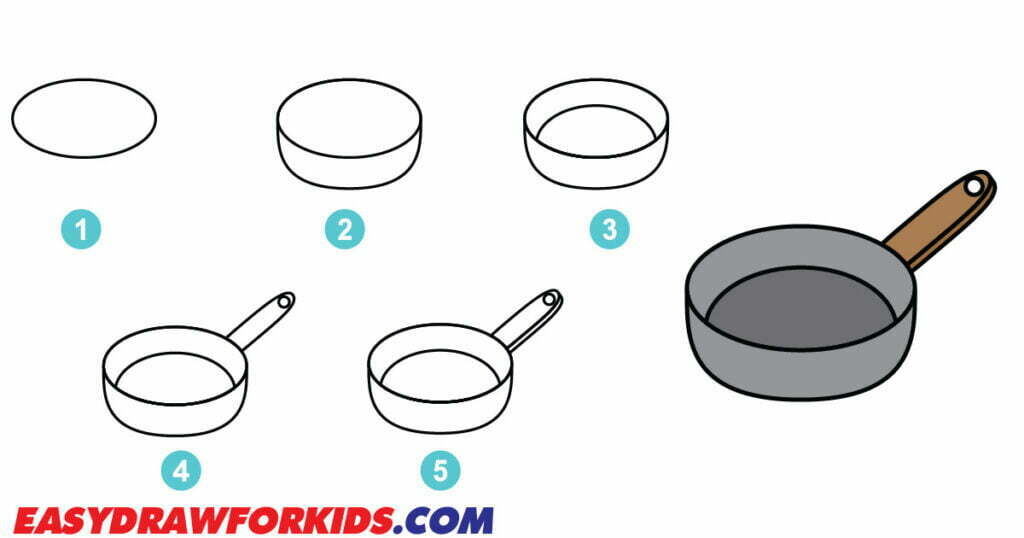
This guide on how to draw a pan in 6 steps to help you drawing a realistic pan with ease!
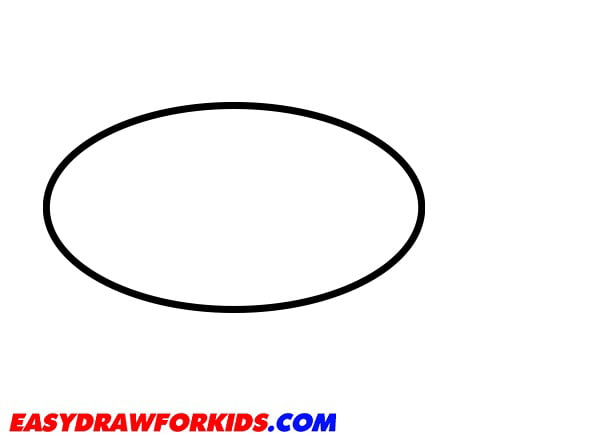
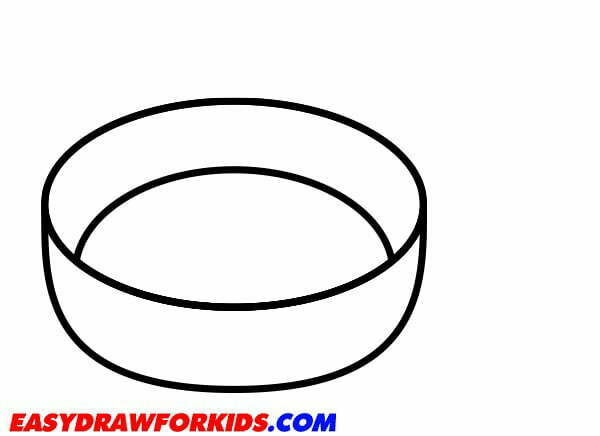
Step 1: Start by drawing an elongated horizontally oval shape to represent the base of the pan.
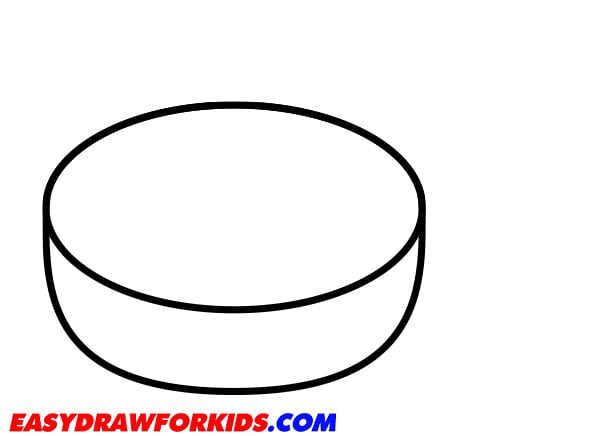
Step 2: Now, you draw a curve line across the bottom of the oval to create the rim of the pan.
Step 3: Draw a smaller oval shape inside the pan to create the cooking surface of the pan. Leave a small gap between the inner and outer ovals to indicate the thickness of the pan.
Step 4: Draw the Handle
The fourth step of this guide on how to draw a pan will focus on the handle of your pan
Draw a curved line connecting the top of one side of the pan to the other.
Add detail to the handle by drawing a small oval shape at the top end of the handle to represent the handle’s attachment point.
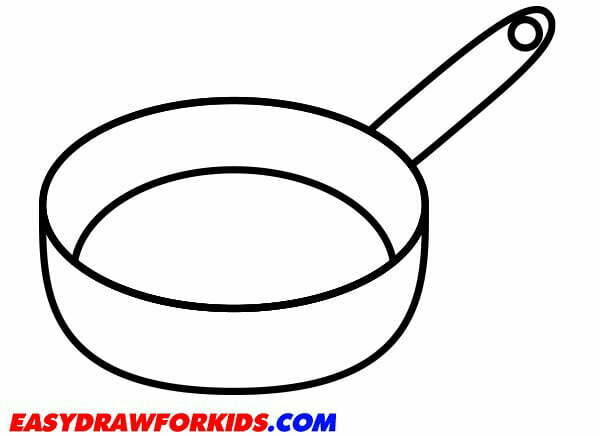
Step 5: Draw a parallel line to create the bottom part of the handle, curving back down to meet the pan.

Step 6: Now, it’s time to color it to complete your pan drawing.
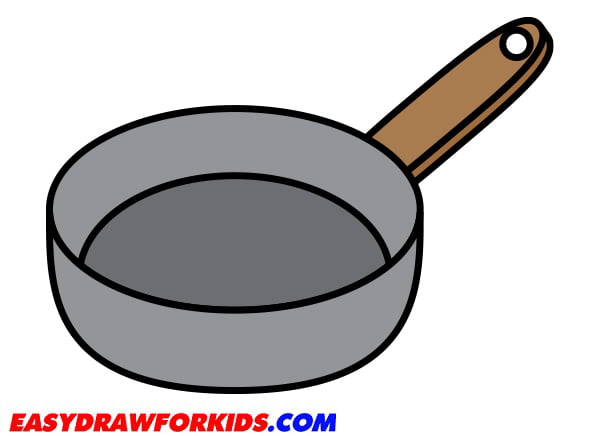
The frying pan makes an ideal practice subject for honing artistic skills.
Happy drawing!