Lamps are not only household objects but also fascinating subjects for draw.
In this tutorial, easydrawforkids.com will help you learn how to draw a lamp in 3 ways.
How to Draw a Lamp – A Step by Step Guide
1. Lamp Drawing Easy
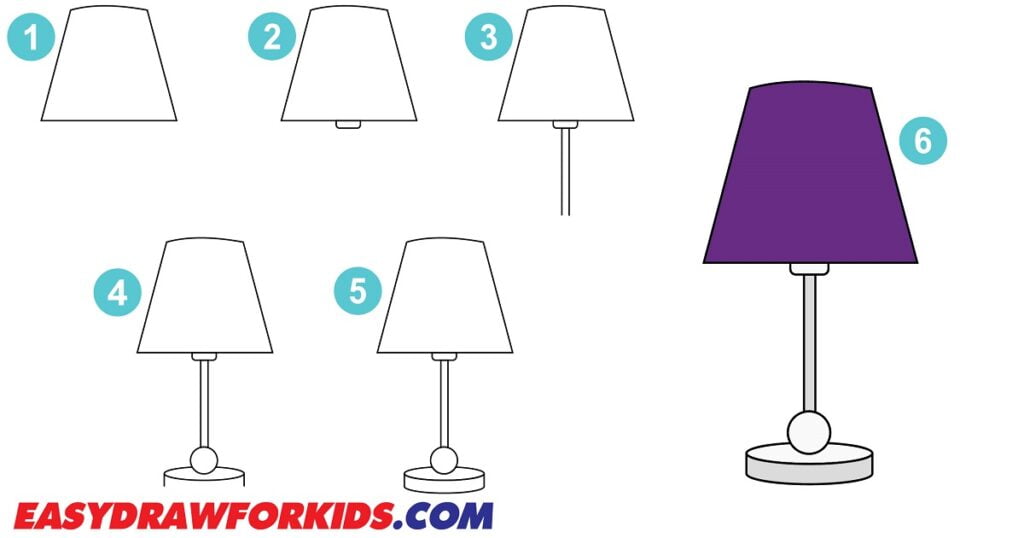
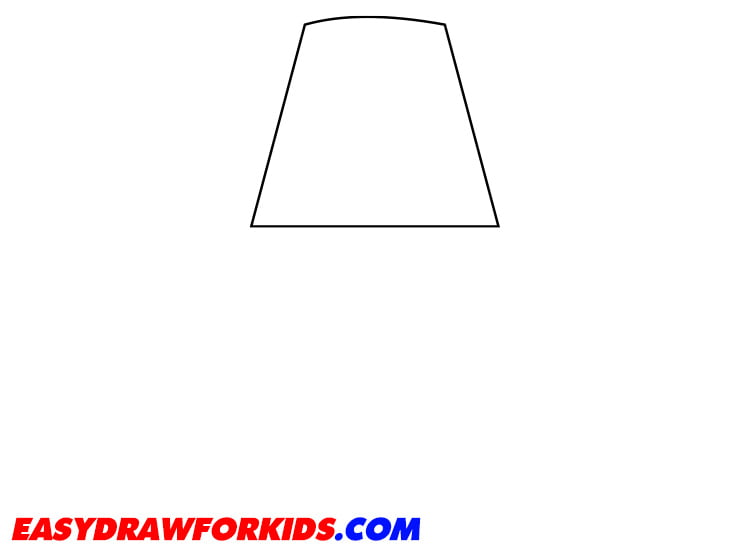
Step 1: Draw the lampshade
Sketching the top and bottom edges of the lampshade using gentle curves.
Remember to leave some space between the two edges to represent the slight bulge in the middle.
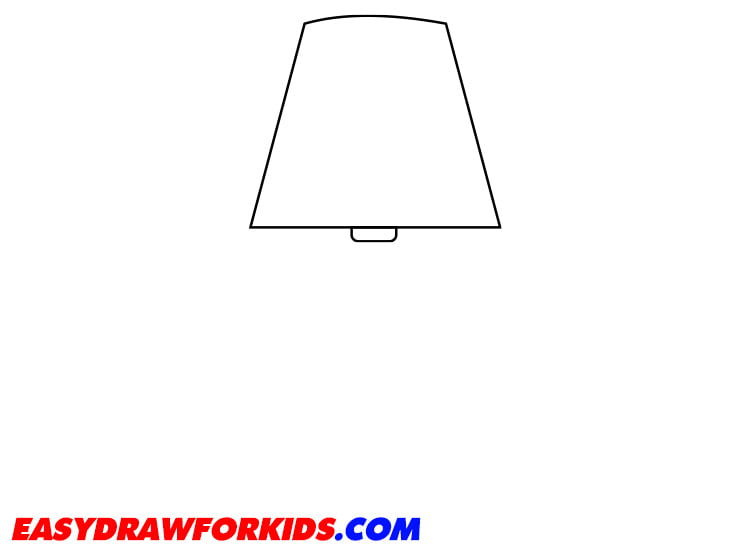
Step 2: Add a few horizontal lines inside the lampshade to form the support structure of the shade.
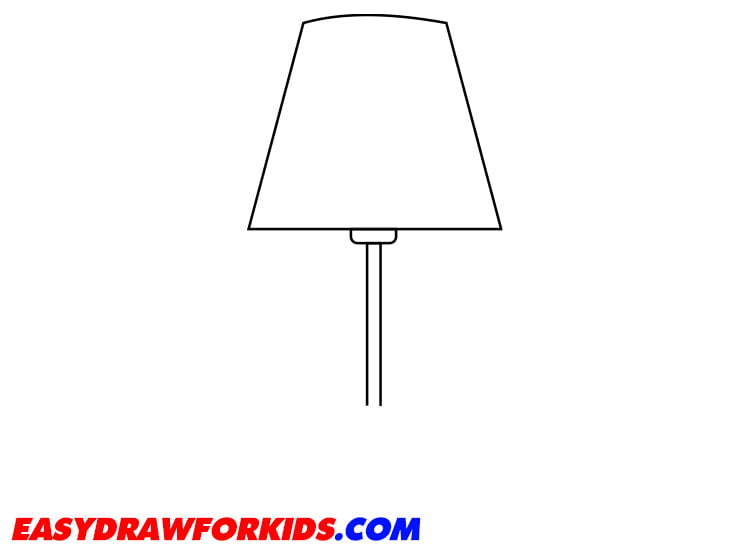
Step 3: Draw a straight line extending down from the bottom of the lampshade to form the stem of the lamp.
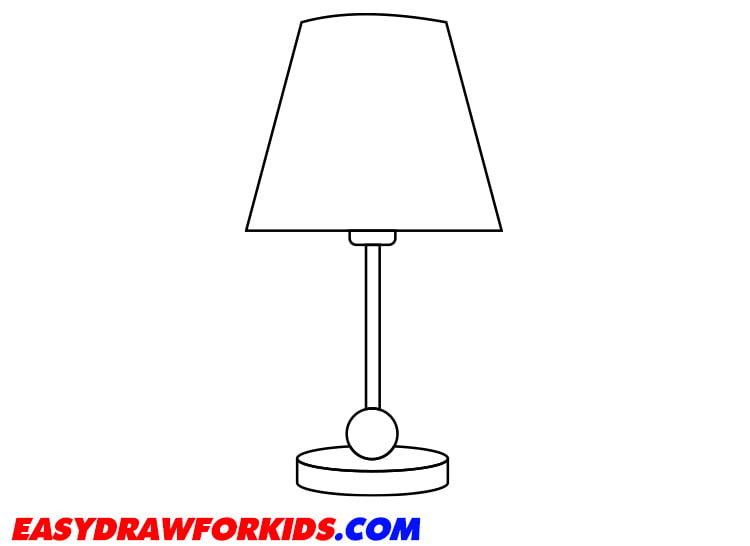
Step 4: Moving on to the base and stand of the lamp, sketching the general shape using straight lines and curves.
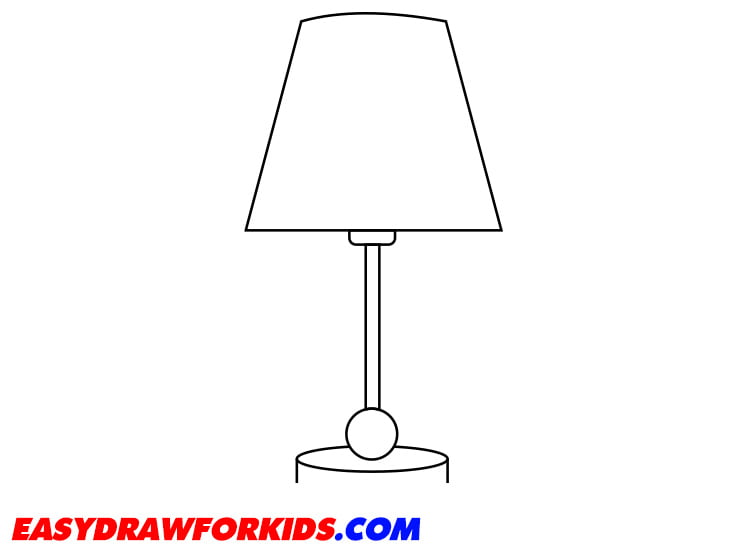
Step 5: In this step on guide how to draw a lamp, add some details to our lamp drawing.
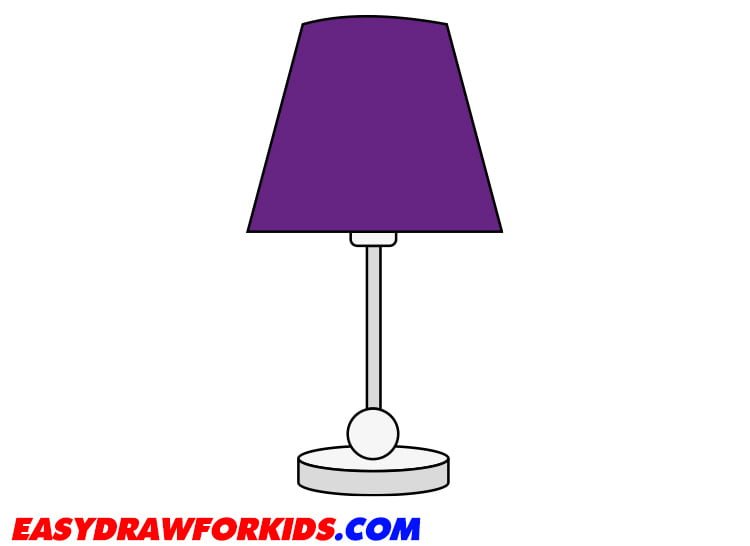
Step 6: You can add color to the lamp drawing
2. Table Lamp Drawing
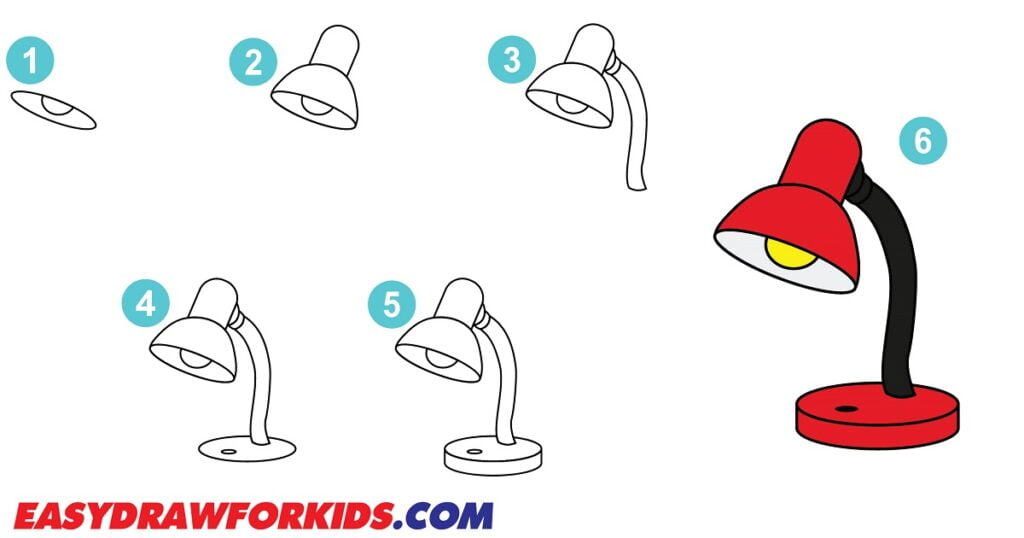
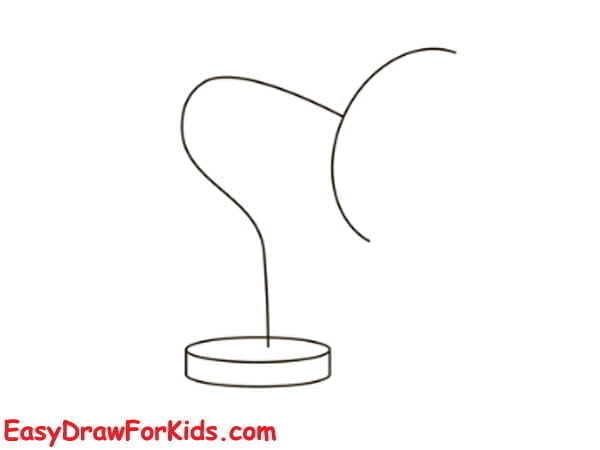
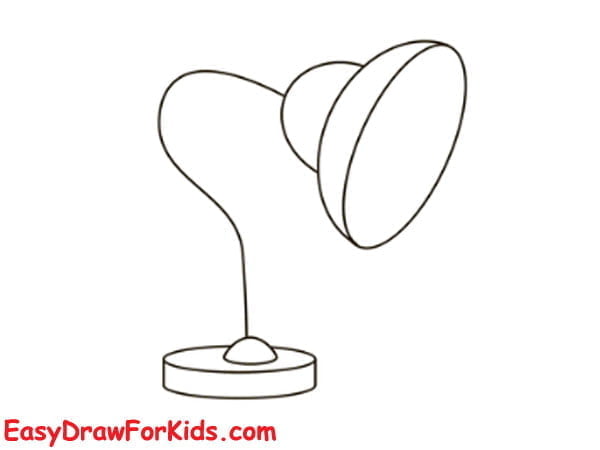
Step 1: Sketch out the light bulb
Draw an oval shape for the lampshade
Next, draw an arch below the previously drawn figure for the bulb

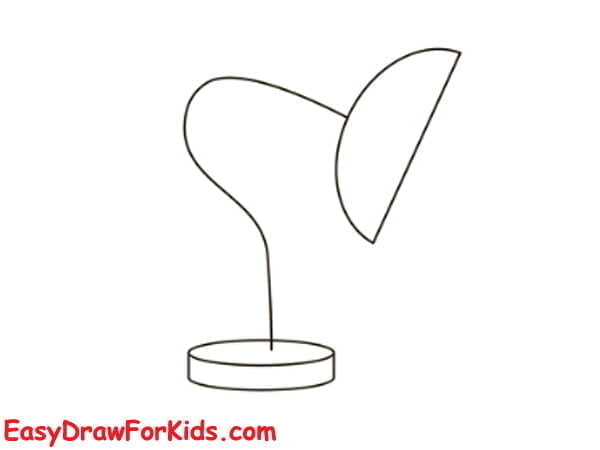
Step 3: Draw an oval to form the lampshade.

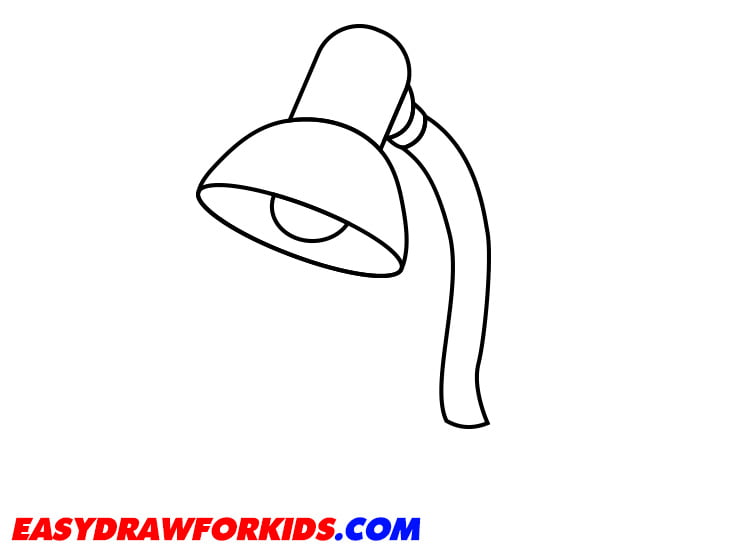
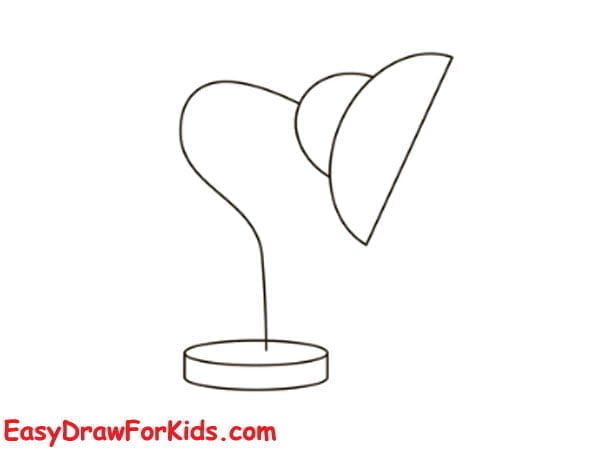
Step 3: To create the lamp’s neck, draw two long curved lines from the cone shape you drew earlier.
Use straight lines to draw ridges along the length of the neck.
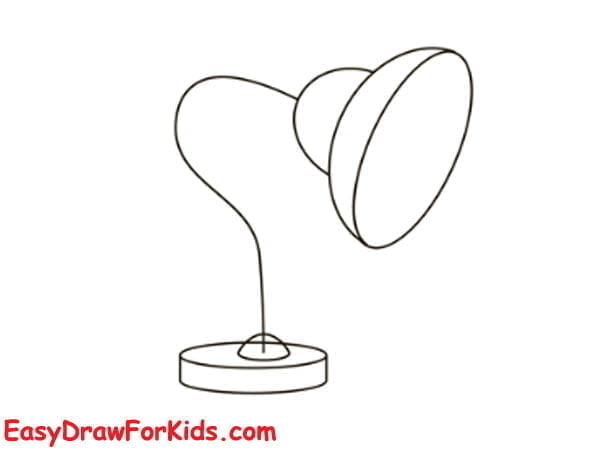
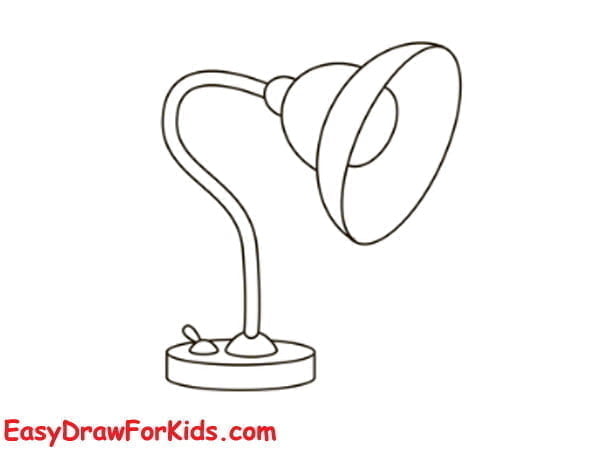
Step 4: Draw an oval shape below the lamp neck to form the upper base of your lamp.
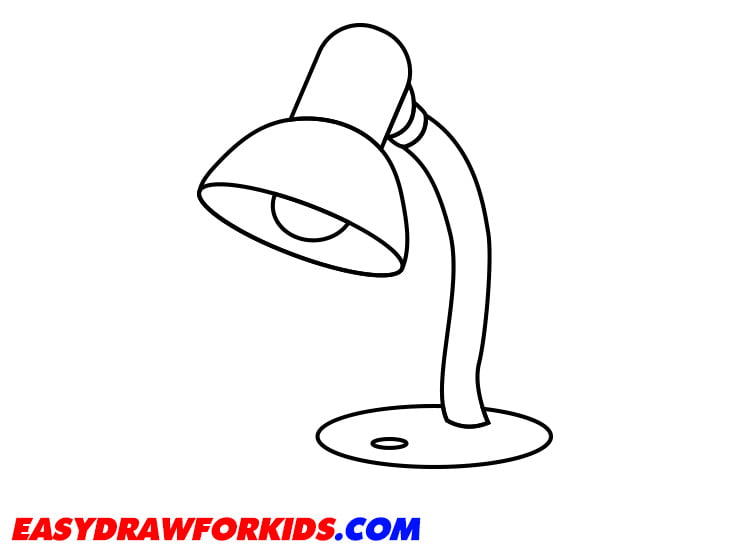
Step 5: Draw a circle below to complete the lamp base. Add a small circle for the switch on the side of the base.
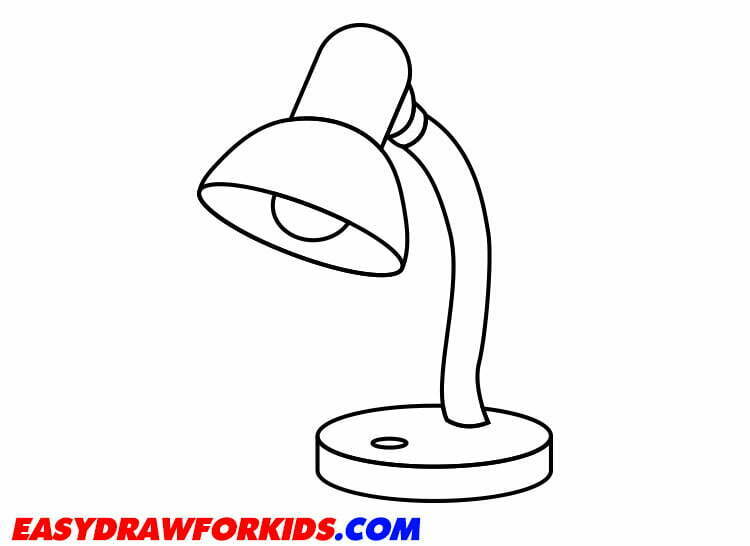
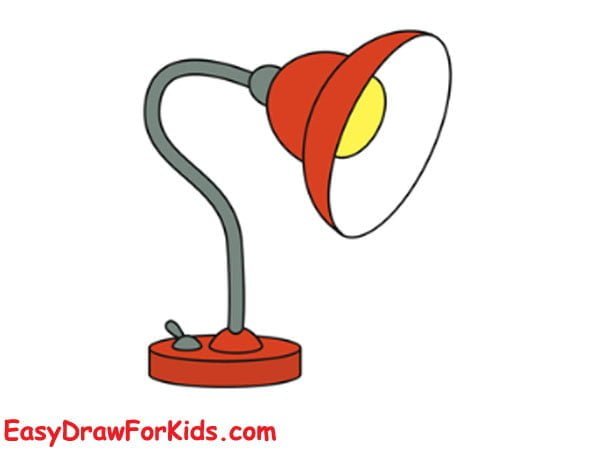
Step 6: Now that you completed this guide how to draw a lamp, it’s time to color it. You can also add a light source to your drawing.

3. Simple Lamp Drawing
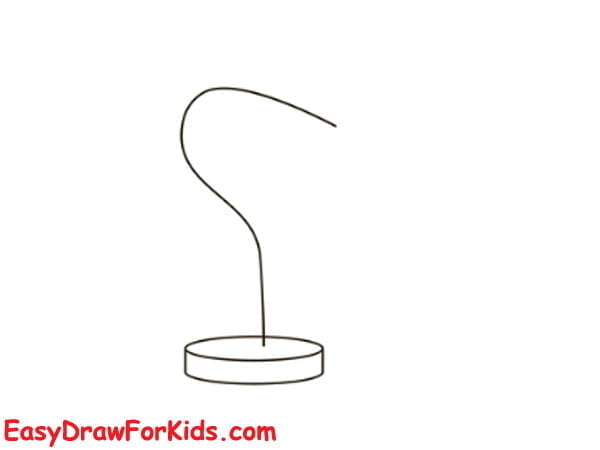
Step 1: Start by drawing a small rectangle for the base

Step 2: Refine the shape of the base

Step 3: From the top of the base, draw a curved line coming up, connect this line with a curved horizontal line to create the body of the lamp.
Step 4: On top of the lamp body, draw a slightly larger curved line to form the lampshade.
Step 5: Draw a line connecting two lines on step 4 to complete the lampshade
Step 6: At the top of the lampshade, draw a small oval shape to form the holder for the light bulb.
Step 7: The seventh step on guide how to draw a lamp, draw an oval shape on the lampshape to form the fold
Step 8: Erase unnecessary lines
Step 9: Add the lamp switch and light bulb
Within the lampshade, draw an oval shape to form the light bulb,
Draw a small circle shape on the base of the lamp to represent the switch.
Step 10: Color your lamp drawing
I hope this guide is helpful for you to create your unique lamp drawing.