If you love classic Disney characters, this tutorial is perfect for you.
Today, we’ll learn how to draw Snow White with her iconic dress and gentle smile.
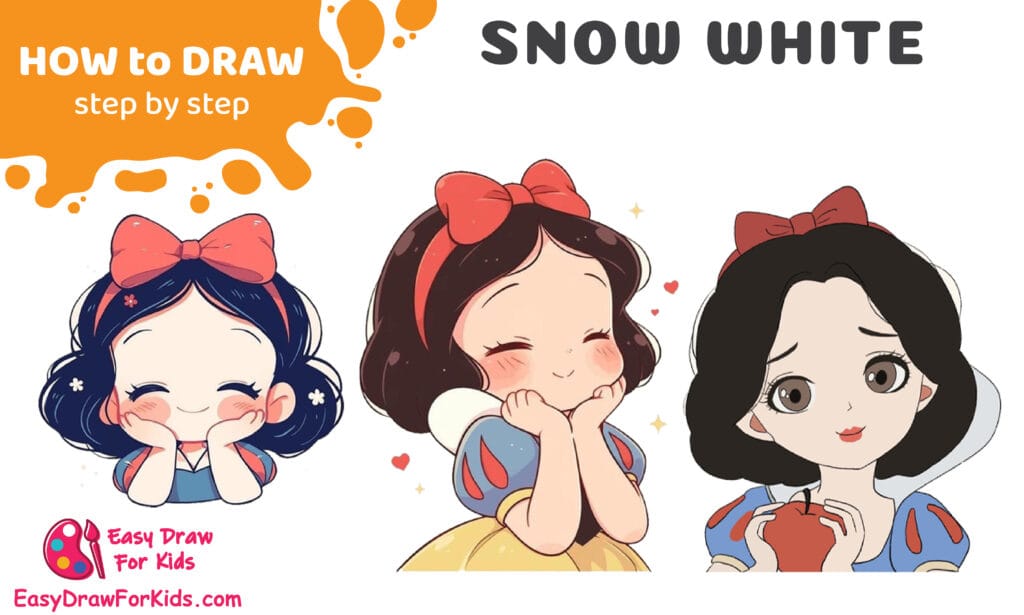
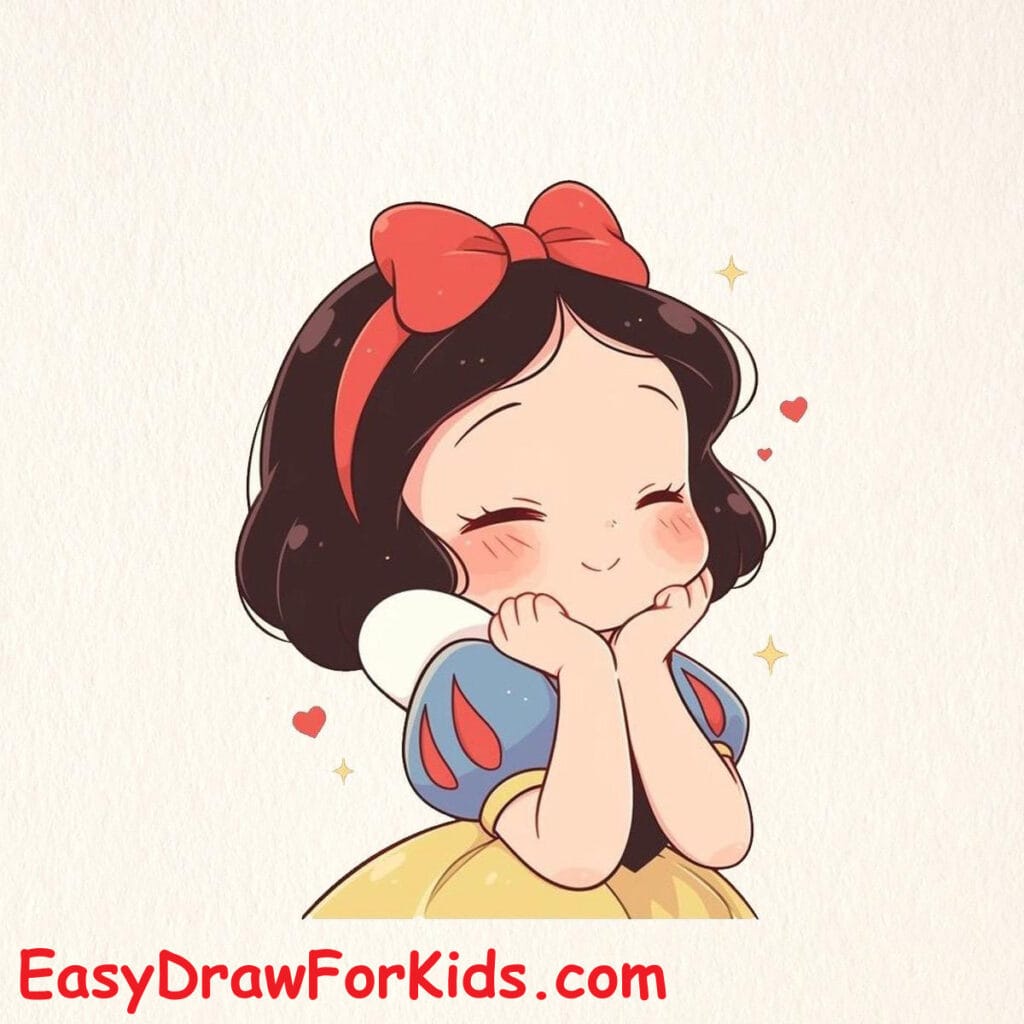
How to Draw Snow White Disney Princess – A Step by Step Guide
1. How to draw Cute Snow White
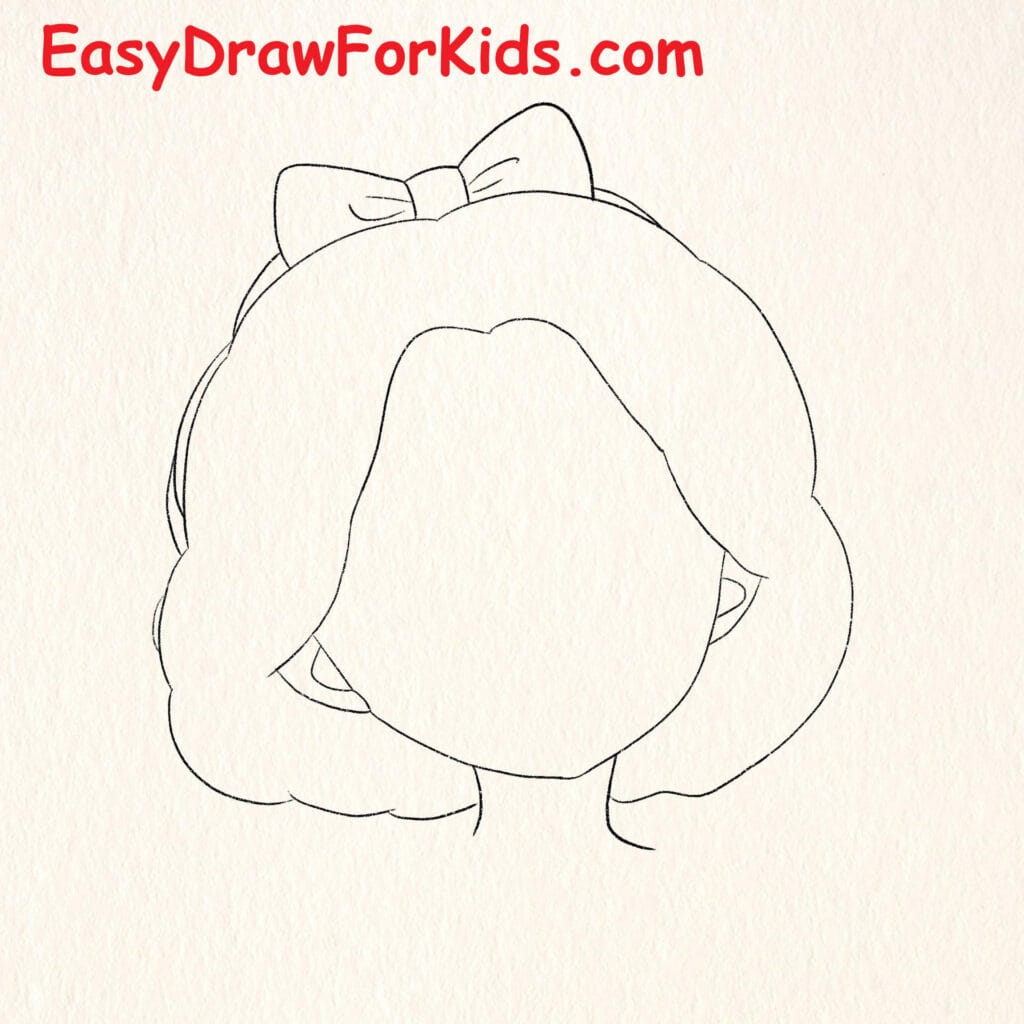
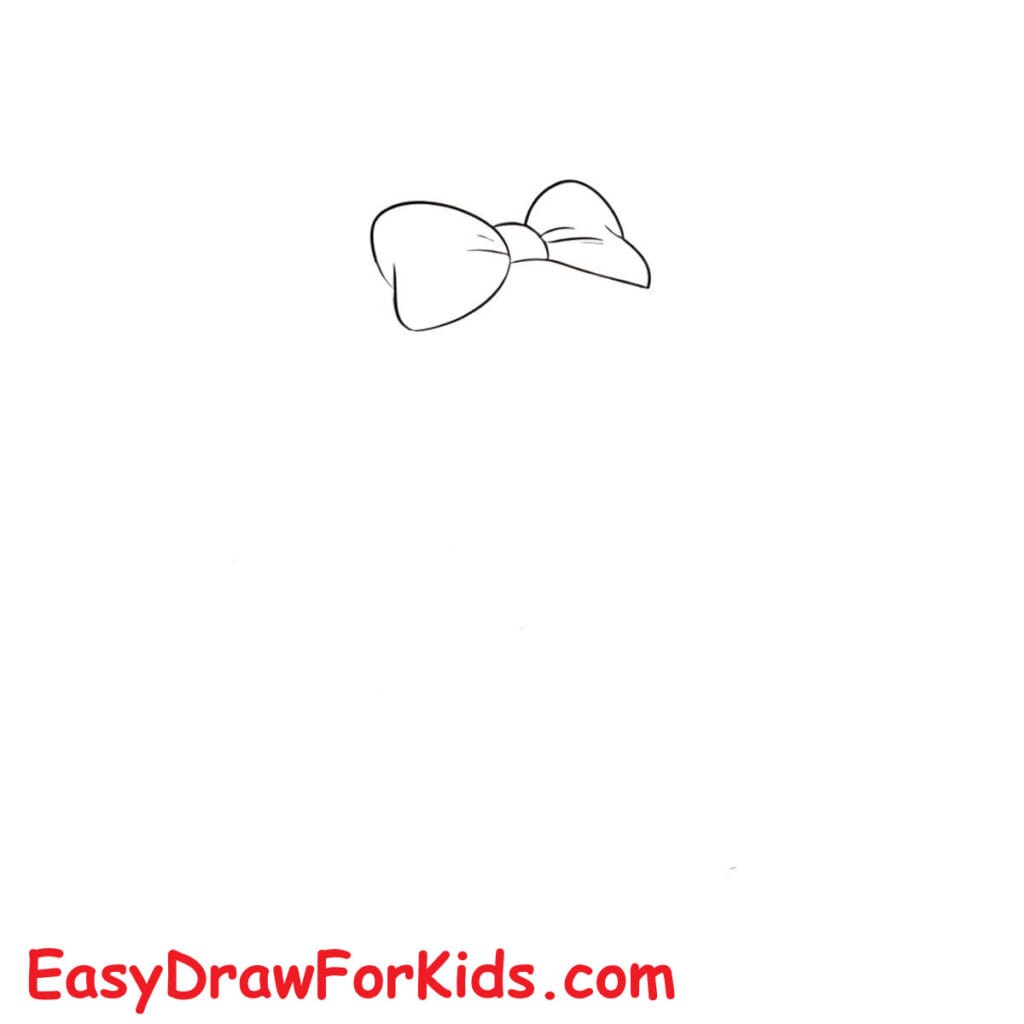
Step 1: Draw the bow
Start at the top of the page. Draw a small bow shape:
Two rounded loops on each side. A small circle or oval in the center for the knot. Keep the lines light and symmetrical.

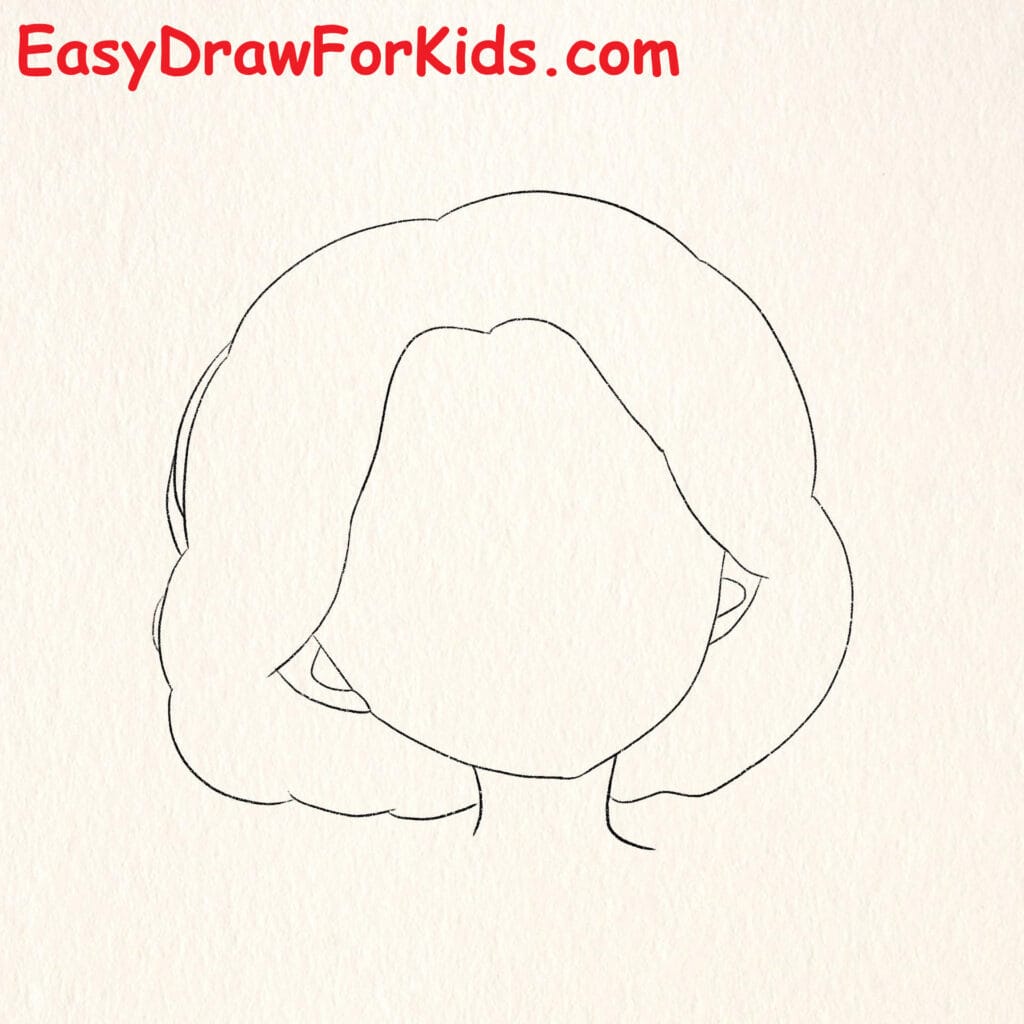
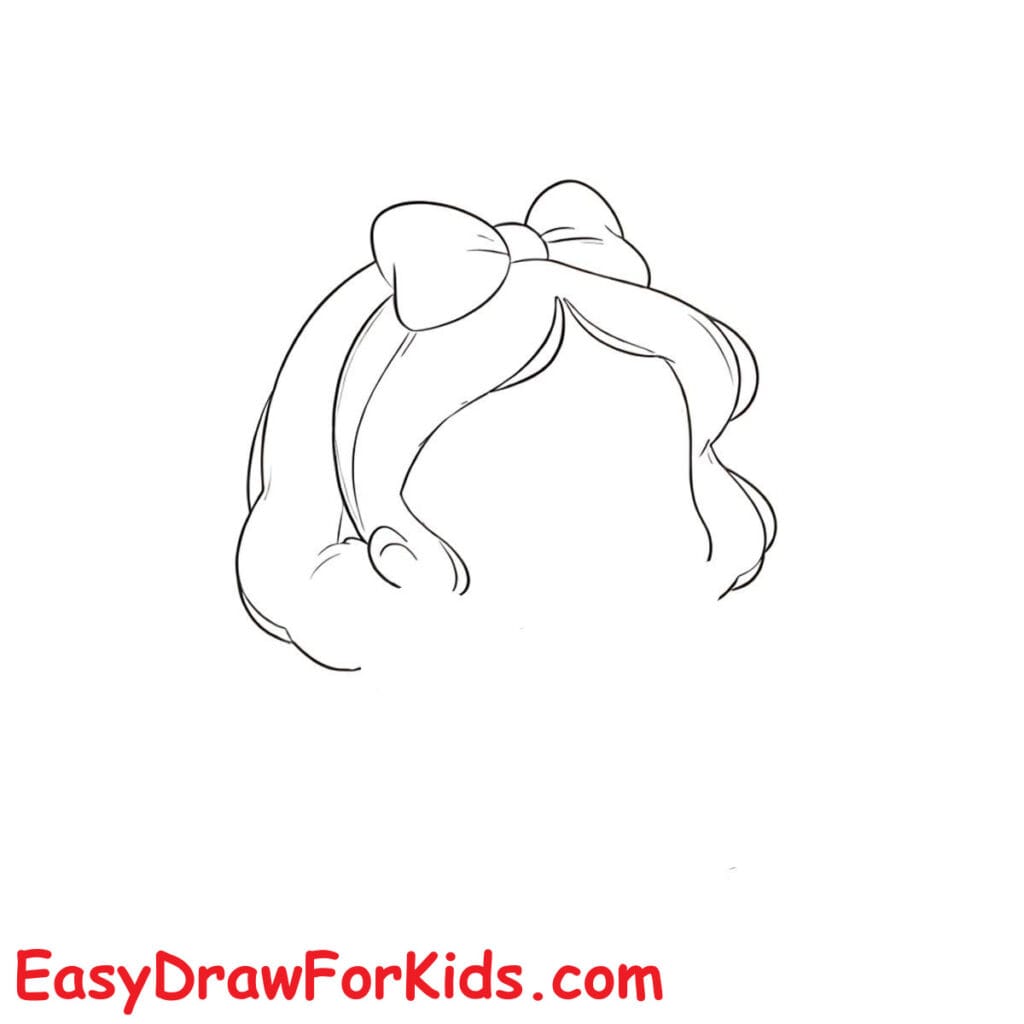
Step 2: Draw the hair outline
Under the bow, sketch a rounded hair shape.
Draw soft, wavy curves on both sides to form Snow White’s short curly hairstyle.
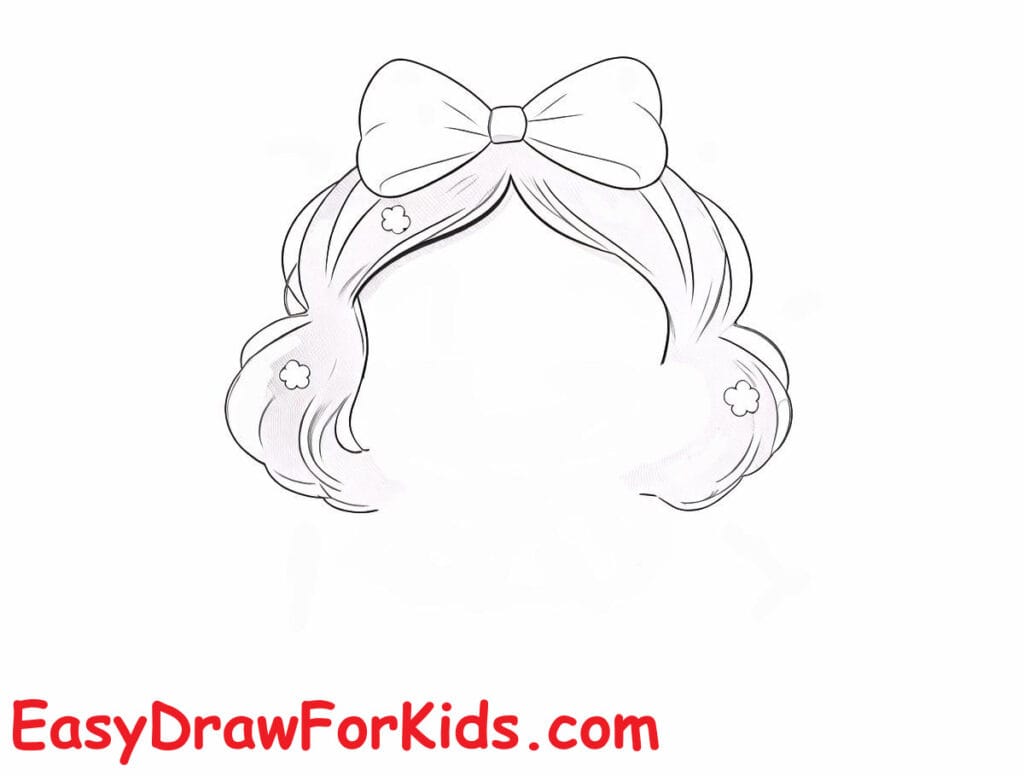
Step 3: Add more hair details
Refine the curls by adding inner curved lines.
Draw gentle spiral-like curls near the cheeks.
Make the hair look full and bouncy, but not too detailed.
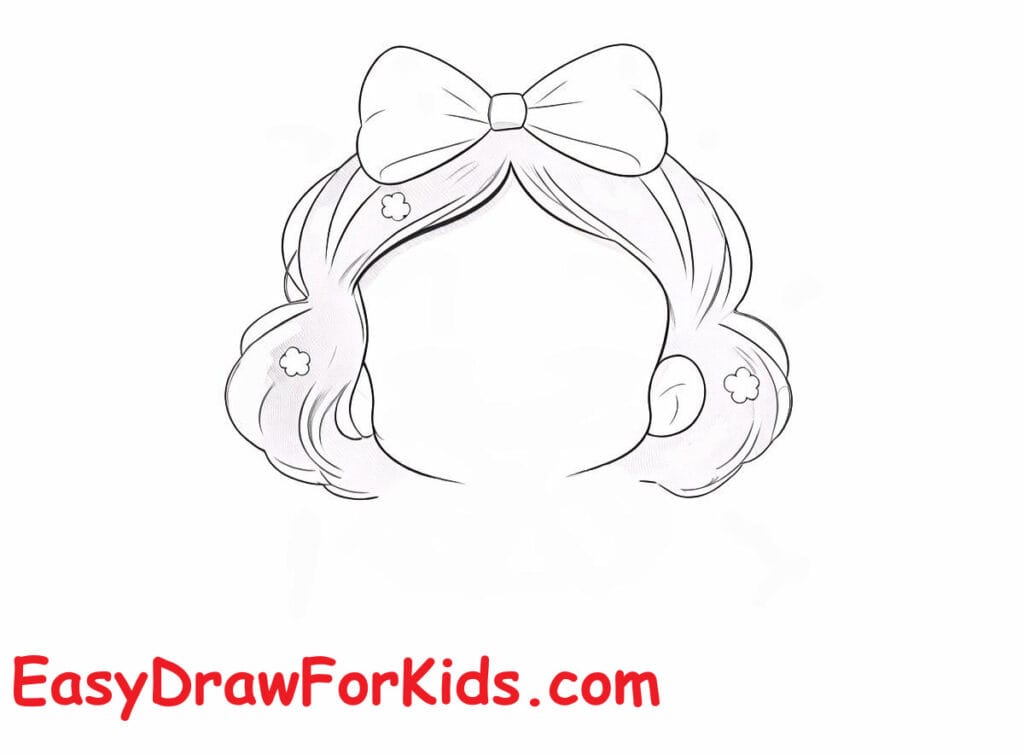
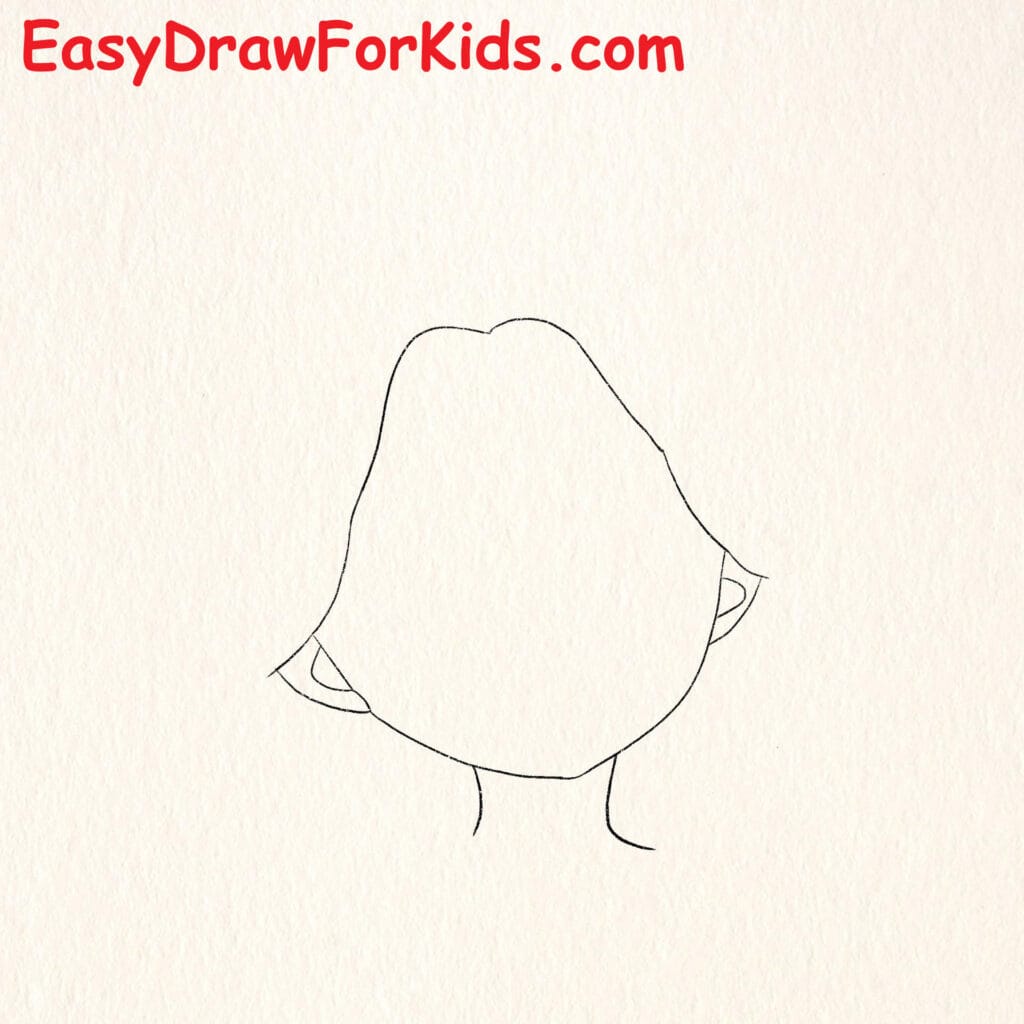
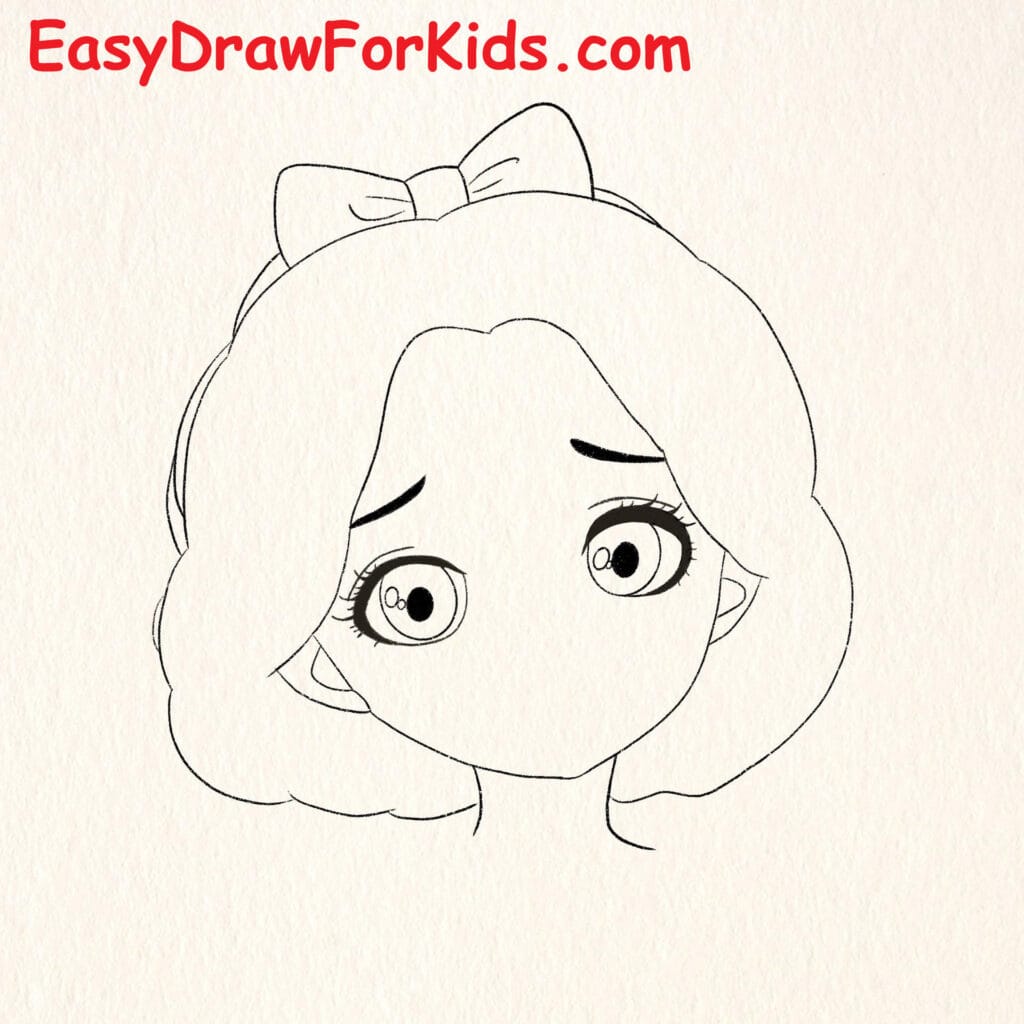
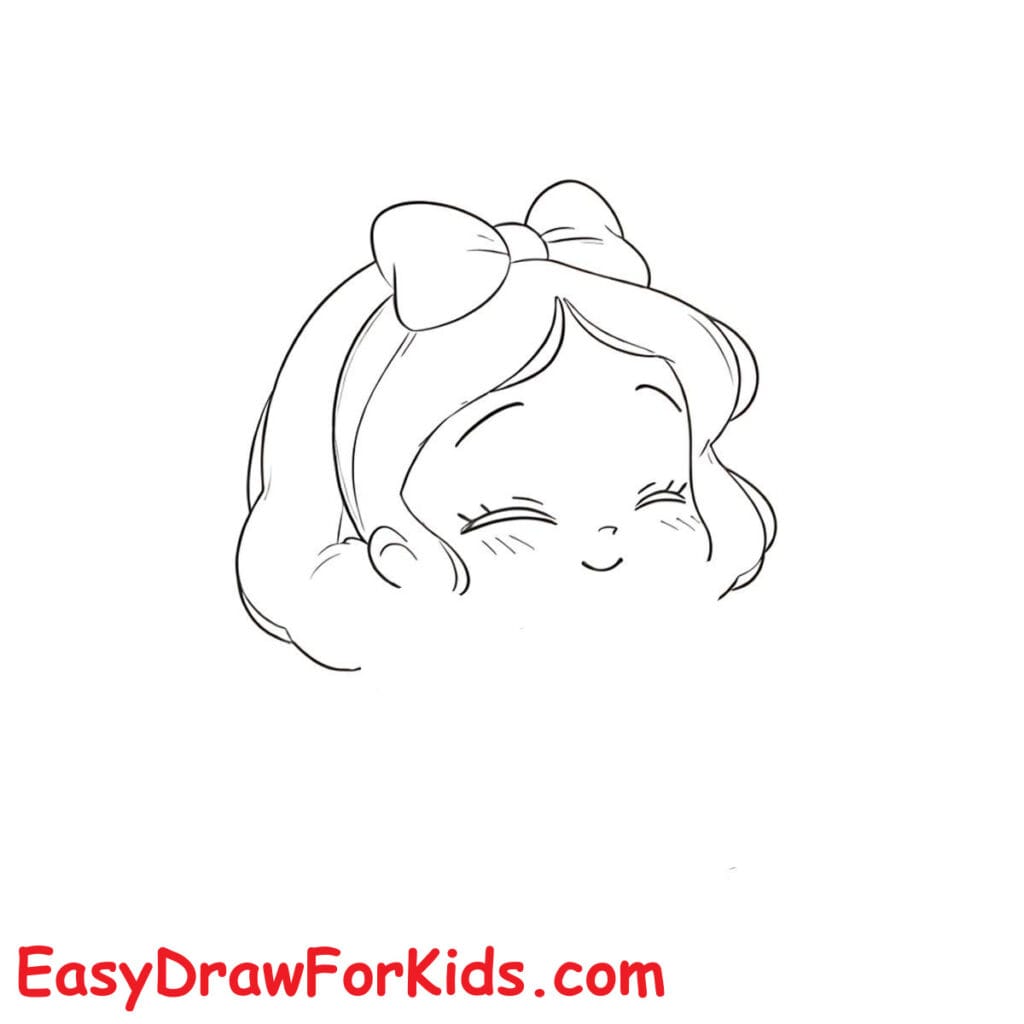
Step 4: Draw the face shape and eyes
Draw a rounded face under the hair. Add two closed, curved lines for the eyes.
Place the eyes low on the face to create a cute style. Add small curved eyebrows above the eyes.
Draw a tiny curved dot or short line for the nose.
Add a small smiling mouth below the nose.
Draw short curved lines on both cheeks to show blush marks.

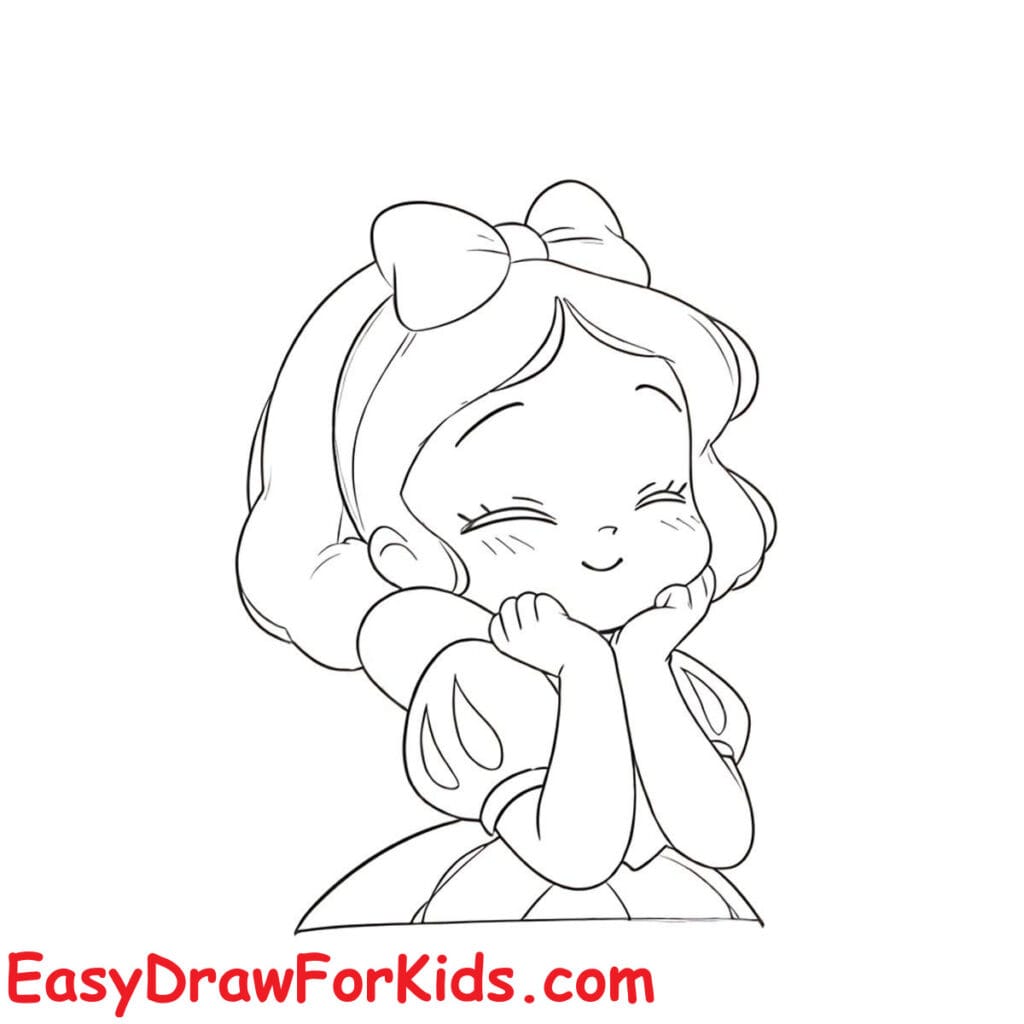
Step 5: Draw two small hands under the cheeks
Each hand is made of soft rounded shapes.
The palms gently press against the face.

Step 6: Add blush and refine details
Draw small curved lines or circles on both cheeks for blush.
Smooth the outline of the face and hands.
Adjust the smile so it looks gentle and sweet.

Step 7: Go over the drawing with clean, darker lines.

Step 8: Coloring

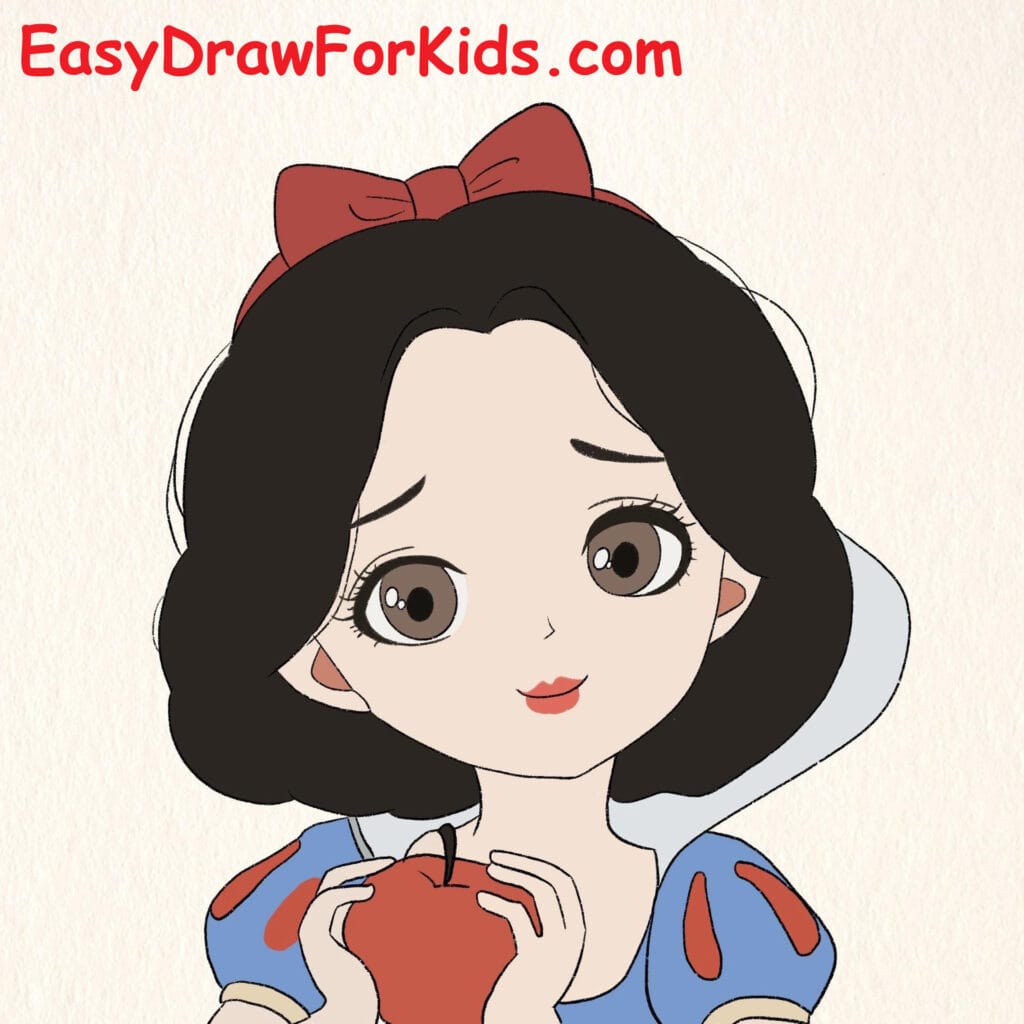
2. How to Draw Princess Snow White Holding an Apple
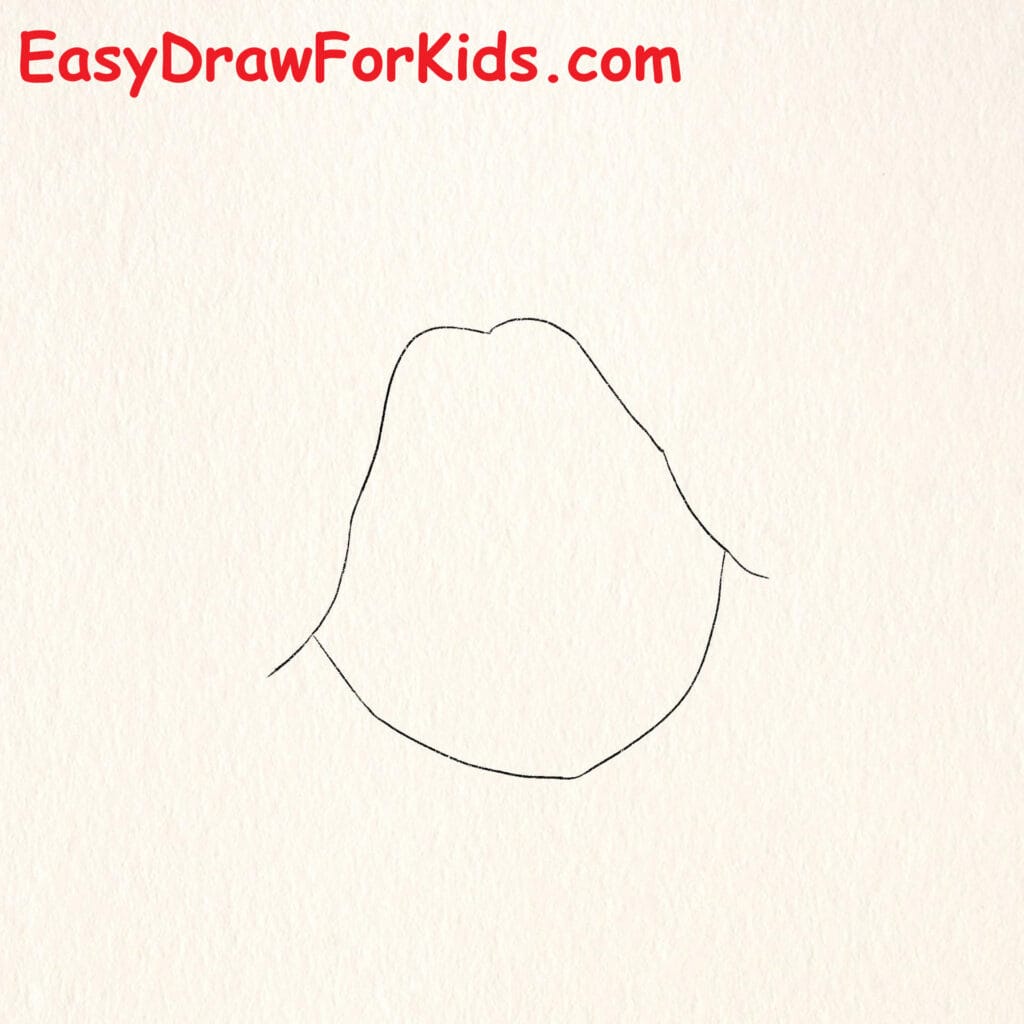
Step 1: Lightly sketch a rounded face shape.
Make the chin soft and slightly pointed. Keep the outline simple and smooth.
Step 2: Draw small ears on both sides of the head.
Add two short curved lines below the head to form the neck. Keep everything light and proportional.
Step 3: Sketch a large rounded hair shape surrounding the head.
Let the hair curve outward on both sides. The hair should look full and soft.
Step 4: On top of the head, draw a bow
Two rounded loops. A small center knot. Make sure the bow sits naturally on the hair.
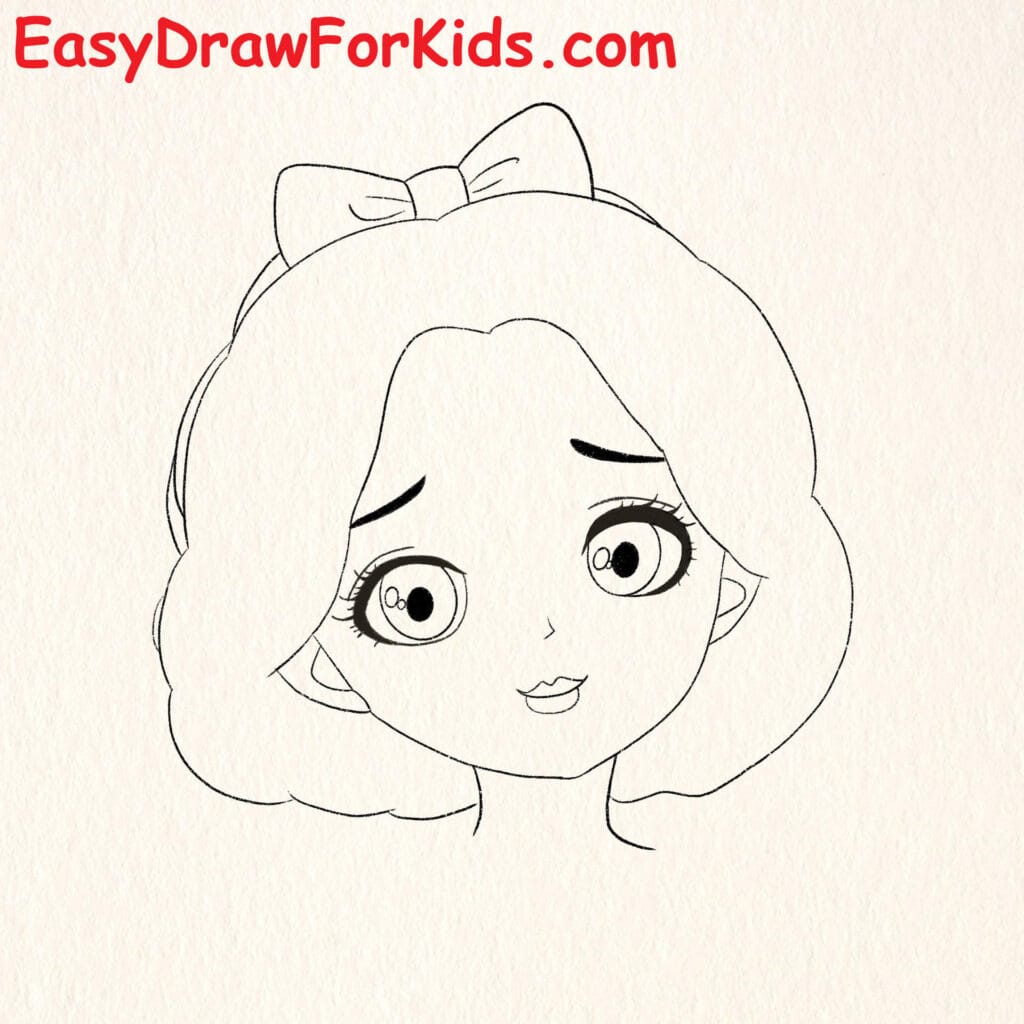
Step 5: Draw two large round eyes, evenly spaced. Add small pupils inside the eyes.
Draw thin curved eyebrows above the eyes. Give the eyebrows a gentle, slightly worried curve.
Step 6: Draw the nose and mouth
Add a tiny dot or short curve for the nose.
Draw a small soft mouth below the nose.
Keep the expression gentle and sweet.
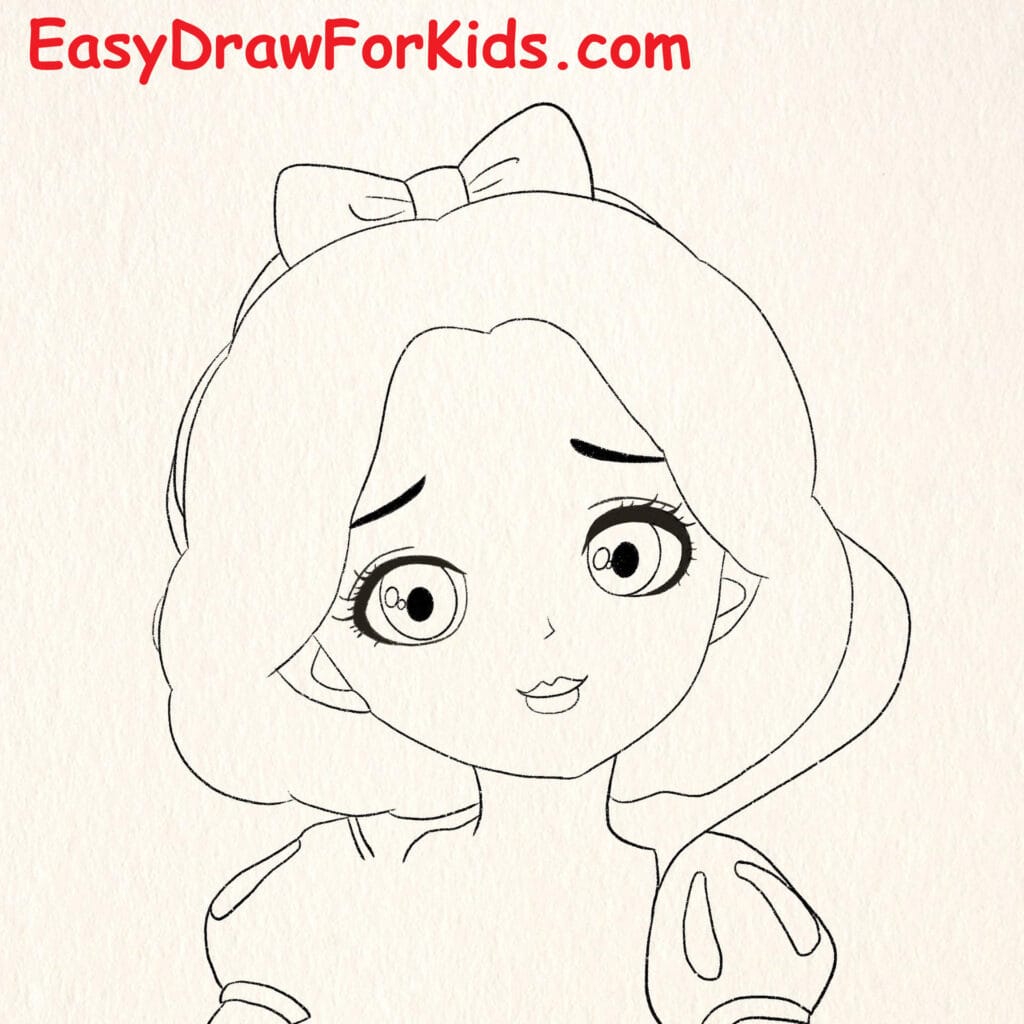
Step 7: Draw the upper body and sleeves
Sketch the shoulders below the neck. Draw puffed sleeves using rounded shapes on both sides.
Add simple lines to suggest clothing folds.
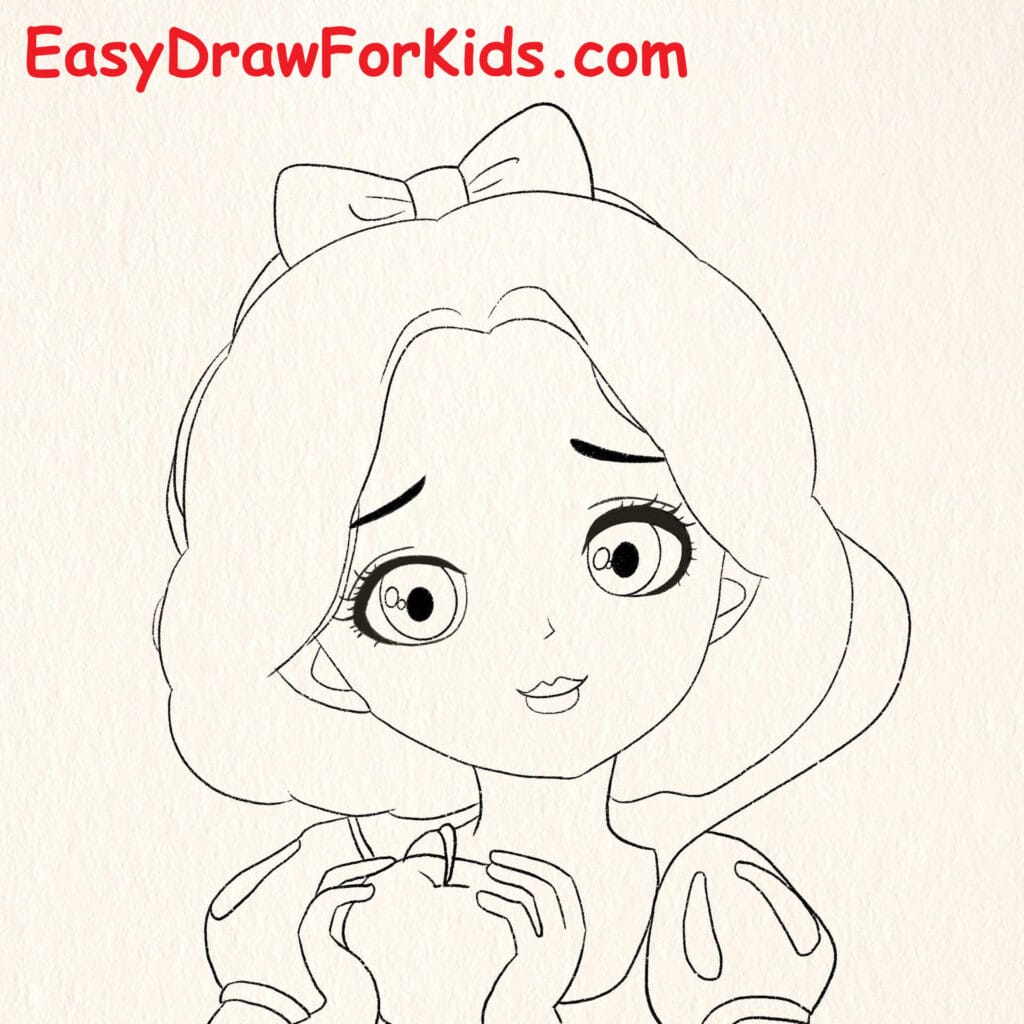
Step 8: Draw the hands and apple
Draw both hands in front of the body. Shape the fingers gently curved inward.
Draw a round apple between the hands. Add a small stem on top of the apple.
Step 9: Final outline and coloring
3. Snow White drawing Easy
Step 1: Draw the bow
Step 2: Under the bow, draw the top hairline.
Sketch the outer shape of the hair using soft, wavy lines.
Step 3: Draw a round face shape inside the hair.
Step 4: Draw two small hands directly under the face.
The palms should touch the cheeks lightly.
Add short lines to suggest fingers.

Step 5: Draw short arms connecting the hands to the body.
Add puffed sleeves using rounded shapes on both sides. Keep the arms short and cute.

Step 6: Add inner hair lines to show curls and volume.
Draw a tiny nose using a dot or short curved line. Add a small smiling mouth.

Step 7: Trace over the drawing with clean, darker lines. Erase all extra sketch lines.
Step 8: Add color
That wraps up today’s tutorial.
Your Snow White drawing is complete.
I hope you enjoyed learning how to draw Snow White step by step, see you in the next drawing lesson.
>>>Read more: How To Draw Mickey Mouse – 2 Easy Methods For Beginners
How To Draw BatMan – 2 Easy Methods For Beginners