Few cartoon characters are as instantly recognizable and universally loved as SpongeBob SquarePants.
With his square body, buck teeth, and unrelenting optimism, SpongeBob has delighted audiences for decades.
But have you ever tried drawing him yourself?
In this tutorial, we’ll show you exactly how to draw SpongeBob SquarePants in an easy-to-follow, beginner-friendly way.
From his spongey texture to his expressive eyes, this guide covers all the features that make him such a fun and dynamic character.
Let’s begin!
How To Draw SpongeBob SquarePants – A Step by Step Guide
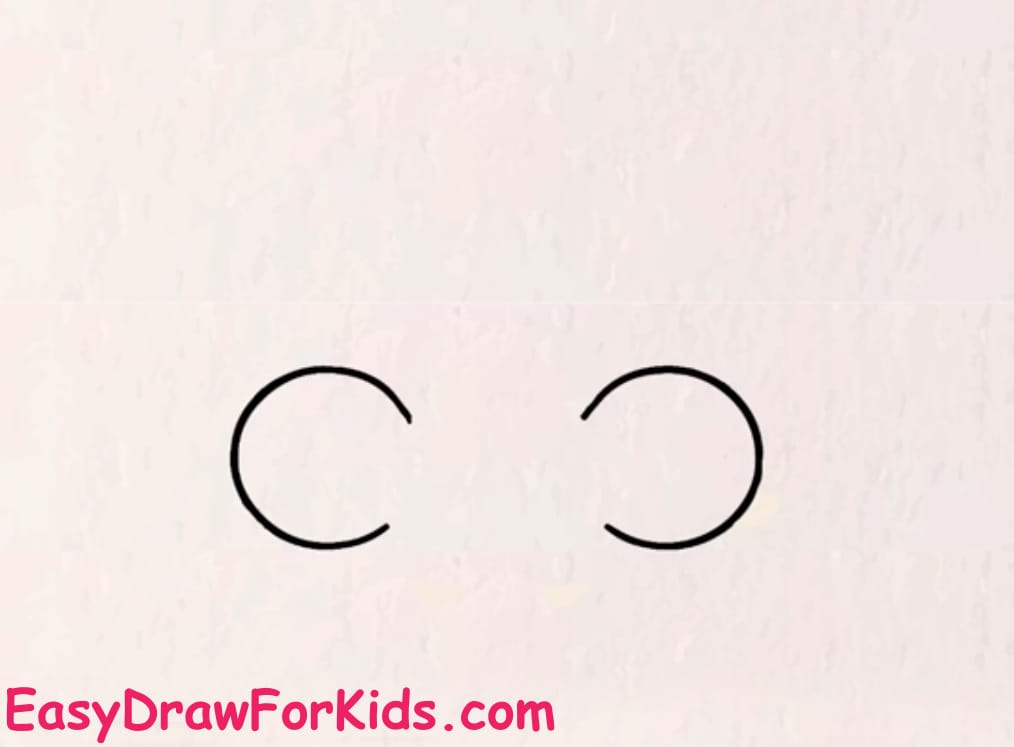
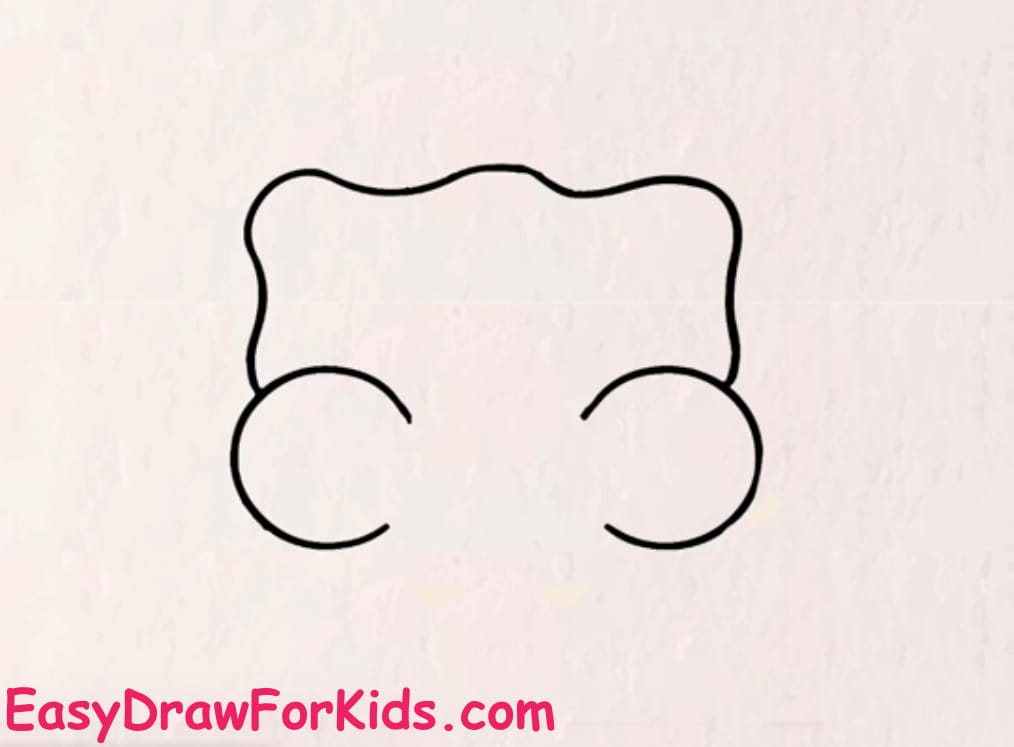
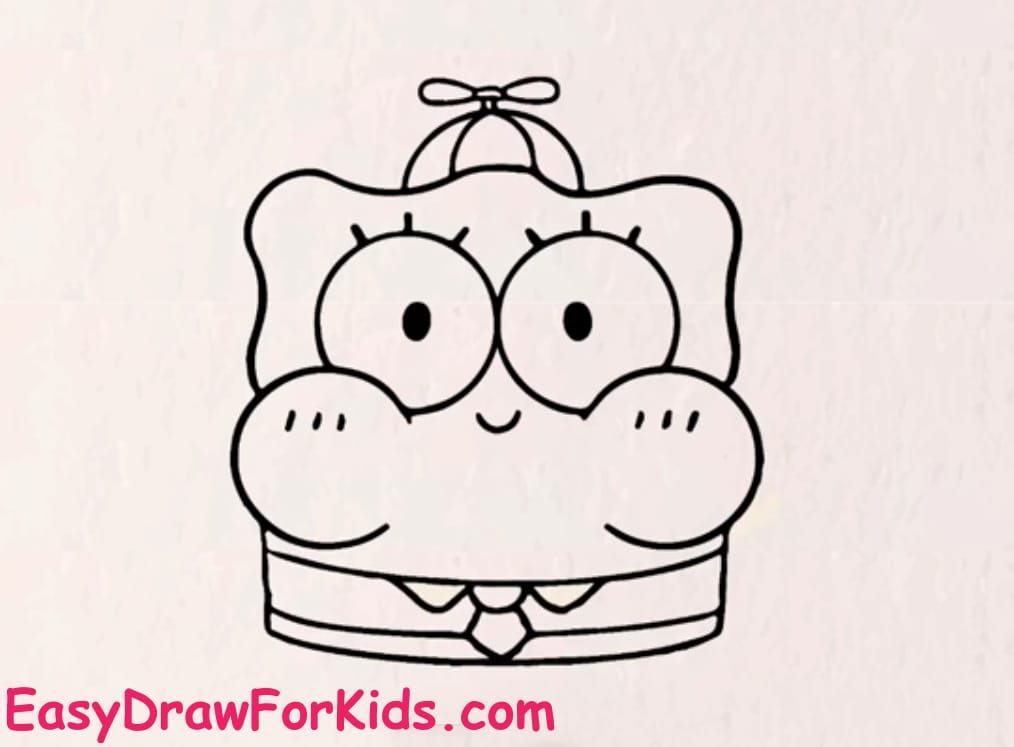
1. Cute SpongeBob Drawing
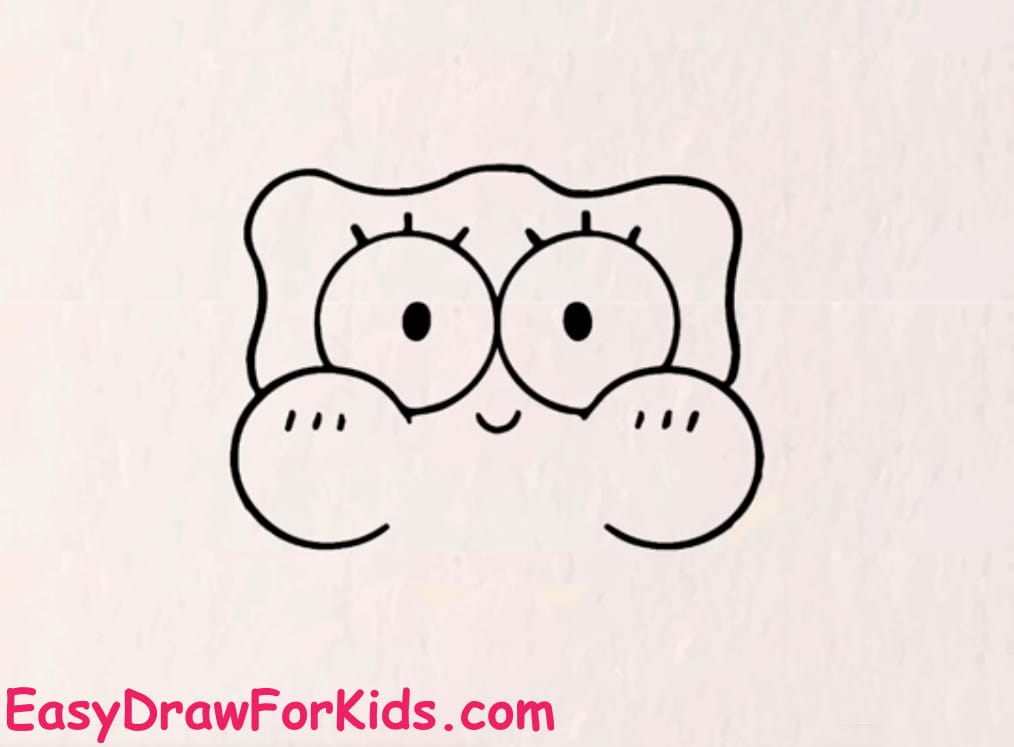
Step 1: Start by drawing two large C shape side by side for SpongeBob’s eyes.
Step 2: Around the eyes, sketch a squiggly rectangular shape – this forms the outline of SpongeBob’s head and sponge body (bumpy edges for his porous look).
Step 3: Draw three straight lines above each eye for the eyelashes.
Inside each eye, draw a smaller black dot for the pupils.
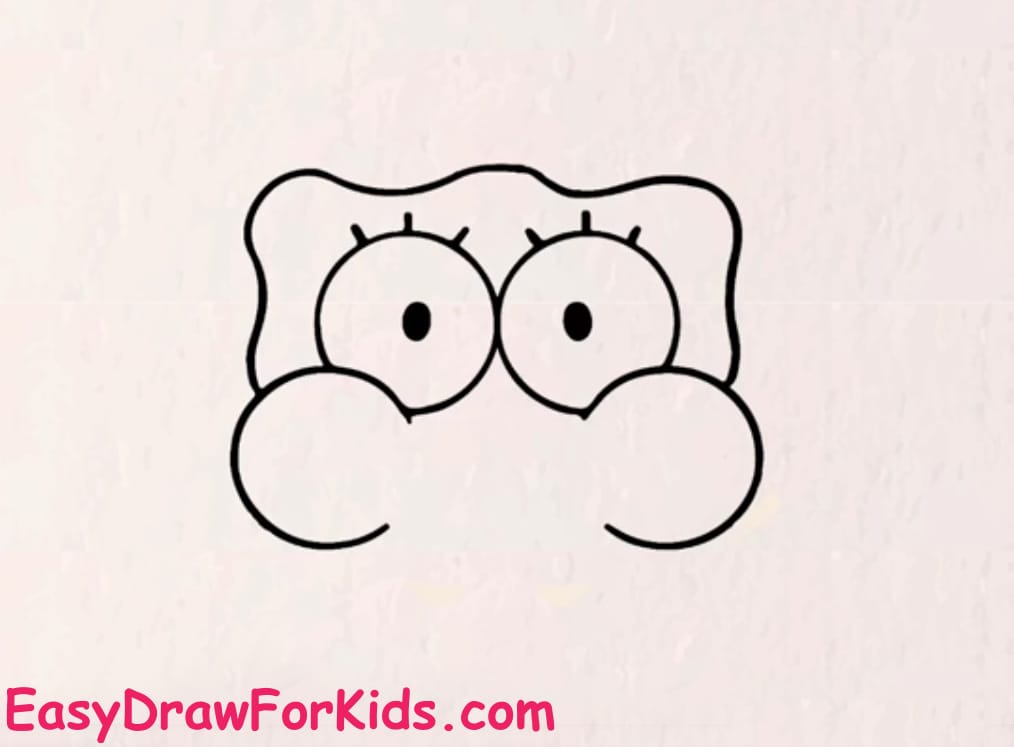
Step 4: Add a small curved line between the eyes for SpongeBob’s nose.

Step 5: Add two small circles on each cheek to give a blushing or cute effect.
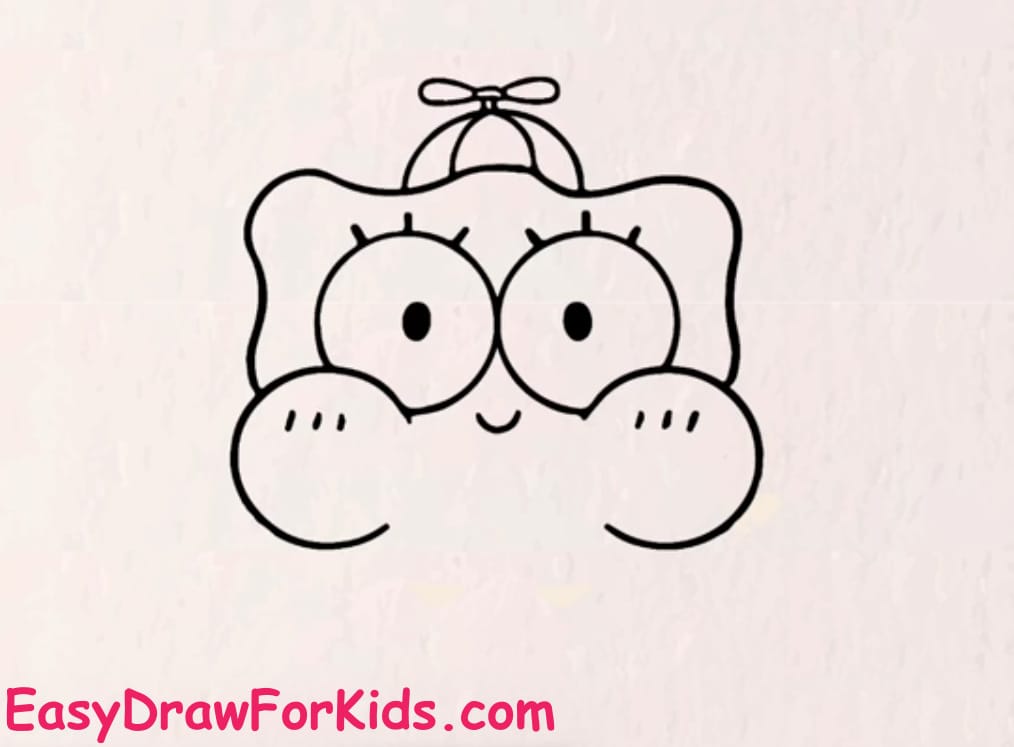
Step 6: On top of SpongeBob’s head, draw a small boat-shaped sailor’s hat with a tiny anchor symbol in the center.
Step 7: Just under the mouth, sketch two diagonal lines pointing downward to form the shirt collar.
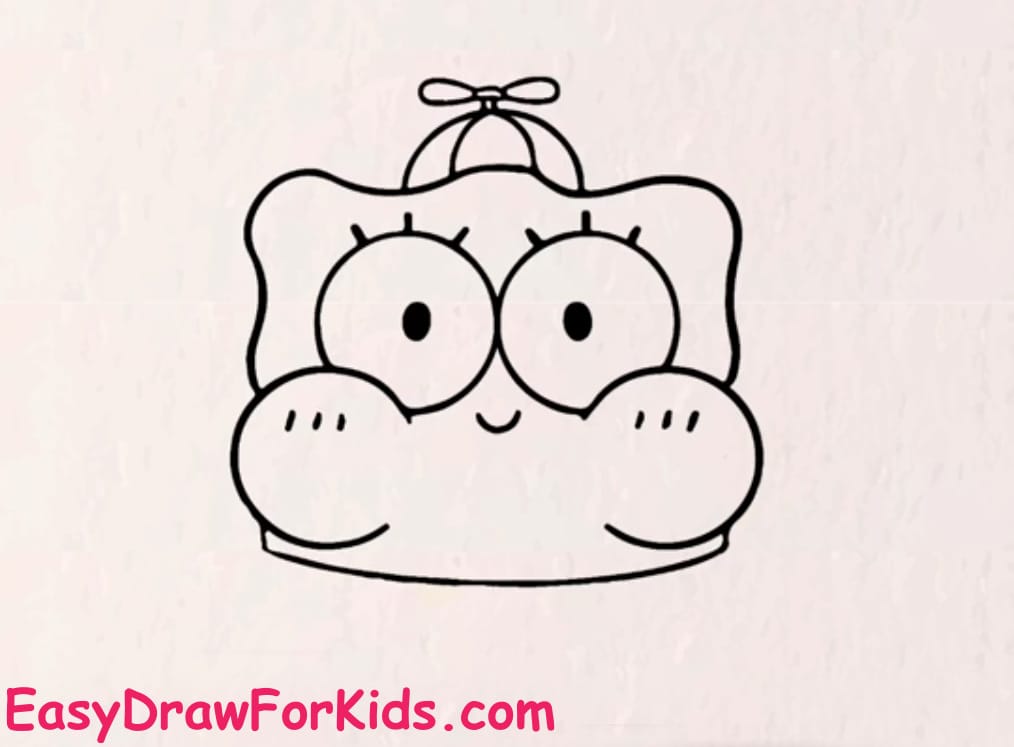
Step 8: Between the shirt collar, add a small knot and two triangular tie flaps for his signature red tie.
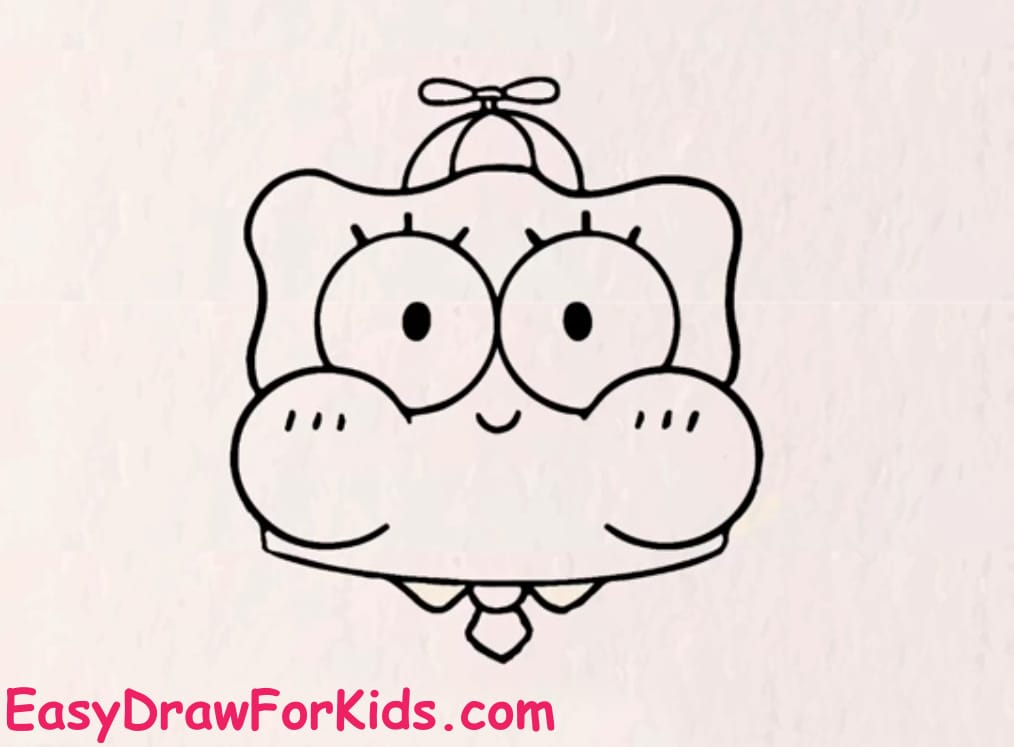
Step 9: From the shirt collar, draw downward two parallel lines forming the shirt.
Beneath that, draw two more lines outward to form SpongeBob’s pants. Add a belt line across the waist area.
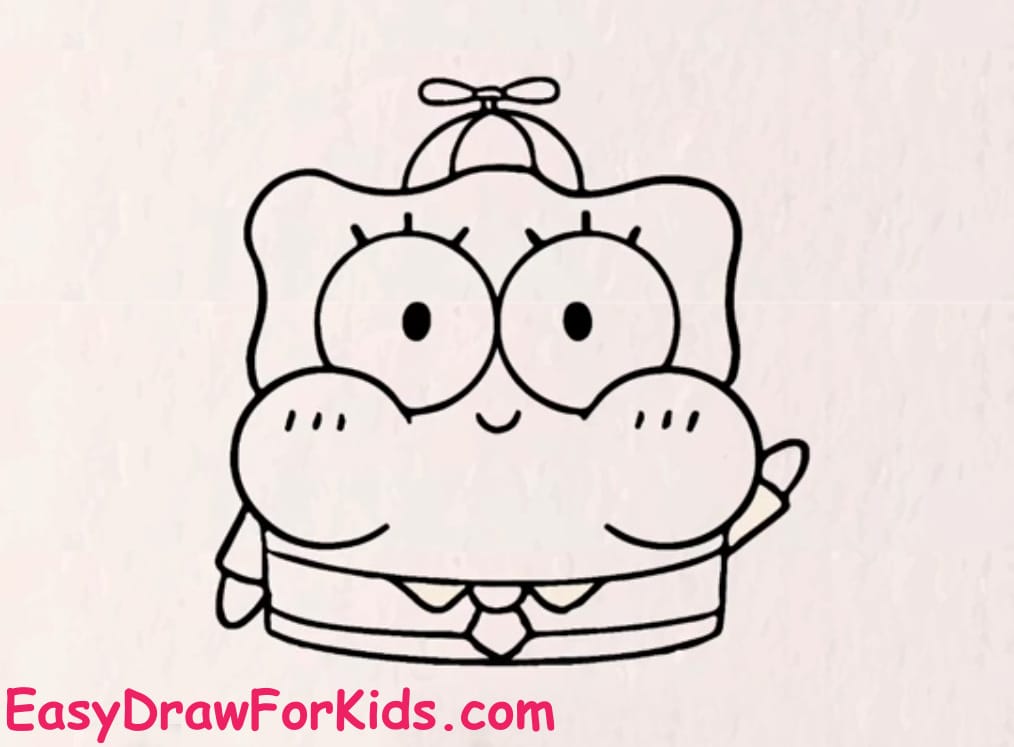
Step 10: Draw two arms extending from either side of the torso.
Each arm has a small glove-like hand at the end with fingers.
Step 11: Below the torso, draw two curved line for two pants.
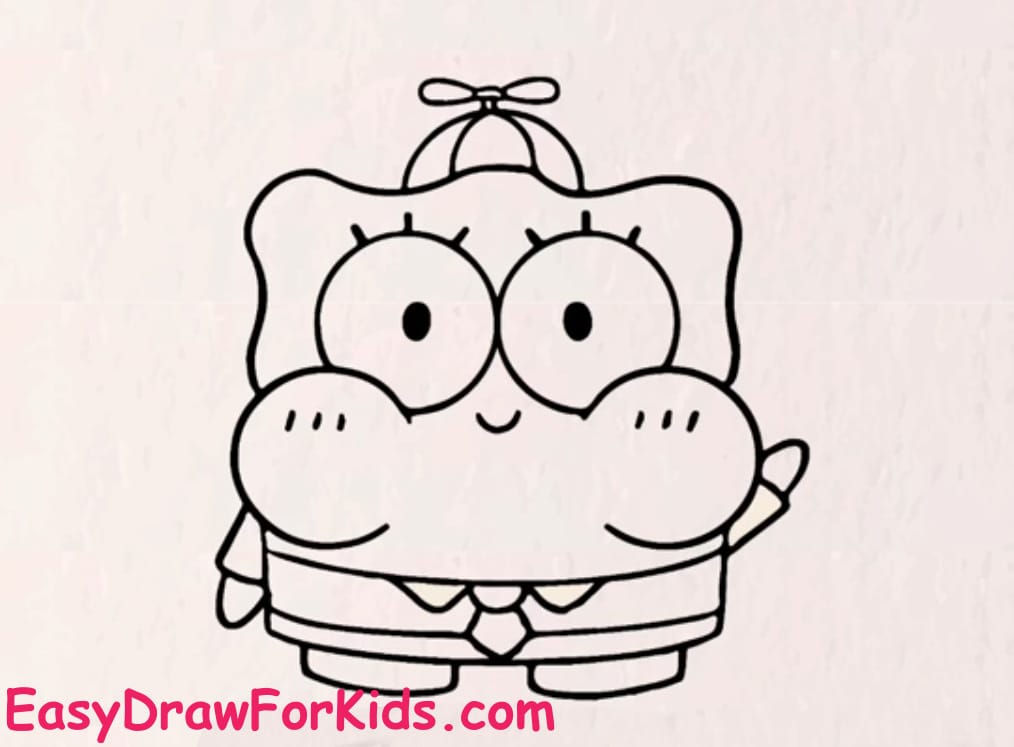
Step 12: Below two pants, draw two curved lines for thin legs. At the end of each leg, add his signature rounded shoes.
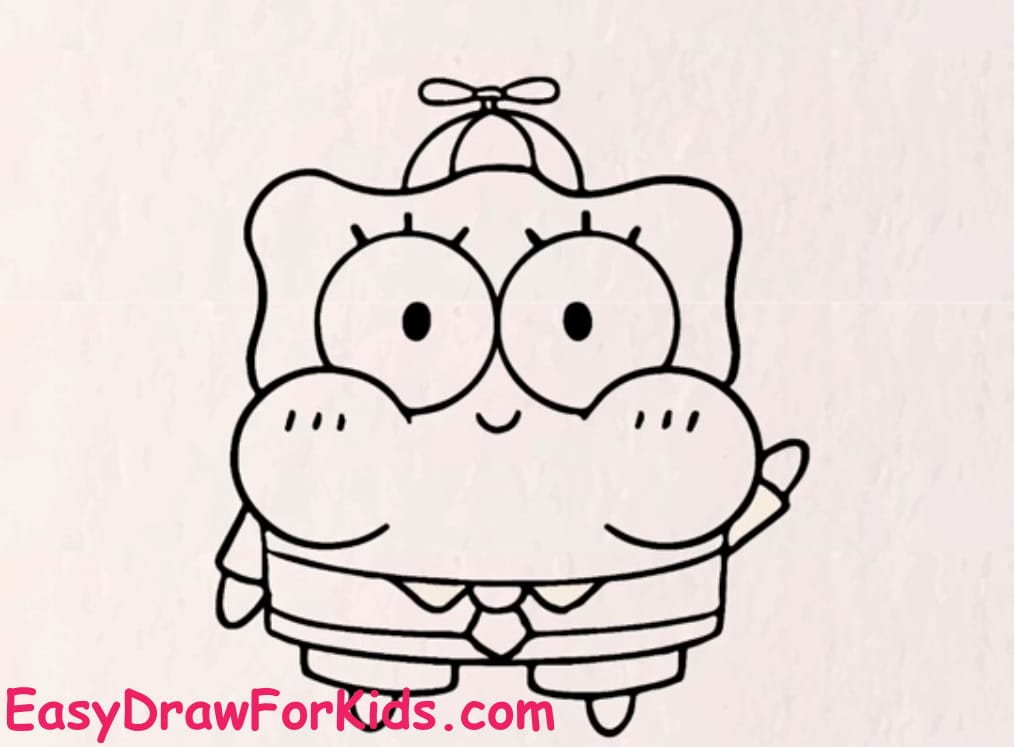
Step 13: Now we complete this guide how to draw SpongeBob SquarePants, it’s time to color it by your style or as shown the picture.
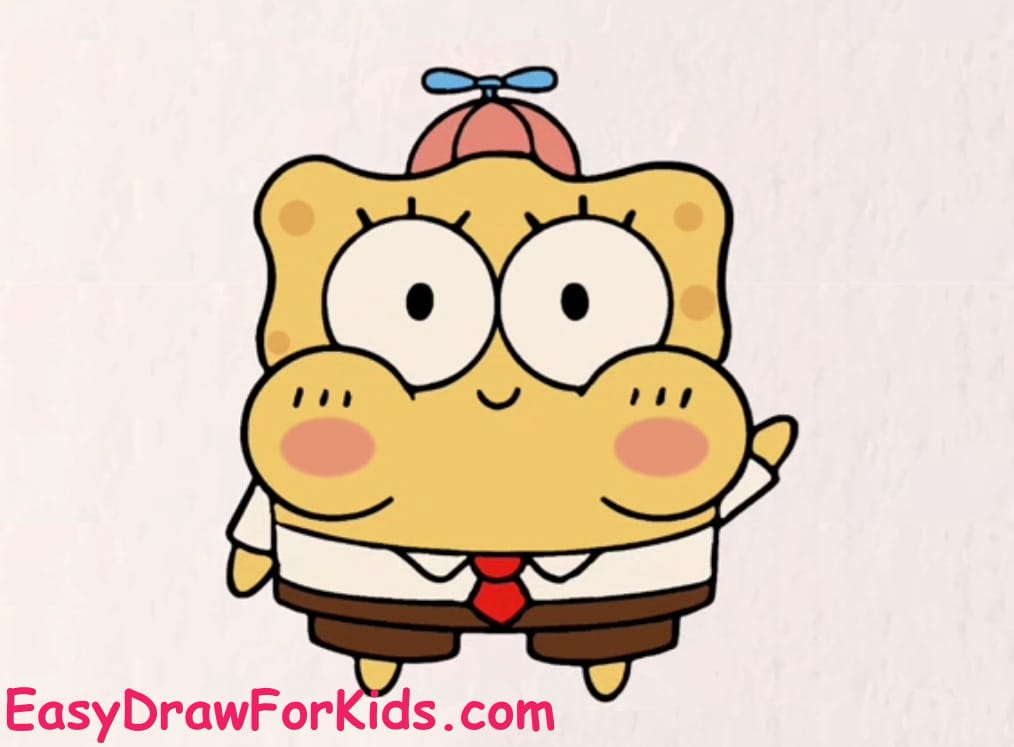
2. Easy SpongeBob SquarePants Drawing
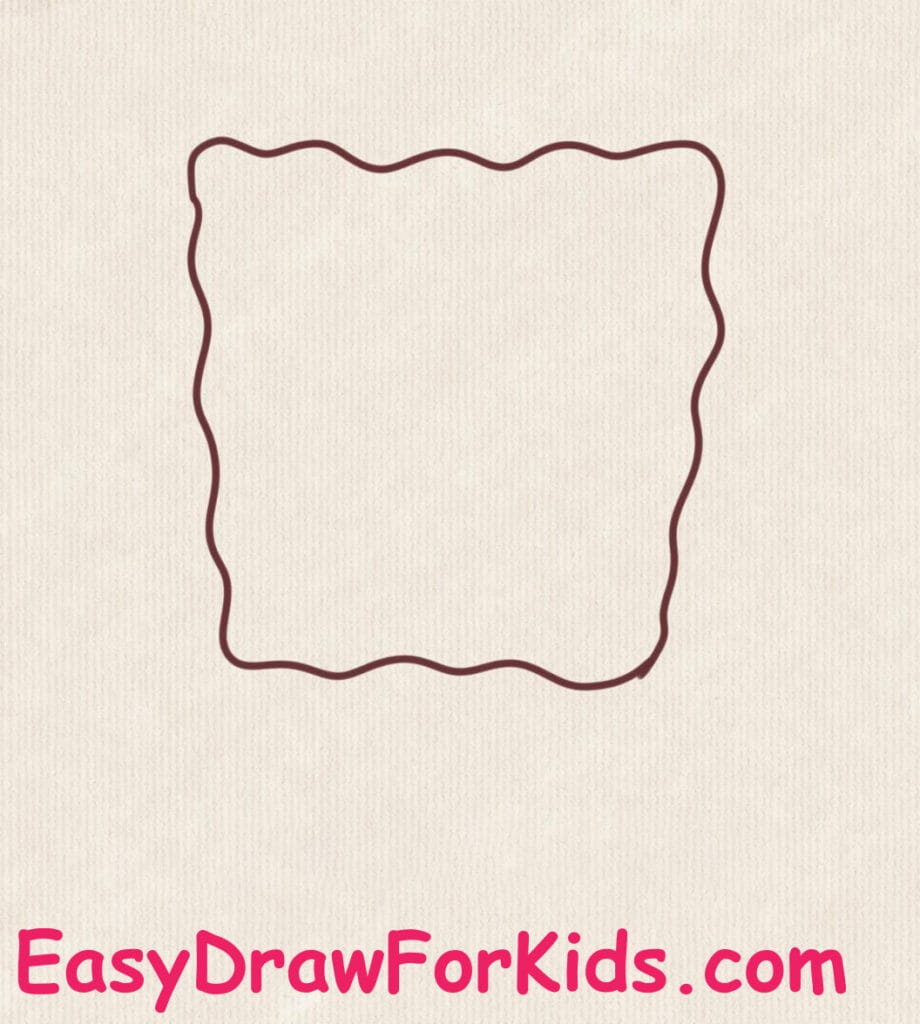
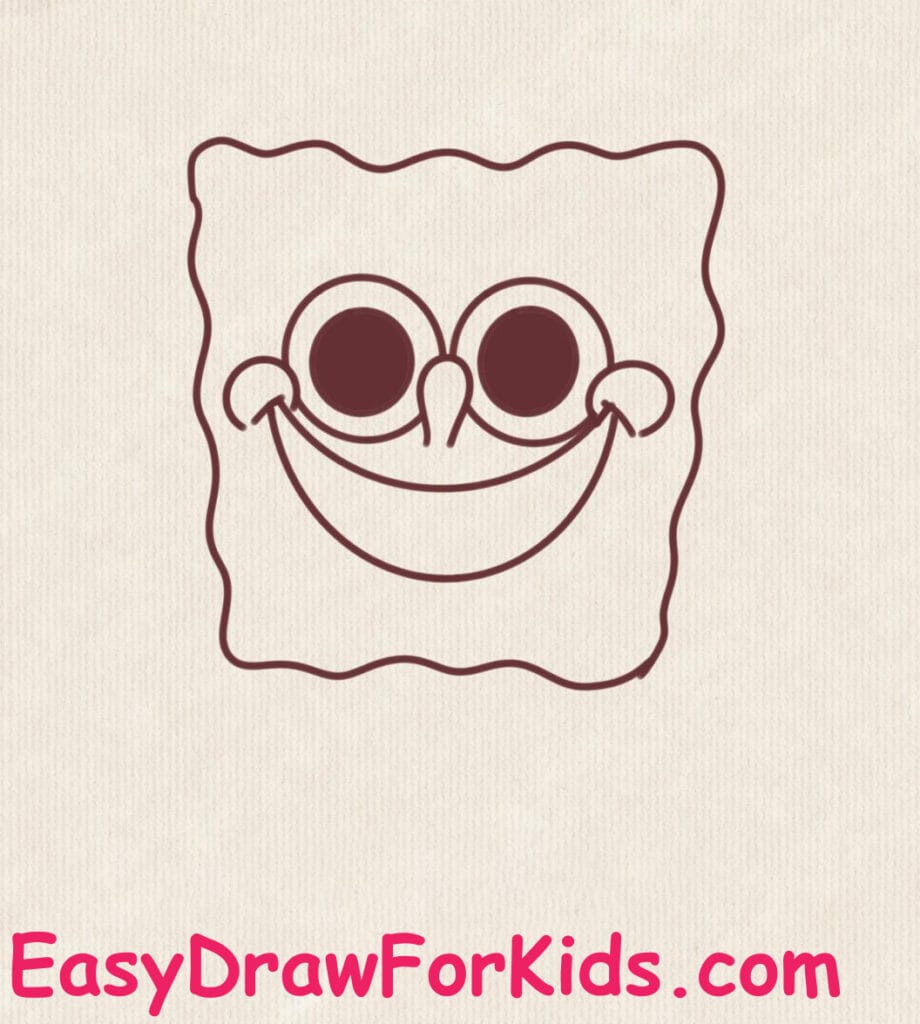
Step 1: Start by drawing a tall rectangle with wavy edges on all sides.
This will represent SpongeBob’s iconic sponge shape with a porous, uneven border.
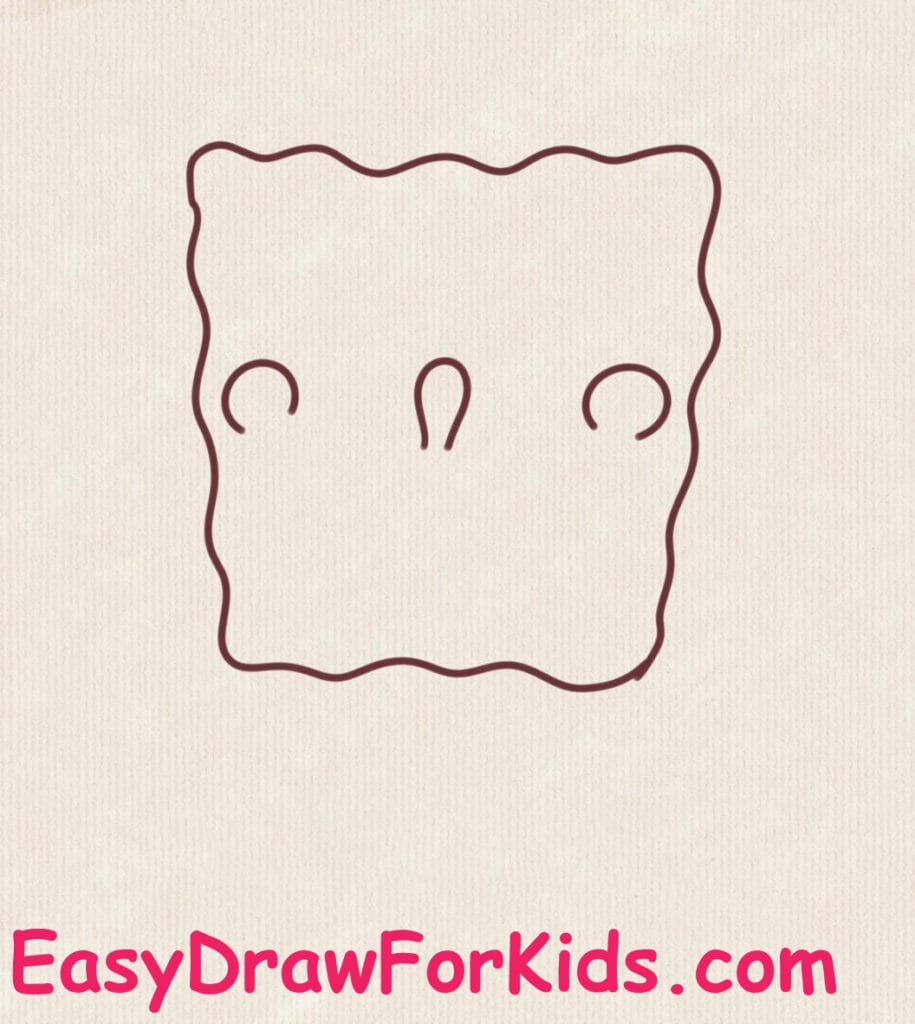
Step 2: Inside the rectangle, draw two large circles for the cheeks.
Between the eyes, draw two small vertical ovals to begin forming the bridge of his nose.
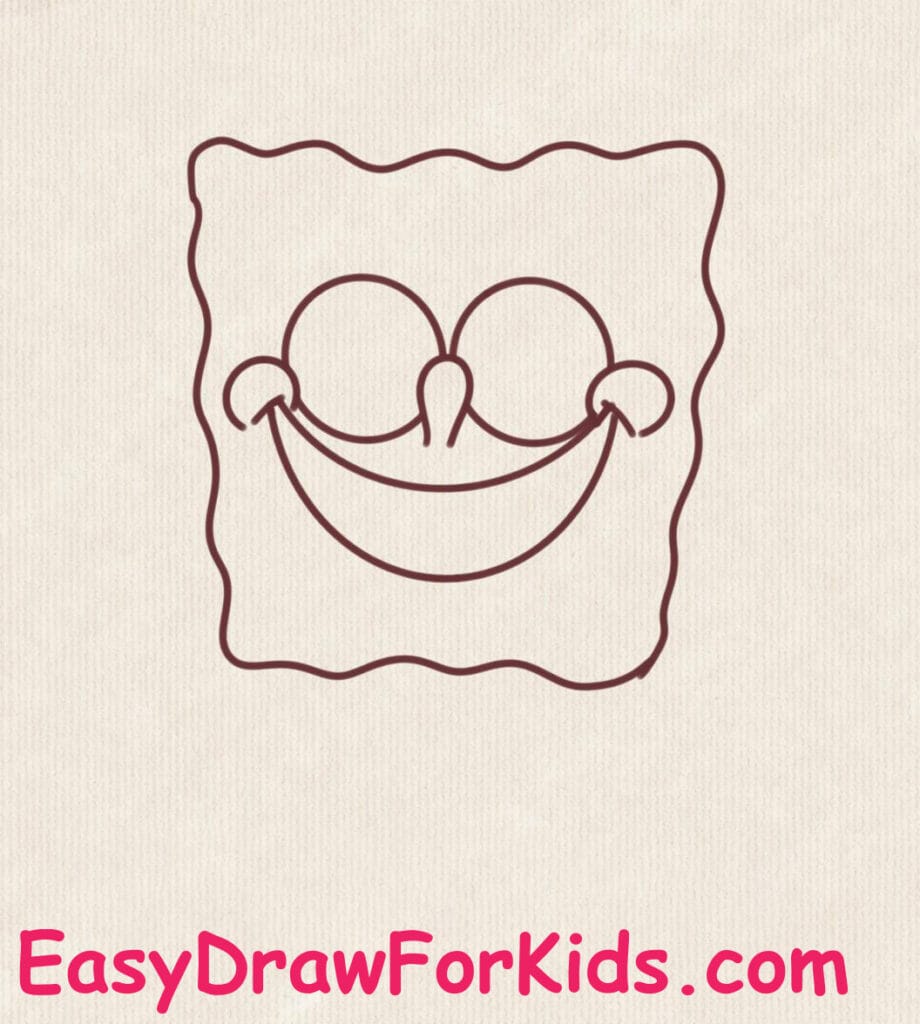
Step 3: Draw two curved lines connect two cheeks for the smile mouth
Draw two tiny dimples (dots or short curves) on either side of the smile.

Step 4: Draw two large circles for the eyes near the nose as shown the picture.
Step 5: Inside each large eye, draw two smaller circles: one for the iris, and one even smaller for the pupil.
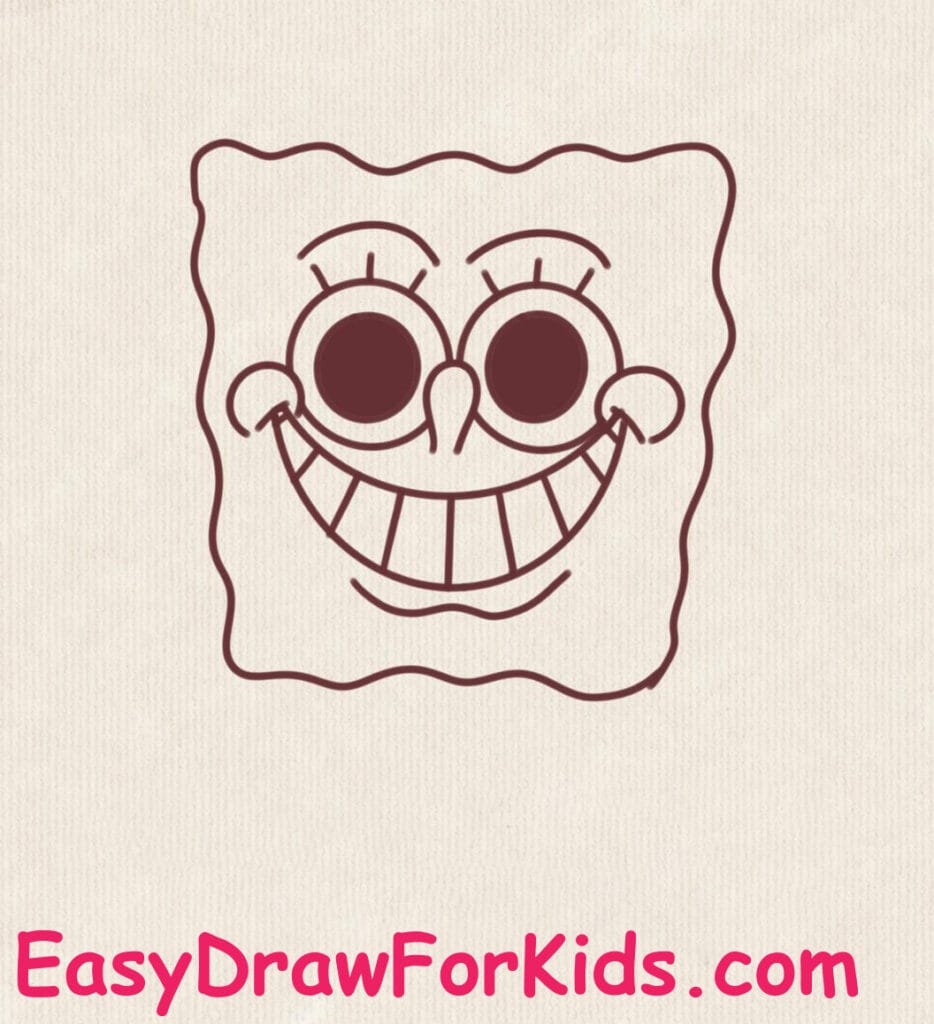
Step 6: Above each eye, add three short eyelashes sticking outwards.
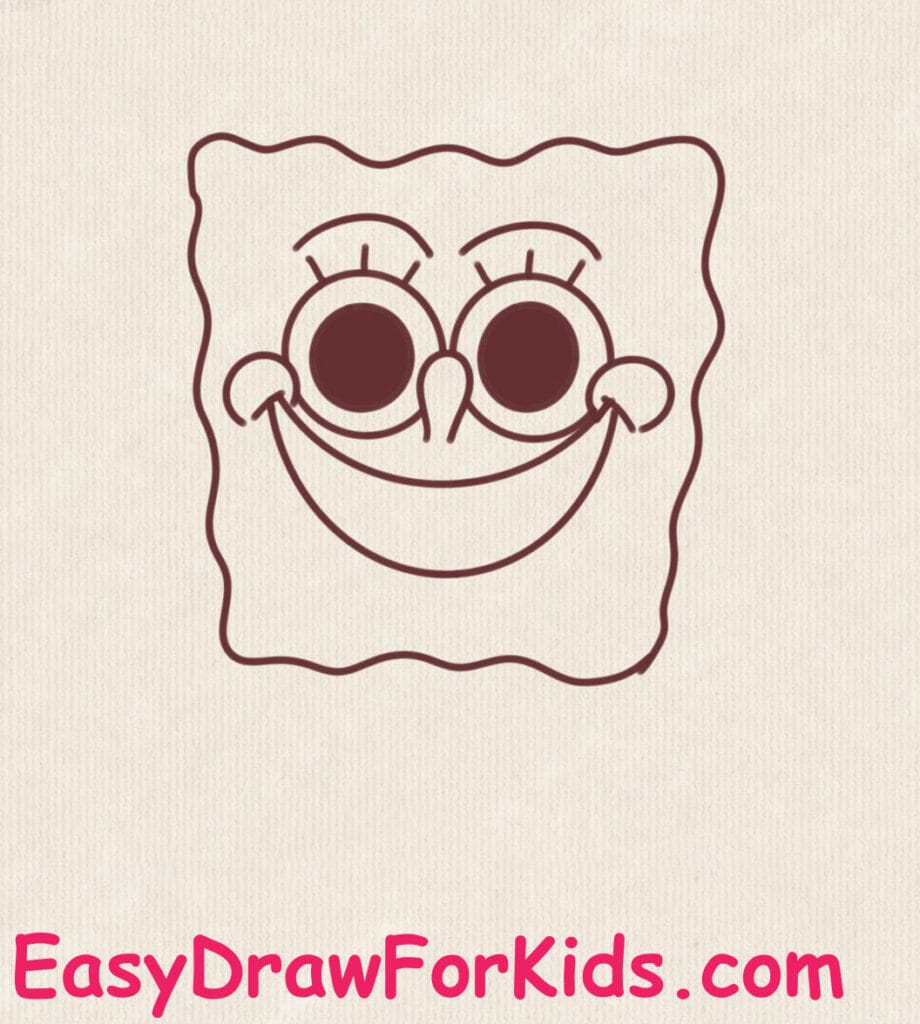
Step 7: Inside the mouth, draw straight lines for SpongeBob’s teeth.
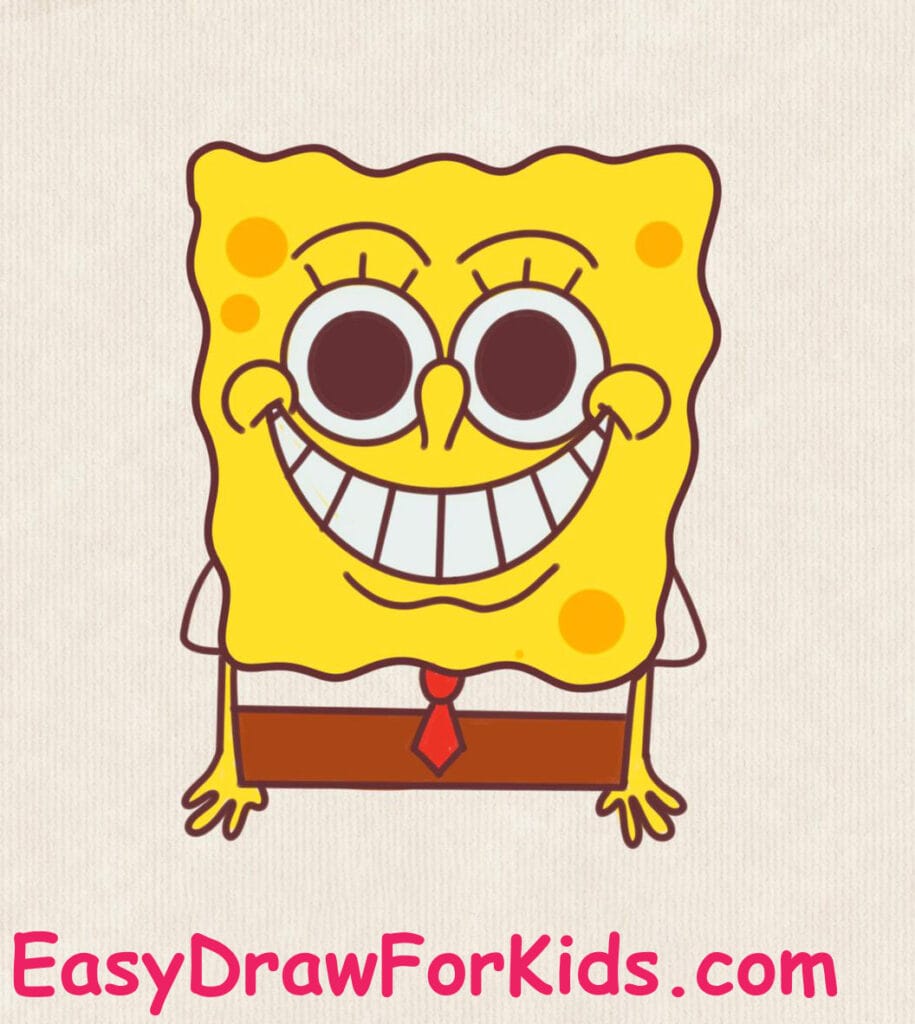
Step 8: Below the face, draw a horizontal line to indicate the shirt edge.
Draw two triangles for the collar and a small tie shape below the collar.

Step 9: On each side of the body, draw two thin arms.

Step 10: Add thin arms extending out from each side, ending in glove-like hands.

Step 11:
3. How To Draw Spongebob Drink Milk Tea
Here’s a detailed, step-by-step breakdown for drawing SpongeBob SquarePants drink milk tea.

4. How To Draw Spongebob Eating Watermelon
Below is a detailed step-by-step guide to drawing cute SpongeBob Eating Watermelon In 4 steps.

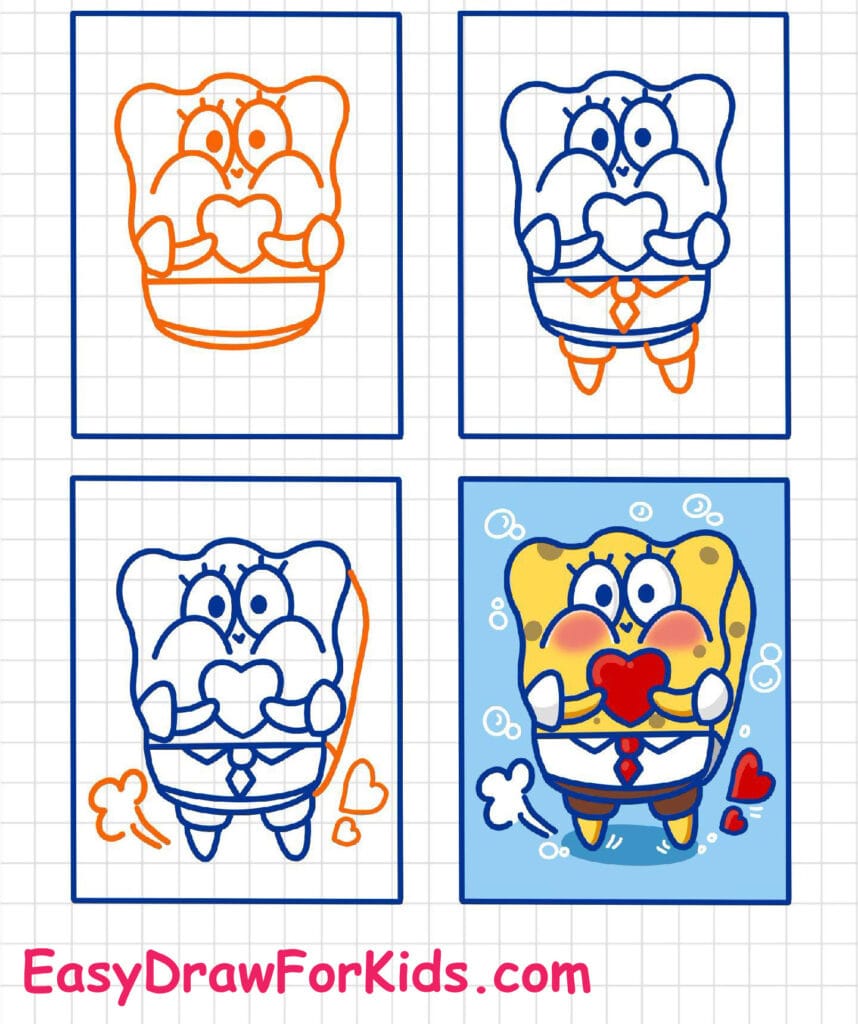
5. How To Draw Spongebob Holding A Heart
Here’s a detailed step-by-step guide for drawing SpongeBob holding a heart
Well done! You’ve completed your SpongeBob drawing, and hopefully had a great time doing it.
Drawing characters like SpongeBob teaches you how to simplify complex designs into fun, manageable steps.
If it didn’t come out exactly as you hoped — don’t worry. Every drawing is a learning experience.
Take a moment to appreciate your work — and then consider what you want to draw next.
Try drawing his friends like Patrick, Squidward, or Sandy.