Barn is a symbol of the idyllic countryside and hardworking farmers.
If you’ve ever wished to draw a barn, you’re in the right place.
This tutorial will provide you with a comprehensive guide on how to draw a barn from scratch.
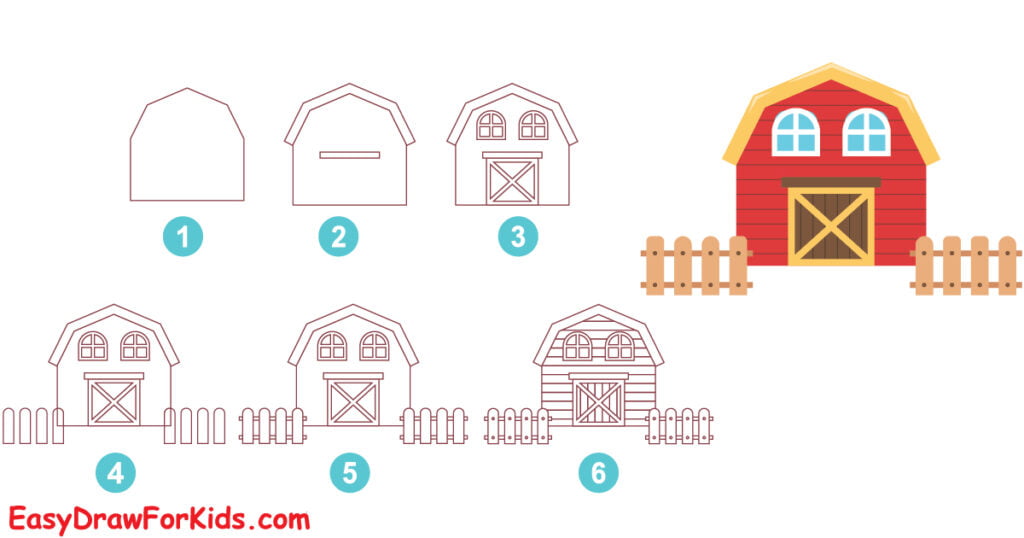
How To Draw A Barn – A Step by Step Guide
Step 1: Draw the Basic Shape
Start by drawing a horizontal rectangle for the main structure of the barn.
Add a slightly smaller rectangle on top of the main structure to form attic area of the barn.
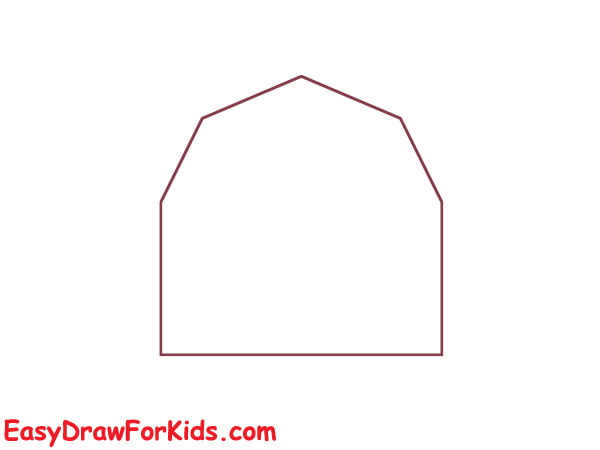
Step 2: Draw the Barn Roof
On the front-facing side of the barn, draw a triangular shape for the roof downwards from the center towards each side of the barn.
Extend two lines down from the roof to create the walls of the barn.
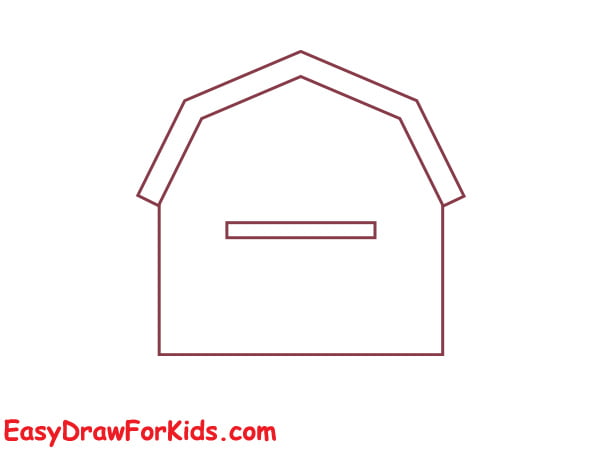
Step 3: Draw the Door and Windows
Draw a door and windows by using a rectangular shape on the front-facing side of the barn.
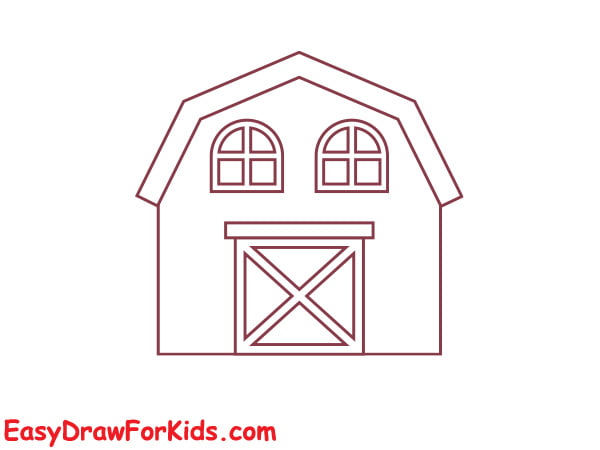
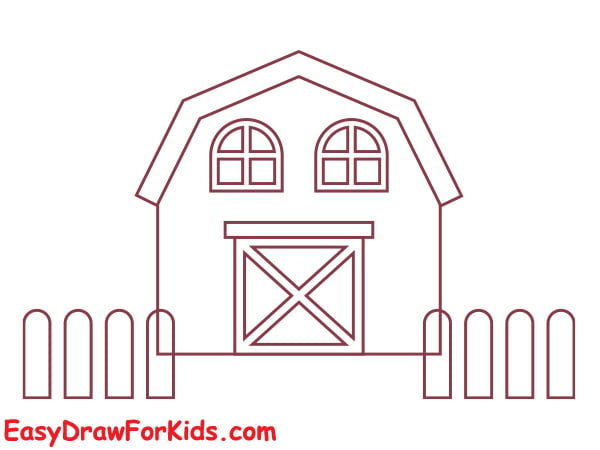
Step 4: Draw the Fence
The fourth step of this guide on how to draw a barn will focus on the fence.
Draw vertical lines evenly spaced between the posts to represent the wooden slats of the fence.
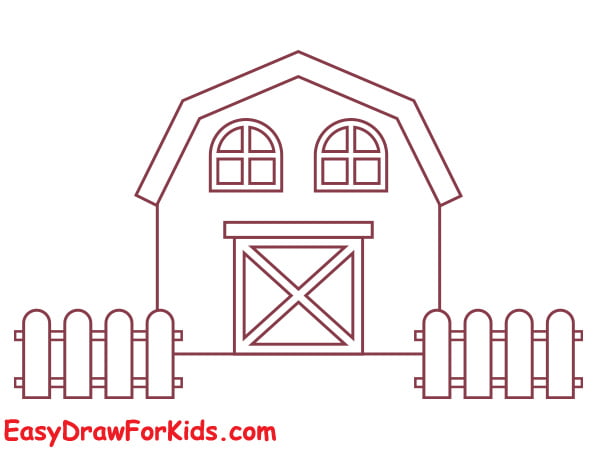
Step 5: Draw the Rail
Connect the top of each vertical line with a horizontal line.
This creates the top rail of the fence.
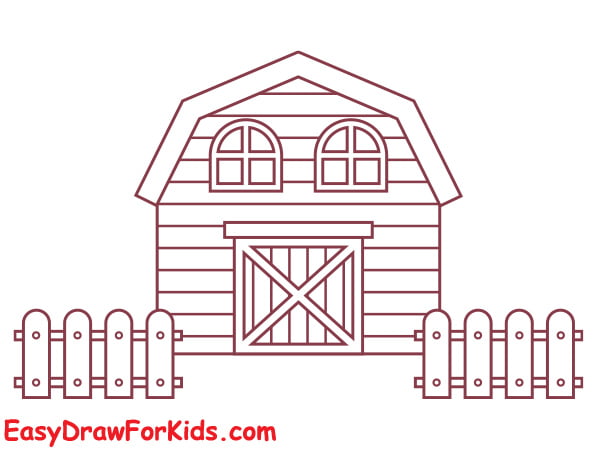
Step 6: Adding Details
Start by adding texture to the walls by drawing horizontal lines across to represent wooden panels or bricks.
Next, add shingles to the roof by drawing small, overlapping rectangles that follow the roof’s angle.
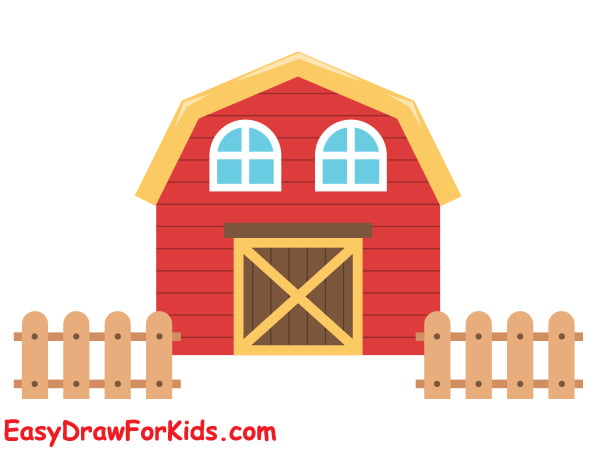
Step 7: Color the Drawing
Now that we’ve completed this guide on how to draw a barn, it’s time to color!
Try neutral tones like cream or beige for the siding with terracotta red for the roof and stairs.
Use greens, browns, and blues for lush landscaping.
Tips for drawing a Barn
Look at photo references of the actual barn.
Add a picket fence, flower beds, yard tools leaning on the house, an old wagon wheel, etc.
Draw mushroom, hills, trees, bushes, and rocks around the barn.
Remember, drawing is a journey, and each artwork you create is an opportunity to learn and grow.


