Are you looking for an easy way to draw a mushroom?
Well, you’ve come to the right place!
This tutorial will show you how to draw a mushroom in 7 ways using simple shapes and lines.
How to draw a Mushroom – A step by step guide
1. Simple Mushroom Drawing

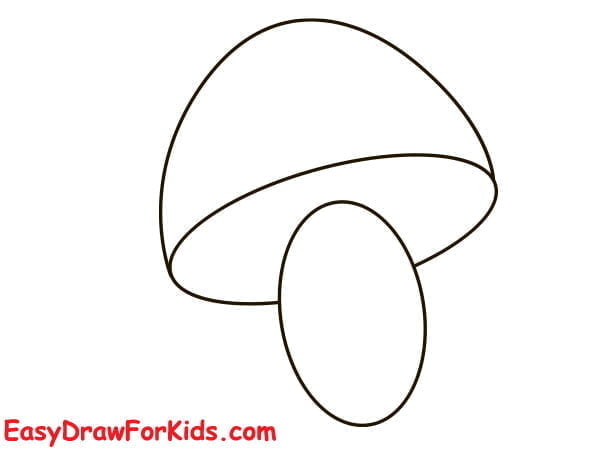
Step 1: Draw a vertical oval shape for the mushroom’s stalk.

Step 2: Draw a horizontal oval shape at the top of the mushroom’s stalk for the bottom of the cap.

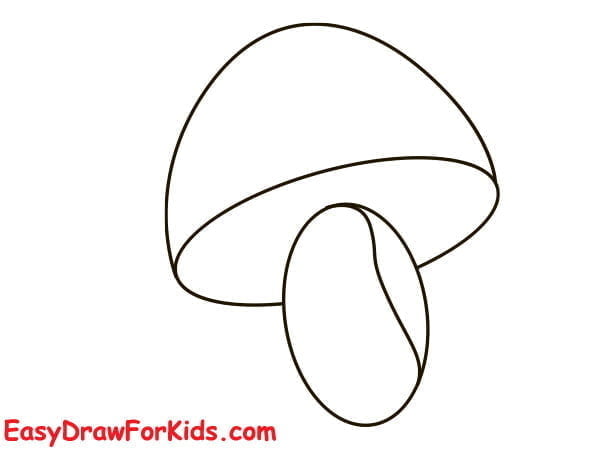
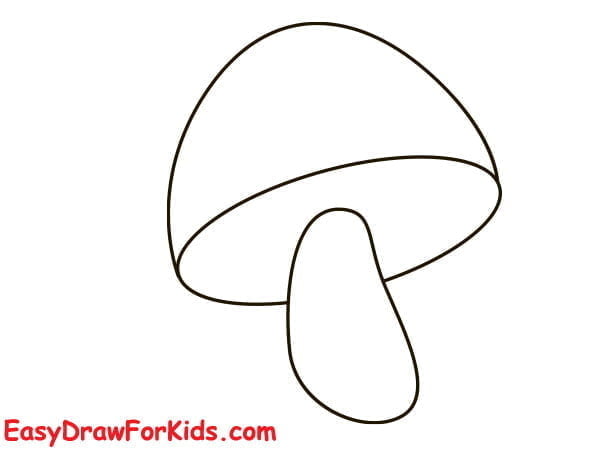
Step 3: Draw a smooth, curved line connecting the bottom of the cap to form the top of the mushroom cap.

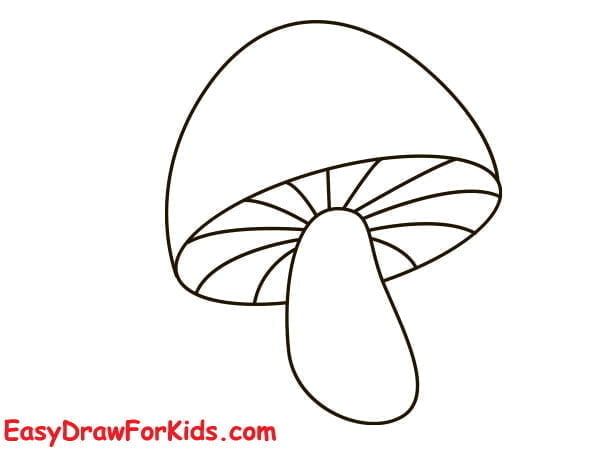
Step 4: On the inside of the cap, consistently draw lines from the center to the outer contour.

Step 5: The fifth step on guide how to draw a mushroom, draw a few tiny dots on the top of the mushroom for the spores.

Step 6: Finally, color your mushroom.
The stem can be any color you like, but the cap is usually some shade of brown or red.
2. Kawaii Mushroom Drawing
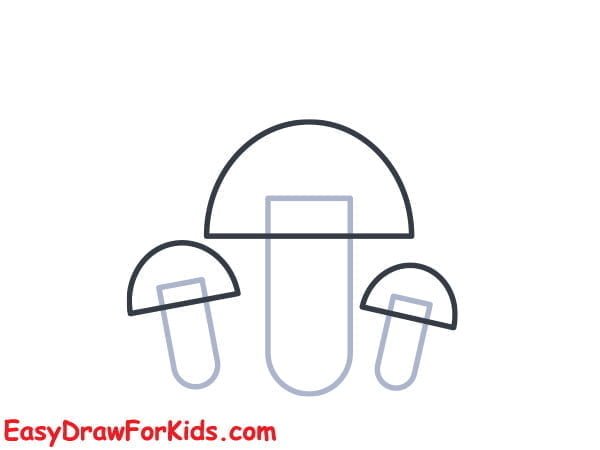
Step 1: Start by drawing several different-sized oval shapes to form the stems of the mushrooms.

Step 2: Above each stem, draw an oval shape to represent the cap of the mushroom.
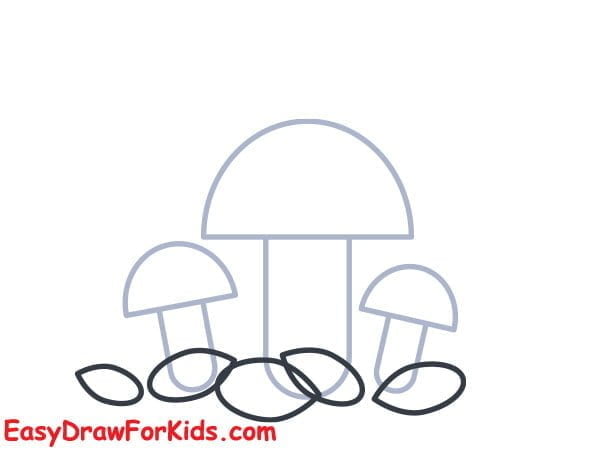
Step 3: Draw several different-sized oval shapes beside the stem to form the leaf
Step 4: On the top of the mushroom, draw curved lines to form the branch
Step 5: Add stem to the leaf
Step 6: Coloring

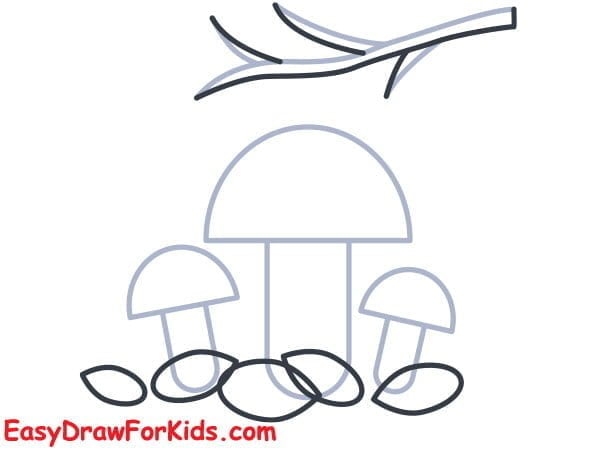
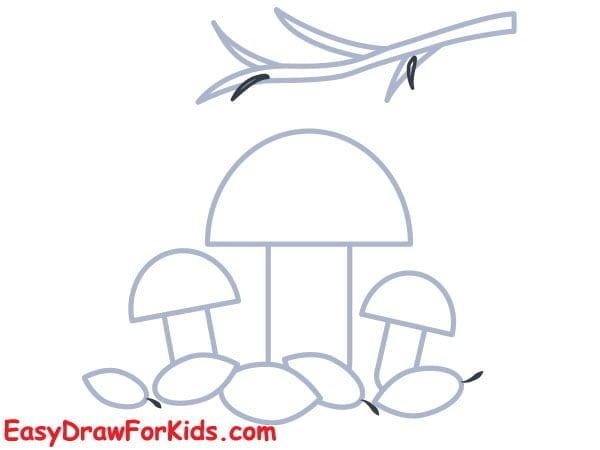
3. Aesthetic Mushroom Drawing
Step 1: Draw two large, rounded shapes at the top of your paper to form the mushroom’s cap.

Step 2: Beneath the cap, draw vertical lines to represent the stem of the mushroom.
Step 3: Add additional details to the cap, such as small dots, patterns, or lines.
Step 4: Draw small lines along the stem to create the gills.
Step 5: Adding grass around the mushroom.
Step 6: Color the cap, stem, and decorative elements accordingly
4. Cartoon Mushroom Drawing
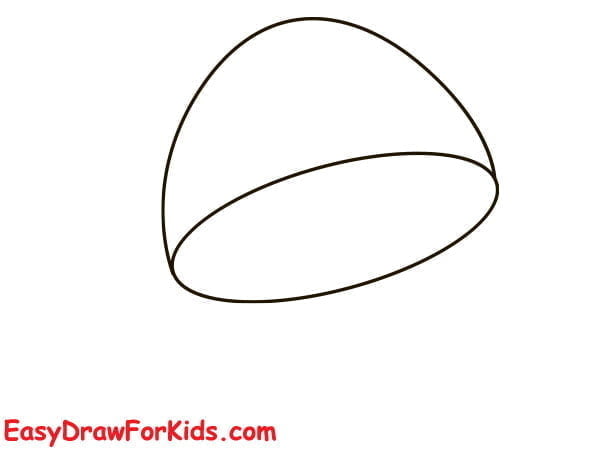
Step 1: Draw a large oval shape for the cap of the mushroom.
Step 2: Add the mushroom stem below the cap
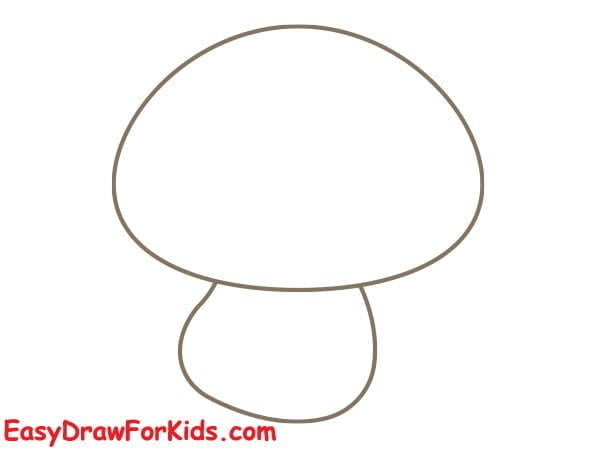
Step 3: Add small curves at the bottom for the lip of the cap.
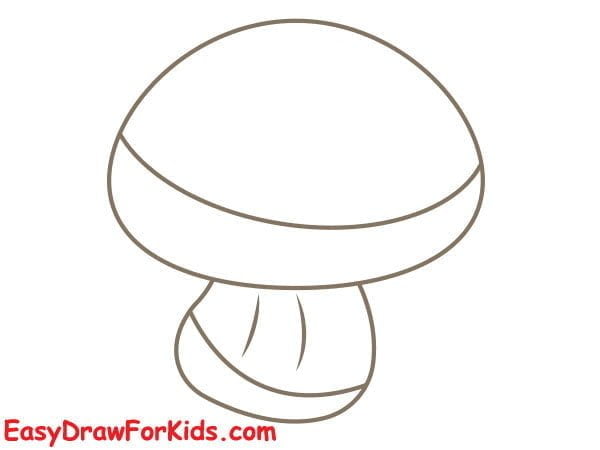
Step 4: Draw “X” shape on the top of the mushroom cap
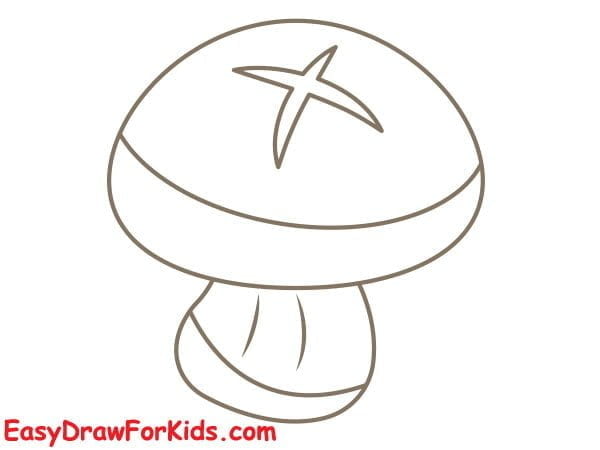
Step 5: Color your cartoon mushroom drawing

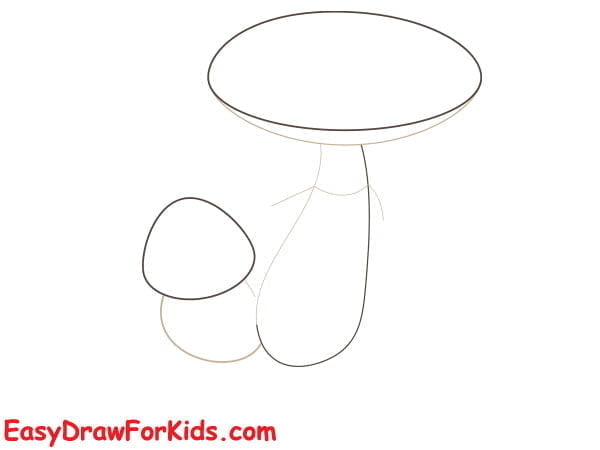
5. Cute Mushroom Drawing
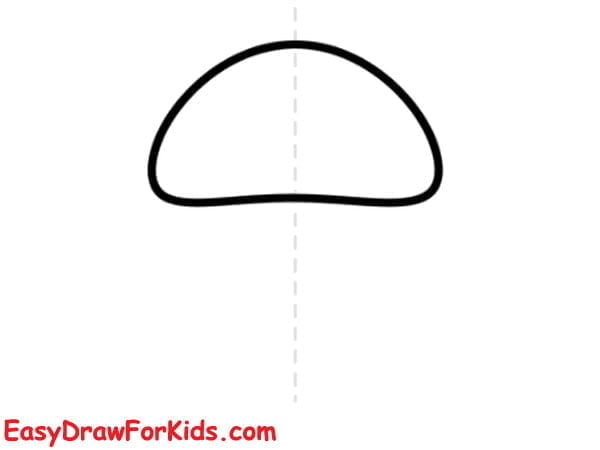
Step 1: Draw an oval shape for the bottom of the mushroom cap

Step 2: The second step on guide how to draw a mushroom, draw a curved line on the top to complete the mushroom cap
Step 3: Below the cap, draw an oval shape for the stem
Step 4: Make stem slightly irregular and wavy to give it a natural look.
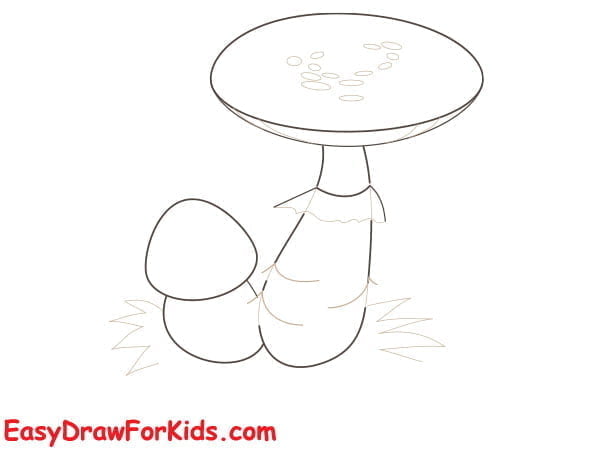
Step 5: Erasing any unnecessary guidelines
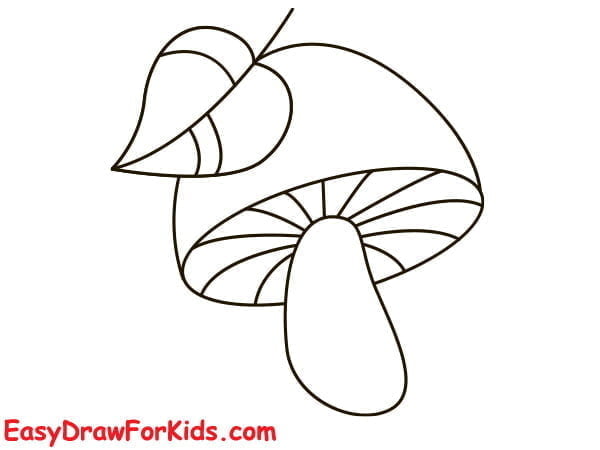
Step 6: Draw small, curved lines all over the bottom of the mushroom cap to create a textured appearance.
Step 7: Sketch an oval shape on the top of the mushroom cap

Step 8: In this step on guide how to draw a mushroom, draw a wavy line along the top of the curve to create the outline of the leaf.
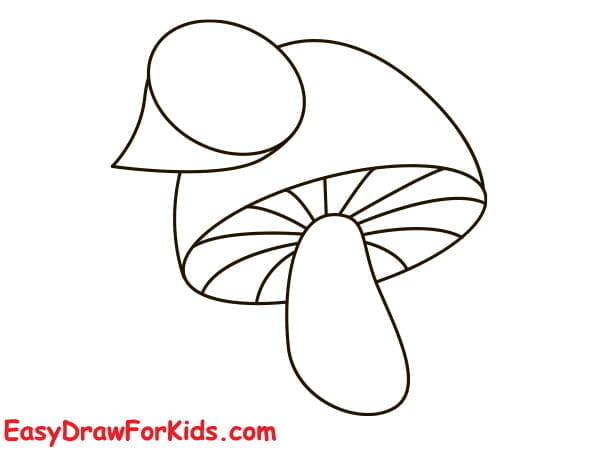
Step 9: Add some smaller veins extending from the center vein of the leaf.
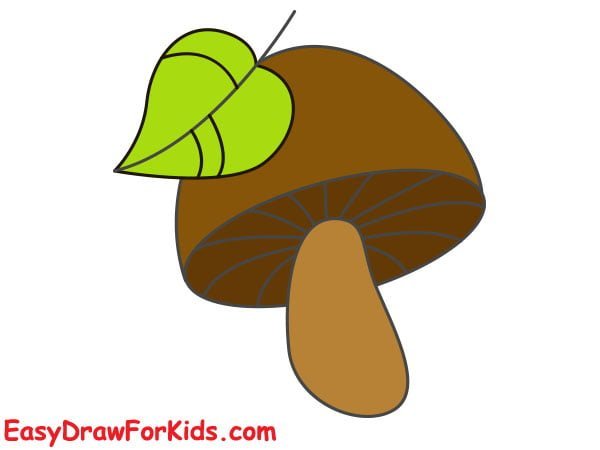
Step 10: The mushroom’s cap should be brown, the stem pale brown, and the leaf shades of green.
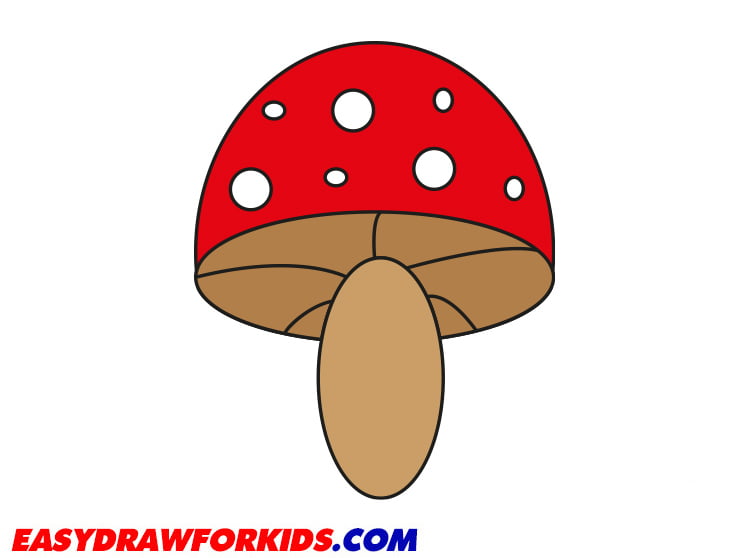
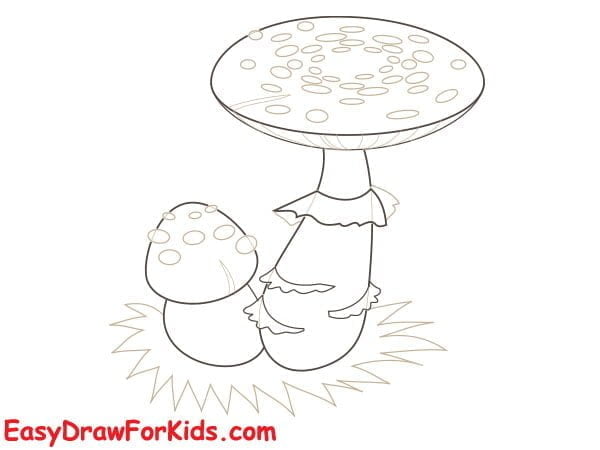
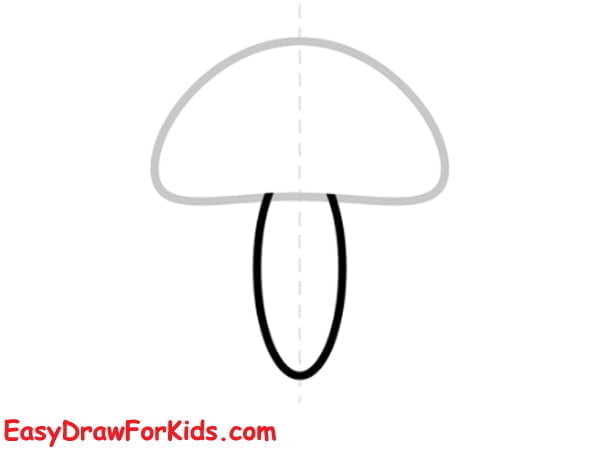
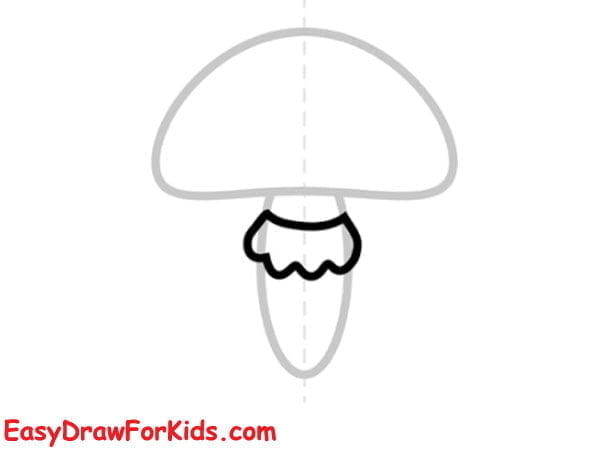
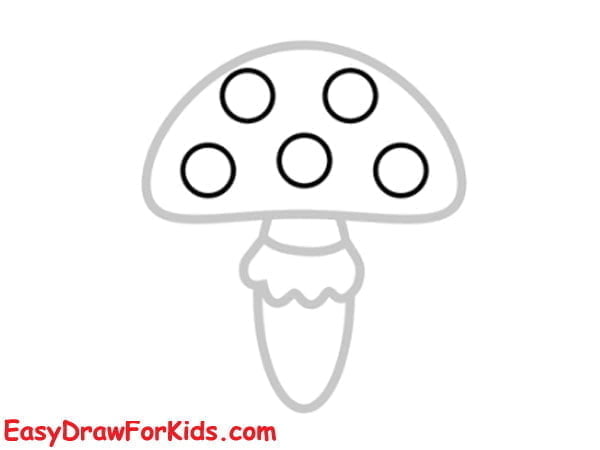
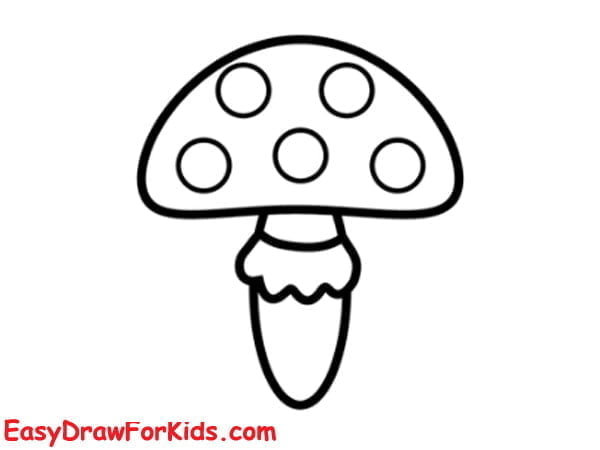
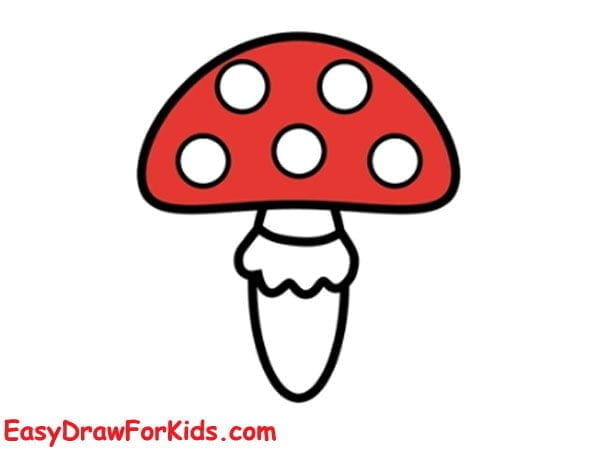
6. Red Mushroom Drawing
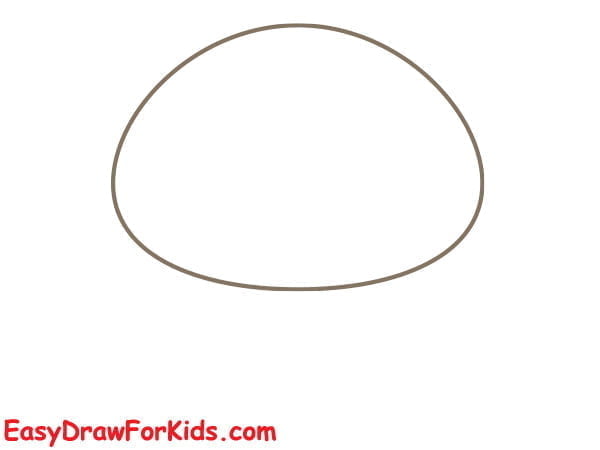
Step 1: Draw a vertical line for the guideline, add an oval shape for the cap.
Step 2: Draw a long oval shape below the cap to form the stem
Step 3: The third step on guide how to draw a mushroom, add gills underneath the cap.
Step 4: Draw small circles all over the cap of the mushroom
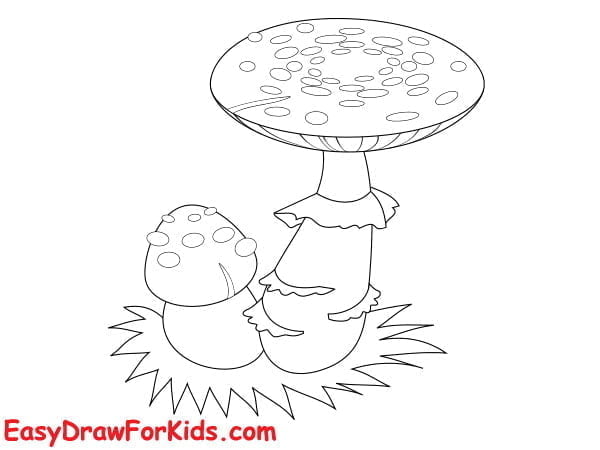
Step 5: Erasing any unnecessary guidelines
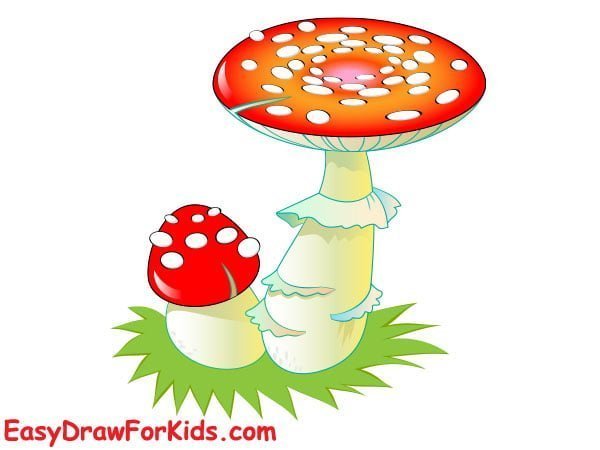
Step 6: Use a bright, vibrant shade of red to color the cap. Leave the spots white and color the stem a cream color.
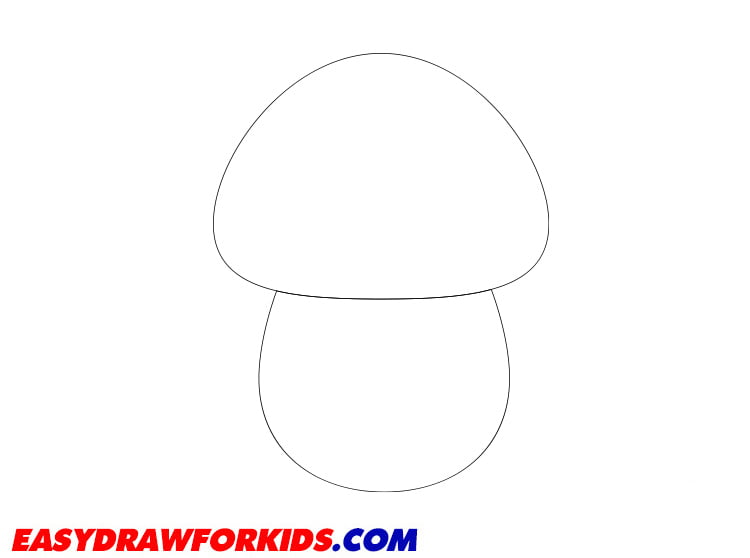
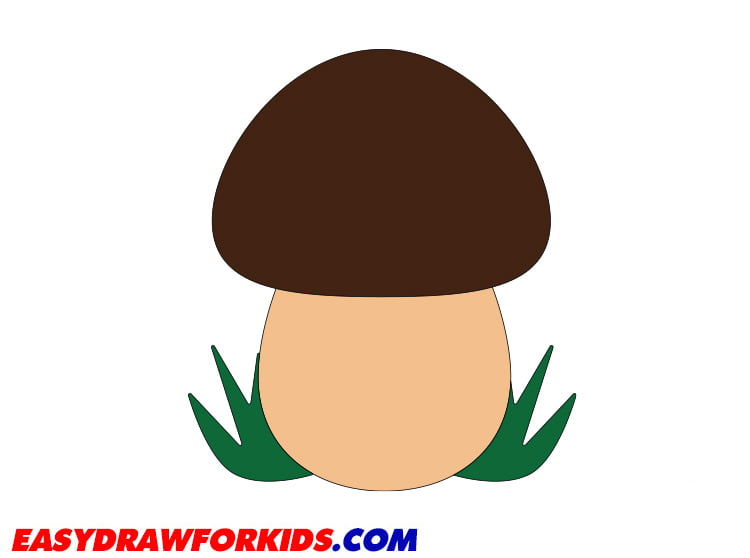
7. Easy Mushroom Drawing

Step 1: Start this guide how to draw a mushroom by drawing an oval shape for the mushroom cap

Step 2: Add a stem coming off the bottom of the mushroom cap
Step 3: Add a few small line for the grass that are located at the very bottom of the mushroom

Step 4: Finally, color to complete the picture by your style or as shown the picture
Drawing a mushroom allows you to connect with nature.
With this guide how to draw a mushroom, you now have a cute cartoon mushroom drawing.