In this tutorial, easydrawforkids.com will guide you learning how to draw a volcano with 2 ways.
From sketching out the initial volcano shape to adding details like smoke, ash, and lava flows.
How to Draw a Volcano – A Step by Step Guide
1. Volcano Erupting Drawing
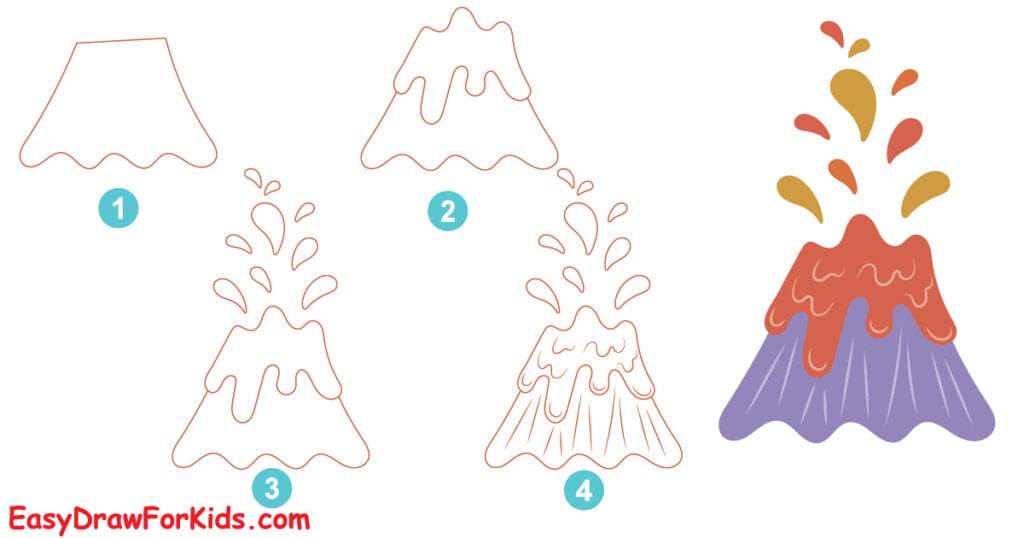
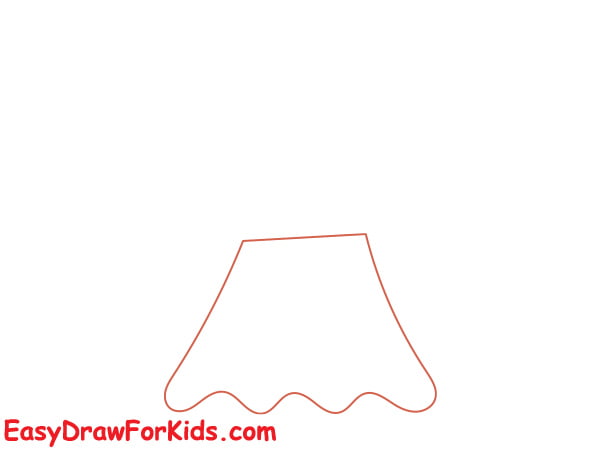
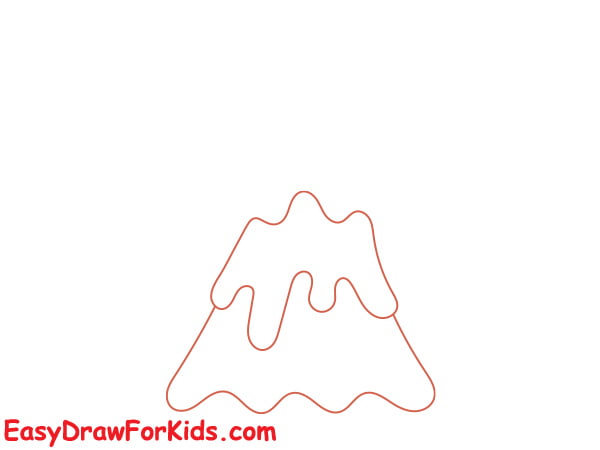
Step 1: Draw the volcano similar to an equilateral triangle or the capital letter A as shown the picture.
Step 2: Using smooth lines to draw lava streaming down its slopes.
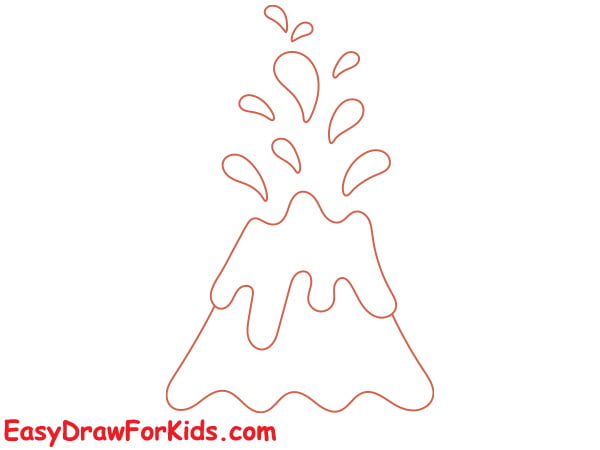
Step 3: Drawing the Eruption
Draw droplets and dots catching light while they are forcefully ejected.
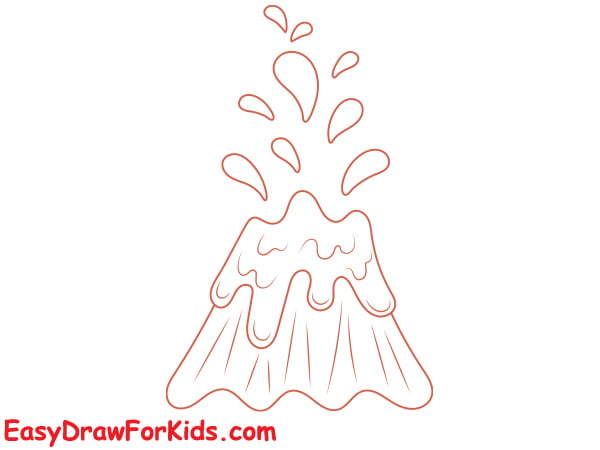
Step 4: Draw different textures, shadows surrounding emitted lava fragments.
Step 5: Coloring the Volcano
The volcano often appears ashen gray, white, or blackened brown.
Lava flows range from bright yellow-red-orange near their origins to darkened rust colors as they harden.

1. Easy Volcano Drawing
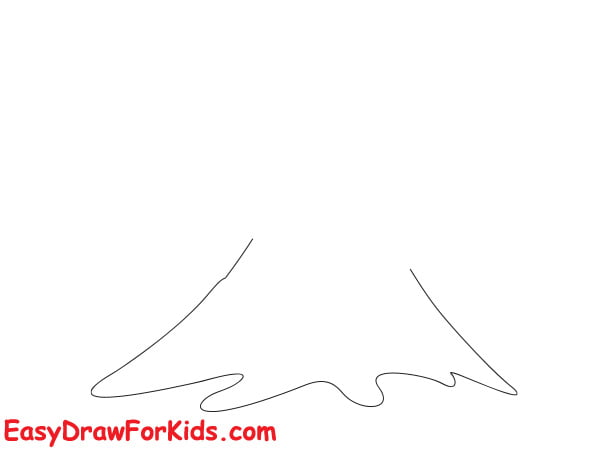
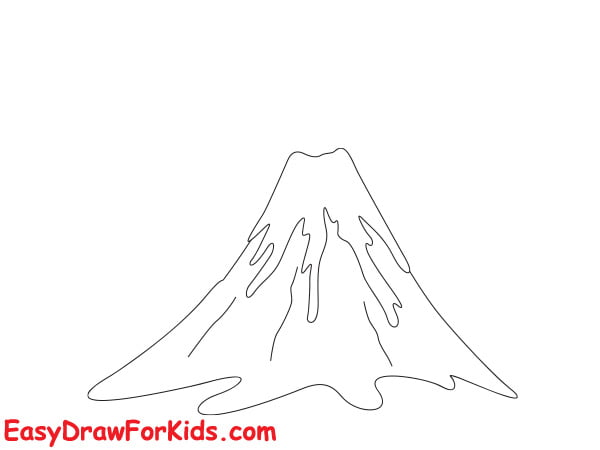
Step 1: Sketch the basic shape of the volcano by a cone shape
Draw a curved line at the bottom of the cone for the base of the volcano.
Step 2: Draw a circular or oval shape at the top of the volcano for the crater.
Draw curved lines starting from the crater and extending down the slopes of the volcano for the lava flow.
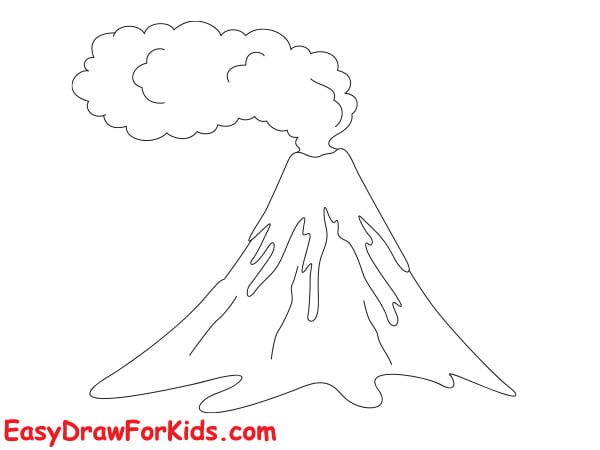
Step 3: Draw a billowing plume of smoke rising from the crater.
Add layers of ash and debris around the plume of smoke.
Step 4: You can color by your style to bring vibrancy and depth to your volcanic scene.
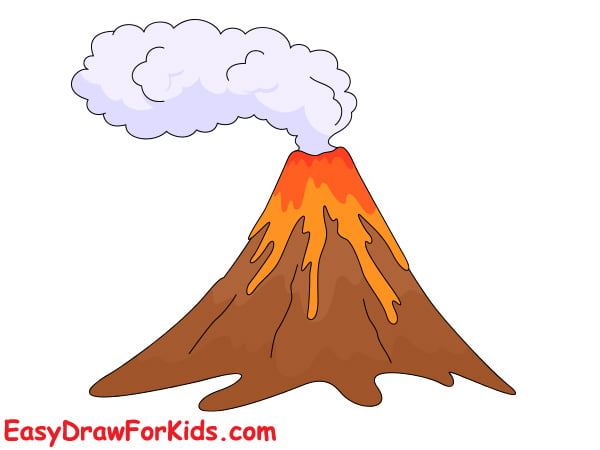
By following the steps outlined in this guide, you can create stunning and realistic volcanic scenes.