Have you ever wondered how to draw food items that pop off the page?
Cheese, with its recognizable texture and holes, offers a playful to draw.
Today, we’re tackling how to draw a cheese, a subject that provides both simplicity and plenty of character.
This guide will help you turn basic shapes into a fun and recognizable cheese wedge in no time.
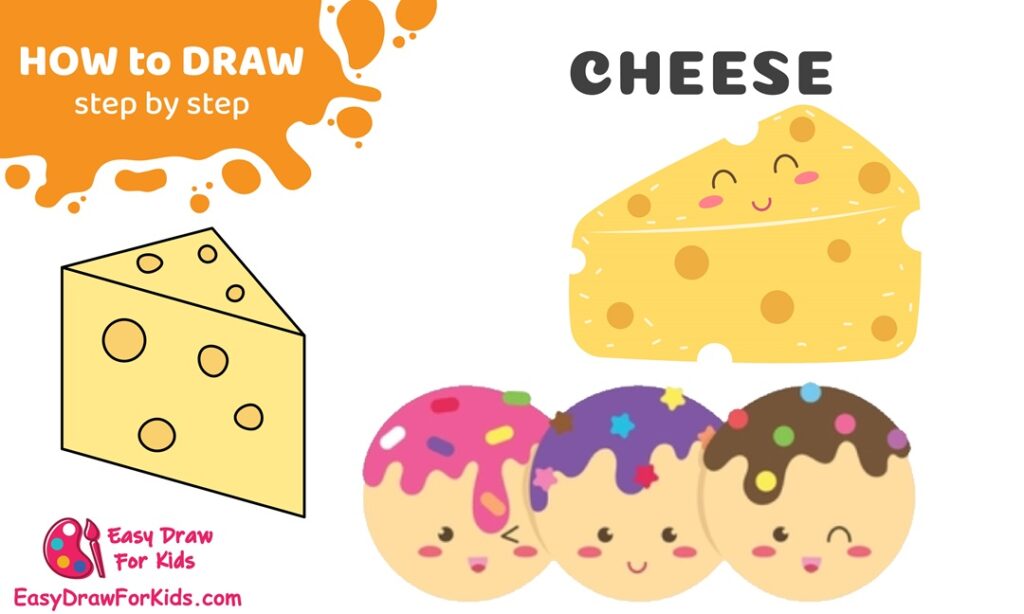
How To Draw A Cheese – A Step by Step Guide
1. How To Draw A Piece Of Cheese
Step 1: Draw the Outline of the Cheese
Start by drawing a triangular shape with curved edges:
- The top should be a slightly curved horizontal line.
- Add a slight bump on the top left for a cartoonish cheese bite.
- Draw the front edge as a curved vertical line.
- Connect it to the base with a horizontal line at the bottom.

Step 2: Add the Cheese Holes
Inside the triangle, draw multiple circles and ovals of various sizes:
- Scatter them randomly to represent the typical holes in cheese.
- Add 1–2 cut-off circles along the edges to make it more natural.

Step 3: Add the Inner Outline
Draw a line from the top left corner down diagonally to the right, ending at the middle of the side.
This gives the cheese a 3D wedge look—showing both the front and the top surface.
Add a matching curve at the bottom to define the front face.

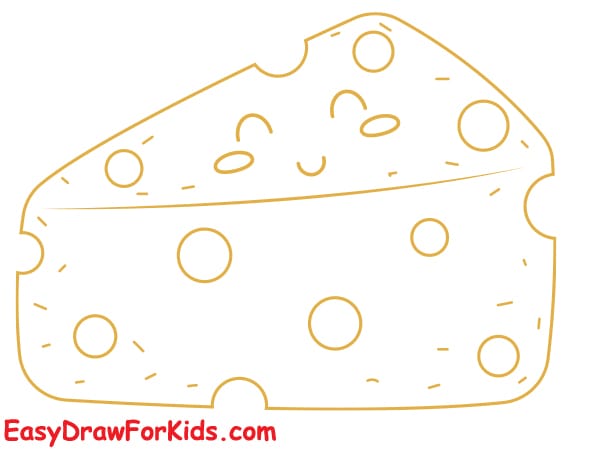
Step 4: Clean up any sketchy lines and make sure the edges are smooth. Ensure all the holes and outlines are clearly drawn.
Add cute facial features like:
- Two black oval eyes
- A small smiling mouth
- Two pink cheeks to give it a fun, cartoonish look
Step 5: The last step on this method how to draw a cheese. Use a rich yellow or golden yellow to color the main part of the cheese.
Add shadows inside the holes with a slightly darker orange/yellow.

>>>Read more: How To Draw Sushi – 7 Ways (With Pictures)
2. How To Draw Cheese Balls
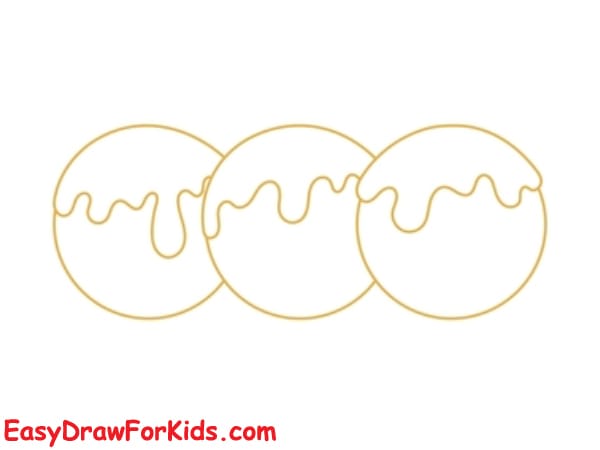
Step 1: Draw the Base Circles
Draw three equally-sized circles in a horizontal line. Make sure they slightly overlap each other. These represent the cheese balls.

Step 2: Draw the Melting Toppings
On top of each circle, draw a dripping, wavy line to represent the melting cheese or frosting:
- Use uneven curves and drips to make it look natural.
- Each topping can have a slightly different pattern for variety.
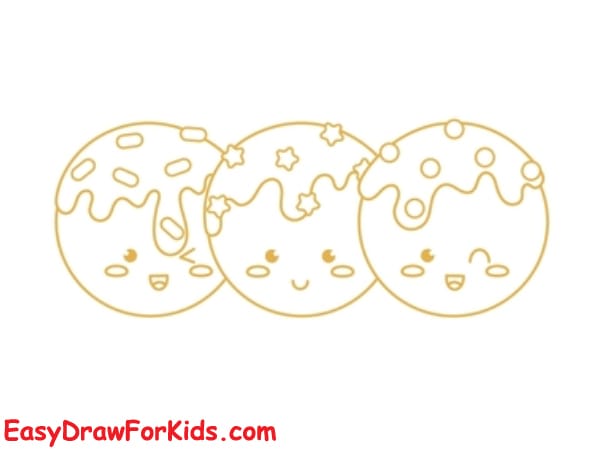
Step 3: Add Topping Details
Inside the topping areas, draw small circles or dots.
- These can represent sprinkles, melted cheese bubbles, or chocolate chips.
- Scatter them randomly within the topping area.

Step 4: The fourth step on this method how to draw a cheese, draw the facial features
Inside each ball, draw a cute cartoon face:
- Two oval or round eyes
- A small smile (U-shape or curved line)
- Add tiny cheeks or blush spots next to the mouth
Step 5: Color Your Drawing
Use different bright colors for the toppings (like pink, purple, brown).
Color the cheese balls a soft yellow or beige.
Add pink for cheeks and black for eyes and mouths.

>>>Read more: How To Draw A Pizza – 4 Ways (With Pictures)
3. Simple Cheese Drawing
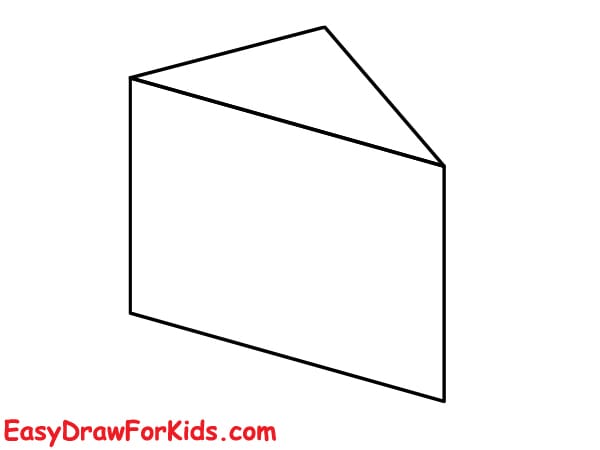
Step 1: Draw the Top Triangle
Begin with a triangle slightly tilted to the side. This will form the top face of the cheese wedge.
Use straight lines to form the 3 edges of the triangle.

Step 2: Add the Side Rectangle
From the two bottom corners of the triangle, draw two vertical lines going down.
Connect these lines with a horizontal line at the bottom to form a rectangle.
Now you have the side face of the cheese.
Step 3: Draw Cheese Holes
Inside the front and side faces, draw multiple circles of different sizes. These represent the classic holes in cheese.
Add at least 4–5 holes, spread across both visible faces.

Step 4: Add Color
Color the entire wedge yellow or golden to represent cheese.
The holes can be shaded a slightly darker yellow or orange for depth.
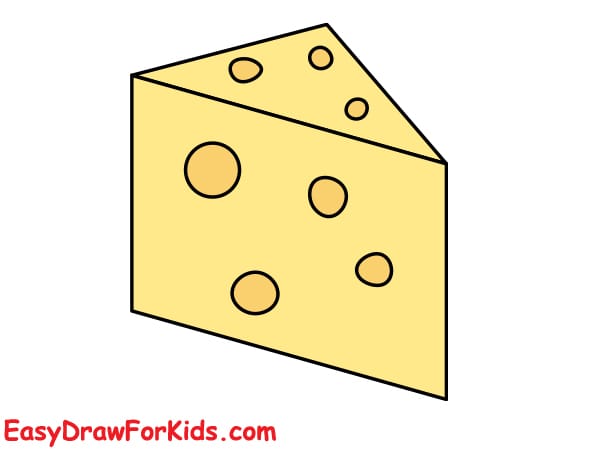
Congratulations on completing your cheese drawing!
Drawing cheese might look simple, but it’s exercises like these that help sharpen your artistic skills while having fun.
Don’t stop here—keep exploring new ideas, challenging yourself, and enjoying the creative process!


