Have you ever admired drawings of cherries and wanted to create one yourself? The good news is that drawing a cherry isn’t as challenging as it might seem.
With its vibrant shape and glossy detail, learning how to draw a cherry will help you capture its beauty on paper.
This tutorial will guide you through creating a simple yet stunning illustration of this beloved fruit.
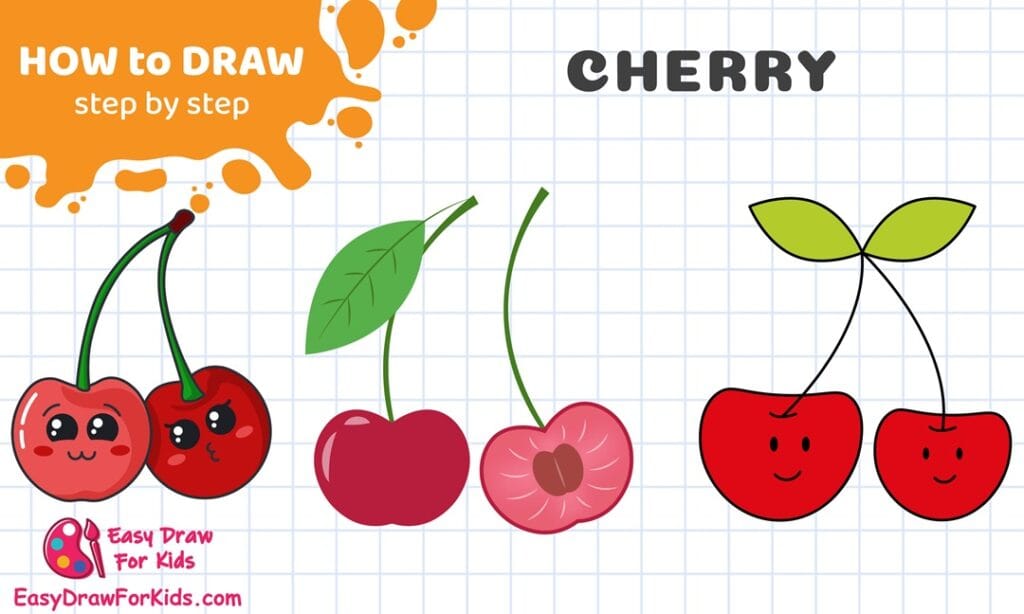
How To Draw A Cherry – A Step by Step Guide
1. Easy Cherry Drawing
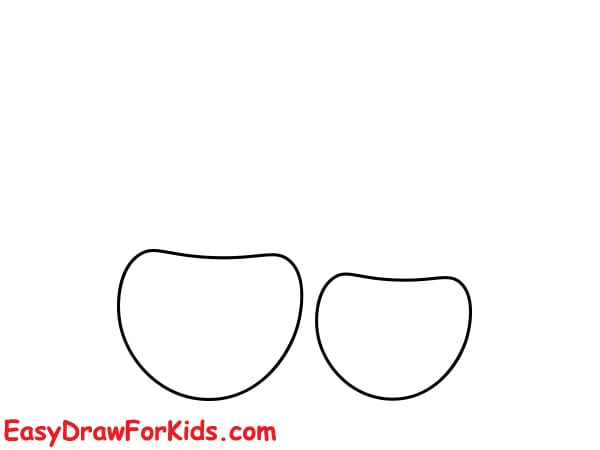
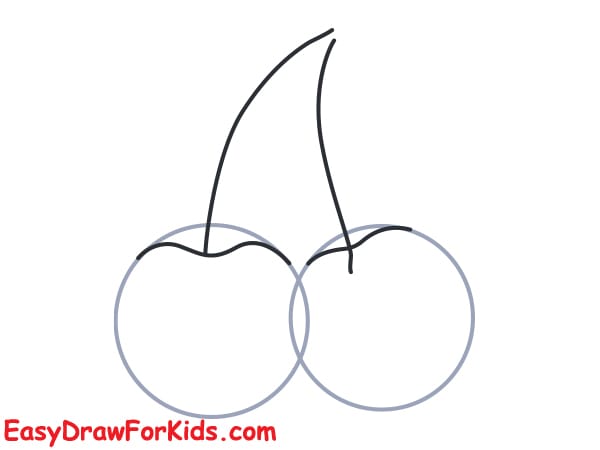
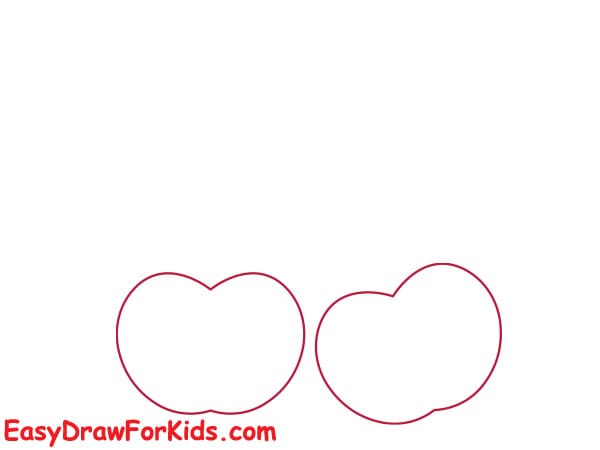
Step 1: Draw two rounded heart-like shapes or squished circles side by side.
These are the basic cherry shapes. Leave some space at the top for the stems.
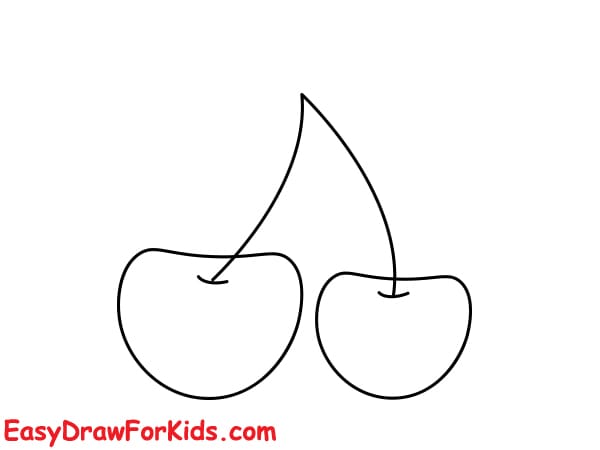
Step 2: From the top of each cherry, draw a curved line going upward. These are the cherry stems.
Make the stems slightly curve toward each other, like they’re leaning in.
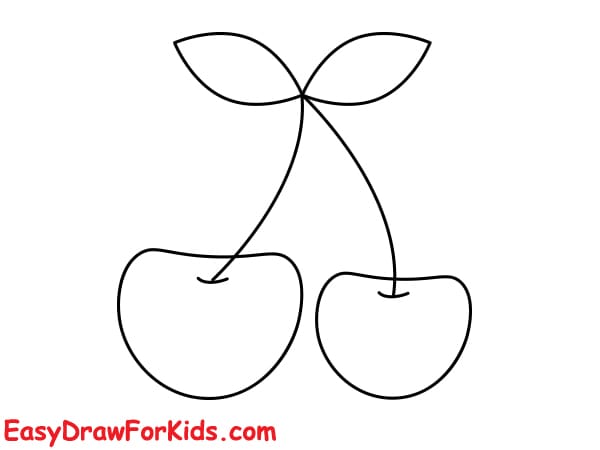
Step 3: In this step on method how to draw a cherry. Connect the two stems together at the top with a short line.
Then draw two almond-shaped leaves at the top, one pointing left and the other right.
Make sure they are symmetrical and curve gently.
Step 4: On each cherry, draw:
- Two small oval eyes.
- A simple curved smile below the eyes.
- You can also add small dots or blush later for extra cuteness.
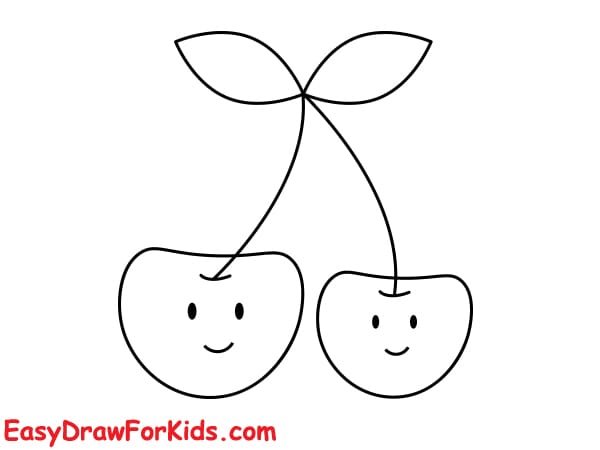
Step 5: Color Cherry Drawing

>>>Read more: How To Draw A Watermelon – 5 Ways (With Pictures)
2. Cute Cherries with Faces Drawing
Step 1: Draw the Cherry Shapes
Draw two overlapping circles near the bottom of the page. These are the cherry fruits. Slightly overlap the circles so one is in front of the other.
Draw a curved stem starting from the top of each cherry. Make the stems curve toward each other and touch at the top.
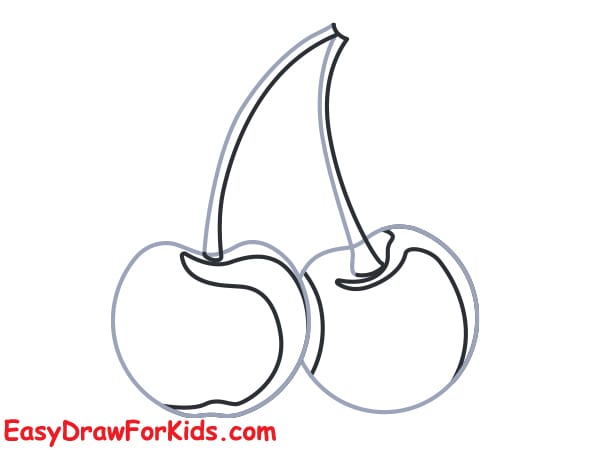
Step 2: Add Top Indent and Cherry Curve
On top of each cherry, draw a small dip where the stem connects (like a “V” or soft curve).
Add a curved line to each cherry side to show their rounded 3D shape.
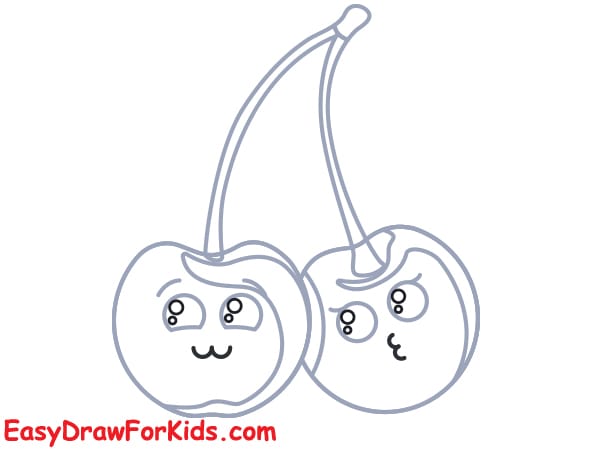
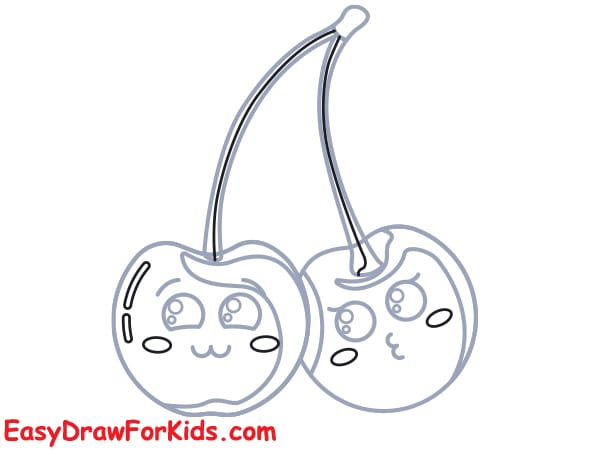
Step 3: Draw the Cute Faces
On each cherry, draw large oval eyes:
- Leave white circles inside for highlights.
- Add eyelids or curved lines above the eyes for expression.
Draw a small “u”-shaped mouth or “3”-like smile under each set of eyes. Add blush dots or cheeks beside the mouth for cuteness.
Step 4: Add more detail in the eyes – additional reflections, pupils, etc.
Optionally, sketch extra lines on the stem to show thickness and shading.
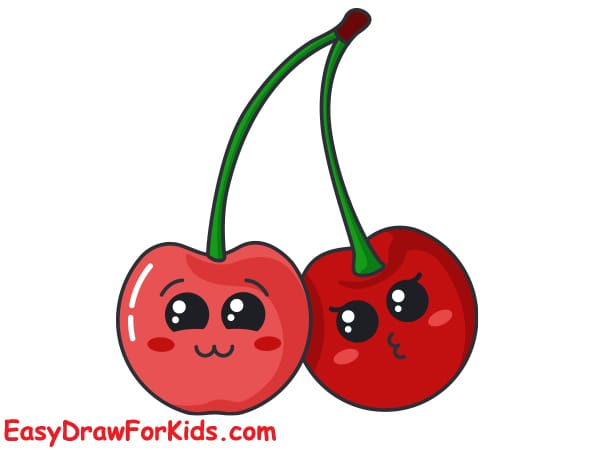
Step 5: Color the drawing as shown the picture or by your style
>>>Read more: How To Draw A Banana – 8 Ways (With Pictures)
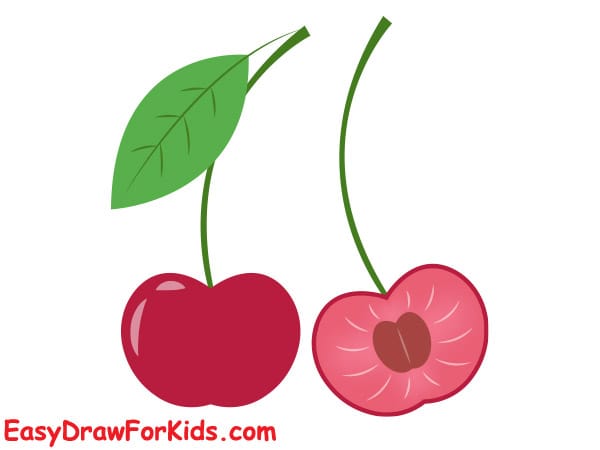
3. Cherry Slice Drawing
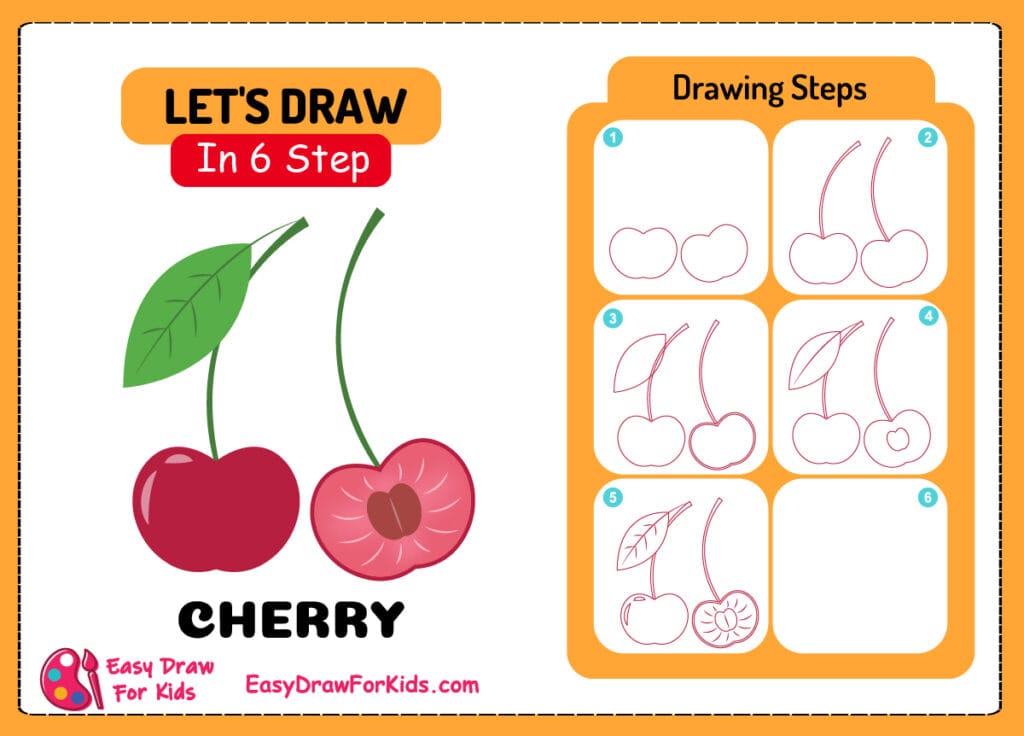
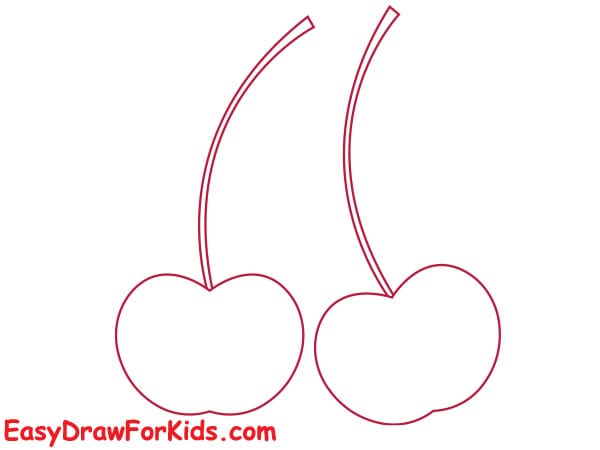
Step 1: Draw two round heart-like shapes next to each other – these are the cherries.
Make the bottoms slightly pointed or flat to give a natural cherry look.
Step 2: From the top of each cherry, draw a curved vertical line upward – these are the stems.
The lines should bend toward each other but remain separate.
Step 3: Draw a leaf on the left stem:
Start by sketching a pointed oval shape coming out of the stem.
Add a small curve inside the oval to suggest the center fold of the leaf.
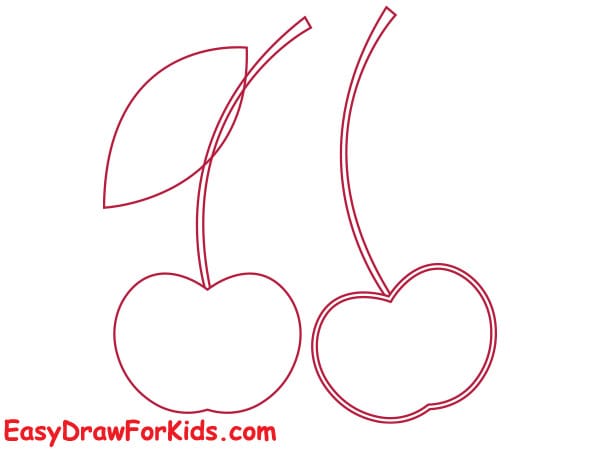
Step 4: On the right cherry, draw a small heart shape or circle in the center – this shows the inner pit or cut cherry look.
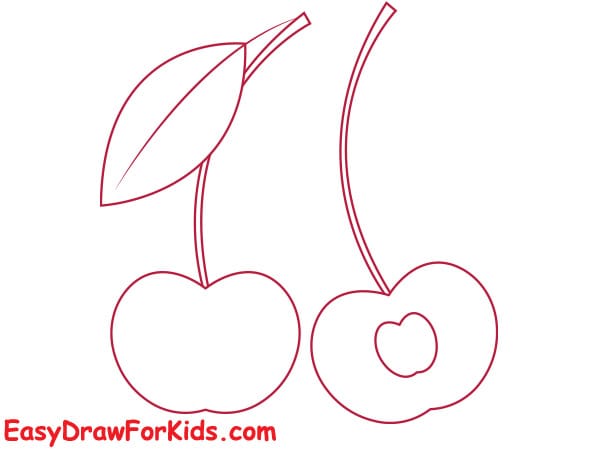
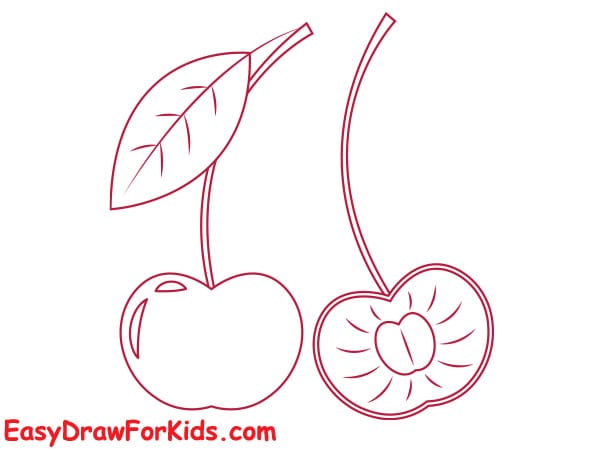
Step 5: Add vein details on the leaf using lines branching from the center vein outward.
Inside the right cherry (cut view), add:
- A small circle in the middle to represent the pit.
- Several radiating curved lines around it to simulate the inner fruit texture.
Step 6: Color the drawing:
- Cherries: Bright red or pink
- Leaf: Green
- Stems: Green or brown
- Pit: Light brown or dark red
Well done! You’ve successfully this guide how to draw a cherry.
After following these steps, you now have a beautiful cherry drawing to show off!
Keep refining your technique, and soon you’ll be able to draw cherries with ease every time.


