Are you a fan of cupcakes?
Do you love drawing cute things?
Why not combine your two passions by learning how to draw a cupcake?
In this guide, easydrawforkids.com provides seven ways to draw a perfect cupcake that looks as sweet as it tastes.
How To Draw A Cupcake – A Step By Step Guide
1. Kawaii Cupcake Drawing
Step 1: The first, you draw a wavy line to form the cupcake.

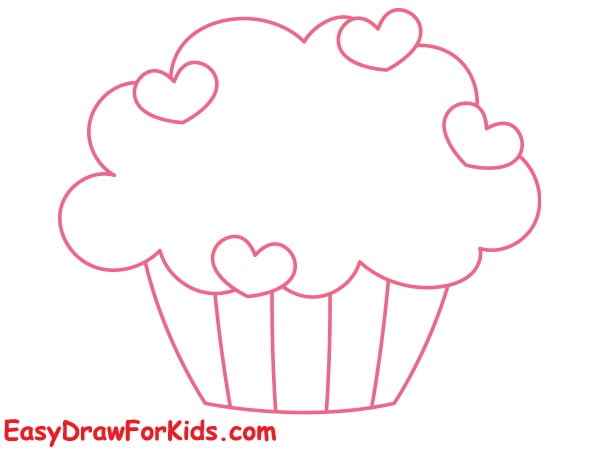
Step 2: Next, draw a rounded rectangle shape below the cupcake for the cupcake wrapper.

Step 3: Now, you drawing heart shapes around the cupcake
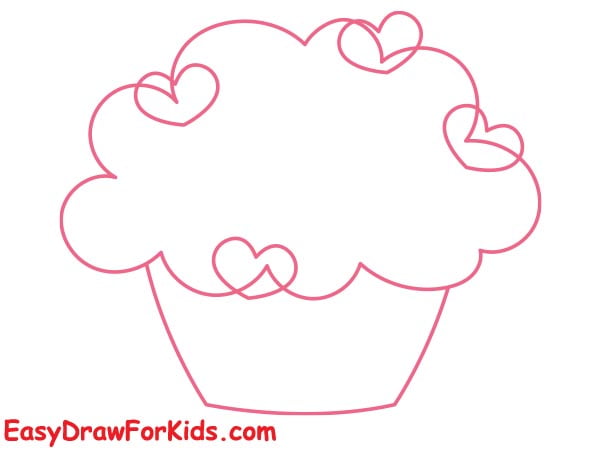
Step 4: Around the bottom of the cupcake, sketch the ruffles of the wrapper by drawing a series of curved.
Step 5: Draw a large, smiling mouth with two simple oval shapes above the mouth for the eyes.
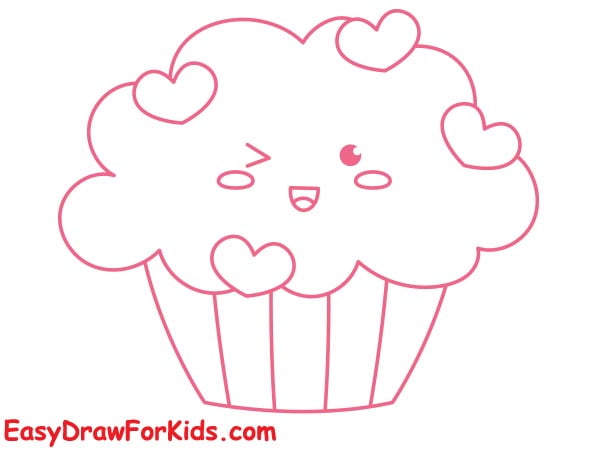
Step 6: Drawing the frosting on top of the cupcake
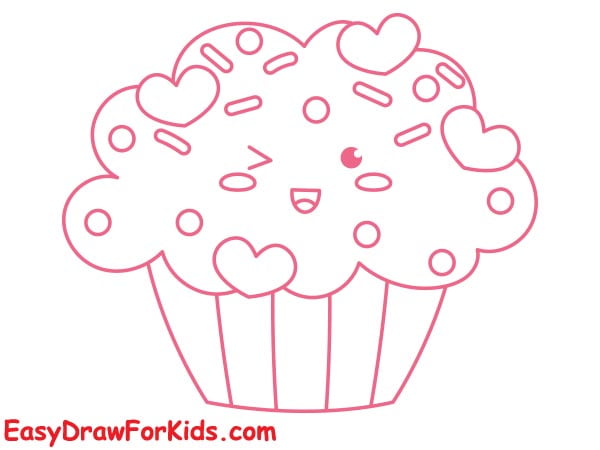
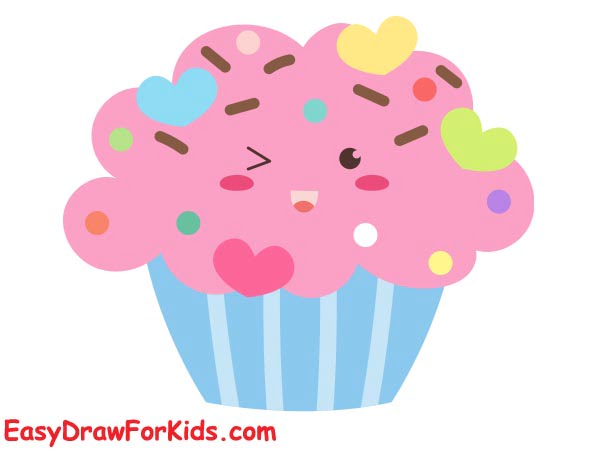
Step 7: Color the cupcake a light, soft color
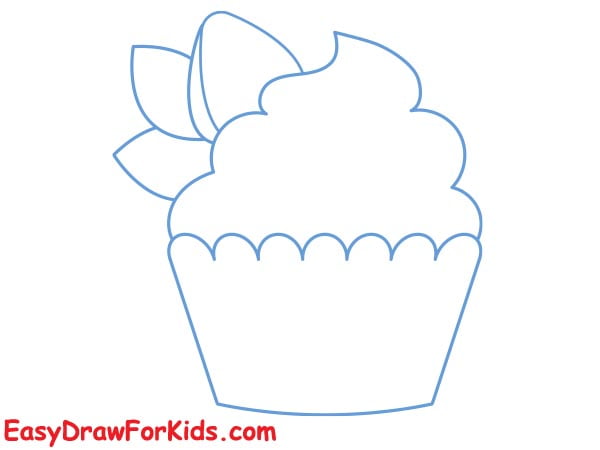
2. Strawberry Cupcake Drawing
Step 1: Draw a rounded rectangle shape for the cupcake wrapper.

Step 2: Inside the wrapper, sketch a swirling spiral shape for the cupcake
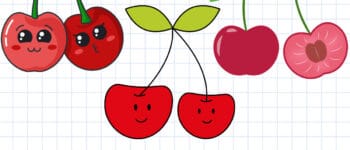
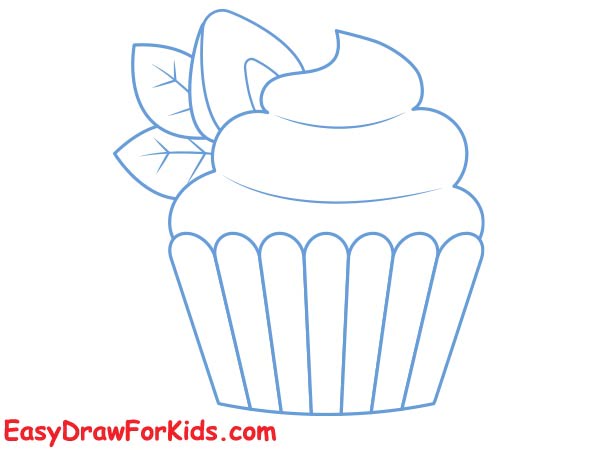
Step 3: Now, you drawing the strawberry on top of the cupcake, you can refer to my guide to learning to draw strawberries.

Step 4: Next, you draw two curved lines beside the strawberry for the leafs.
Step 5: Adding details to the cupcake wrapper and cupcake
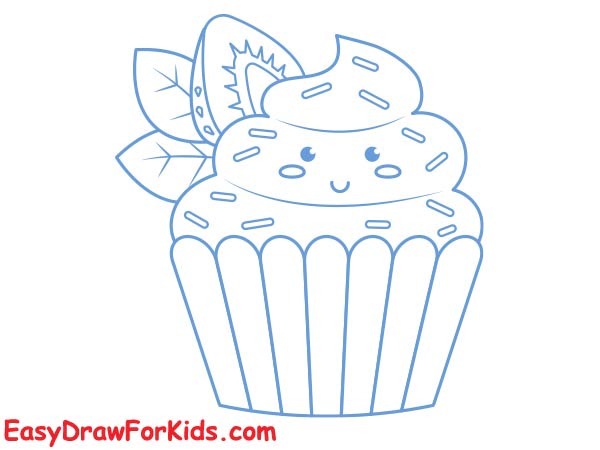
Step 6: It’s time to create the frosting and draw a cute face on the cupcake
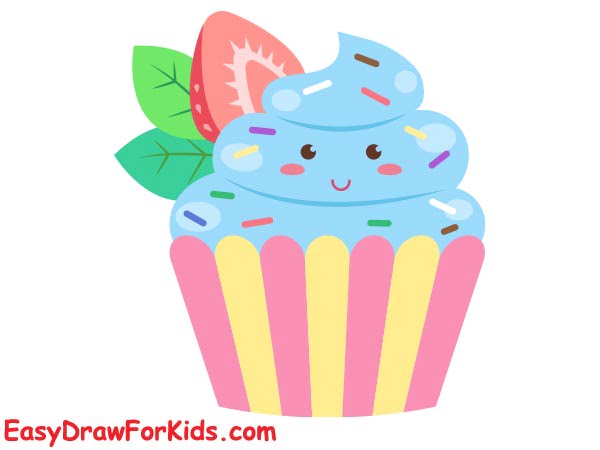
Step 7: Coloring the cupcake and strawberry
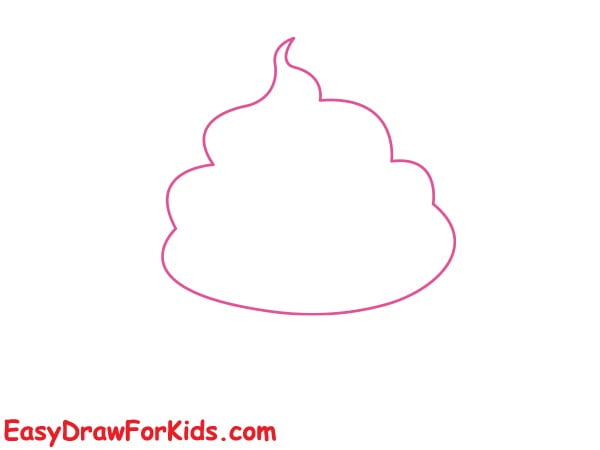
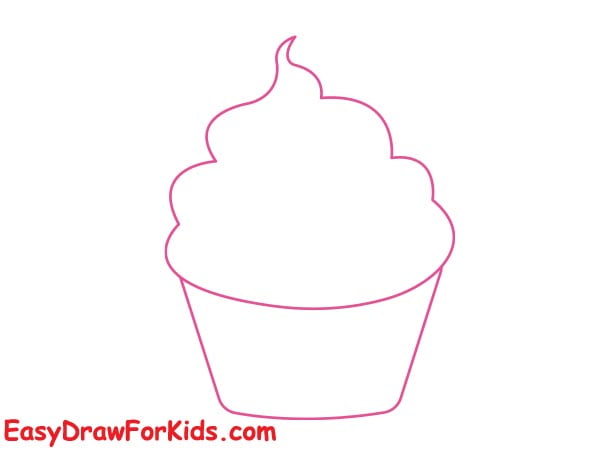
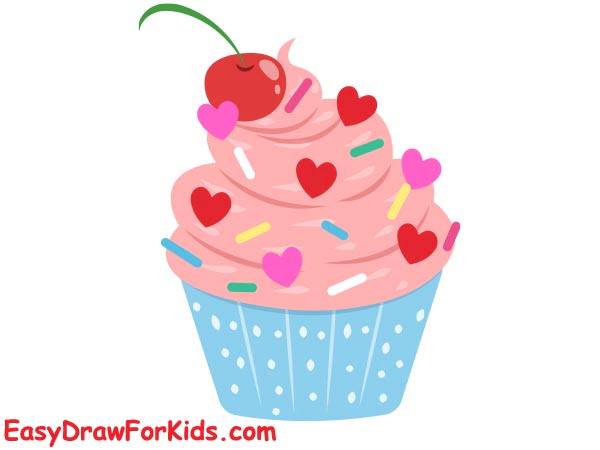
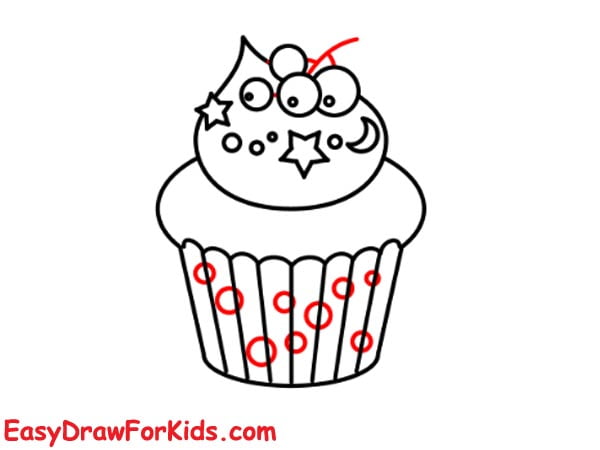
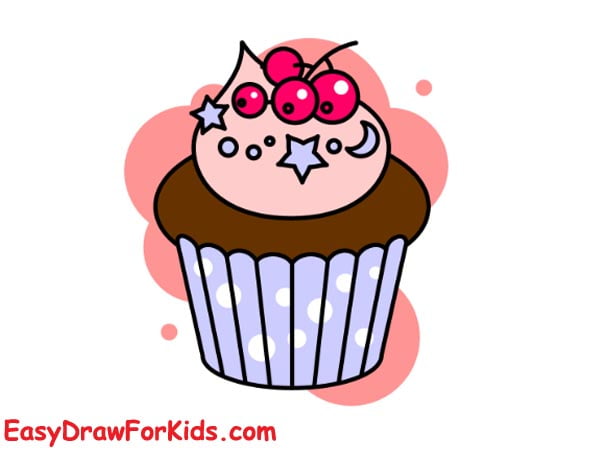
3. Cherry Cupcake Drawing
Step 1: Start, you draw a swirling spiral shape for the cupcake, as shown in the picture.
Step 2: Below the cupcake, draw a rectangular shape to create the paper liner.
Step 3: Draw a small circle in the center of the swirl for the cherry on top.
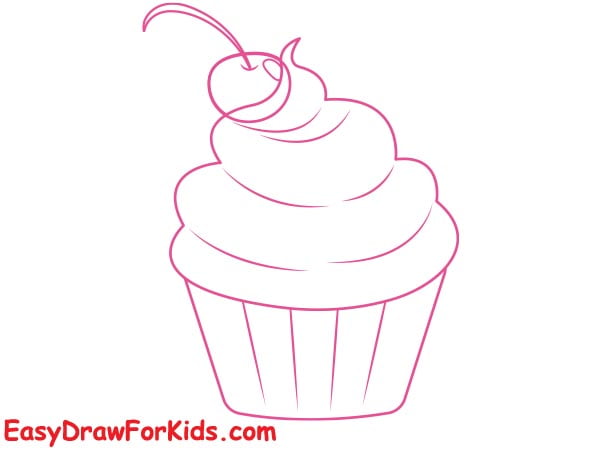
Step 4: Drawing the swirls of frosting on top of the cupcake
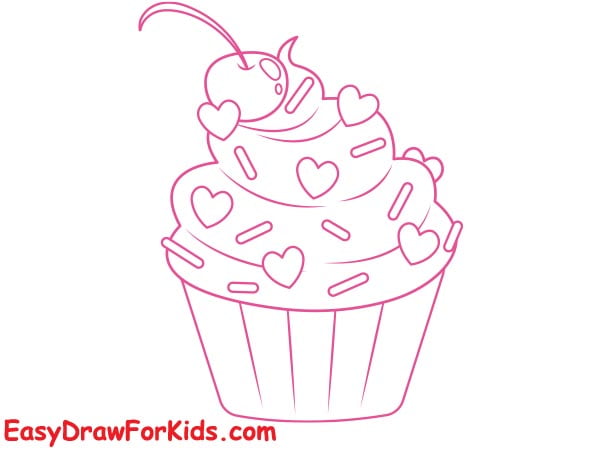
Step 5: Color the cupcake itself a light, soft pink.
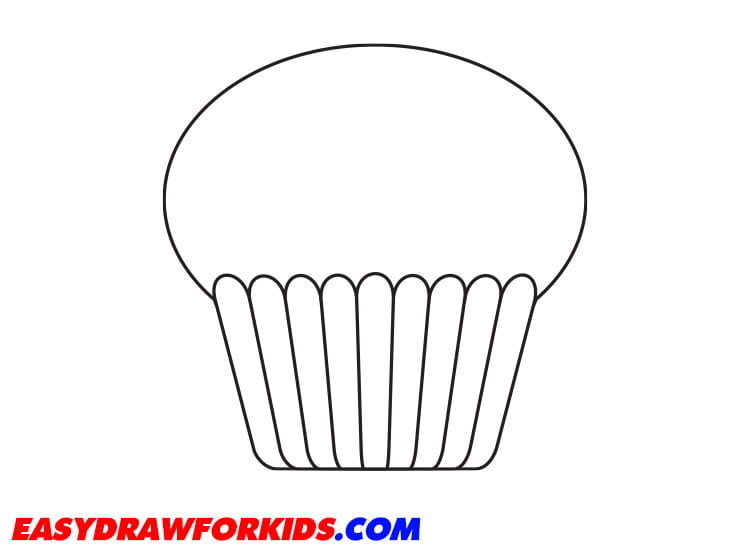
4. Easy Cupcake Drawing
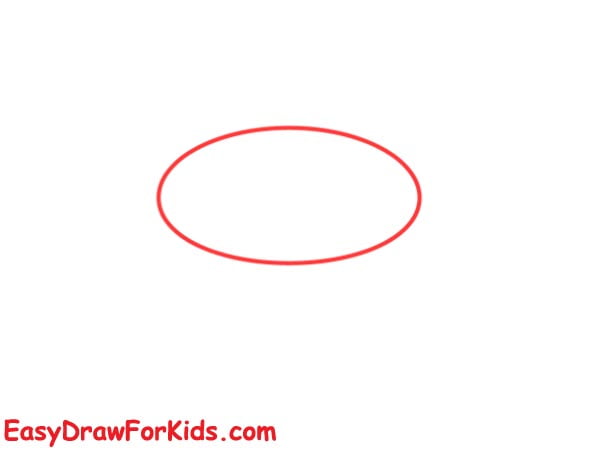
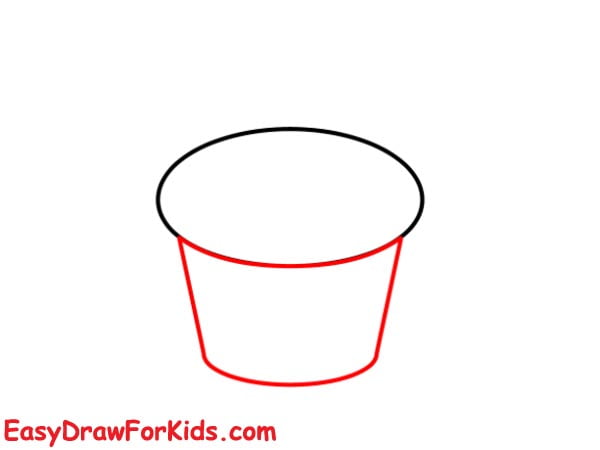
Step 1: At first, you draw a horizontal oval shape for the cupcake
Step 2: Next, draw a rounded rectangle shape at the bottom of the cupcake to create the paper liner.
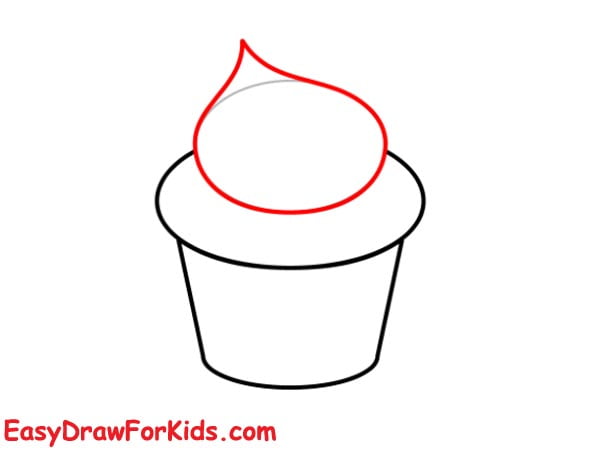
Step 3: Add a rounded dome shape on top of the cupcake for the cupcake’s frosting.
Step 4: Inside the paper liner, sketch a series of curved lines to add folds to the cupcake.

Step 5: On top of the frosting dome, draw a bunch of cherries.
Step 6: Coloring
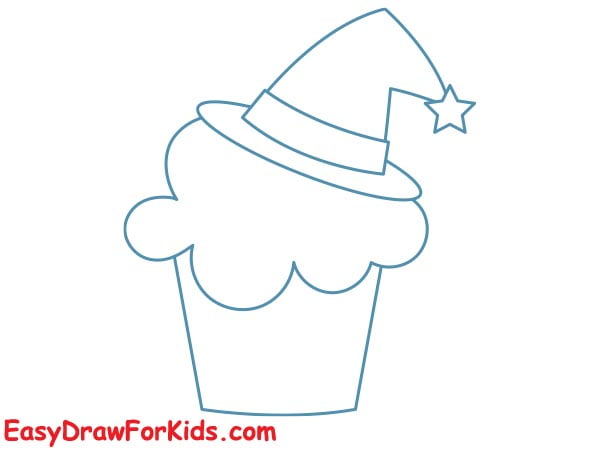
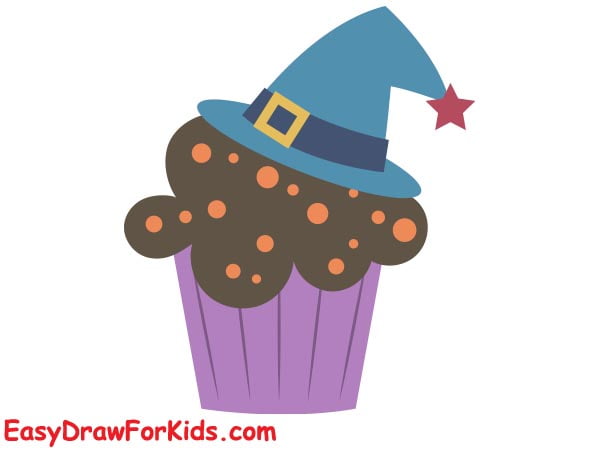
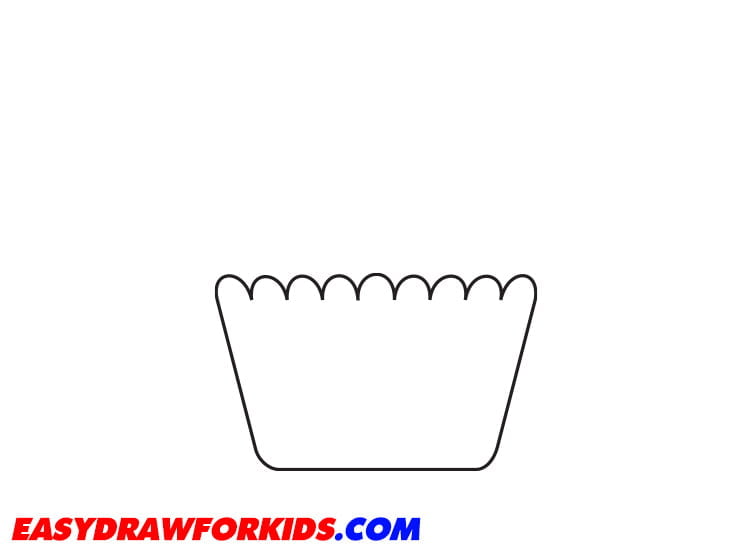
5. Halloween Cupcake Drawing
Step 1: Draw a trapezoid shape to form the cupcake wrapping paper

Step 2: Draw a wavy line on the top of the wrapping paper for the cupcake

Step 3: On the top of the cupcake, draw a witch hat, you can refer to my guide to learning to draw a witch hat
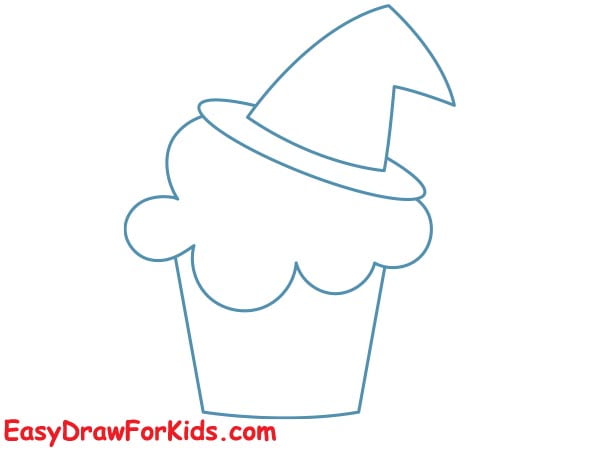
Step 4: Adding a star at the tip of the hat
Step 5: Adding the frosting details

Step 6: Color the cupcake a dark purple or black.
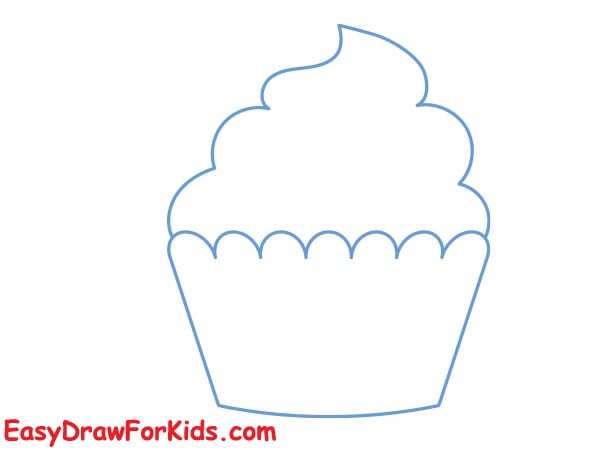
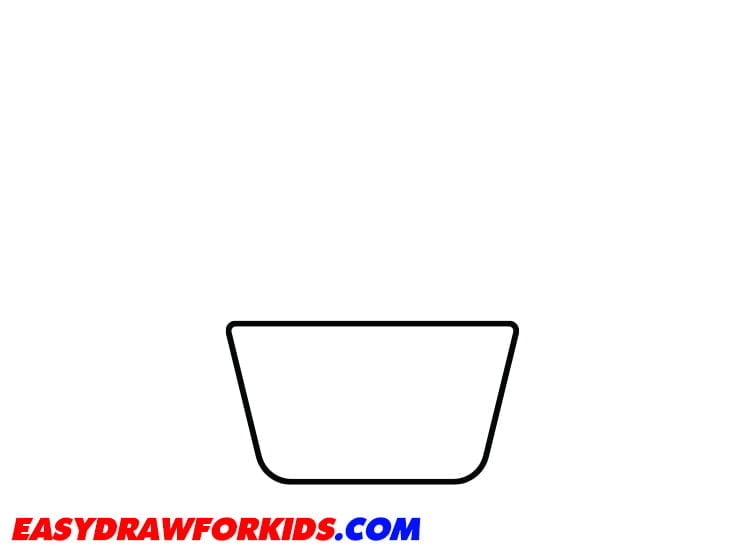
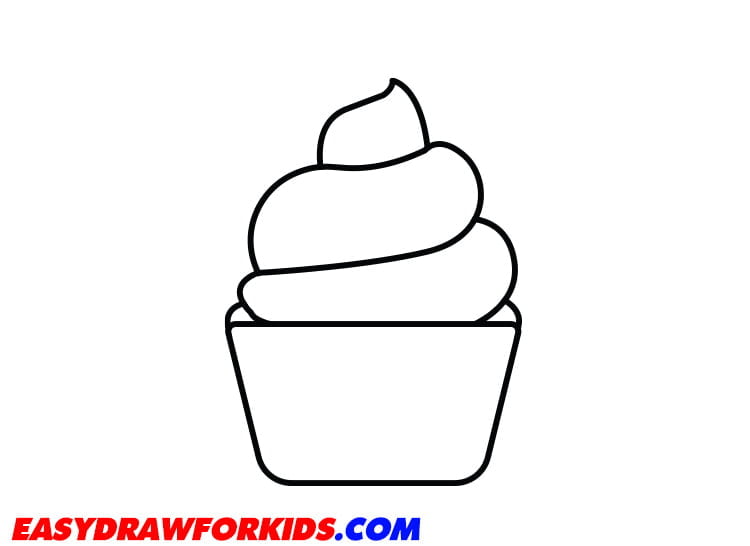
6. Simple Cupcake Drawing

Step 1: Start by drawing a wide “U” shape to form of the cupcake liner.
Draw a wavy around the top opening of the liner.
Step 2: Draw some vertical lines between the two “U” shapes to indicate folds in the liner.
Step 3: In this step on guide how to draw a cupcake, draw a cupcake base on the liner.
Step 4: Draw small circles on top of the frosting for the sprinkles.
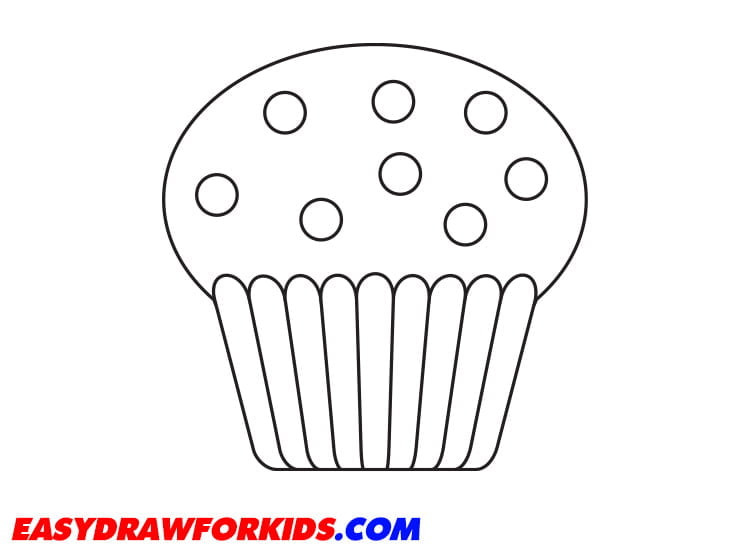
Step 5: Finish with color

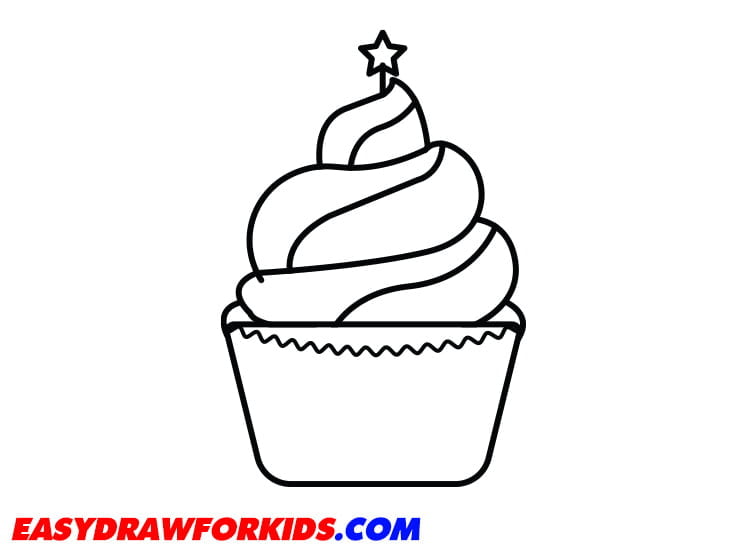
7. Cute Cupcake Drawing
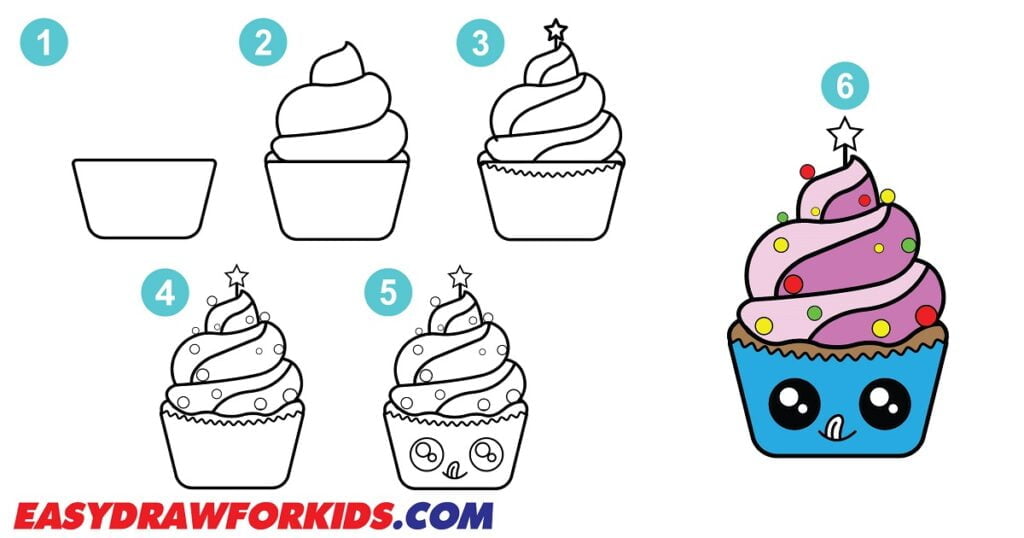
In this guide on how to draw a cupcake in 6 steps to help you drawing a cute cupcake with ease!
Step 1: Draw a wide U shape for the cupcake liner. Make sure to leave an open top.
Step 2: Draw swirly lines to make the folds of the cupcake liner.
Step 3: Draw a star at the top of the cute cupcake and long curved lines along the cupcake
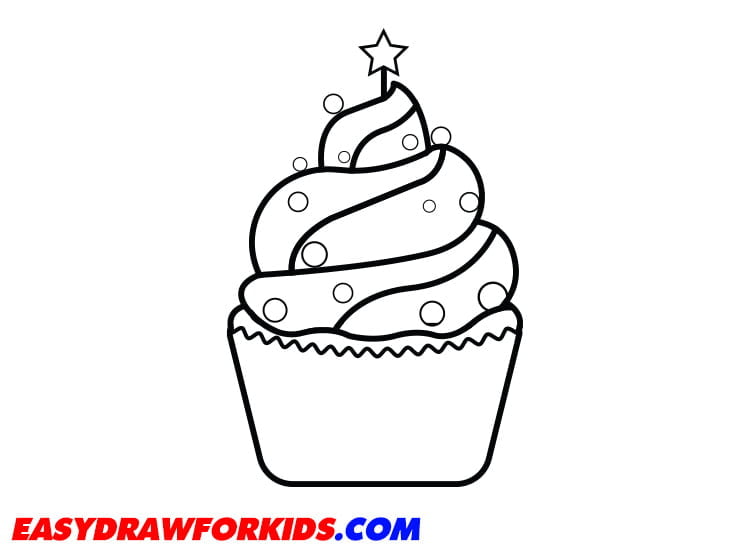
Step 4: Draw random sprinkles scattered over the frosting.
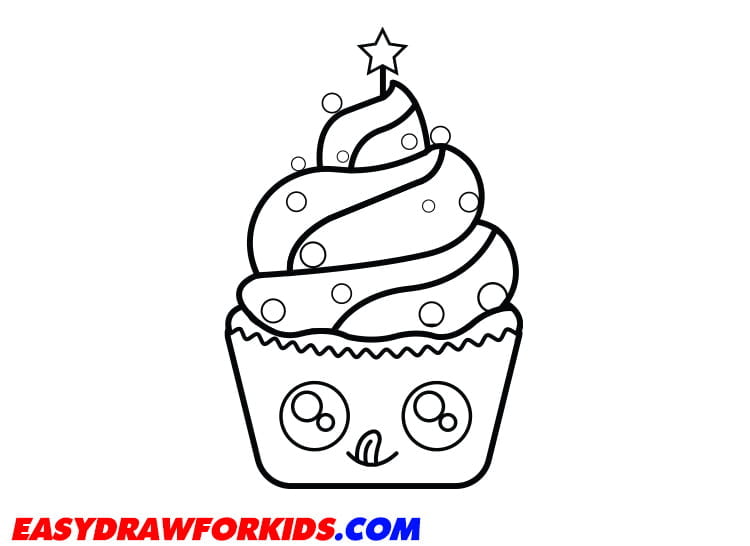
Step 5: Draw two circles at the bottom of cute cupcake for the eyes
Next, draw 4 circles inside the eyes for the pupils
Then draw a curved line for the mouth and oval shape for the tongue
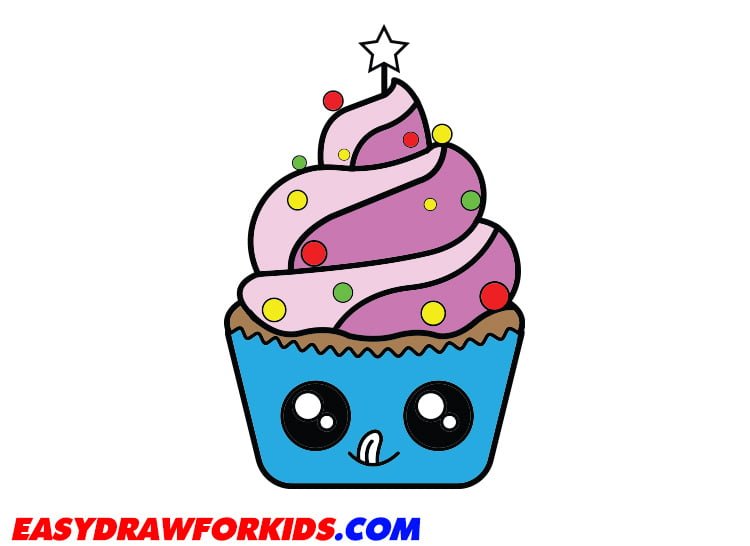
Step 6: To color the cute cupcake you have drawn by use blue, brown, red, yellow and pink.
Congratulations! You’ve successfully learned how to draw a cupcake.
Cupcakes make an excellent creative subject, and they look good enough to eat once you’ve finished your drawing!
So grab your favorite coloring supplies and let the cupcake drawing fun begin.