Dolls have been iconic symbols of creativity and art for centuries.
If you’ve ever admired beautifully hand-drawn dolls and wished to create your own, you’re in the right place.
This step-by-step guide will show you how to draw a doll, from its basic outline to adding the fine details that make it unique.
How To Draw A Doll – A Step by Step Guide
1. Simple Doll Drawing
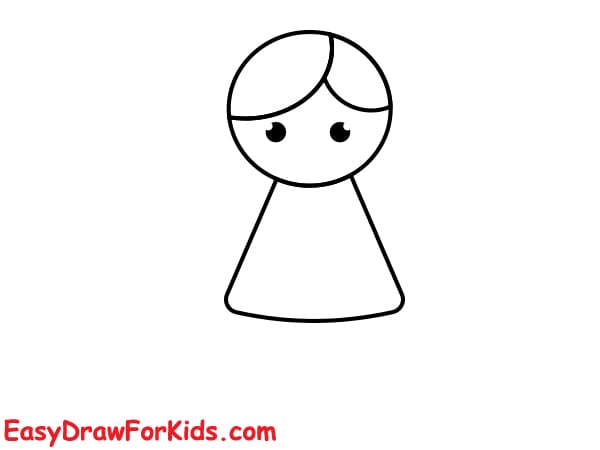
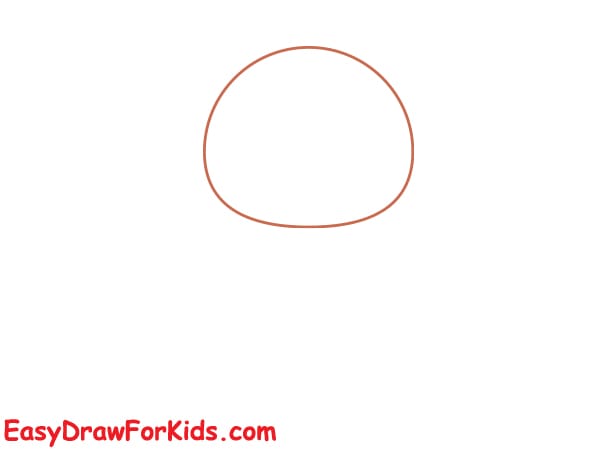
Step 1: Draw a circle for the head. Inside the circle, draw two small black dots for the eyes.

Step 2: Add a curved line across the forehead to divide the hair part (this will become part of the hairstyle later).
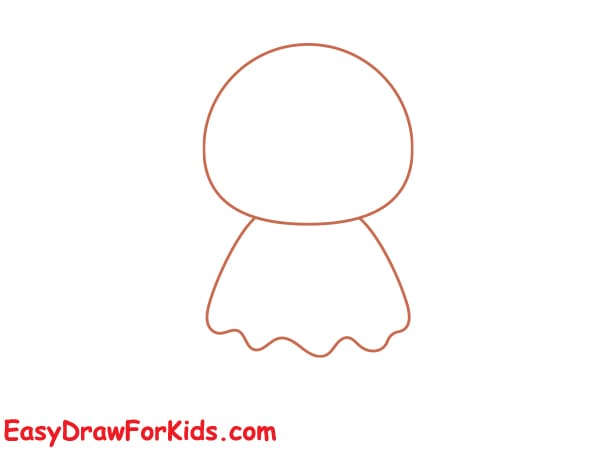
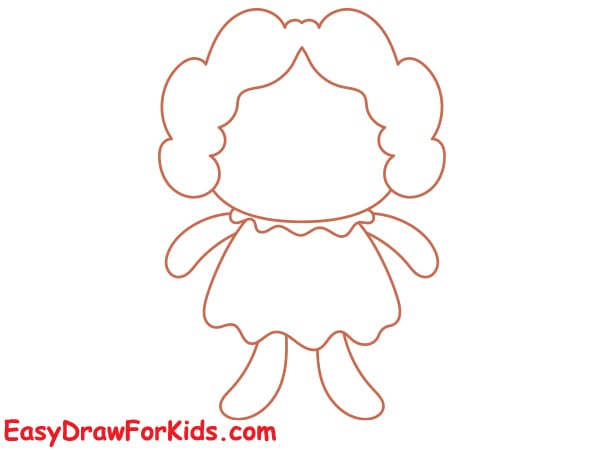
Draw a triangle-like shape under the head to form the dress. The top should be curved like a neckline, and the base should be wide.
Now you have the basic body shape of the character.
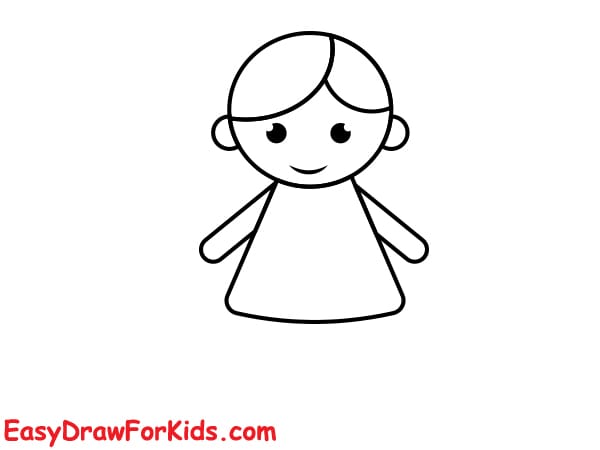
Step 3: Draw two curved arms coming out from each side of the dress. Keep the arms simple and rounded at the ends (no fingers).
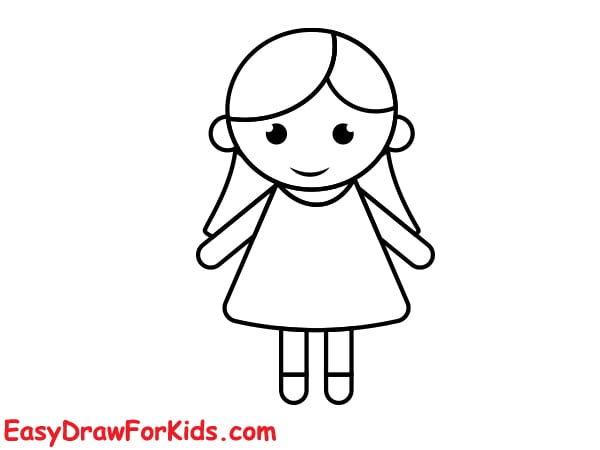
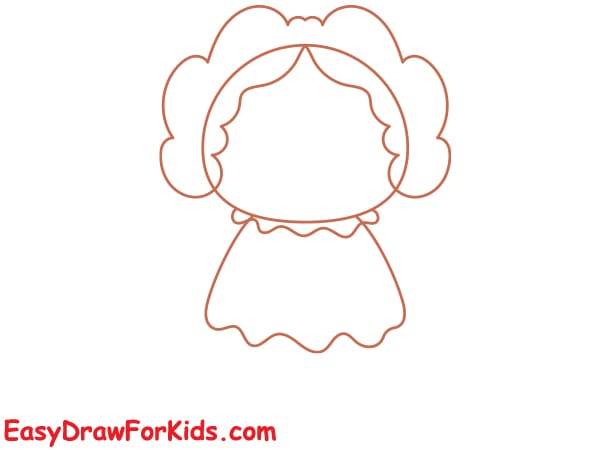
Step 4: Draw two curved lines from the top of the head down to the sides to represent long hair.
Draw two straight legs coming out from under the dress. Add lines inside the hair to show hair sections or strands.
Also, draw bangs or front hair detail to complete the hairstyle.
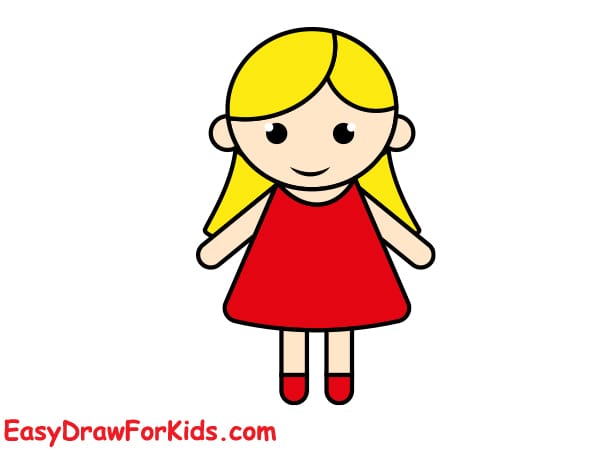
Step 5: Color the drawing
- Hair: Yellow
- Dress: Red
- Skin: Light peach or leave it white
- Eyes: Black dots (keep as-is)
>>>Read more: How To Draw An Angel – 3 Ways (With Pictures)
2. Cute Doll Drawing
Step 1: Start by drawing a rounded oval shape for the head.
Step 2: Draw a bell-shaped body attached under the head.
Sketch a wavy line at the bottom of the body to represent the clown’s skirt.
Step 3: Draw two puffy round shapes on each side of the head to create the clown’s curly hair.
Draw a zigzag or fluffy hairline at the top of the head, connecting the two sides.
Step 4: Draw two curved arms on each side of the body, coming out just below the hair.
Keep the arms short and simple with rounded ends
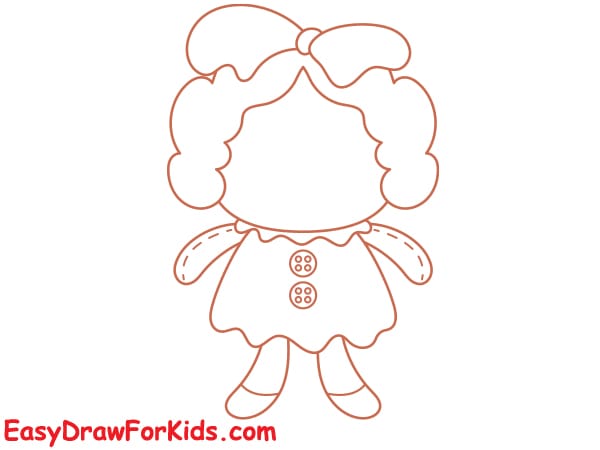
Step 5: Draw two large buttons or circles on the chest.
Add shoes or boots under the skirt—just draw two small round or oval shapes.
Step 6: Draw two big round eyes. Add a red clown nose in the center.
Draw a smiling mouth below the nose. Add eyelashes, eyebrows, or blush marks if you like.
Sketch the bow on top of the head using two big loops and a center knot.
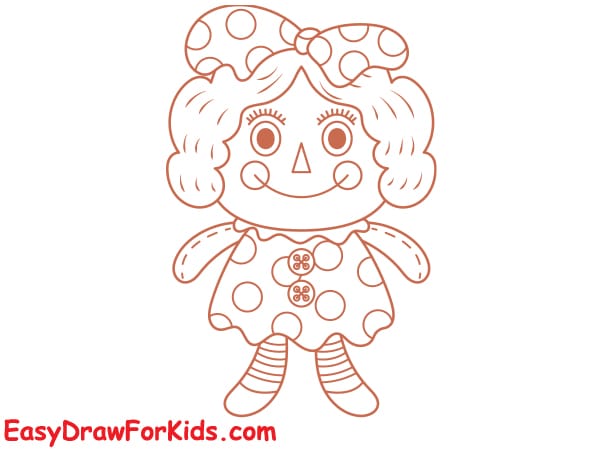
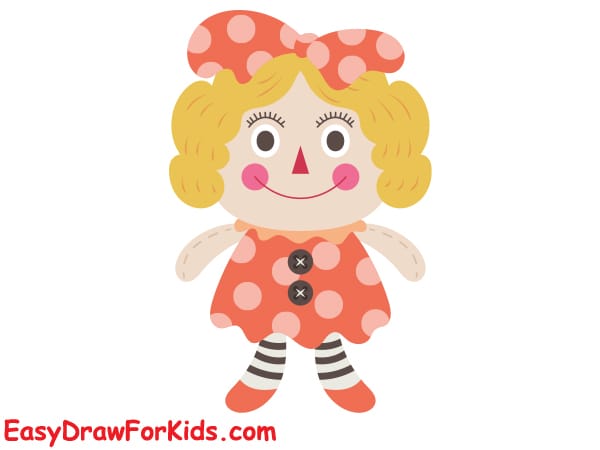
Step 7: Color your doll drawing by your style
>>>Read more: How To Draw A Mermaid – 4 Ways (With Pictures)
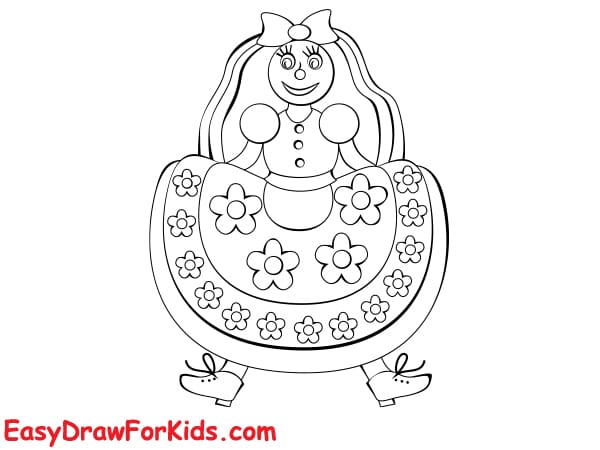
3. Baby Doll Drawing
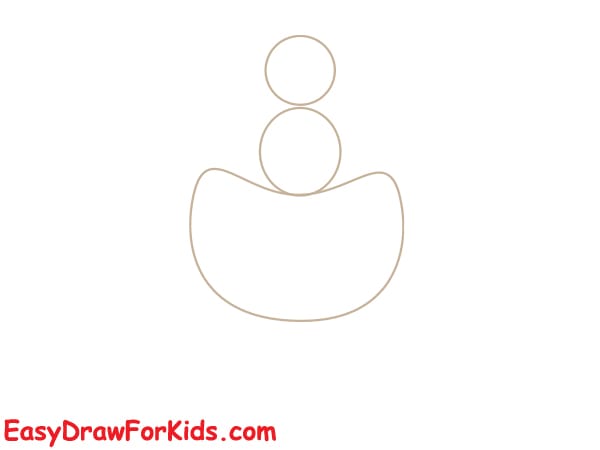
Step 1: Start with a small circle on top for the head. Draw a medium circle just below it for the upper body.
Sketch a large semicircle or curved shape at the bottom for the skirt of the doll.
Step 2: Add a curved neckline to connect the head to the upper body.
Define the separation between the body and the skirt.
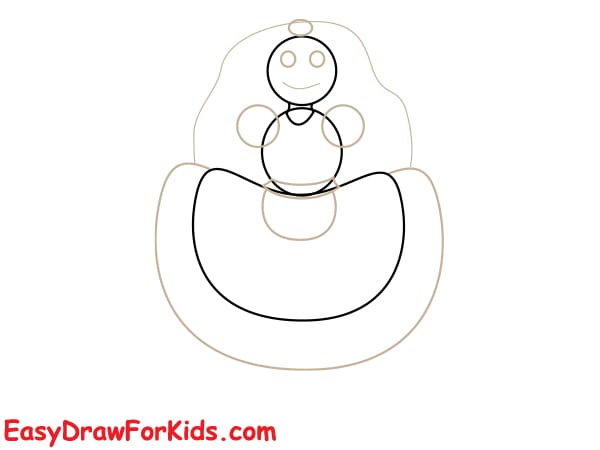
Step 3: Draw a simple face on the head: two dots for eyes and a smile.
Add two small arms reaching downward from the upper body.
Sketch the base of the dress — emphasize the rounded lower part of the dress.
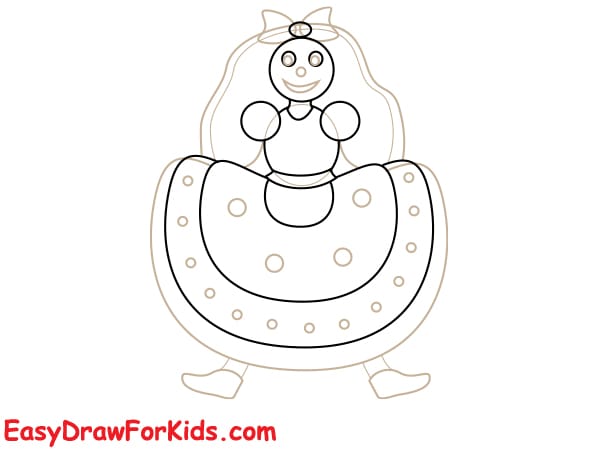
Step 4: Add large decorative flowers across the dress — use circles for flower centers and petals around them.
Draw small oval shapes for hands holding a heart or accessory. Add hair outlines starting from the head and curving outward.
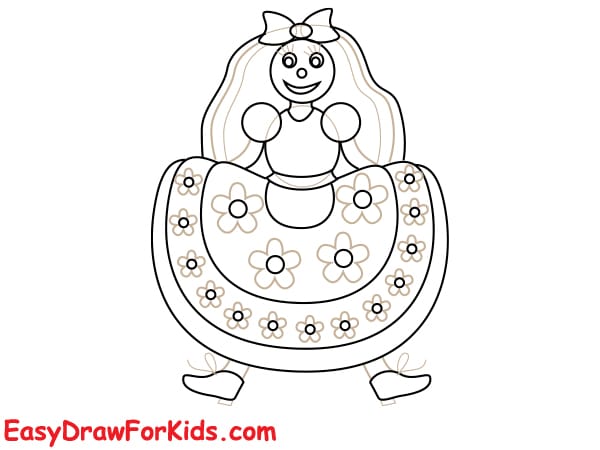
Step 5: Draw the hair in full, flowing down on both sides. Add details to the face: eyes, eyelashes, and smile.
Draw a big bow on top of the head. Decorate the dress with stars, hearts, or more flowers as desired.
Step 6: Now you complete this method how to draw a doll. Use bright and happy colors to give it a cheerful look
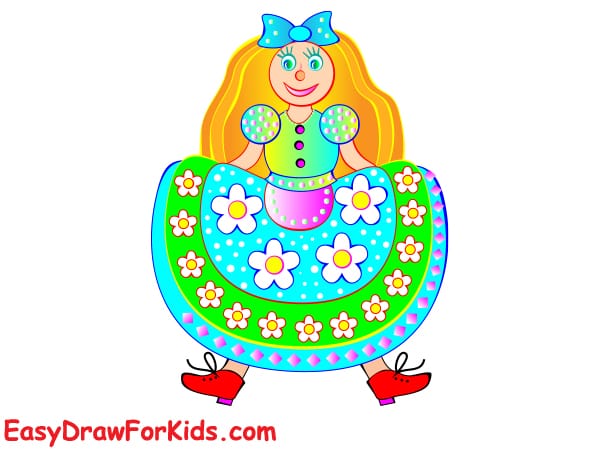
Congratulations on finishing your doll drawing!
By following these steps, you’ve learned how to draw a doll from start to finish.
Keep experimenting with different styles and details to truly make it your own.


