Are you looking to draw a farm scene but don’t know where to start?
In this tutorial on how to draw a farm in 10 steps to help you drawing a beautiful farm with ease!
With this step by step guide, you’ll be able to create a beautiful farm drawing in no time.
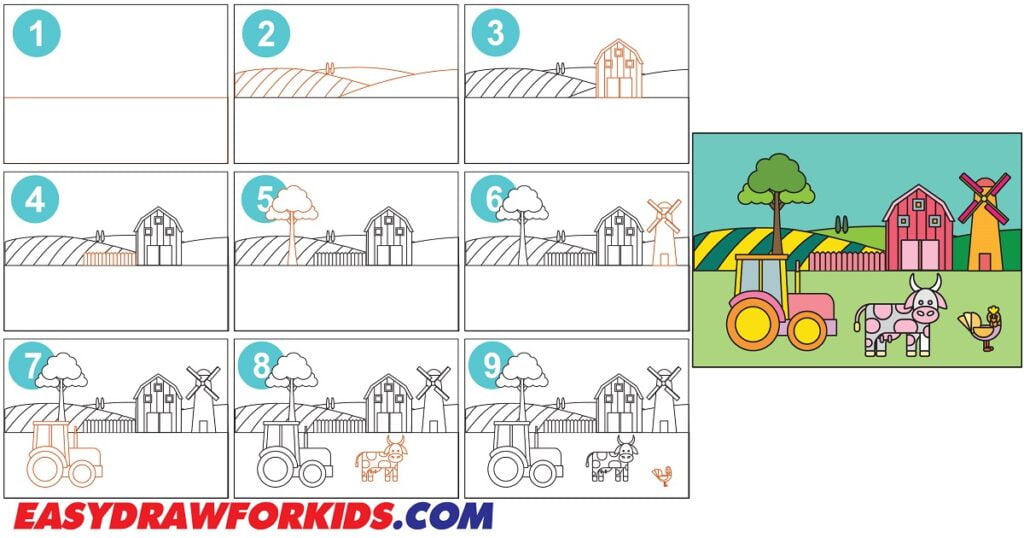
How to Draw a Farm – A Step by Step Guide
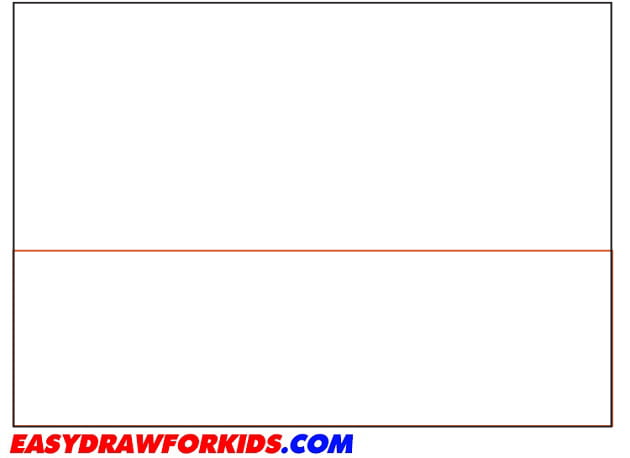
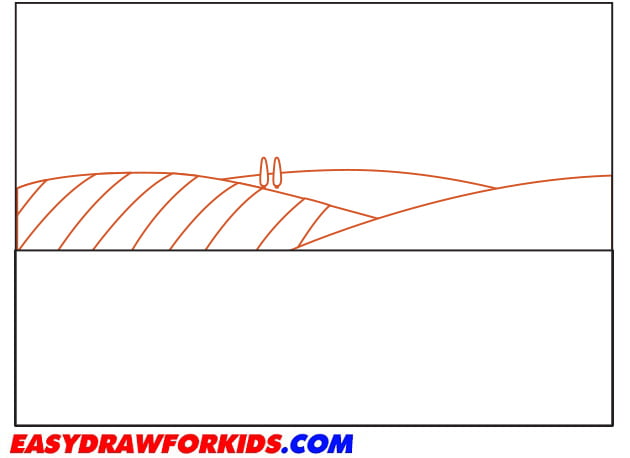
Step 1: Start by drawing a horizontal line across the middle of your paper for the horizon
Step 2: Drawing Fields and Crops
The next step in this guide on how to draw a farm will drawing the fields and crops.
Using curve lines overlapping to sketch out rows of fields like corn, wheat, or soybeans at the top of the horizon.
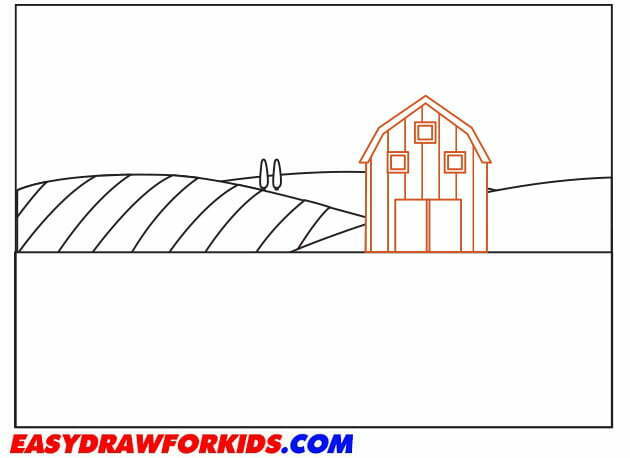
Step 3: Sketch out the Barn
On the horizon line, draw a rectangular shape slightly to the right side for the barn, add a triangular roof to it for a classic barn look.
Add small rectangular windows and a door to the barn. You can also draw a chimney on the roof.
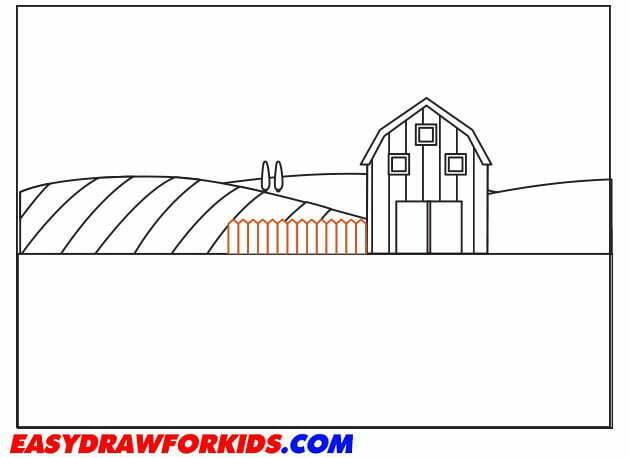
Step 4: Sketch out the Fence
Draw a series of straight lines beside the barn to create the sides of a wooden fence.
Connect the lines with small vertical lines to complete the fence.
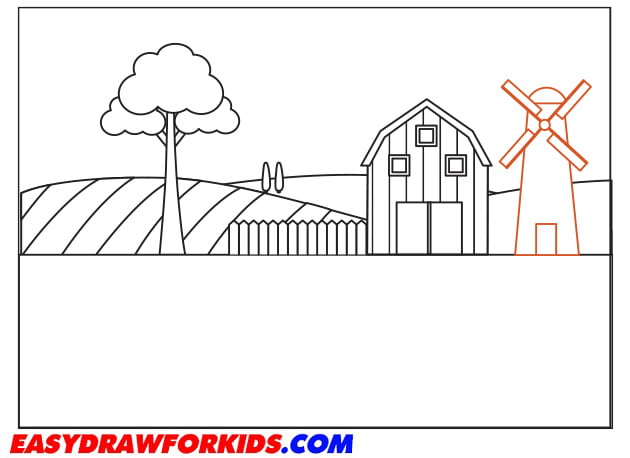
Step 5: Sketch out the Tree
Use simple shapes like ovals or triangles for trees, and add details like branches or leaves.
You can also include bushes or shrubs near the barn.

Step 6: Sketch out the Windmill
Draw a large rectangle shape to form be the base of windmill.
Add a roof to the top rectangle by drawing a curve line.
Extend three lines from the top of the windmill structure, starting from the center point to create the blades.
Step 7: Draw a Tractor
Draw a horizontal rectangle shape and a shape on top to form the main body of the tractor.
Draw two large, circular wheels on either side of the tractor body.
Draw a vertical exhaust pipe on the side of the tractor cabin.

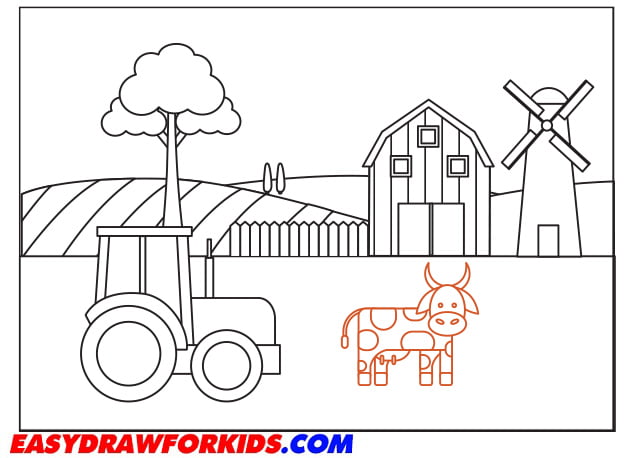
Step 8: Draw a Cow
Draw a cow as shown the picture or you can see in the reference guide How To Draw A Cow.
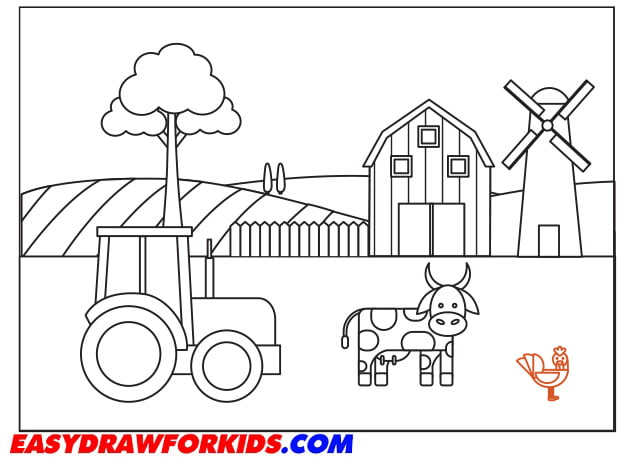
Step 9: Draw a Chicken
Like a cow, you can see in the reference guide How to Draw a Chicken – 5 Easy Ways Chicken Drawing, I have 5 easy ways for you.
Step 10: Choose appropriate colors for the buildings, landscape, animals, and other elements.

This is a basic guide on how to draw a farm, you can customize it and add more elements to make it unique.
Once you’ve completed your wonderful farm drawing, I would be thrilled to see it!
Share your masterpiece on my Facebook and Pinterest pages.
I look forward to seeing your creation!