Farmers are the backbone of society. They work hard to grow food and take care of animals so that we can eat.
If you want to learn how to draw a farmer, you’re in the right place.
In this tutorial, easydrawforkids.com will walk you through the steps to draw a simple farmer character.
How To Draw A Farmer – A Step by Step Guide
Let’s go through the process of drawing our farmer character from start to finish:
1. Easy Farmer Drawing

Step 1: Sketch out the Farmer’s Head
Drawing a large oval shape for the head, add two curved lines on either side of the head for the ears.

Step 2: Draw the hat by adding a wide-brimmed shape above the eyes.

Step 3: Adding Hair and Hat
Draw a curved line to form the top of the hat.
Draw short, curved strokes peeking out from under a hat for the hair.

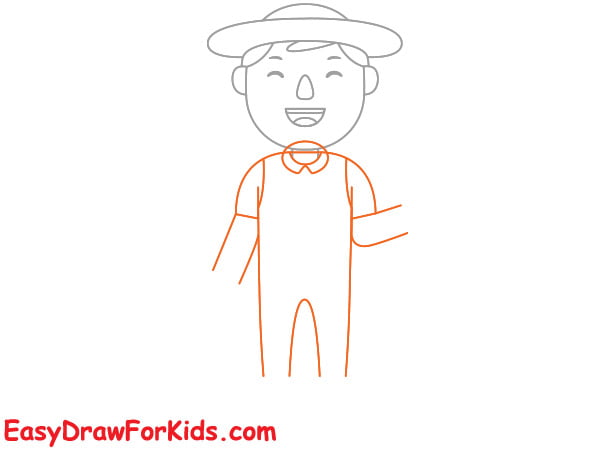
Step 4: Draw the Body
From the bottom of the head, draw an elongated oval shape to form the farmer’s body.
Add two straight lines extending downwards from the body to create the legs.
Connect the legs with horizontal lines to create the bottom of the trousers.

Step 5: Draw two narrower, curved lines extending from the bottom of the body to create the arms.

Step 6: Draw the Clothing
Draw lines across the shirt for the pattern.
Add buttons down the overalls and lines for the pockets.

Step 7: Drawing the Hands and Feet
Adding oval shapes at the end of each arm to form the hands.
Draw rectangles to form the shoes or boots.

Step 8: Drawing the Pitchfork
The eighth step of this guide on how to draw a farmer will focus on the pitchfork.
Draw the main shafts of the pitchforks, making sure they align with the position of the hands.
Then, draw the individual prongs extending from each shaft.

Step 9: Sketch two circles shape for the eyes, an upside-down triangle for the nose, and a small oval for the smiling mouth.

Step 10: Color the Drawing
Now that we’ve completed this guide how to draw a farmer, it’s time to bring your farmer art to life with color!
Depending on your preference, you can use color to color your farmer drawing.

2. Simple Farmer Drawing
Step 1: Draw a large oval for the head and two half circles for the ears.

Step 2: Draw a wavy line to form the hair and a triangle for the nose

Step 3: Add facial features such as eyes, mouth and neck.
Draw two half circles for smiling eyes and two lines on the eyes for the eyebrows.
Draw an oval shape to form a smiling mouth; below the head, draw two lines to create the farmer’s neck

Step 4: Draw a hat on the farmer’s head

Step 5: From the neck, draw two curved lines to form the body and legs. Then, draw two lines curving inward for the arms.
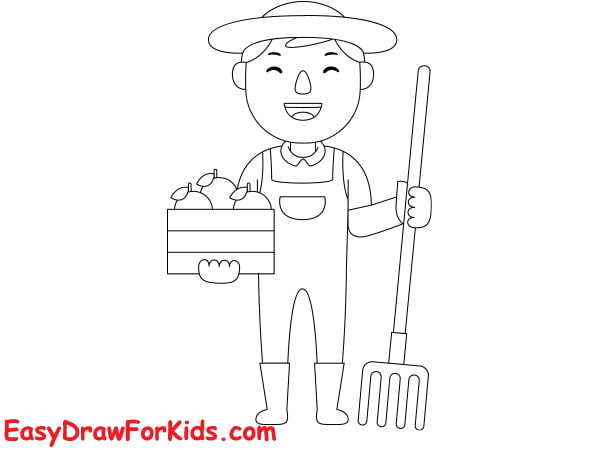
Step 6: Sketch the fruit basket and boots
Sketch the orange basket by drawing a rectangular shape in the farmer’s right hand.
Draw two oval shape below the legs for the boots.

Step 7: Draw the pitchfork by sketching two long lines for the main. Add small rectangular shapes at the end to form the prongs.

Step 8: Color your farmer by your style
This tutorial gave you a helpful overview of how to draw a farmer character.
Use the step-by-step instructions to sketch your farmer, then get creative, adding personalized details and poses.


