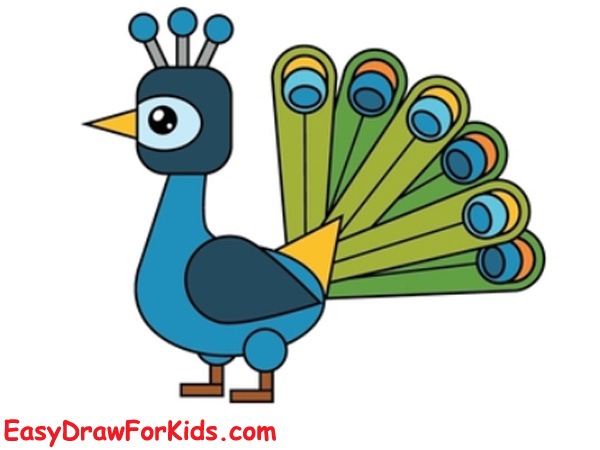
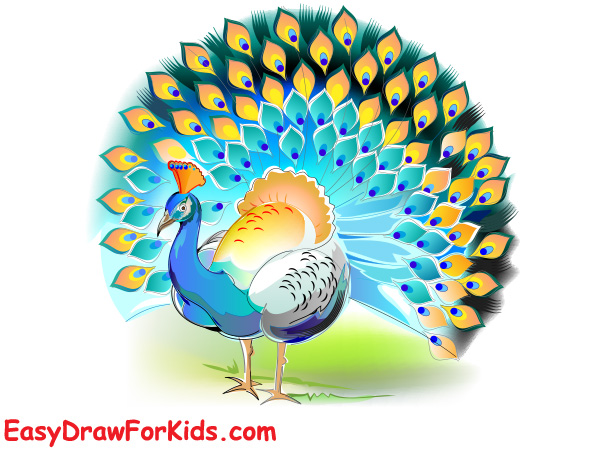
Welcome back! Today, I’ll show you how to draw a peacock with its iconic feathers spread wide.
Follow along, pause whenever you need, and enjoy creating something beautiful.
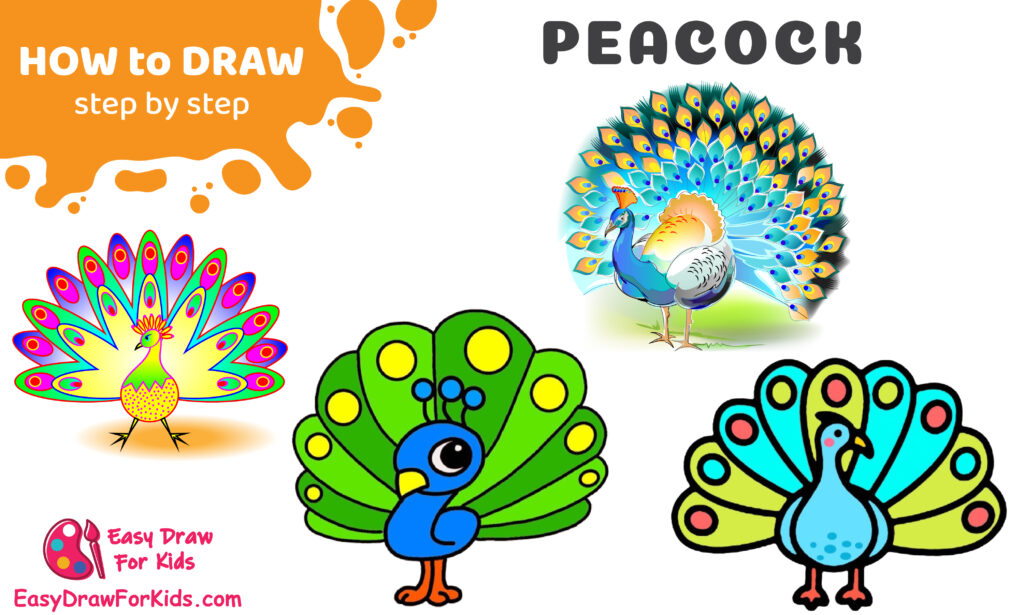
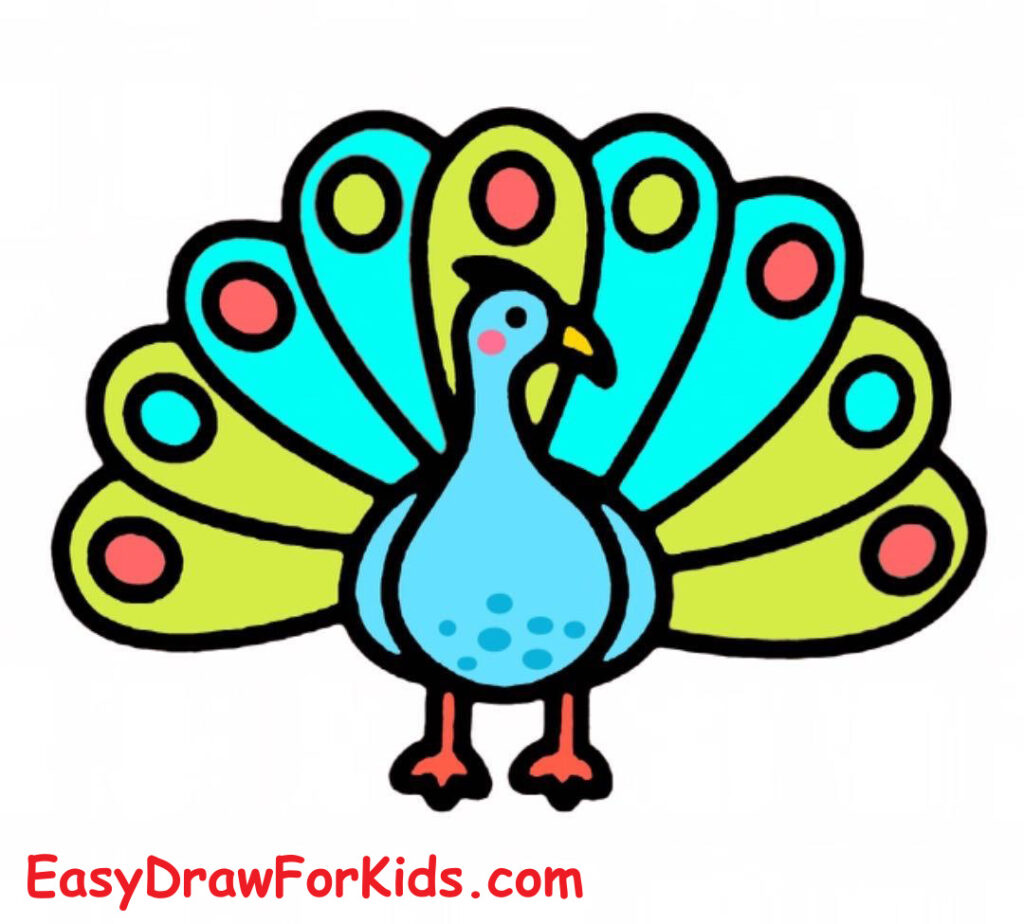
How To Draw A Peacock – A Step by Step Guide
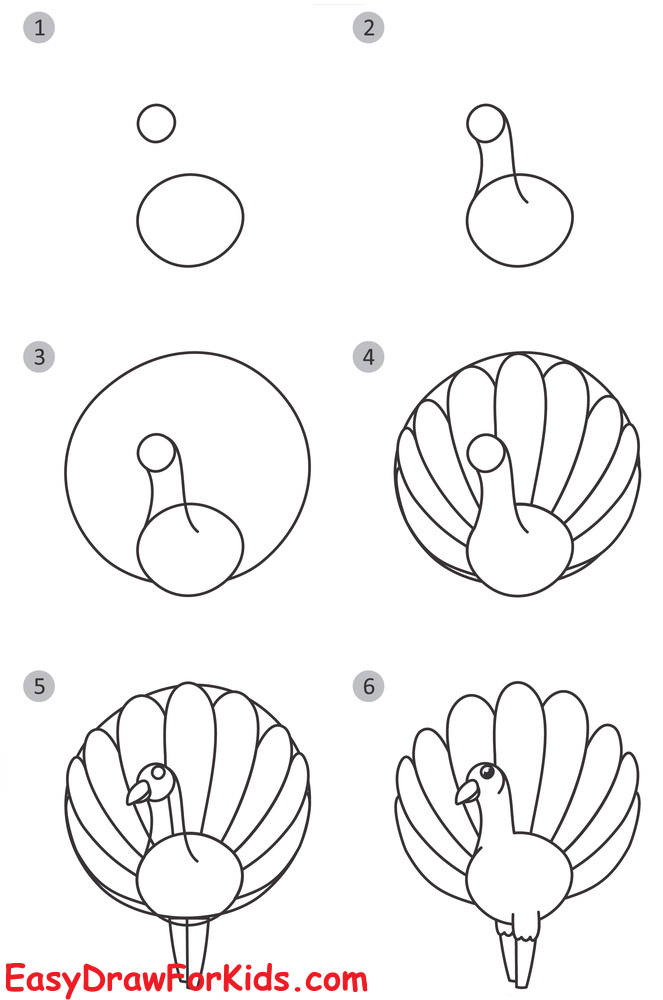
1. How to draw a Peacock for kids
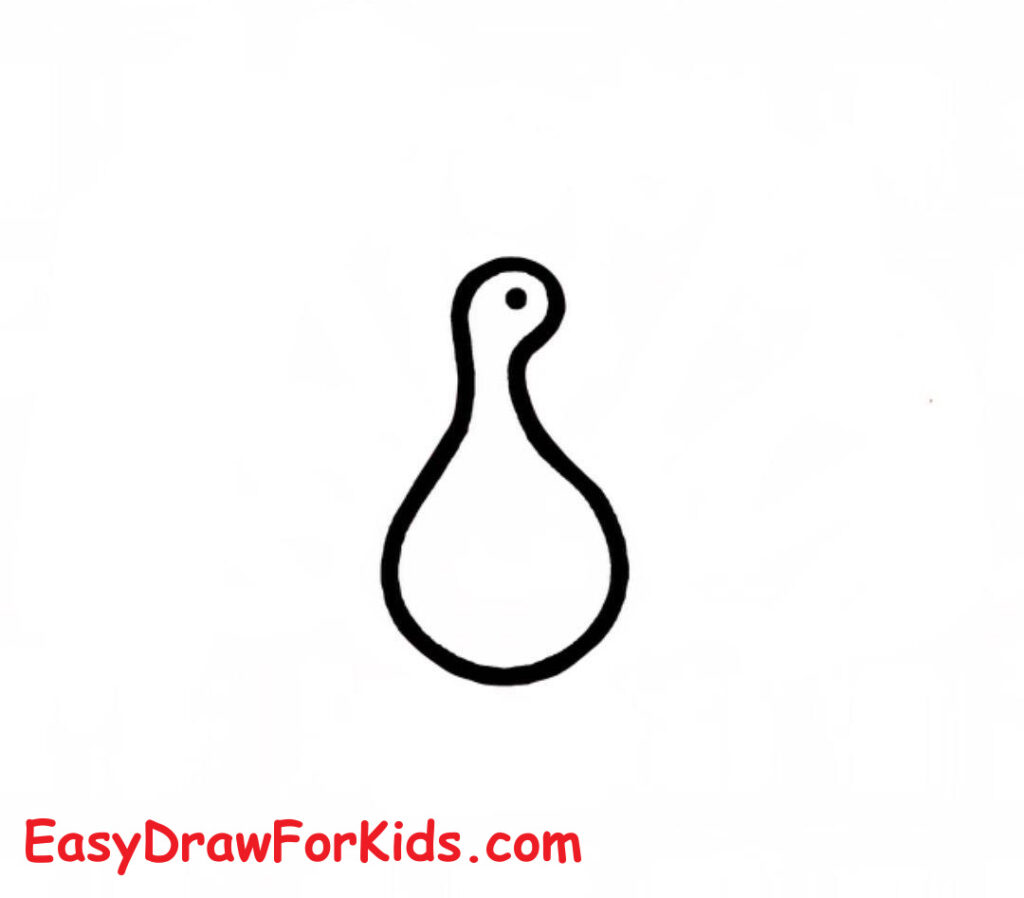
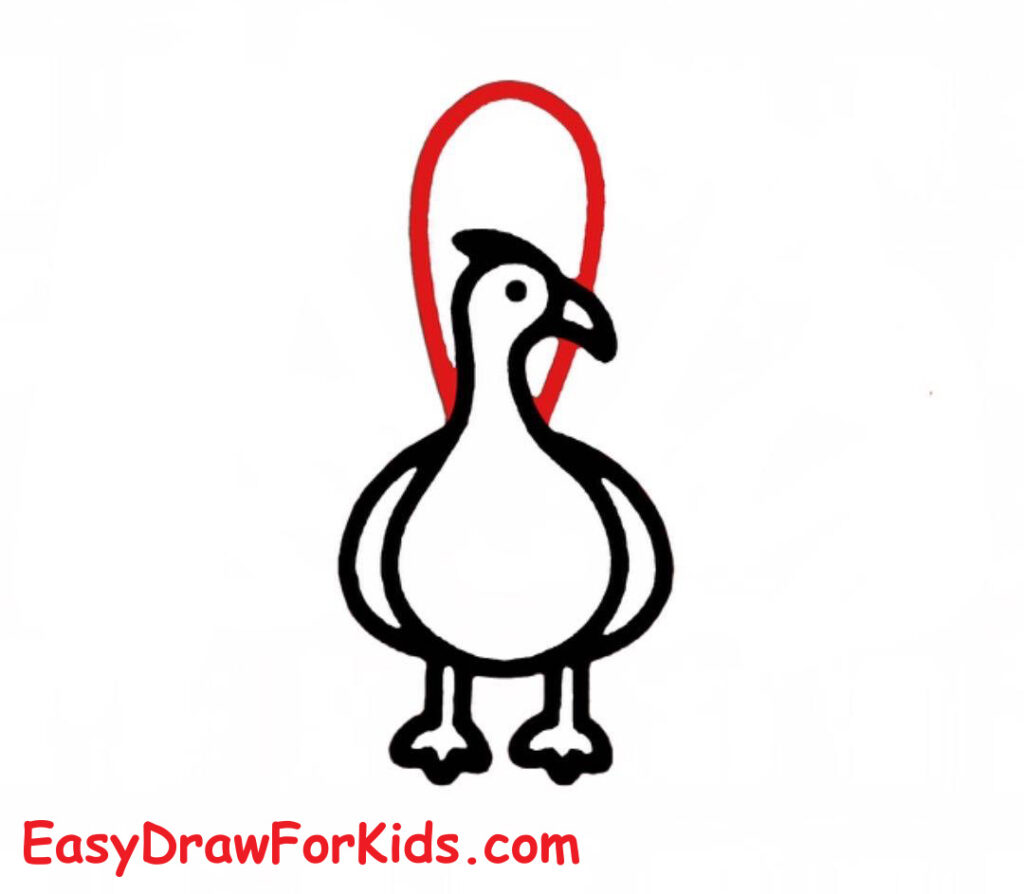
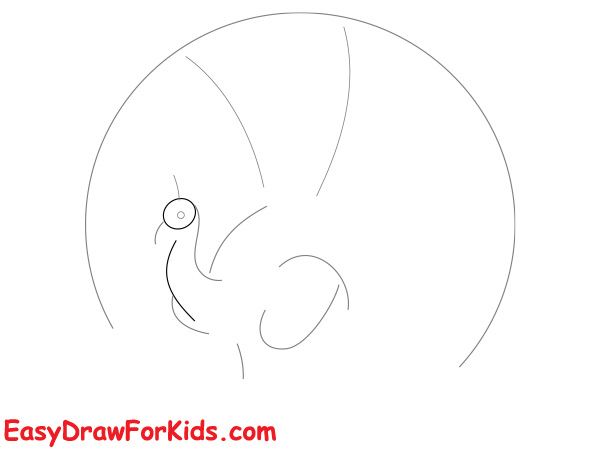
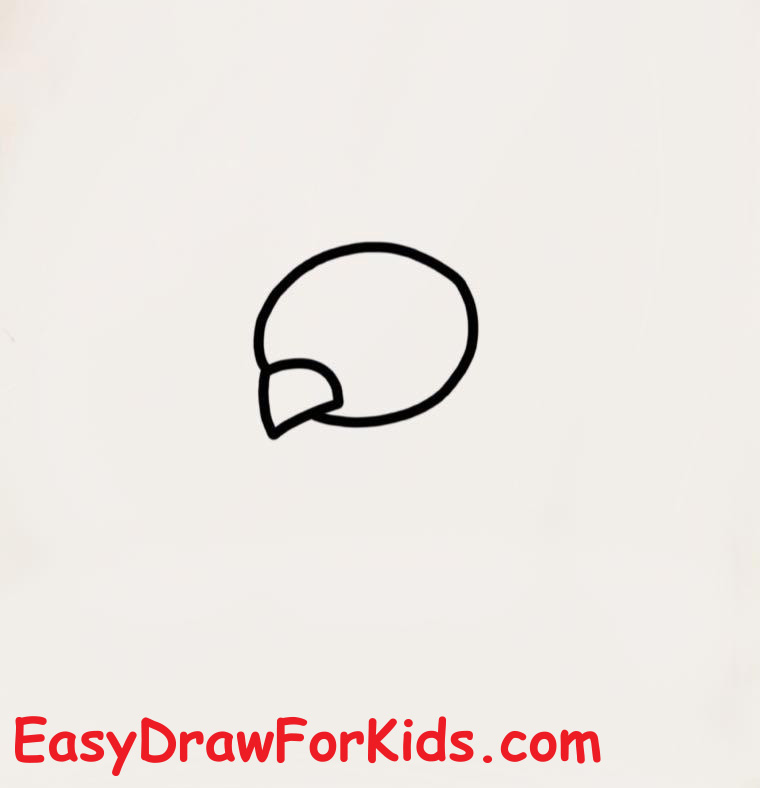
Step 1: Draw a small rounded square for the head near the top-left of your page. Below it, draw a large curved pear shape for the body.
Leave a short gap between them and draw a short curved neck line connecting head and body later.
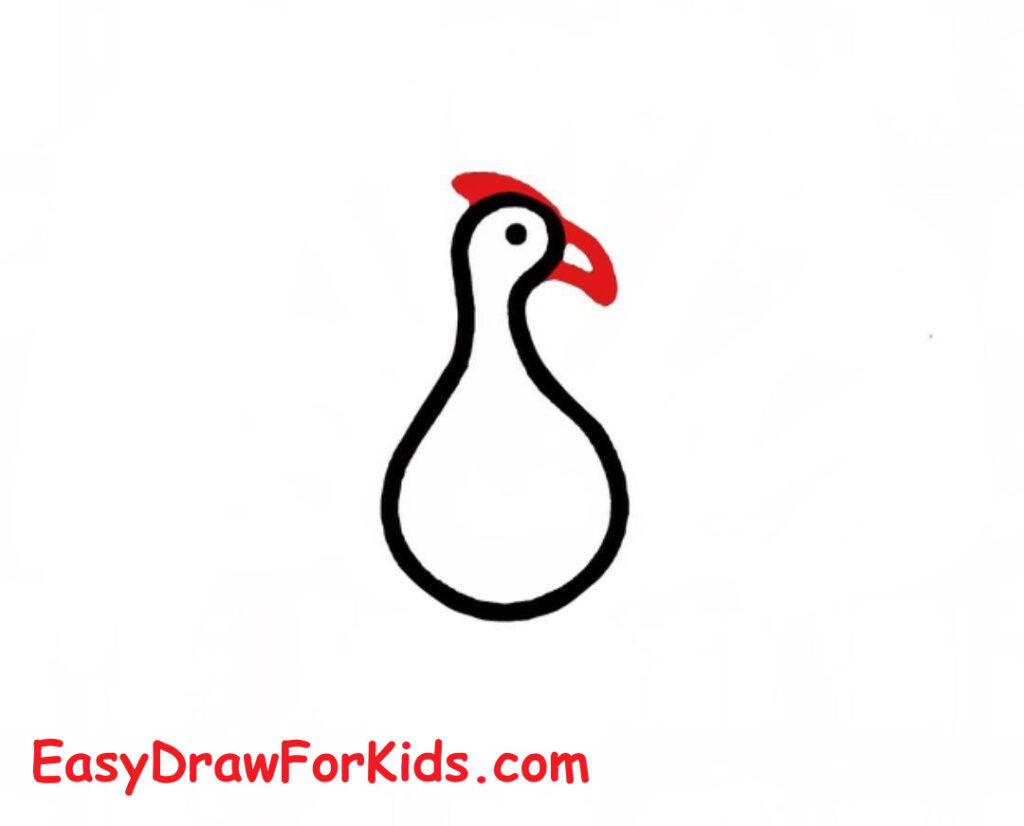
Step 2: On the left side of the head, sketch a small pointed triangle beak.
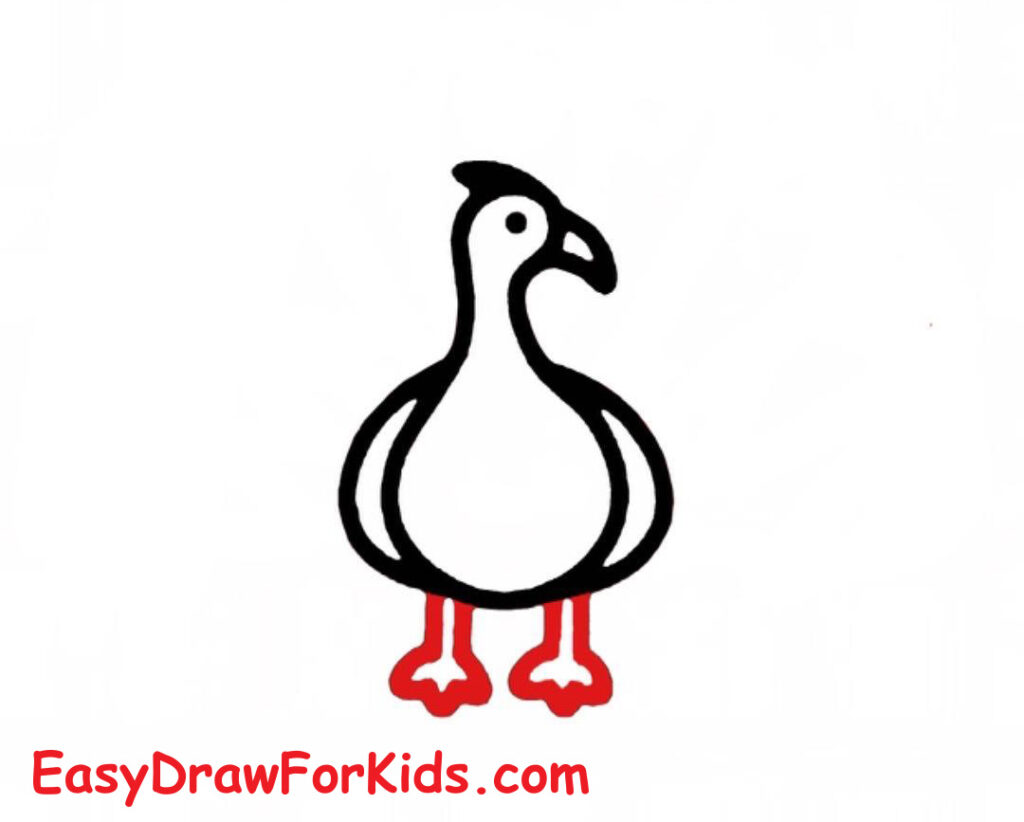
On the right side of the body add a teardrop shape to mark the wing.
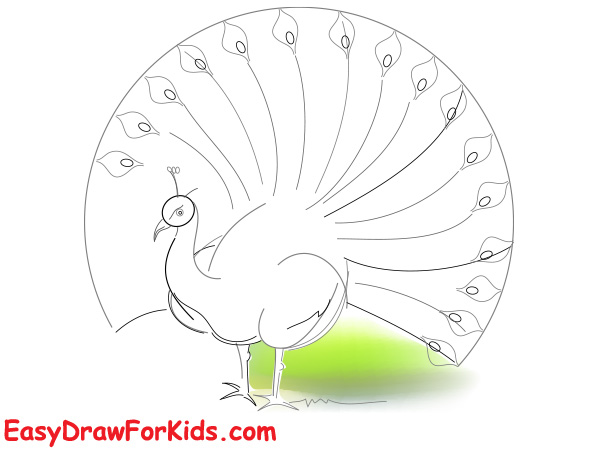
Lightly indicate where the tail will fan out behind the body.
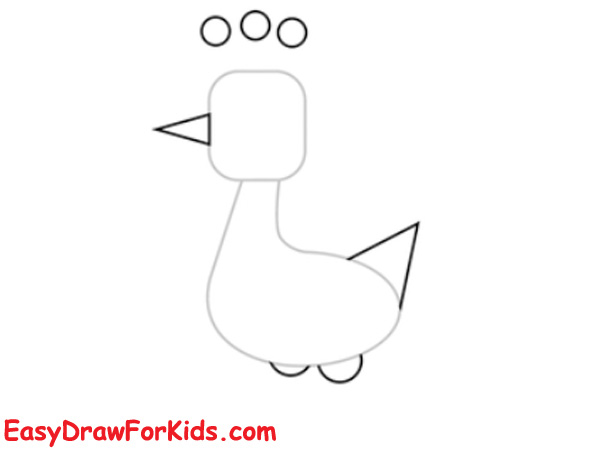
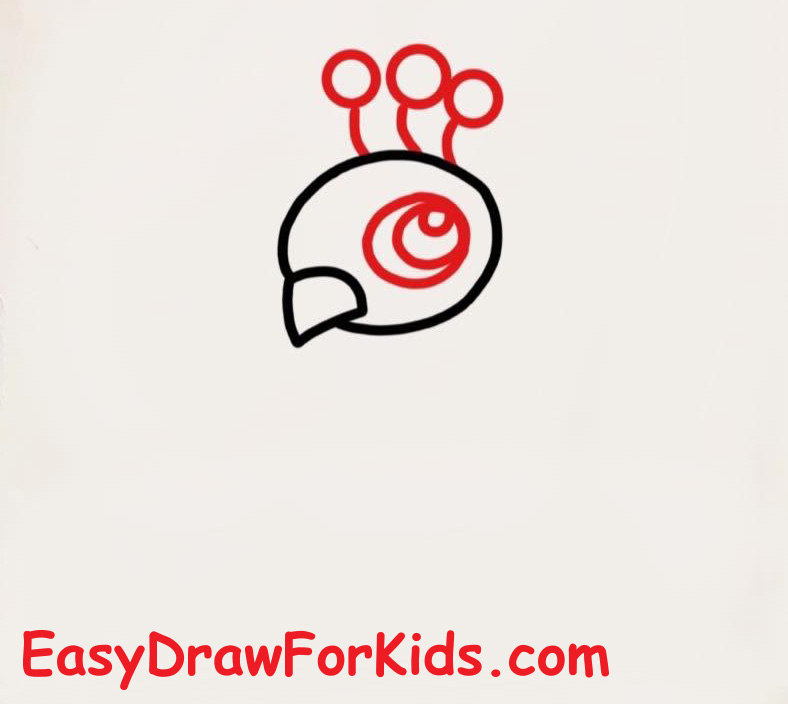
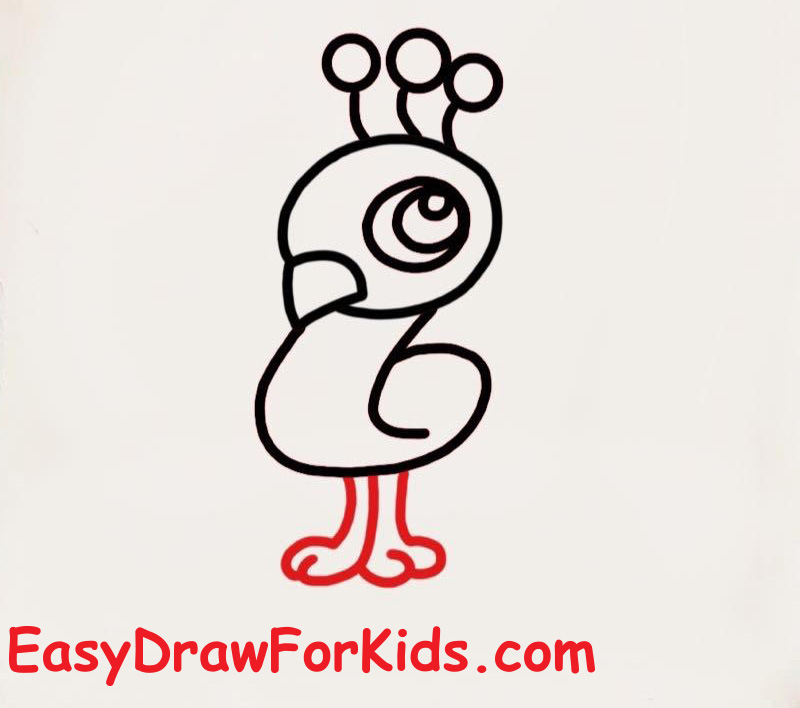
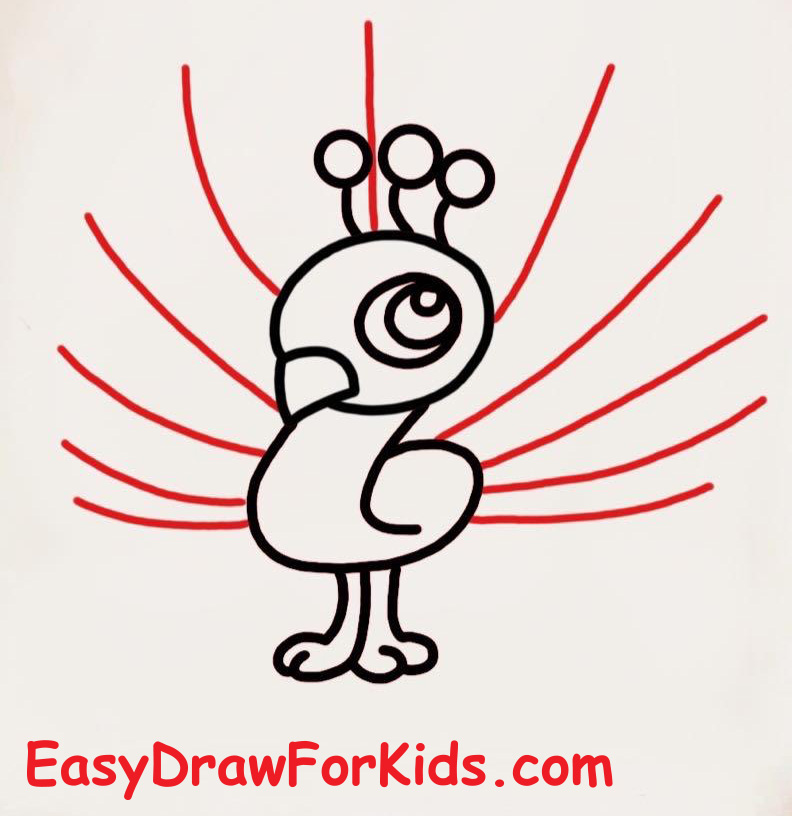
Step 3: Add three small circles on short stalks above the head to form the peacock crown.
Refine the wing shape and add two long rounded rectangles behind the body for the first tail feather group — these are guides for tail length and placement.
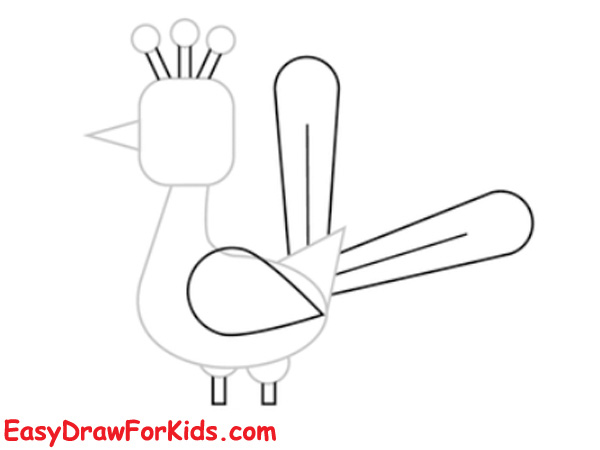
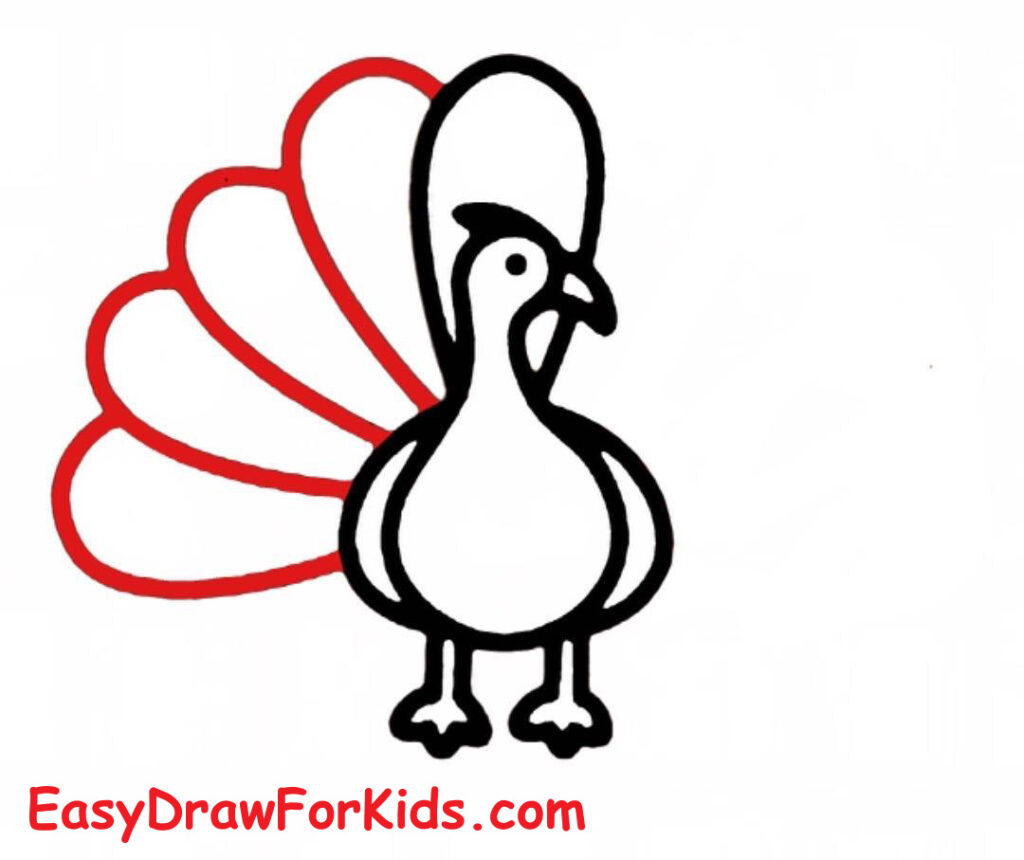
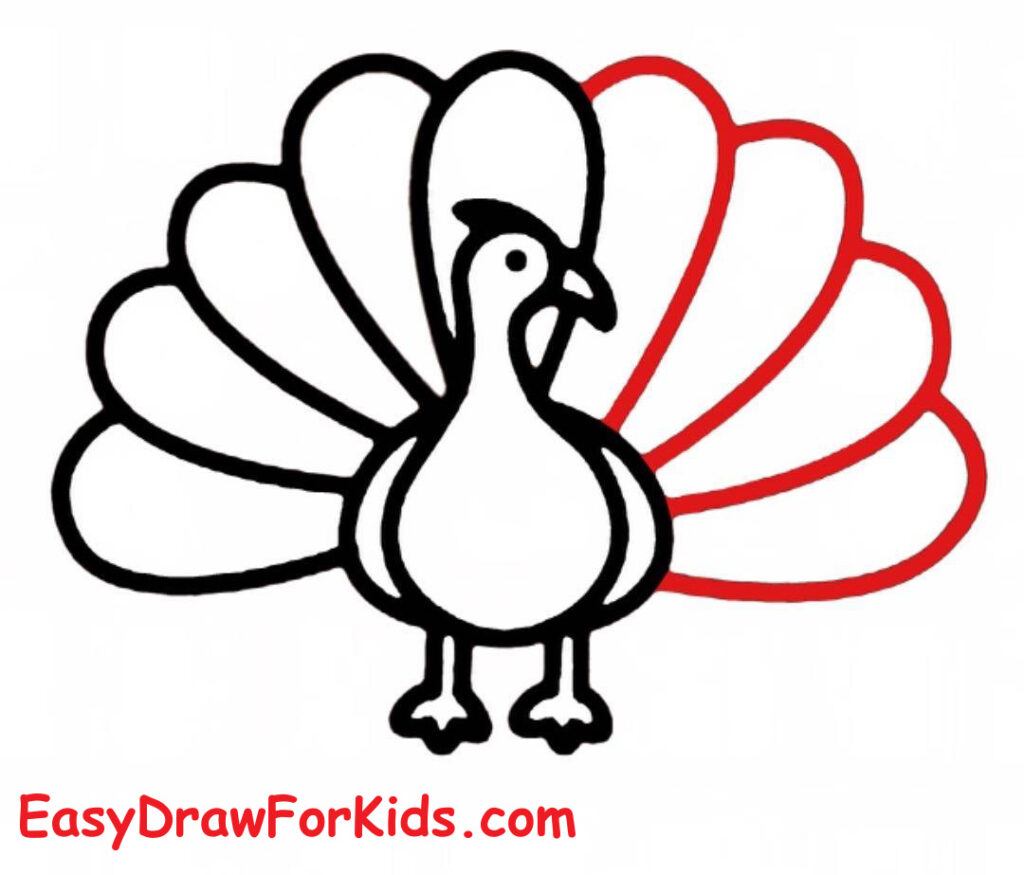
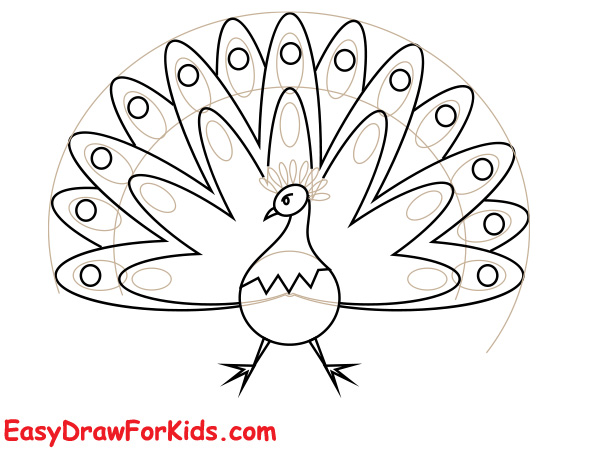
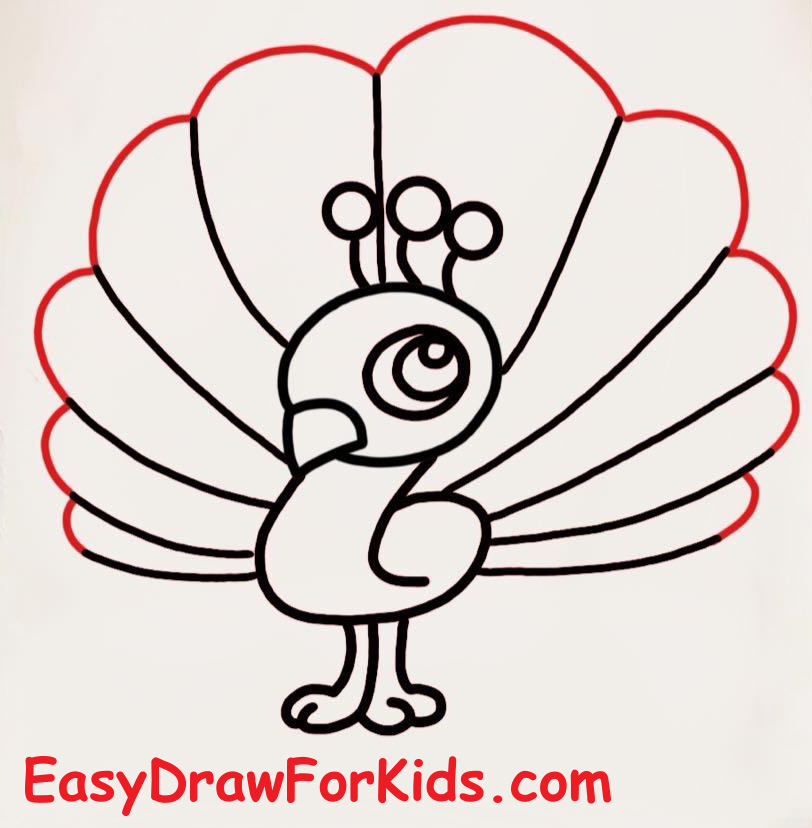
Step 4: Using the tail guides, draw a layered fan of large rounded feathers radiating from the tail base.
Make each feather a smooth teardrop shape, slightly overlapping. Keep the fan symmetrical and evenly spaced.
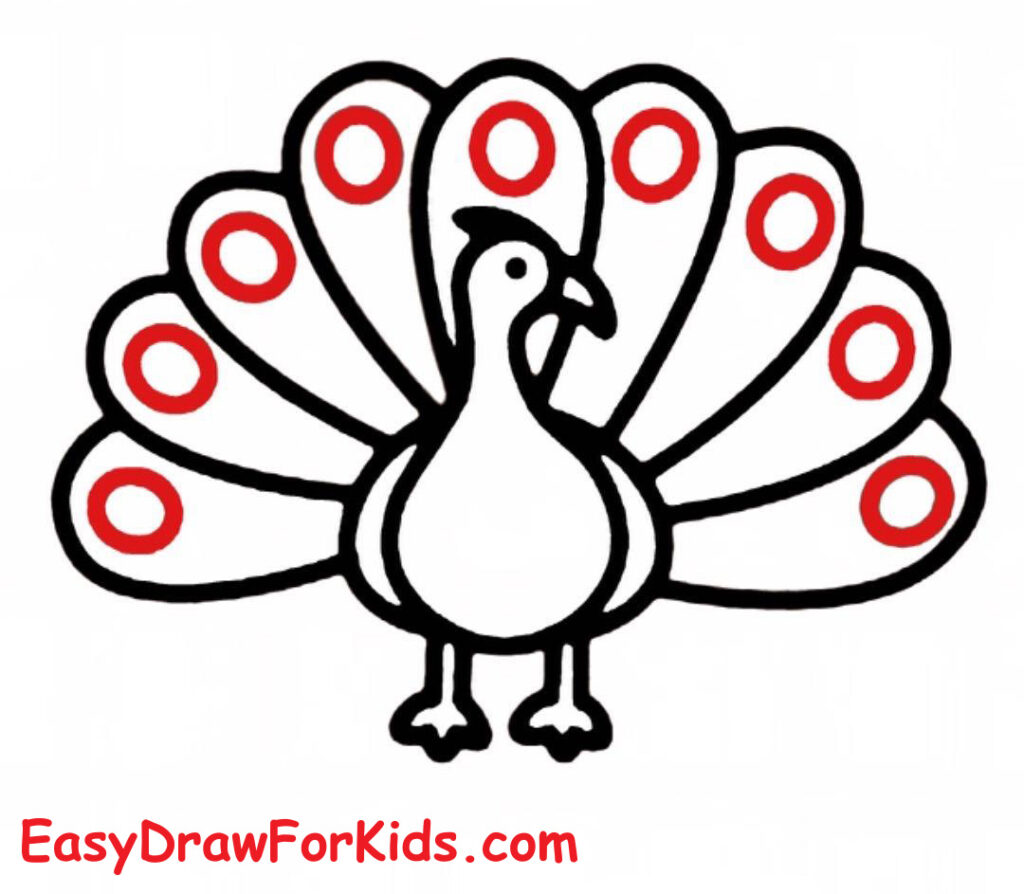
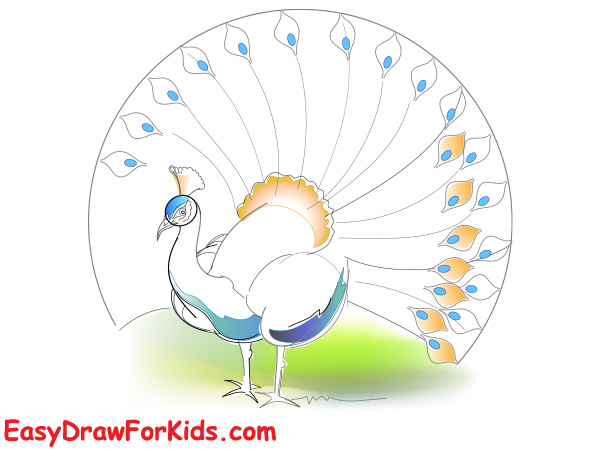
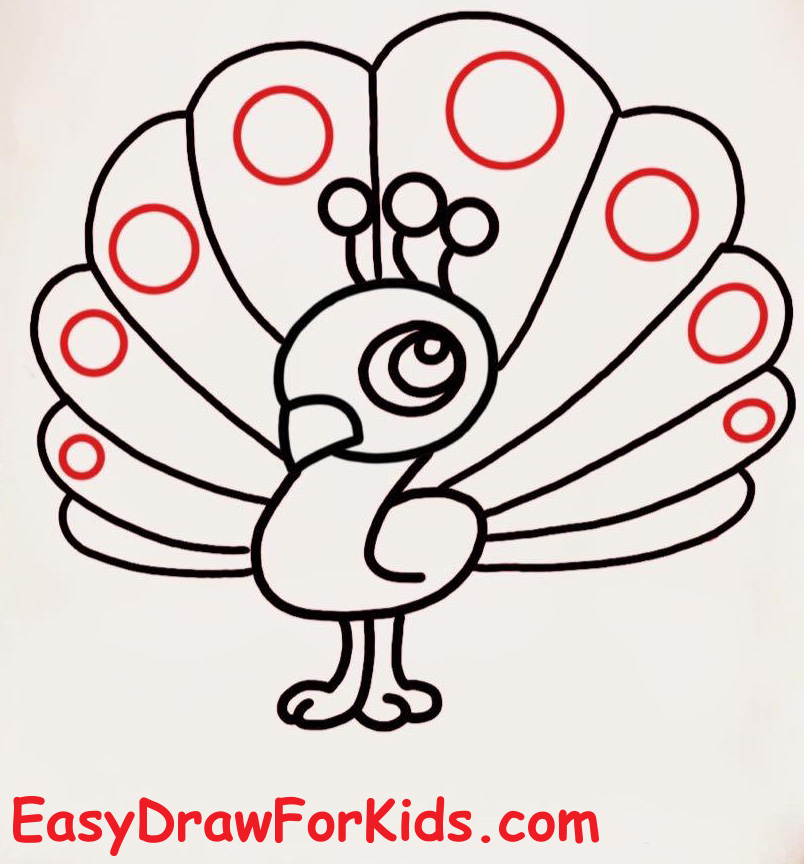
Step 5: On the outer row of tail feathers, draw small circles near each feather tip.
Add a large round eye in the head and a small oval on the body for the belly patch. Refine the wing, leg, and body contours.
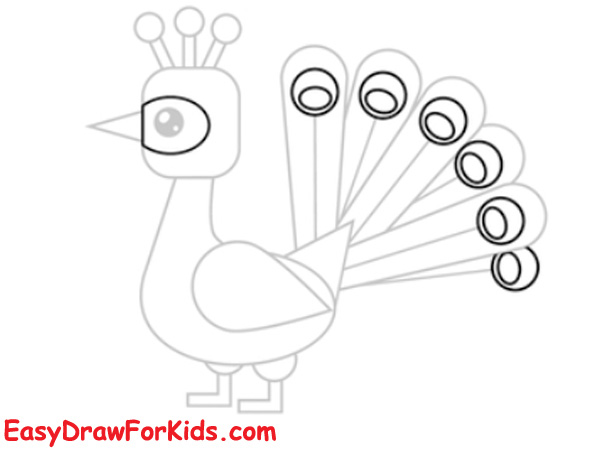
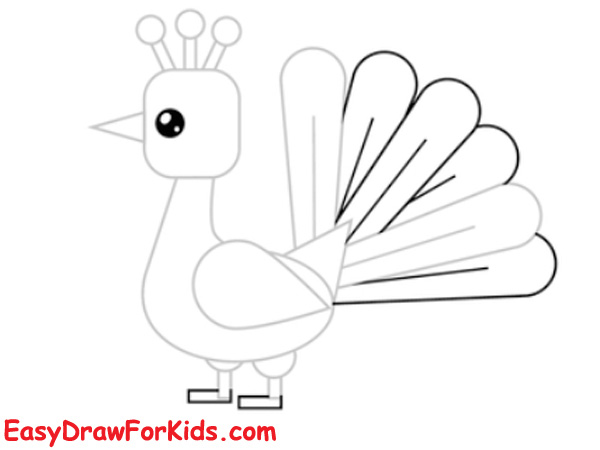
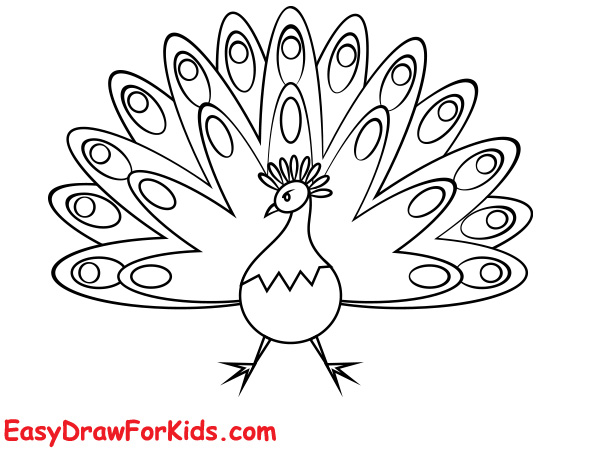
Step 6: Clean the crown, beak, eye, wing, and each tail feather — emphasize the eye spots and feather overlaps.

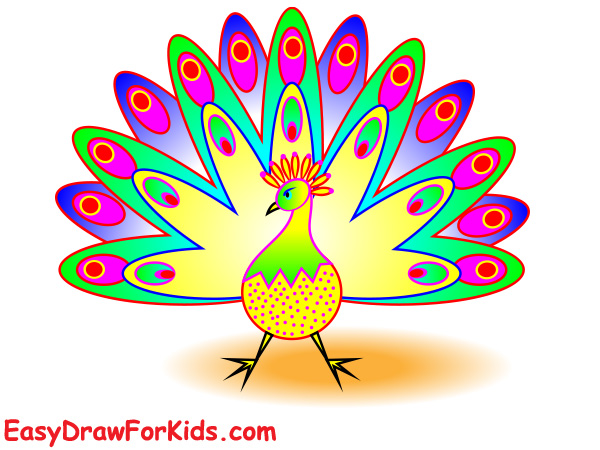
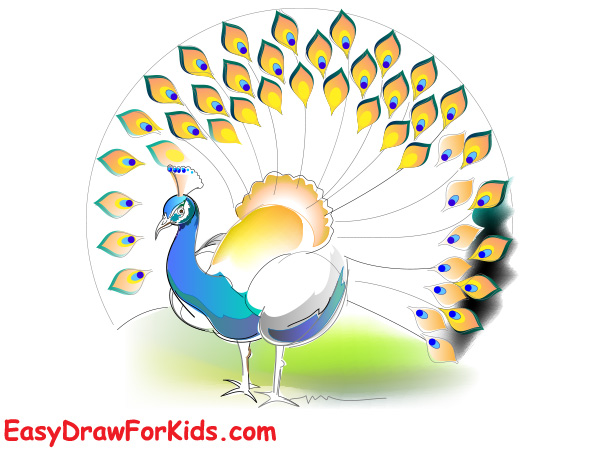
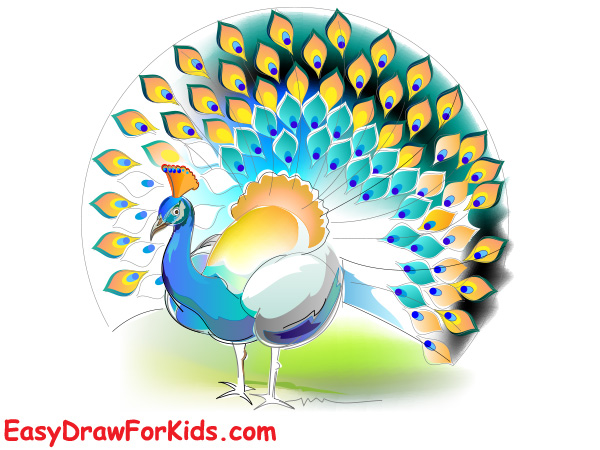
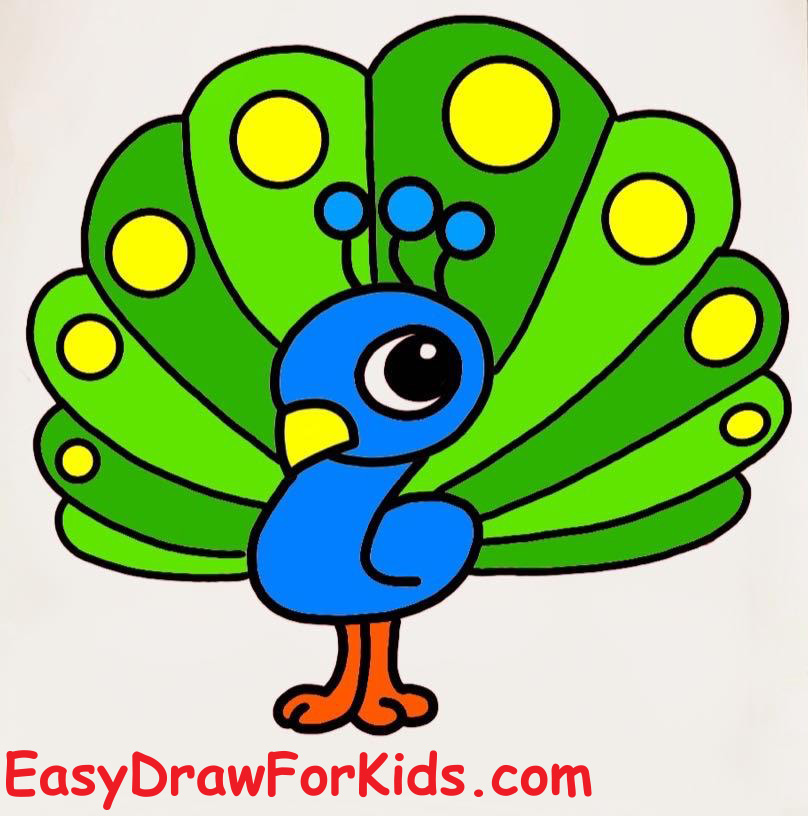
Step 7: Coloring
>>>Read more: How to Draw a Buffalo – 4 Ways (With Pictures)
2. How to draw a Peacock full body
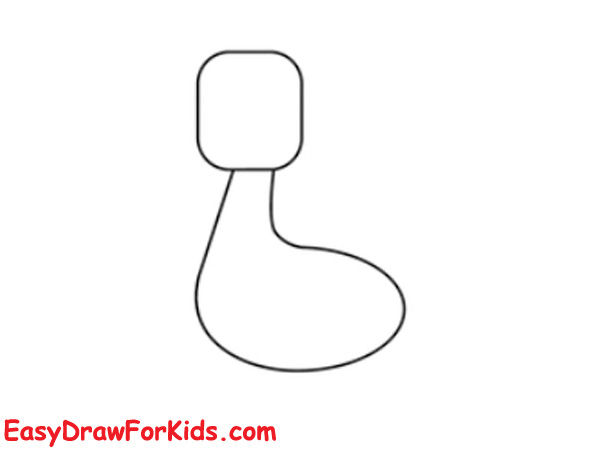
Step 1: Draw a small rounded square or soft rectangle for the head. Directly below it, draw a large rounded bean shape for the body.
Step 2: On the left edge of the head, draw a small pointed beak. Above the head add three short vertical stalks topped with tiny circles
Step 3: On the right side of the body draw a rounded teardrop shape to mark the wing.

Step 4: Under the body draw two short vertical leg shapes ending in small, rounded two-toed feet.
Step 5: Behind the body, sketch several evenly spaced long curved lines that fan outward — these are guides for the tail feathers.
Step 6: Using the guide lines, draw large rounded teardrop feathers that overlap slightly. Start with the outermost layer and repeat inward so the tail becomes a layered fan behind the bird.
Step 7: Add outer feather shapes
Step 8: On each outer feather tip draw a small circle for the peacock’s eye spot.
Step 9: Color and finishing touches
>>>Read more: How to Draw a Hedgehog – 18 Ways (With Pictures)
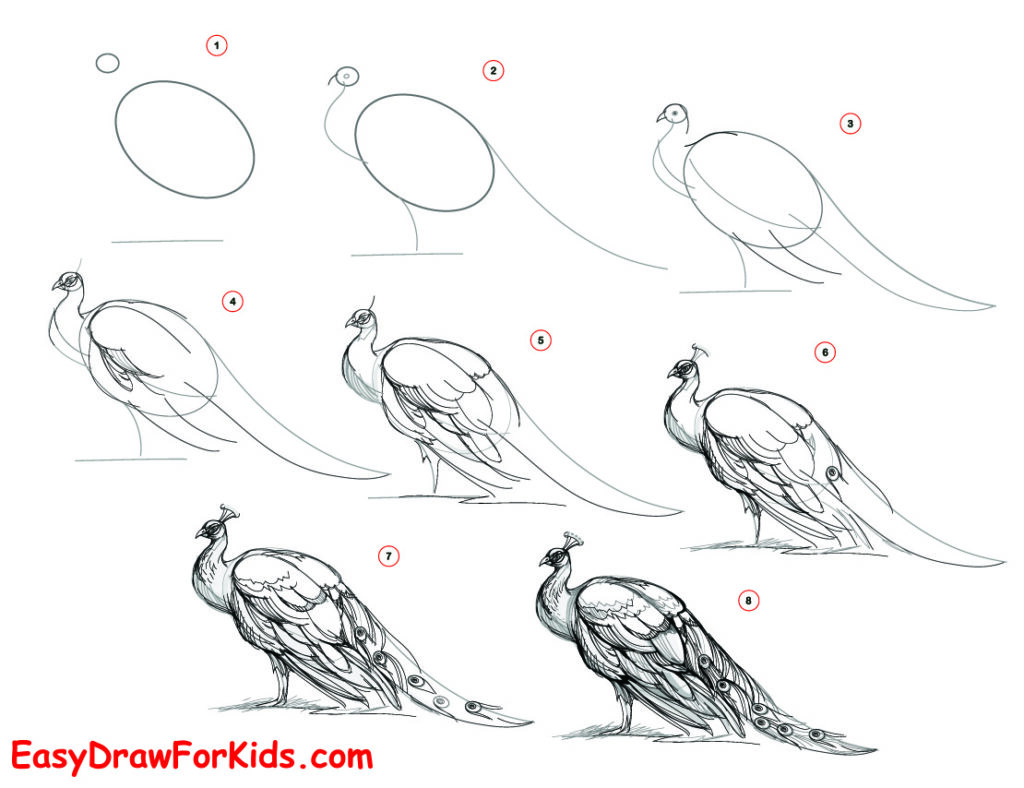
3. Beautiful Peacock drawing
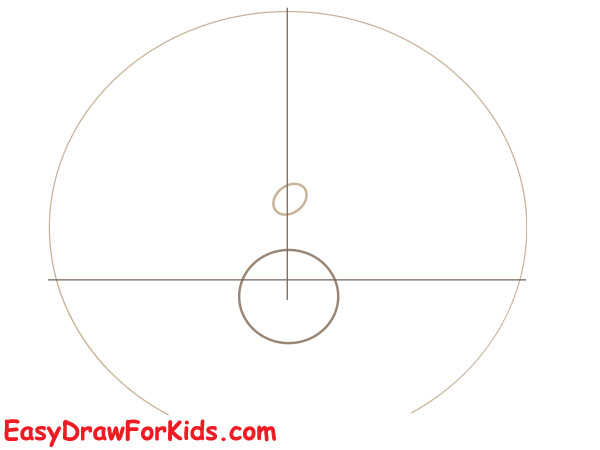
Step 1: Start by drawing a large half-circle. This will be the outline of the peacock’s tail fan.
Inside this half-circle, draw a vertical center line and a horizontal line to help keep everything symmetrical.
Near the bottom center of the half-circle, draw a small circle for the head.
Below it, draw a larger circle for the body.
Connect the two circles using two short curved lines to form the neck.
Step 2: Draw a long, central feather starting from the top of the body circle going upward to the top of the big half-circle.
Add two wide curved feathers starting from both sides of the body and curving outward.
Continue adding additional large feathers between the center feather and the side feathers, forming a balanced fan shape.
These feathers should fit inside the large half-circle guideline.
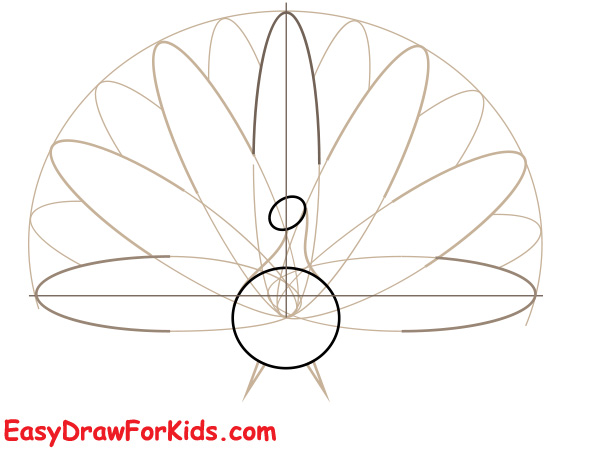
Step 3: Add another full row of medium-sized feathers between the large feathers, making the fan look fuller.
Draw small circles/ovals at the tip of each feather — these will become the tail “eye” patterns.
Add the head details:
Two dots for eyes
A small triangle shape for the beak
Add two thin legs underneath the body with three small toes each.
Your peacock should now have a full feather fan and a simple cartoon body.
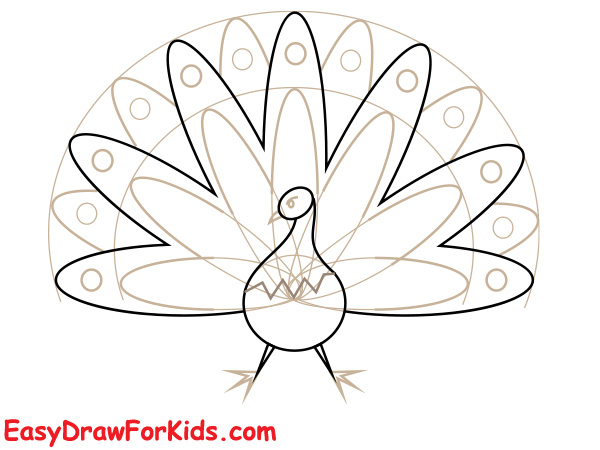
Step 4: Inside each feather tip, draw the classic peacock “eye” design:
A small circle in the center
A larger oval or teardrop shape around it
For each feather, add simple inner lines that follow the feather shape to make them look more detailed.
Add the wing area on the body by drawing a curved zig-zag line across the chest.
At this stage, the drawing looks cleaner and more decorative.
Step 5: Erase all the construction lines and guidelines.
Make sure all feathers, circles, and body shapes are neat and symmetrical.
Step 6: Color the Peacock
>>>Read more: How to Draw a Toucan – 4 Ways (With Pictures)
4. How to draw a peacock realistic
Step 1: Lightly draw a large circle for the overall area of the tail fan.
Inside that circle, mark a vertical center line and a horizontal baseline where the bird will stand.
Near the bottom center of the circle, draw a smaller oval for the body and a smaller circle at the top of that oval for the head.

Step 2: Connect the head and body with two long, slightly curved lines to form the neck.
Shape the body as an pear: narrower at the top, wider at the lower back.
Step 3: Add a small pointed beak projecting from the head.
Draw a round eye and a thin curved eyebrow line above it.
Sketch a small crest on top of the head: 3–5 thin feather stalks with teardrop tips.
Draw two thin legs down from the lower body with small three-toed feet.
Add a small patch or shadow under the feet so the bird looks grounded.
From the bird’s lower back, lightly draw a semi-circular set of evenly spaced radial guide lines that meet the top center of the large circle — these are the feather shafts.
Keep them fanning out symmetrically; use the large circle boundary to keep feather tips aligned.
Step 4: On each radial guide, draw long feather shapes that widen near the tip and taper to the base.
Make the feathers overlap slightly like roof shingles — the outer row will be the longest.
Step 5: Add feather texture with short curved lines along each feather shaft. Vary line length to imply fluff.
On the body, draw layered short contour lines to show chest and back feathers.
Refine the beak and eye; add a small highlight in the eye for liveliness.
Step 6: Color the body and neck with deep teal or blue-green.
Make the head slightly darker or the same tone as the neck.
Color the belly and underparts a paler beige or light green for contrast.
Step 7: For the “eye” patterns: use a warm gold or amber for the inner ring, a bright bluefor the center, and a greenfor the outer ring.
Alternate shades across the tail to create depth: darker blues at the base, lighter toward tips.
Add small white highlights in the eye patterns and on the body to make the feathers sparkle.
Add a soft shadow under the tail where it meets the ground.
>>>Read more: How to Draw a Raccoon – 6 Ways (With Pictures)
5. How to draw a Peacock step by step
Step 1: Draw a small rounded rectangle for the head. On the lower left of that shape add a short triangular beak.
Step 2: Inside the head draw a large round eye with a smaller circle for the pupil and a tiny white highlight.
Above the head draw three short stalks topped with small circles — the peacock’s crest.
Step 3: From the bottom of the head, draw a smooth, curved “S” shape that loops down and back up to form the front of the neck and the belly curl.
Make this line fluid — it becomes the front of the body.

Step 4: Under the belly, draw two short parallel lines for the legs and add tiny oval feet at the base (two little toes each).
Step 5: From the base of the body, draw several long, evenly spaced curved guide lines that fan outward — these are the skeleton lines for the tail feathers. Make them slightly arced and spread wide.
Step 6: On top of each tail guide draw large rounded fan shapes to form the outer tail layer. The feathers should form a full semicircular fan behind the bird.
Step 7: Inside the rounded tips of several outer feathers draw circles for the eye spots.
Then add a second inner row of smaller curved feather shapes between the outer feathers to give depth.
Refine the wing and belly lines so the body reads clearly in front of the tail.
Step 8: Color your drawing by your style or as shown the picture
>>>Read more: How To Draw A Swan – 3 Ways (With Pictures)
6. How to Draw an Easy Peacock
7. Peacock drawing easy and beautiful
8. Peacock Drawing for Beginners
Congratulations! You’ve learned how to draw a peacock from basic shapes to beautiful details.
Keep practicing and create your own colorful designs!