Are you ready for pumpkin season?
Here are five different styles you can try when you learn how to draw a pumpkin step by step!
How To Draw A Pumpkin – A Step by Step Guide
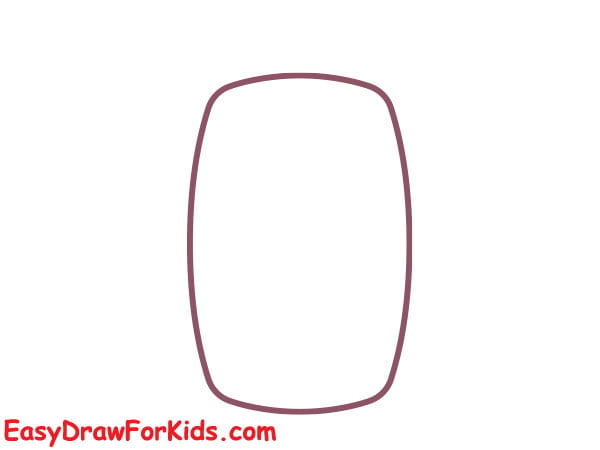
1. Cute Pumpkin Drawing
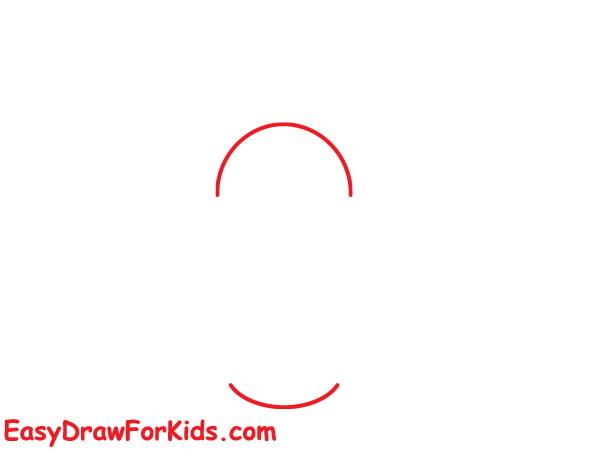
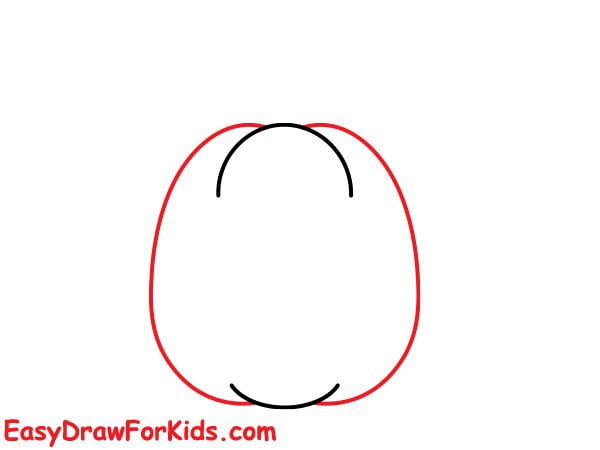
Step 1: Draw a large vertical rectangular shape.
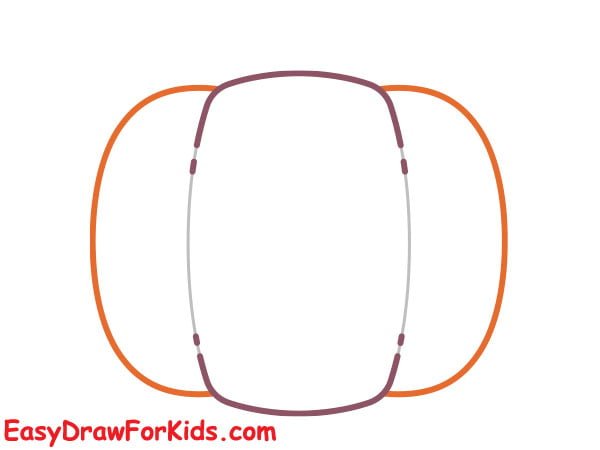
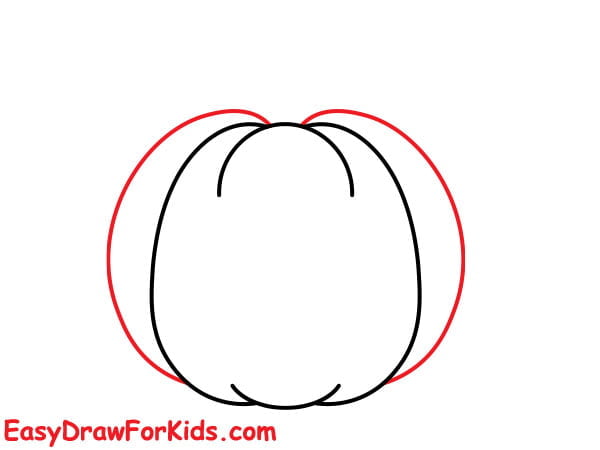
Step 2: On the left and right sides of the rectangular, draw two curved lines to form the pumpkin’s ridges.
Step 3: Draw two large, round eyes near the top of the pumpkin
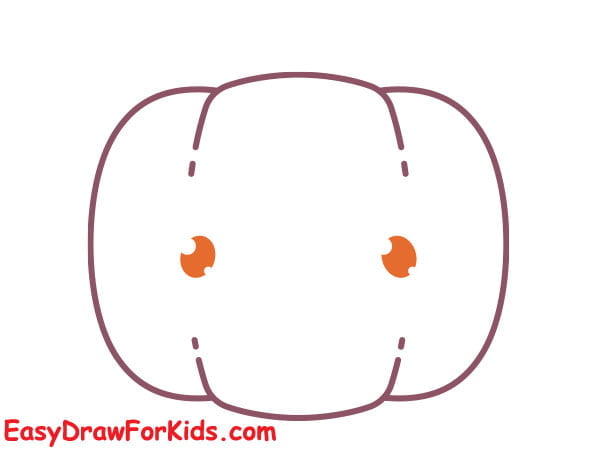
Step 4: Add a smiling mouth below the eye.

Step 5: Inside the mouth, draw a curved line for the tongue

Step 6: Draw two circles for the blush.

Step 7: On the top of the pumpkin, draw a short, curved stem.

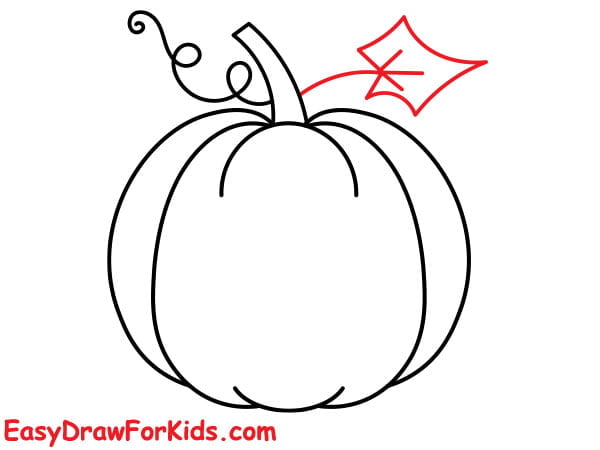
Step 8: Draw pumpkin leaf beside the stem

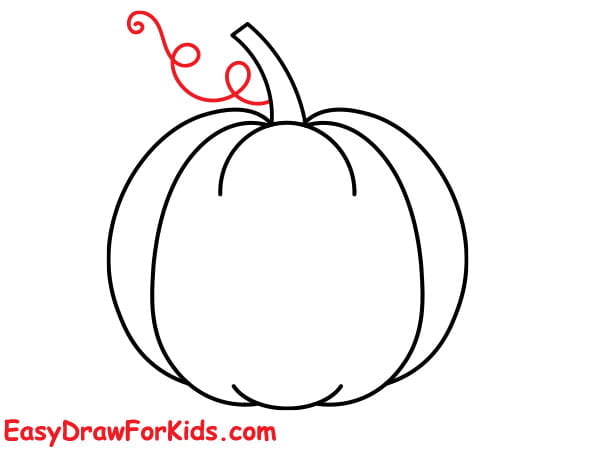
Step 9: Next, adding vines around the stem

Step 10: Color your cute pumpkin drawing

2. Kawaii Pumpkin Drawing
Step 1: Draw two curved lines parallel
Step 2: Draw two curved lines on the side to form the pumpkin’s ridges.
Step 3: Add more curved lines across the pumpkin’s body to create additional ridges.
Step 4: From the top of the pumpkin, draw a curved stem that extends upward.

Step 5: Adding vines around the stem
Step 6: Draw the pumpkin leaf
Step 7: Draw two half-circles to form smiling close eyes.

Step 8: Draw an oval shape for smiling mouth

Step 9: Adding rosky cheek for kawaii pumpkin

Step 10: Add color to your kawaii pumpkin drawing to bring it to life

3. Pumpkin Slice Drawing
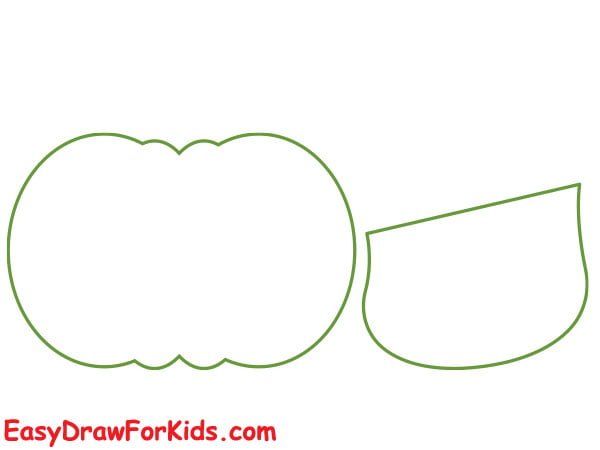
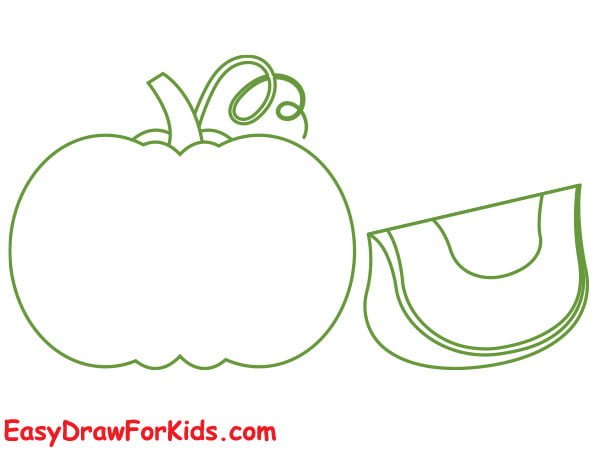
Step 1: Start by drawing a large oval shape to form the pumpkin.
On the right side of the pumpkin, draw a curved line and straight line across it to form the pumpkin slice
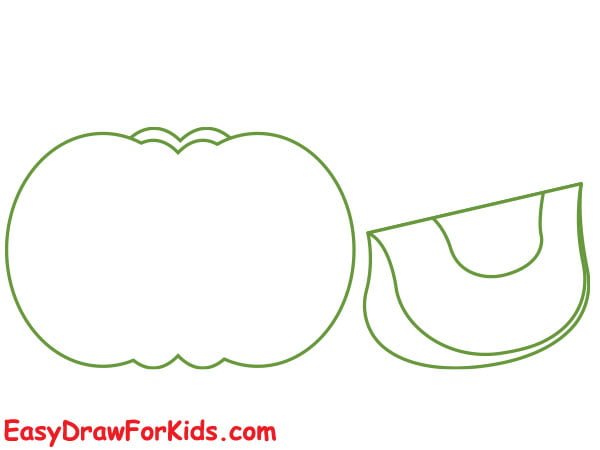
Step 2: Add a curved line inside the pumpkin slice to create the edge of the pumpkin slice.
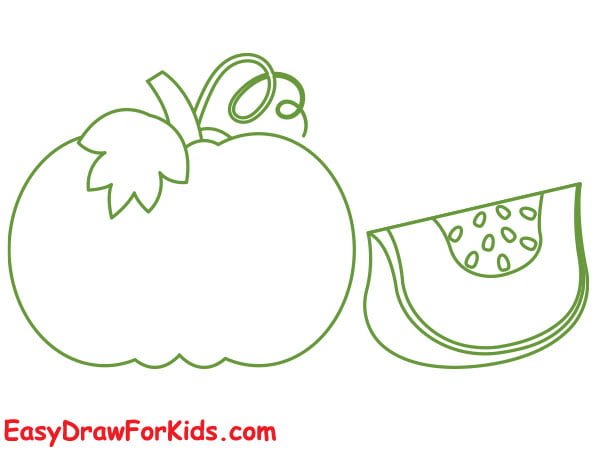
Step 3: On top of the pumpkin, draw a curved stem and vines
Draw a curved line to indicate the outer edge of the slice.
Step 4: Adding pumpkin leaf, draw a few oval shapes near the cut section of the slice to indicate the pumpkin’s seeds.
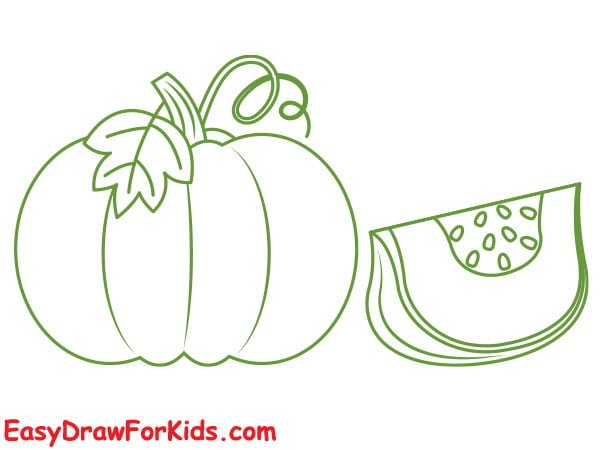
Step 5: Add texture to the pumpkin drawing curved lines across its surface.
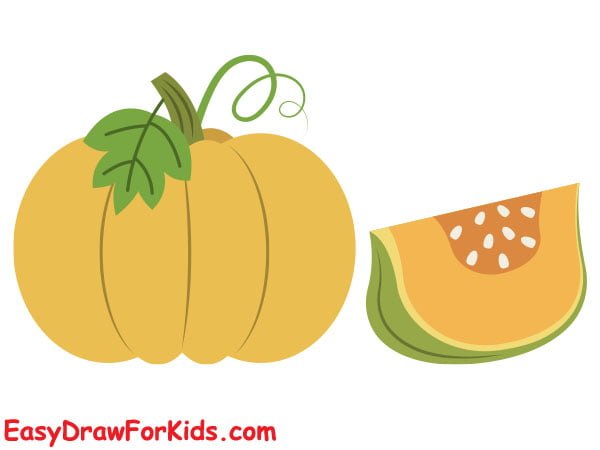
Step 6: You can use an orange shade for the pumpkin slice and brown for the seeds.
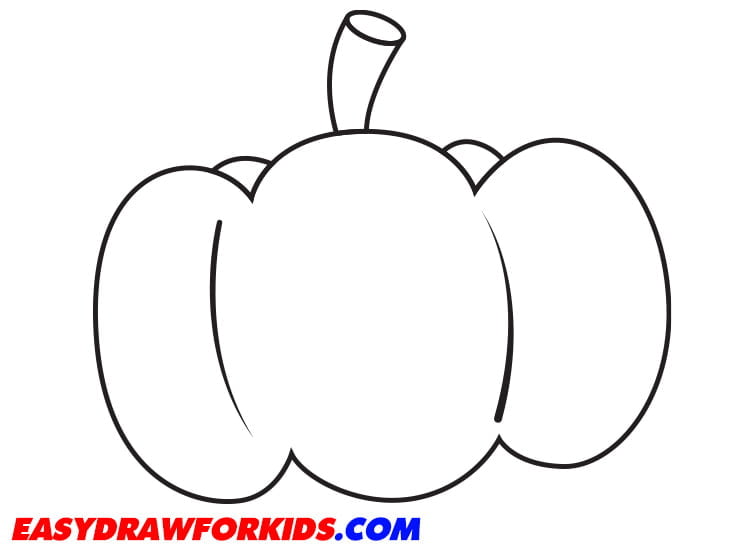
4. Easy Pumpkin Drawing
Step 1: Draw an elongated oval
Step 2: Draw a smooth, rounded line on each side, and bring it inward to meet the smaller circle at the top.
Step 3: Draw a circle at the top of the pumpkin to represent where the stem will go.
Then, add a curved line down the middle of the circle for the stem.
Step 4: Add rounded line along the top edge of the pumpkin.
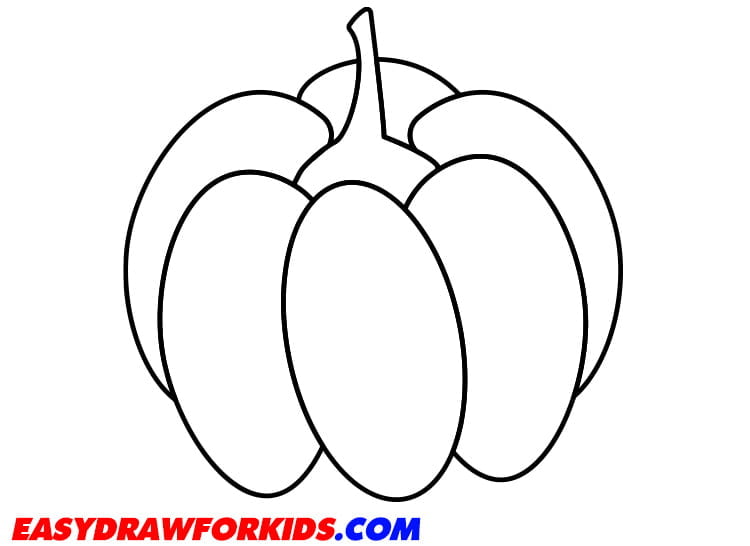
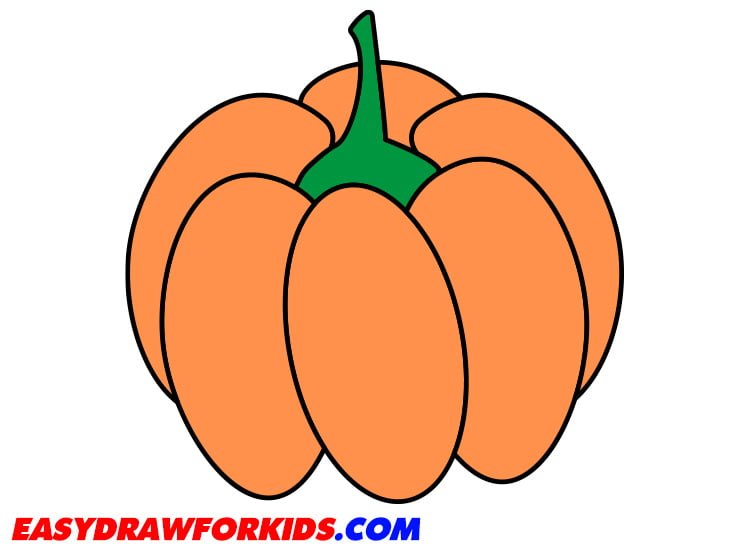
Step 5: Color the drawing
Now that you completed this guide how to draw a pumpkin, it’s time for the most exciting part.
Use orange to color your pumpkin.
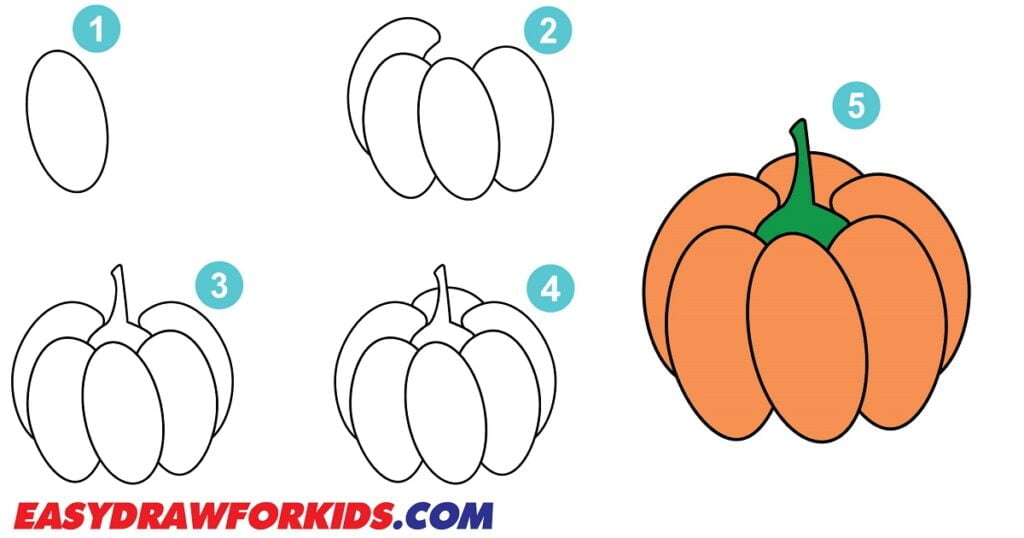
5. Cartoon Pumpkin Drawing
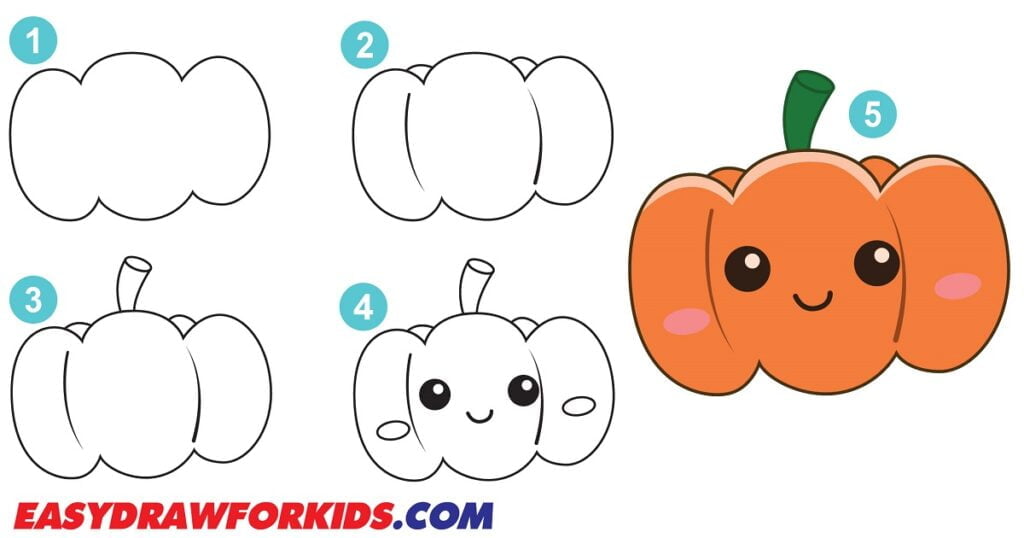
In this article on how to draw a pumpkin in 5 steps to help you drawing a cartoon pumpkin with ease!
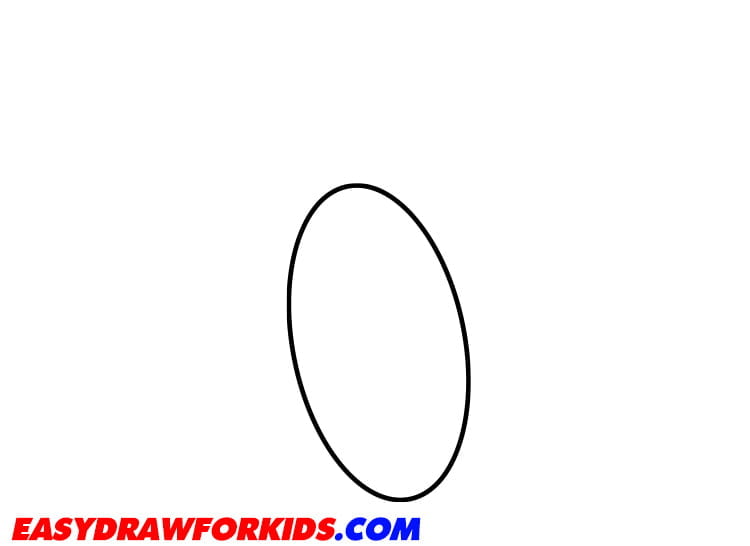
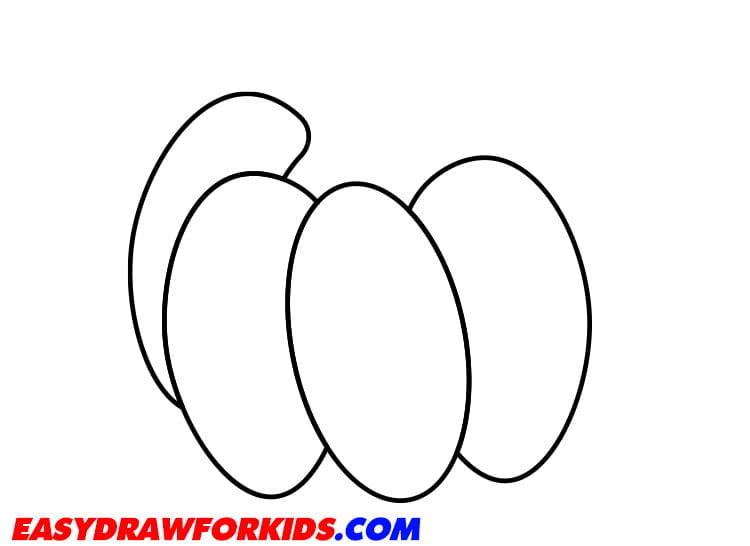
Step 1: Draw an oval shape, add ridges to form the basic shape of the pumpkin.

Step 2: Add two curved lines along the top edge of the pumpkin.

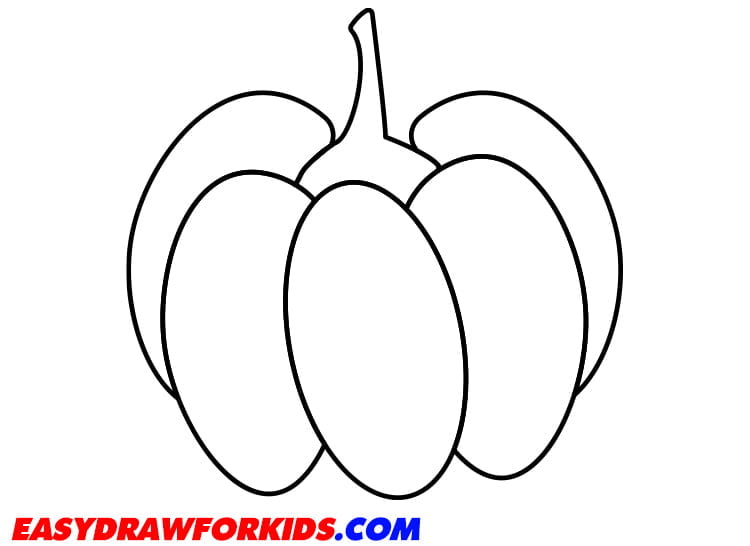
Step 3: At the top of the pumpkin, add the short stalk using a curved line.
Step 4: Add two smaller oval shape for the pumpkin’s eyes, and a curved line for the mouth.

Step 5: Use orange, black, and green to color your cartoon pumpkin.

And that’s it! Just follow these simple steps to draw a cute little pumpkin, perfect for fall crafts and decorations.
I hope this tutorial on how to draw a pumpkin gives you ideas and inspiration for your next pumpkin drawing.
Happy Halloween!