Learning how to draw a Halloween pumpkin is a classic and fun activity.
In this guide, easydrawforkids.com will provide you with 6 ways to draw a Halloween pumpkin, helping you draw it with ease!
How To Draw A Halloween Pumpkin – A Step By Step Guide
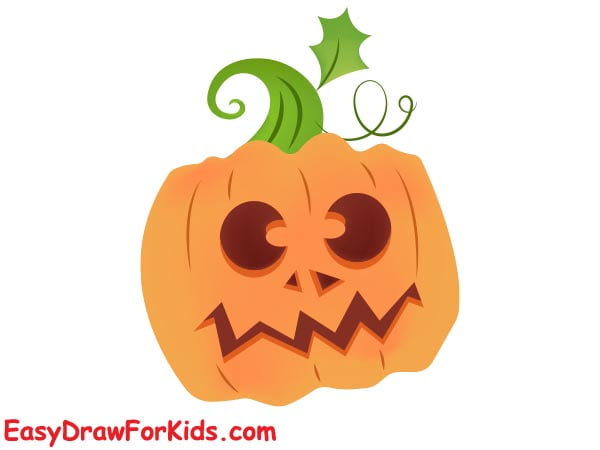
1. Easy Halloween Pumpkin Drawing
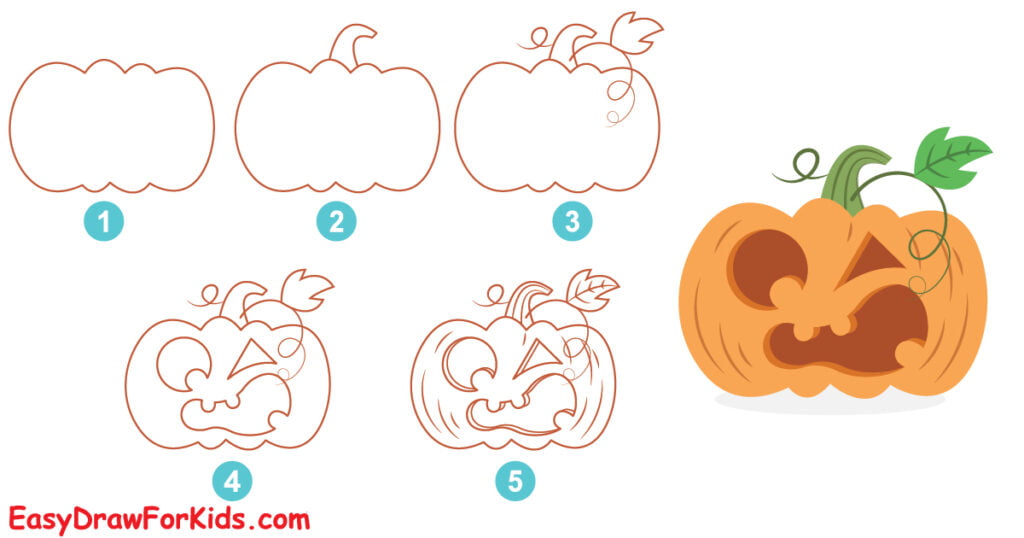
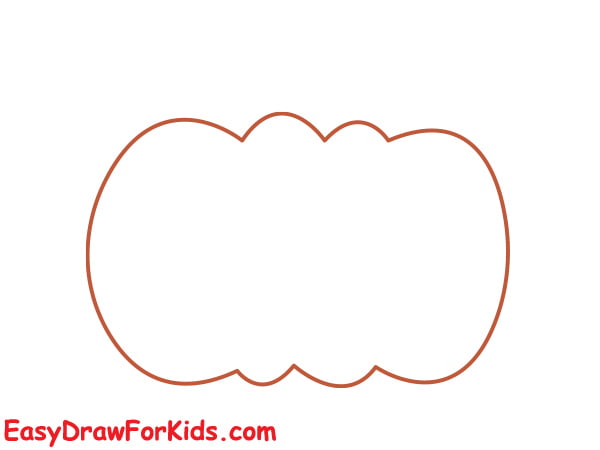
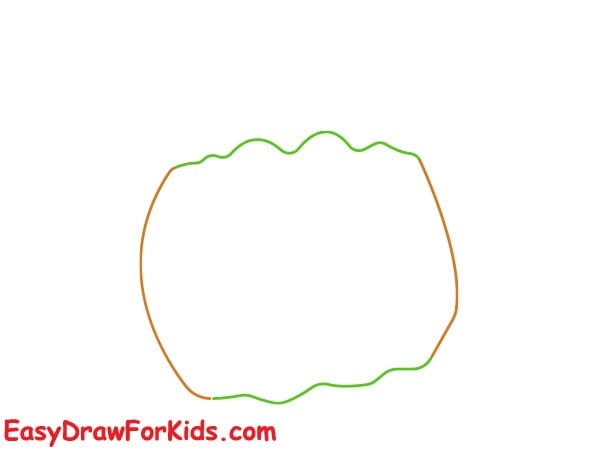
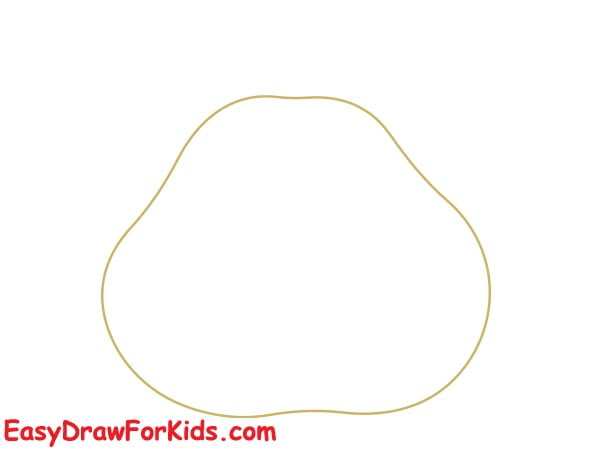
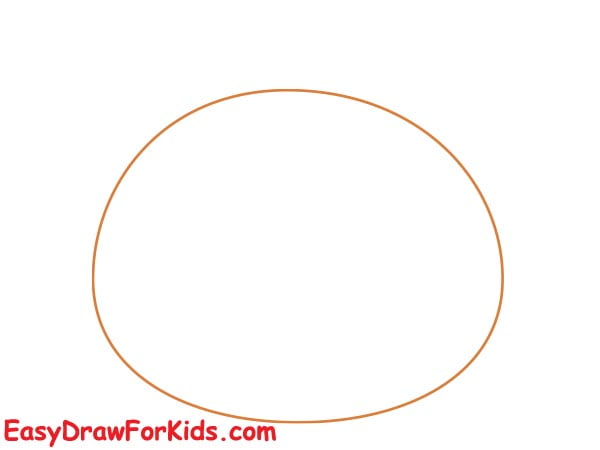
Step 1: First, you draw a large circle for the basic shape of the pumpkin.
Next, begin sketching lines from top to bottom of the circle to create the pumpkin shape.
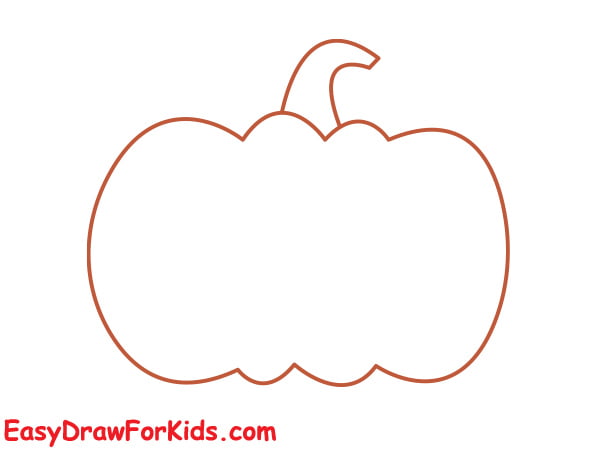
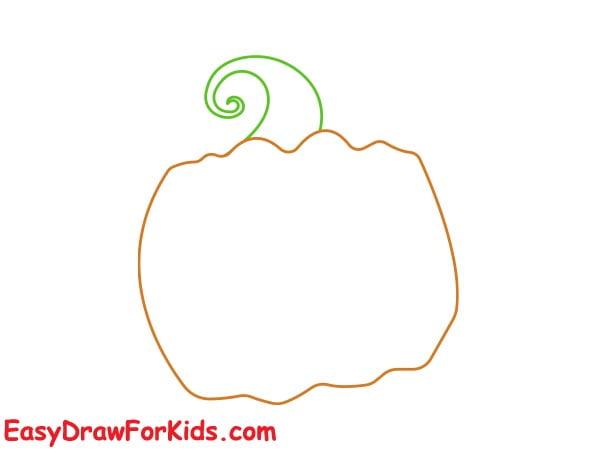
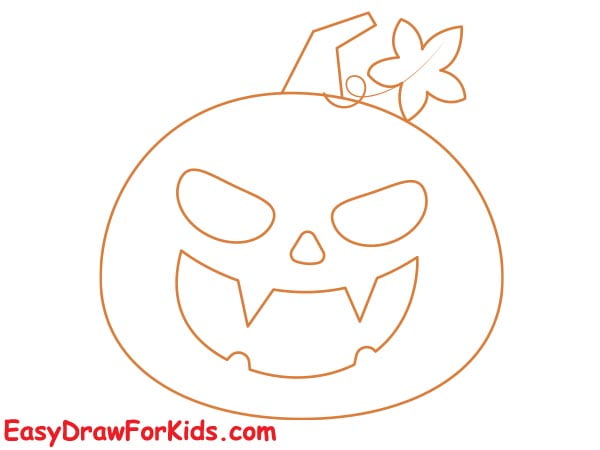
Step 2: Add a small curved line at the top of the pumpkin to create the stem. Make it slightly crooked to give it a more natural look.
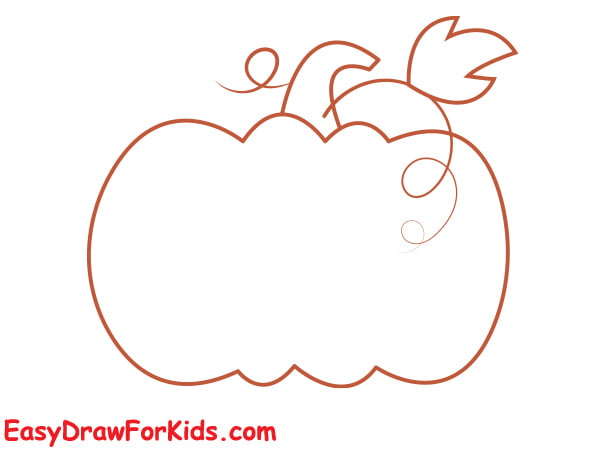
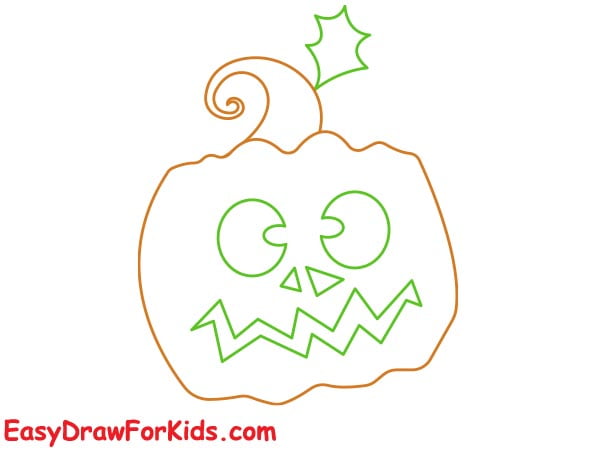
Step 3: Draw a long curved line that will serve as the branch of a Halloween pumpkin.
Draw a pumpkin leaf with a pointed tip and a slightly rounded base.
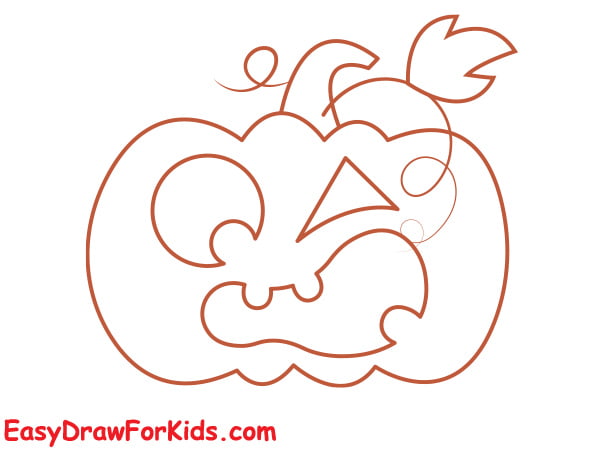
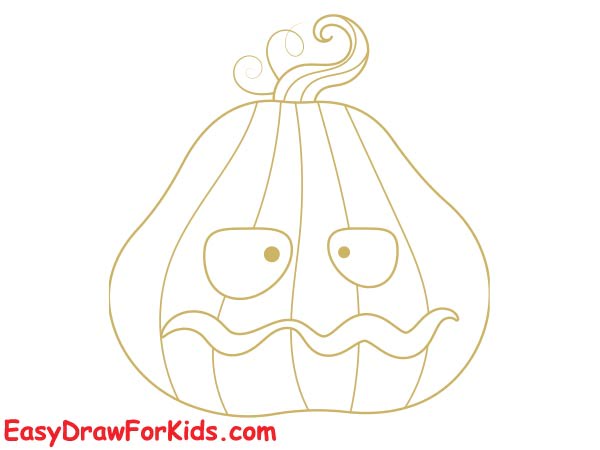
Step 4: Draw a triangle and a circle for the eyes toward the top half of the pumpkin.
Below the eyes, draw a curved line to create the pumpkin’s nose.
Draw the outline of the mouth using curved lines. Then, add the teeth or other unique features you have in mind.
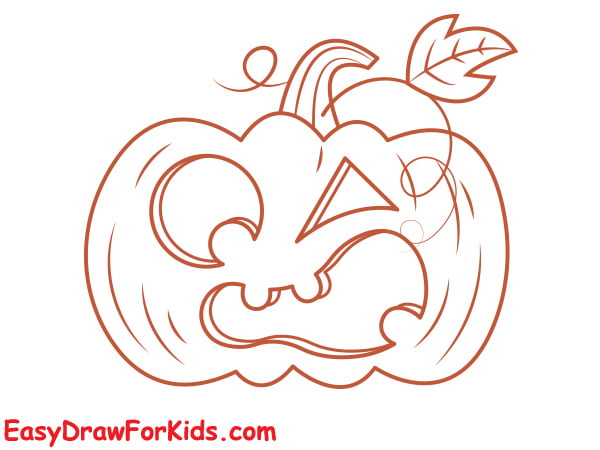
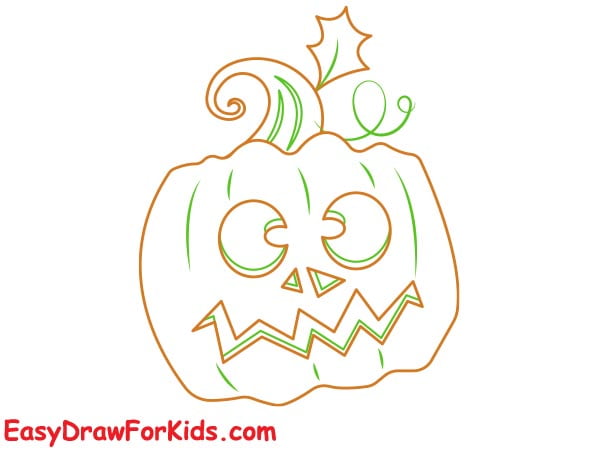
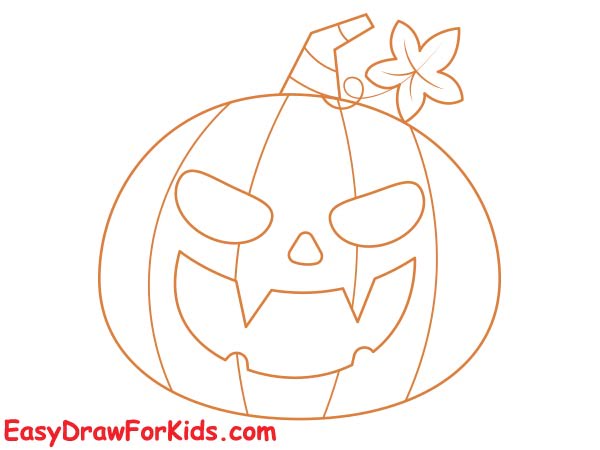
Step 5: Add vertical curved lines along the pumpkin’s body to create ridges.
Next, draw some irregular shapes or lines on the pumpkin’s face to create the wrinkles.
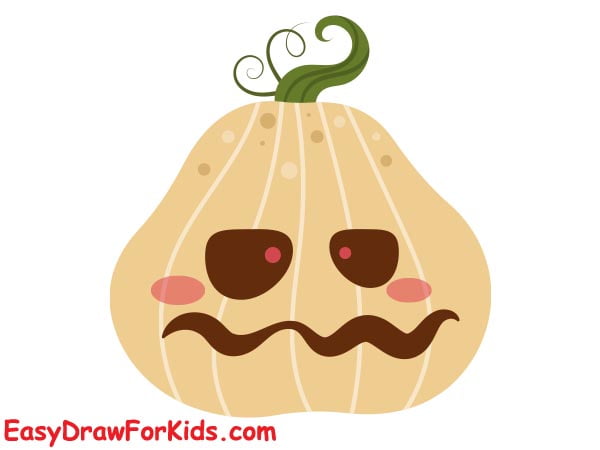
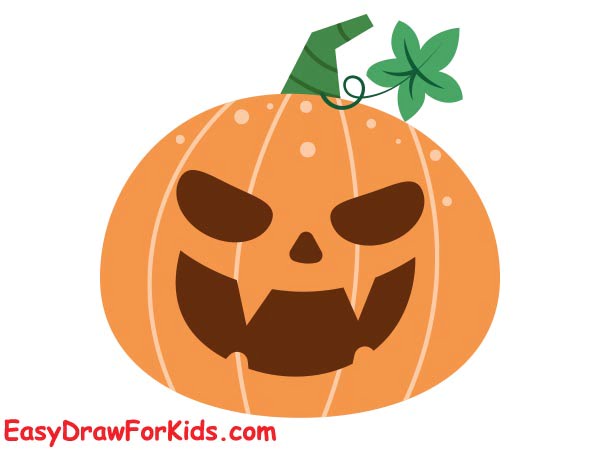
Step 6: Go for orange and black for a traditional Halloween palette.
Add shadows under the eyes, nose, and mouth. Make the stem dark green, and remember to color the background, too!

2. Jack O’Lantern Girl Drawing
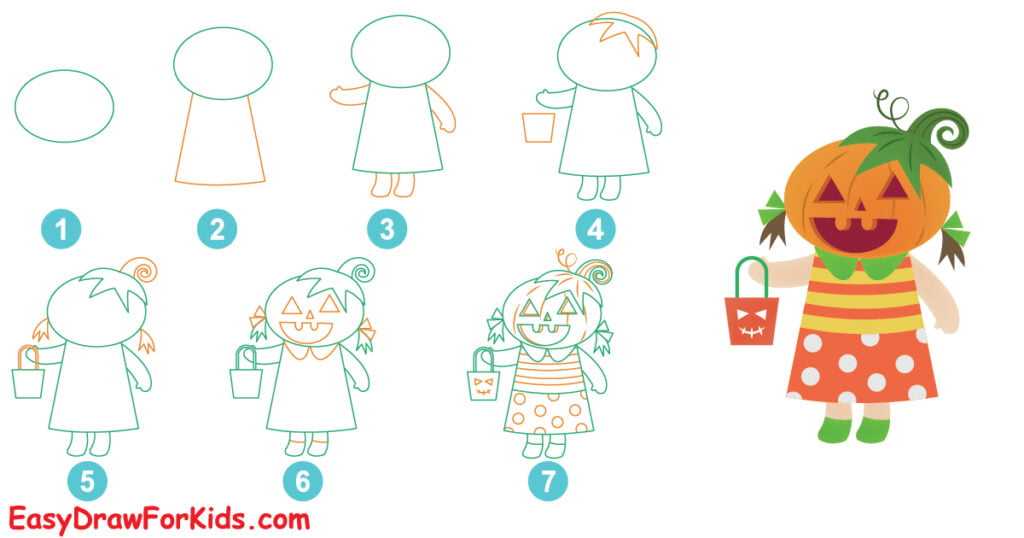
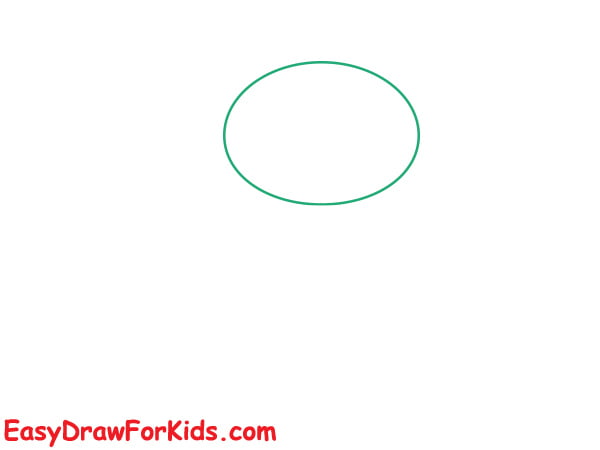
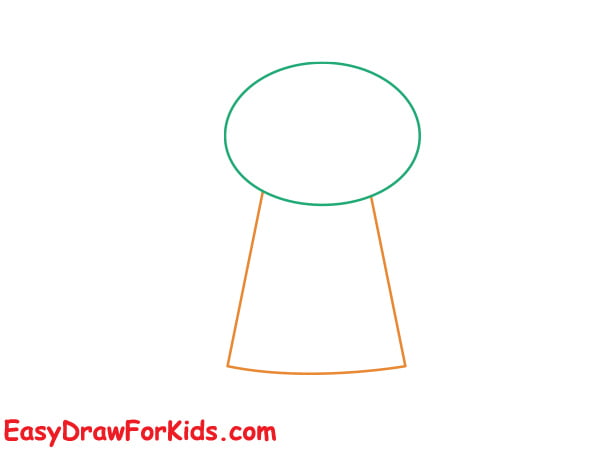
Step 1: Drawing a large circle – this will be the pumpkin head.
Step 2: Use straight lines below the pumpkin head for her dress.
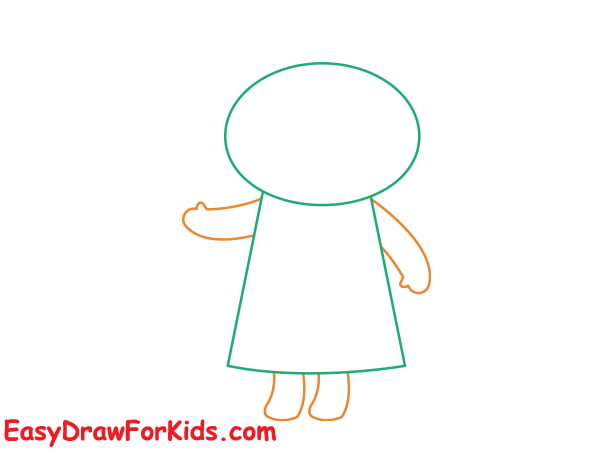
Step 3: Draw lines for arms on each side of the body. In the space below the body, draw two vertical lines for the legs.
Step 4: From the top of the head, draw a curved line that follows the contour of the head.
At the end of one arm, draw a rectangle shape to represent the lantern.
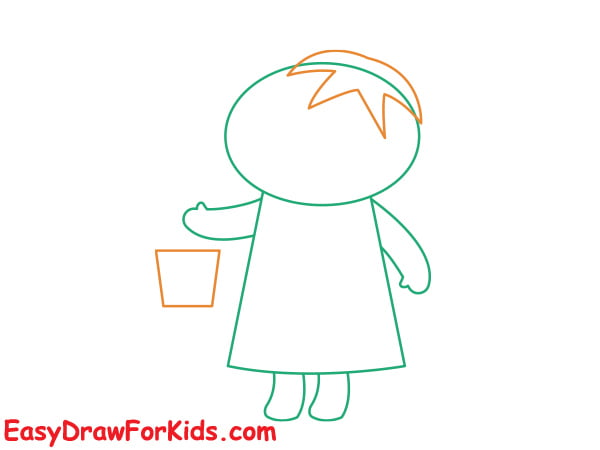
Step 5: Draw a stem at the top of the pumpkin girl’s head. Add flowing hair on both sides of the head.
Add a handle to the lantern by drawing a curved line extending upward from the top of the circle.

Step 6: Draw two eyes with triangle, near the top half of the head.
Below that, draw a nose in the shape of a smaller triangle.
Finally, add a mouth by drawing a wide upside down U shape.
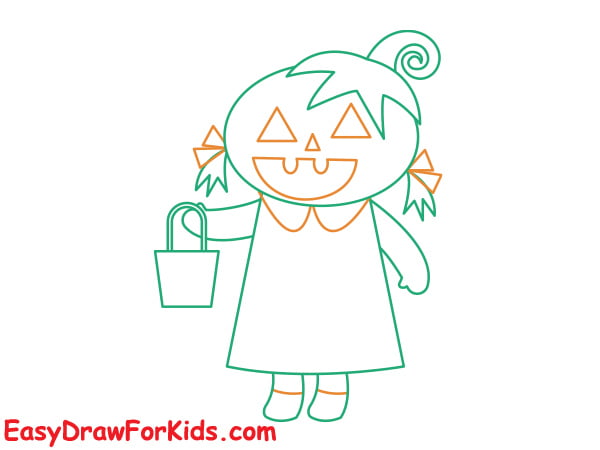
Step 7: To make your pumpkin girl even more charming, it’s time to add some details and accessories.

Step 8: The colors you choose can further express your pumpkin girl’s personality. A bright, colorful palette creates a cheerful and cute look.

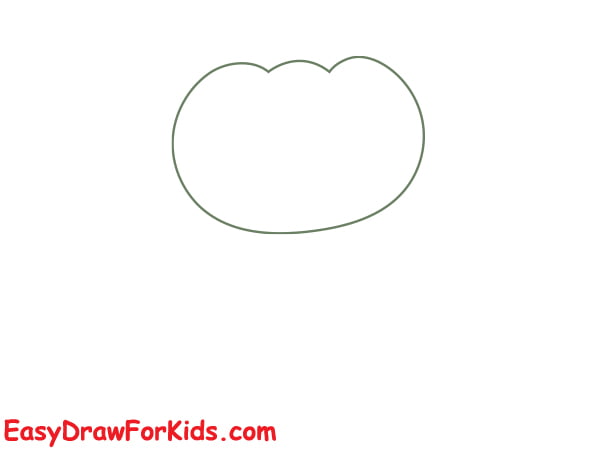
3. Jack O Lantern Boy Drawing
Step 1: Draw a large, slightly elongated circle for the head. Add vertical, wavy lines to create the grooves found on a pumpkin.
Step 2: Below the head, draw a small rectangle for the boy’s torso.
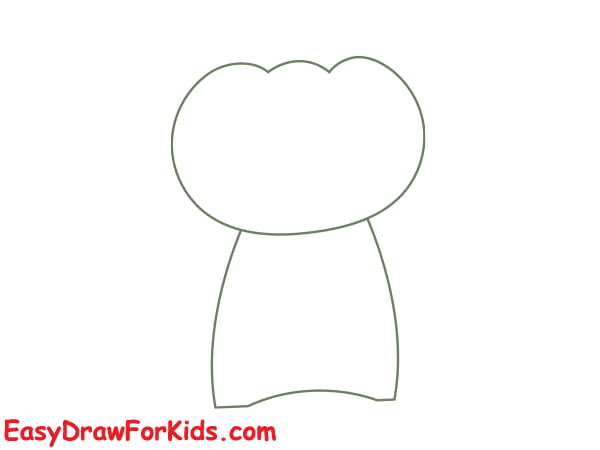
Step 3: Add arms coming out from the sides of the body. Draw two rounded shoes on the bottom of the torso.

Step 4: On top of the head, place a small rectangle to represent a stem.
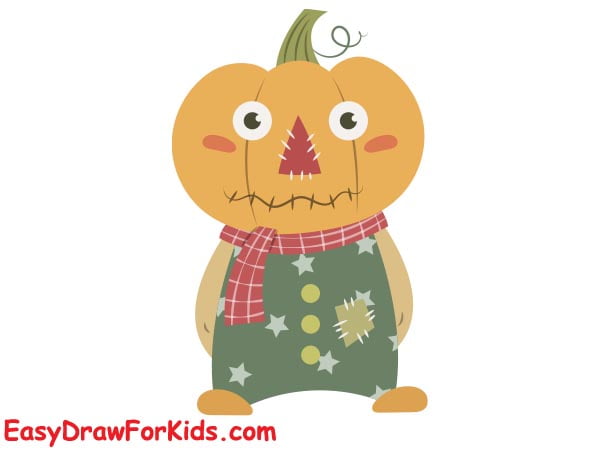
Draw a scarf around the jack-o-lantern boy’s neck.

Step 5: Draw a round eyes, triangle nose, and a jagged smile for the mouth.

Step 6: Use orange for the pumpkin, dark green for the stem hat, and greys or purples for the costume.
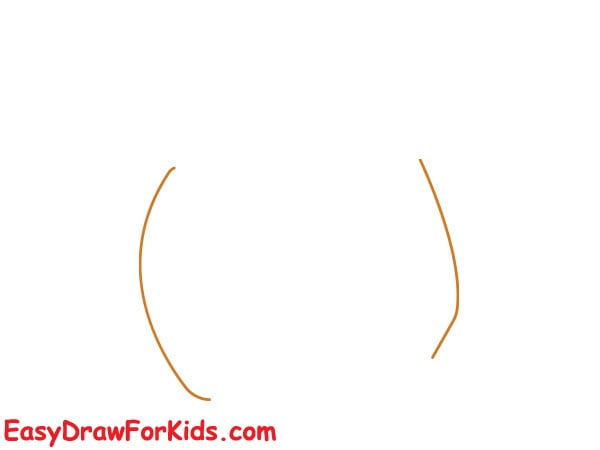
4. Scary Halloween Pumpkin Drawing
Step 1: Draw two asymmetrical curved lines for either side of the pumpkin.
Step 2: Connect the two curved lines drawn in step one to form the pumpkin’s body.
Step 3: Add a gnarled stem emerging from the top of the pumpkin
Step 4: For the eyes, draw two angry-looking triangles with sharp points, slanting them inwards for a menacing look.
Draw jagged teeth of different sizes and two triangles for the nostril
Step 5: Sketch faint lines and marks on the pumpkin’s surface
Step 6: Color the pumpkin. It should be a vibrant orange, with greens for the stem and vines.
5. Easy Jack O Lantern Drawing
Step 1: Draw a slightly oblong shape for the pumpkin’s main body.
Step 2: At the top of your pumpkin, draw a short, thick stem

Step 3: Draw two triangles for eyes and a wide smile.

Step 4: Draw vertical lines from the top to the bottom of the pumpkin.
Step 5: Color your pumpkin to complete the drawing.
6. Cartoon Halloween Pumpkin Drawing
Step 1: Draw a chubby oval for the pumpkin’s body.
Step 2: Draw the stem at the top of the pumpkin Add a leaf sprouting off the side.

Step 3: Sketch out a goofy face for cartoon halloween pumpkin
Step 4: Add the vertical lines to represent the segments of the pumpkin.
Step 5: Use bright, playful colors to fill in your cartoon pumpkin.
With six methods on guide how to draw a Halloween pumpkin, you can now draw a fun, festive one!
And don’t be afraid to get creative with your pumpkin’s expression.


