Hi everyone, welcome to my guide how to draw a river.
In this guide, just 10 steps will help you drawing a river with ease!
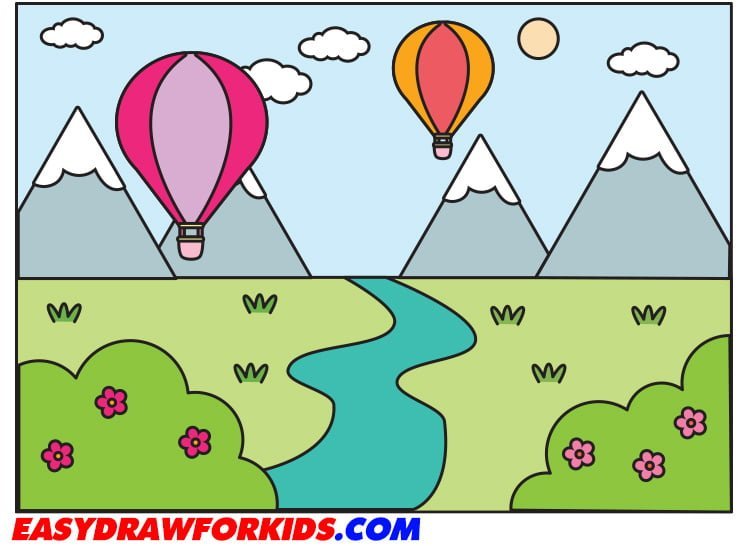
How to Draw a River – A Step by Step Guide
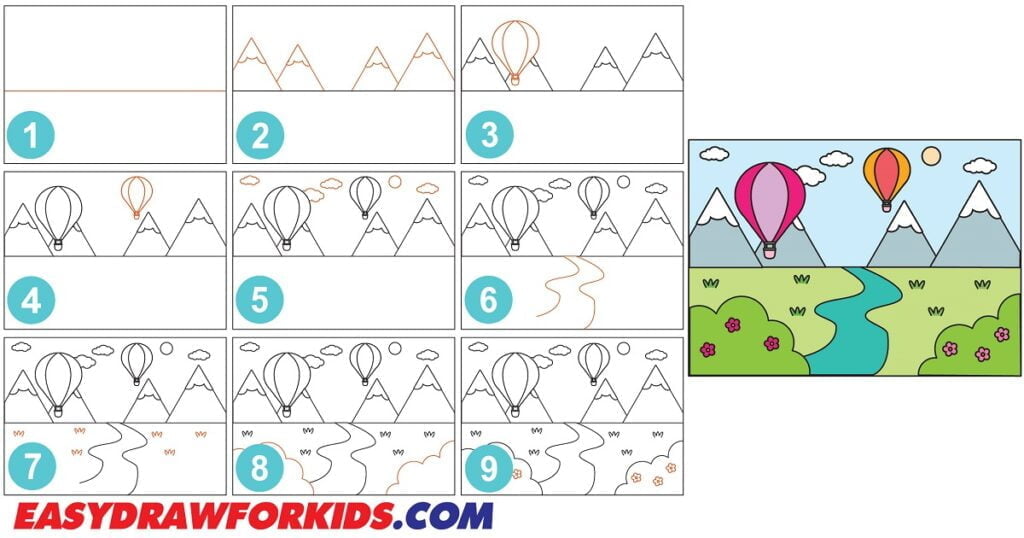
Step 1: Draw a horizontal line near the center of the paper for the horizon line

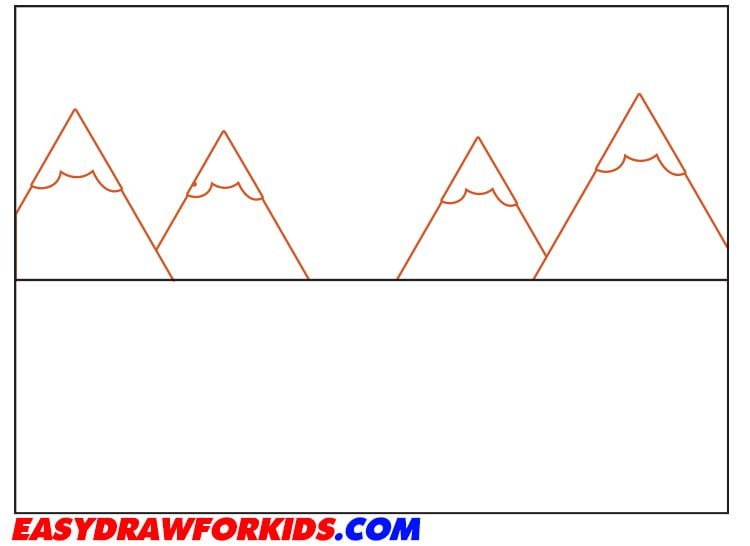
Step 2: Draw the Moutains
The second step of this guide on how to draw a river will focus on the moutains.
Draw two diagonal lines that meet at the top to form the mountain.
Draw a few irregular, jagged lines for snow rocky outcrops.
Draw some smaller, distant mountains behind the main one to create depth.
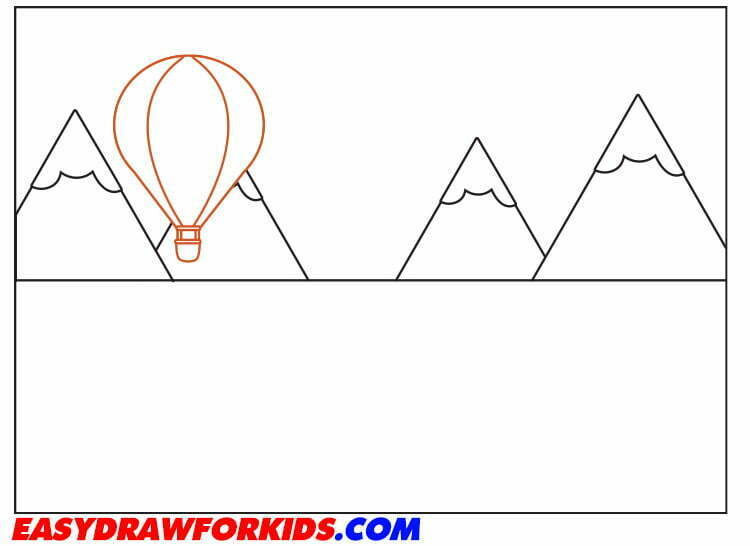
Step 3: Draw a hot air balloon
Draw a hot air balloon on the left as shown the picture.
You can go over a few ideas by how to draw a hot air balloon of us.
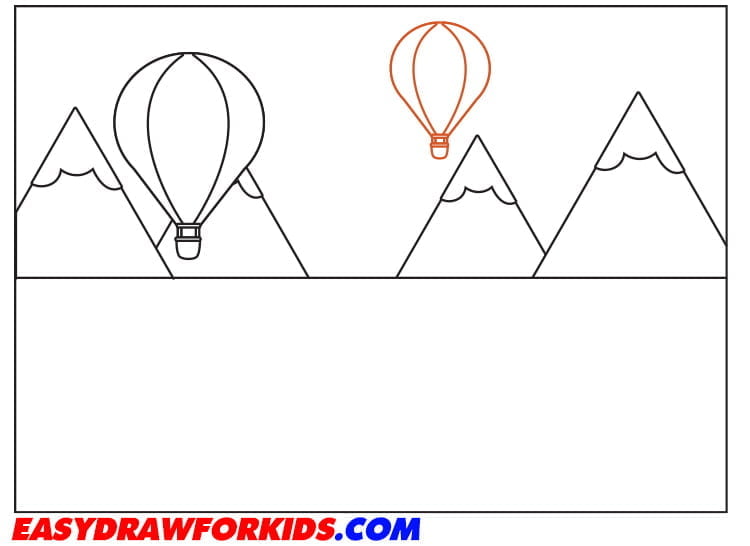
Step 4: Repeat this process for drawing hot air balloon on the right
Step 5: Sketch out the Sky
Above the mountains draw wavy lines of freeform shapes for the clouds and a circle for the sun.

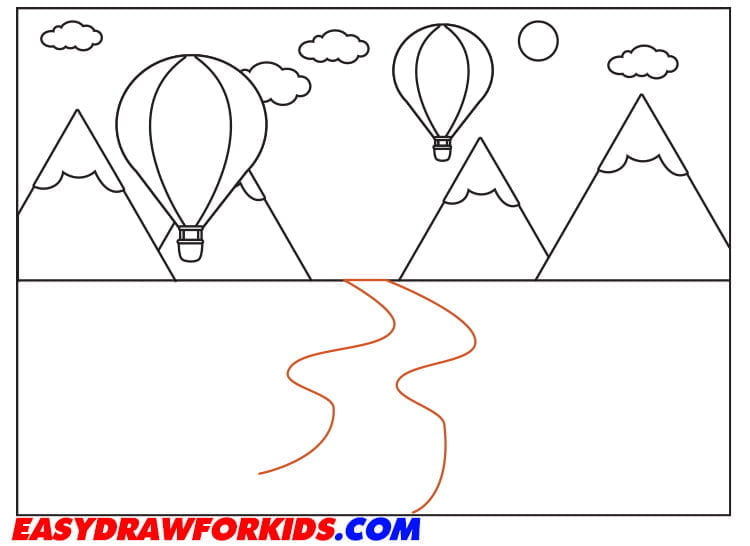
Step 6: Sketch out the River
The sixth step of this guide on how to draw a river will focus on the river.
Draw the river starting at a high point like mountains extending down.
Draw winding curved lines for the rivers constantly change direction.
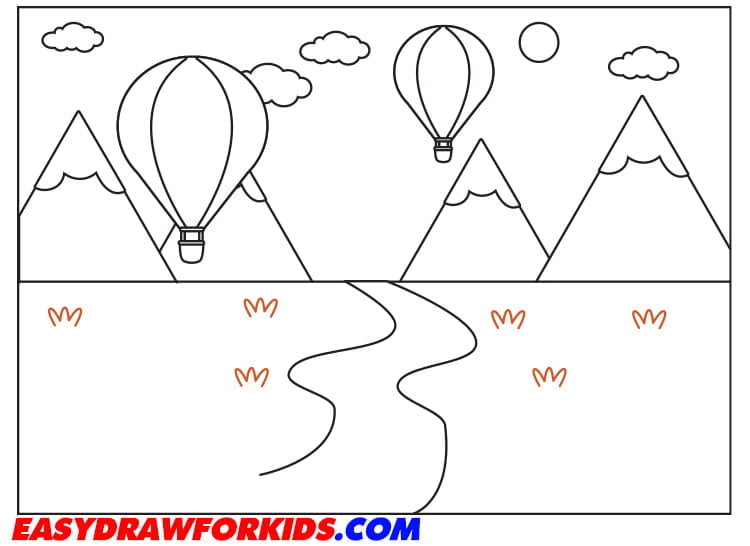
Step 7: Draw the Grasses
Draw short, curved lines extending upward to form blades of grass. overlapping them slightly and varying their lengths.
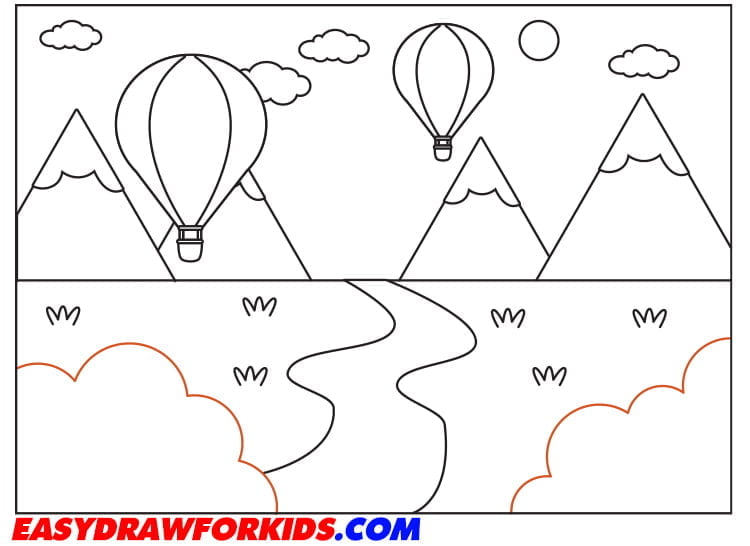
Step 8: Draw two wavy lines at the bottom of the picture for the bushes as shown the picture
Step 9: Draw the flowers on the bushes in the form of small circles and wavy lines
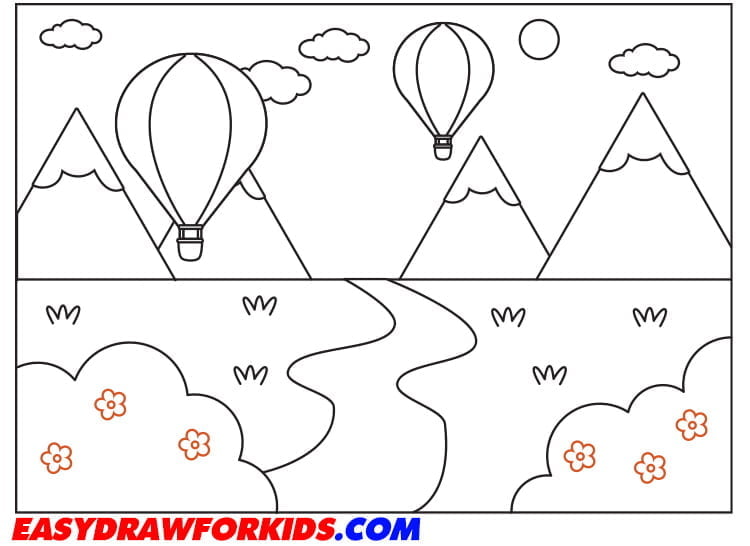
Step 10: Coloring
Use blues, grays for the water, browns for steep muddy banks and light greens for grassy shores.
Let creative for your river scene!
Drawing a landscape with different style will help you improve your drawing skills.
Be mindful of color choices to bring more interest to your artwork.