A soldier represents strength, courage, and discipline, making them a fascinating subject for drawing.
Learning how to draw a soldier is an engaging way to sharpen your figure-drawing abilities.
In this guide, we’ll explore the essential steps to bring your soldier depiction to life with precision and confidence.
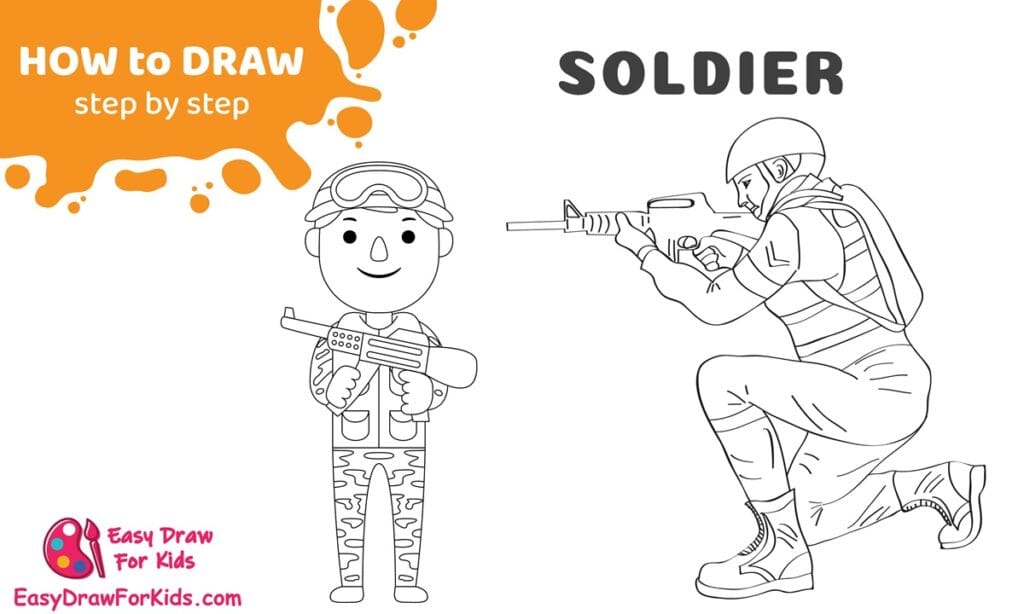
How To Draw A Soldier – A Step by Step Guide
1. Simple Soldier Drawing
Step 1: Draw the Head
Draw a large oval or circle for the head.
Add two small semicircles on each side for the ears.

Step 2: Add Hair and Nose
Draw the hair: a curved line with small waves across the top of the head.
Add a small drop-like shape in the center of the face for the nose.

Step 3: Draw the Face
Draw two small circular eyes above the nose. Add a smiling mouth below the nose. Draw the eyebrows above the eyes.

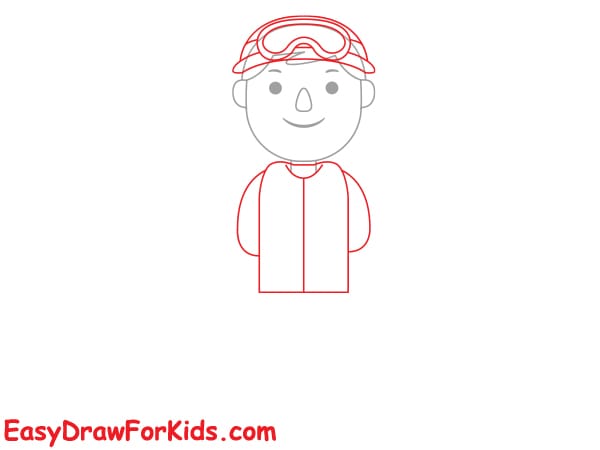
Step 4: Draw the Upper Body and Helmet
Draw the upper body using a wide rectangle and two U-shaped arms on the sides.
Add the helmet or goggles above the hair: a curved shape with detail lines.
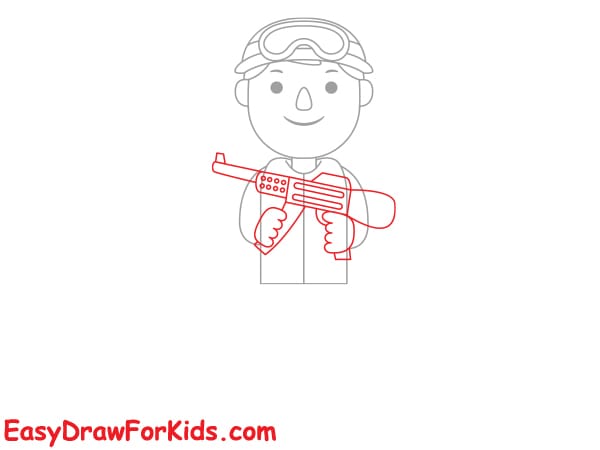
Step 5: Draw the Arms and Rifle
Draw the arms bent forward holding a rifle.
Sketch the rifle shape: a long rectangle with details like the barrel, stock, and trigger.
Step 6: Add Pants and Equipment
Draw the pants and boots below the torso.
Add pockets, knee pads, and other military-style gear to the uniform.
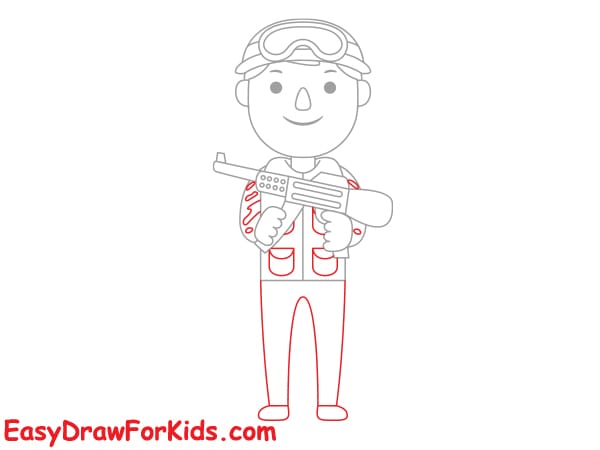
Step 7: Finish adding camouflage patterns, elbow/knee pads, and extra detail to the gun and clothing.
Outline everything clearly and erase unnecessary sketch lines.

>>>Read more: How To Draw A Doctor – 4 Ways (With Pictures)
2. How to Draw a Soldier Aiming a Rifle
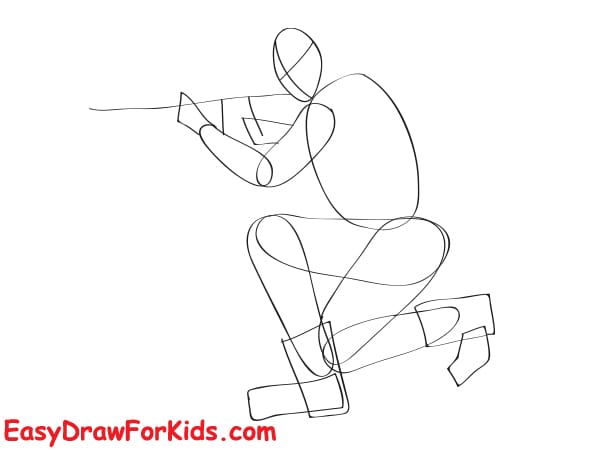
Step 1: Begin with a tilted oval for the head.
Add a guideline across the face to help with proportions and direction.

Step 2: Sketch the Body and Pose
Draw the torso with a bean-like oval tilted forward.
Add limb shapes:
- Left arm extended forward holding a gun.
- Right arm bent inward to the chest.
- One leg bent (kneeling), the other bent at a right angle for stability.
Sketch the basic shapes of boots and the rifle in position.
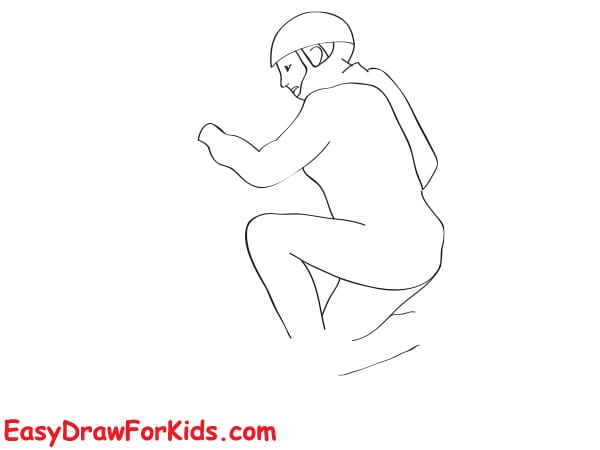
Step 3: Outline the Soldier
Start outlining the body more clearly:
- Draw the face and neck.
- Add shoulders, arms, torso, and legs based on the previous guide shapes.
Begin to refine the kneeling pose.
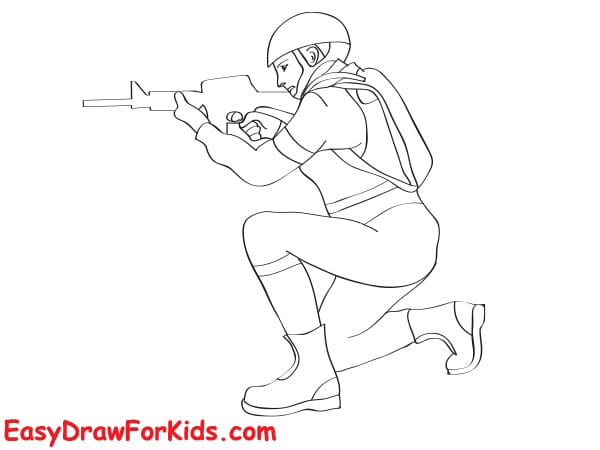
Step 4: Add Equipment and Details
Draw the helmet on the head.
Add details to the arms, including gloves and elbow pads.
Start sketching the rifle with more structure: barrel, scope, grip.
Add more detail to the backpack and leg/boot design.
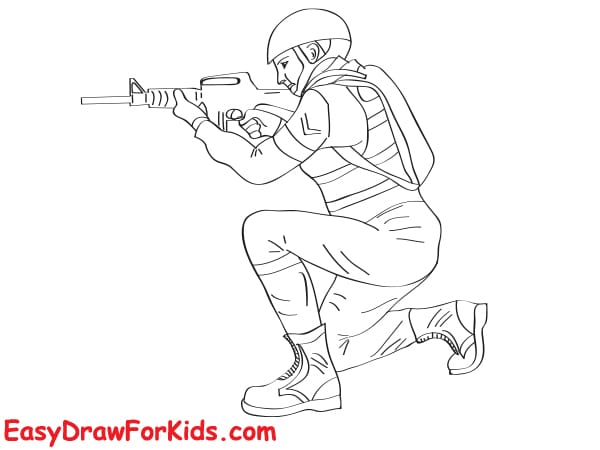
Step 5: Finalize the rifle, adding trigger, magazine, and hand support
Add details to the uniform, including:
- Pockets, creases, gear straps.
- Armor pads on arms and legs.
Clean up the lines, and you’re done!
>>>Read more: How To Draw An Astronaut – 3 Ways (With Pictures)
Now that you’ve learned how to draw a soldier step by step.
Drawing a soldier is not just about getting the details right; it’s about capturing the essence of their courage and strength.
Keep practicing as you enhance your skills further.
Use your newfound knowledge as inspiration for future projects.


