Welcome back!
In this tutorial, I’ll show you how to draw a tractor.
It may look detailed, but don’t worry—each step is simple and fun to follow.
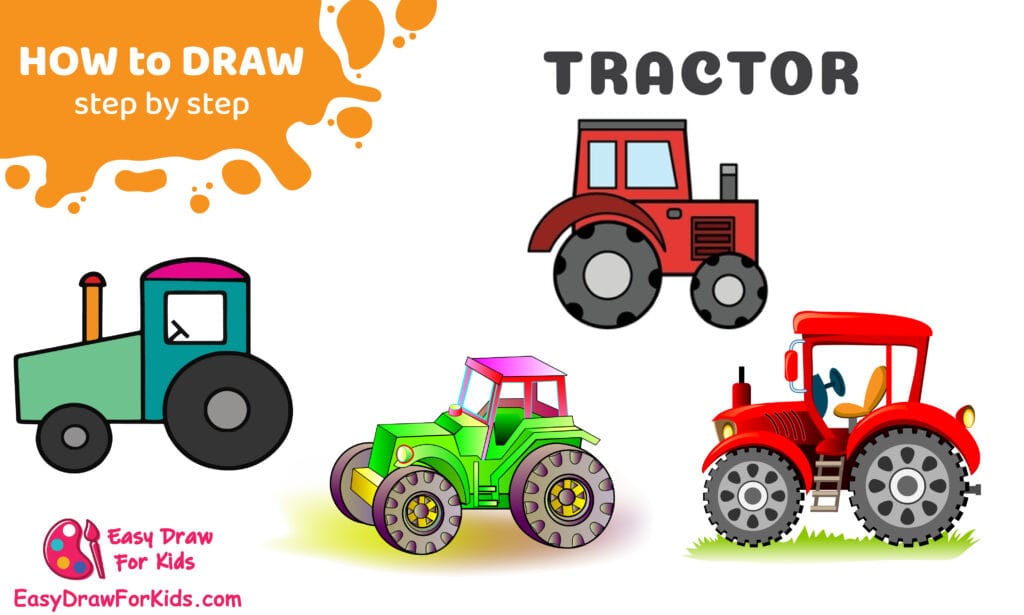
How to Draw a Tractor – A Step by Step Guide
1. Farm Tractor Drawing Easy
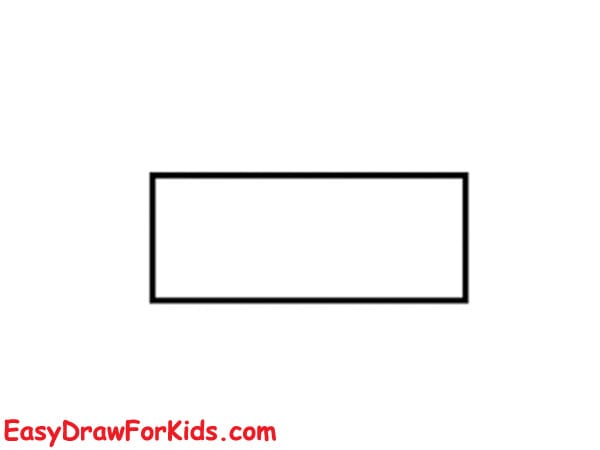
Step 1: Start by drawing a long horizontal rectangle. This will be the main body of the tractor where the engine sits.
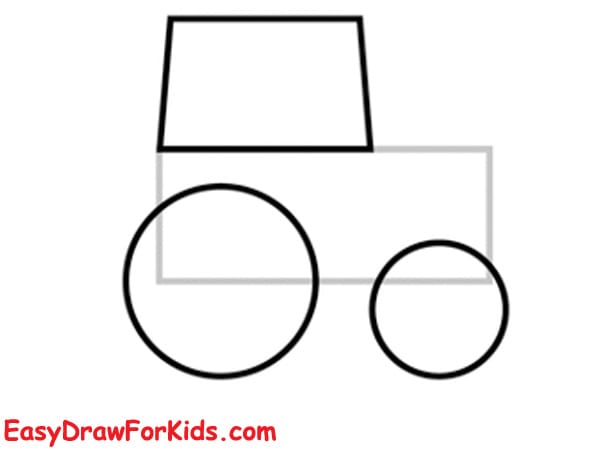
Step 2: Draw a smaller rectangle on top of the left side of the big rectangle. This forms the cab where the driver sits.
Next, draw two large circles for the wheels:
A big circle under the cab (left side).
A smaller circle on the right side under the engine area.
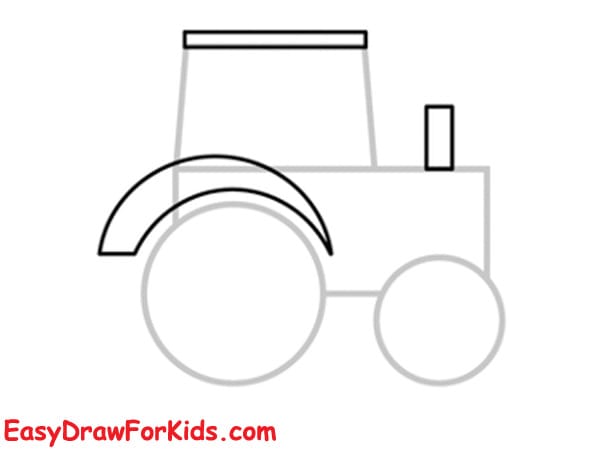
Step 3: Draw a curved line above the big wheel to create the wheel fender.
Add a small vertical rectangle on top of the right side of the tractor for the exhaust pipe.
Refine the cab roof by adding a thin horizontal rectangle on top.
Step 4: Inside each wheel, draw a smaller circle to form the rim.
Add the tractor seat area and platform using small rectangles inside the body.
Clean the lines so the tractor shape becomes clearer.
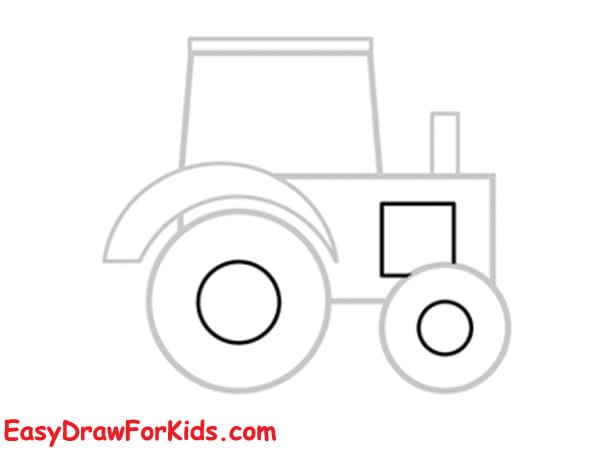
Step 5: Inside both wheel rims, draw several small black shapes or circles to represent the wheel bolts.
Add the inner window frames by dividing the cab into sections.
Begin adding grille lines on the right side of the engine.
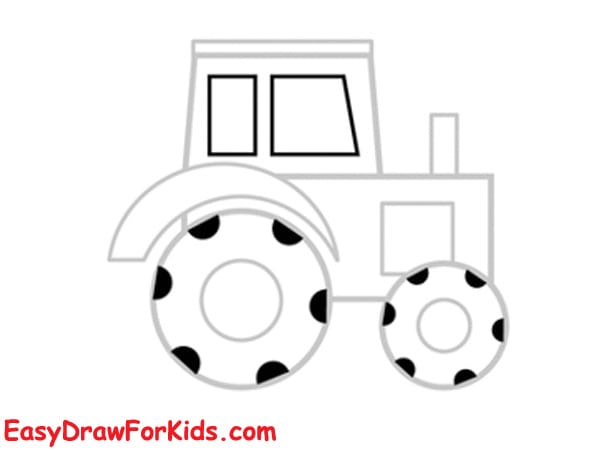
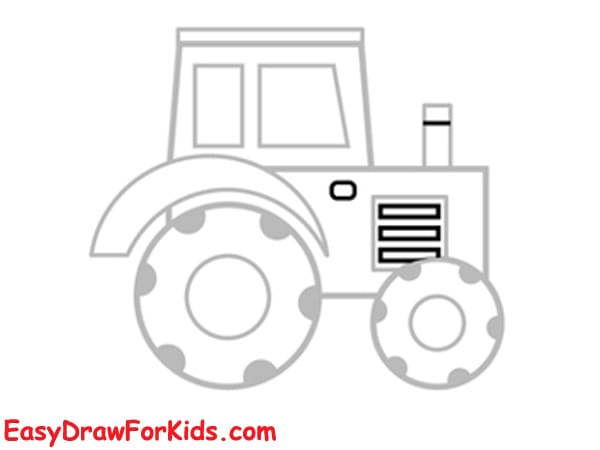
Step 6: Draw horizontal lines on the tractor’s body to show the air vents / engine grille.
Add more small details such as:
Window borders
Additional fender outlines
Tire tread patterns
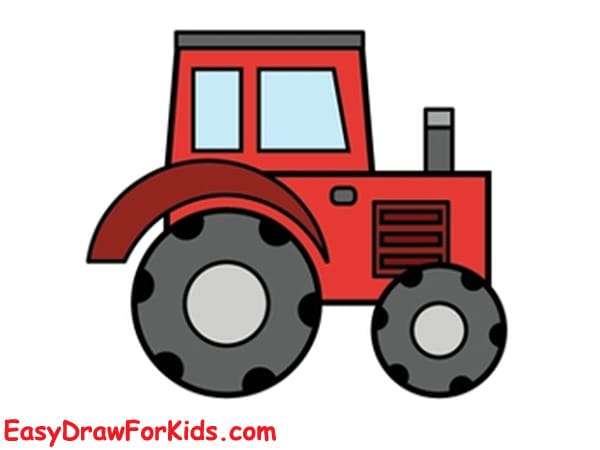
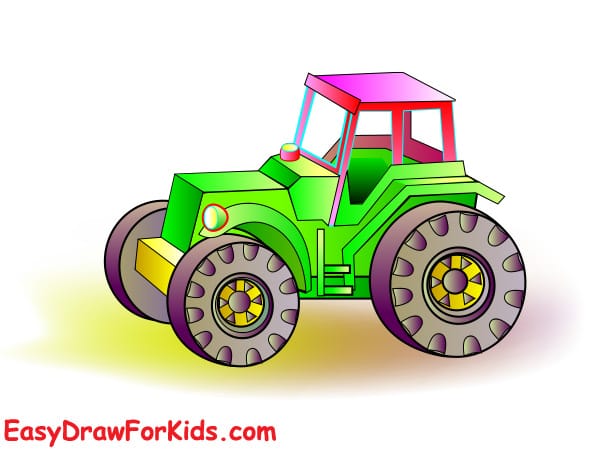
Step 7: Finally, add color to bring the tractor to life:
Color the body red (or any color you like).
Make the tires dark gray or black.
Use light gray for metal parts like the exhaust pipe.
Color the windows light blue or white to give a shiny reflection effect.
>>>Read more: How To Draw An Ambulance – 3 Ways (With Pictures)
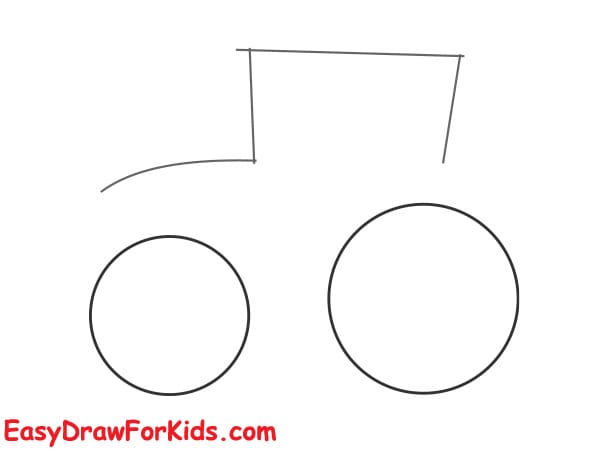
2. How to Draw a Tractor 3D
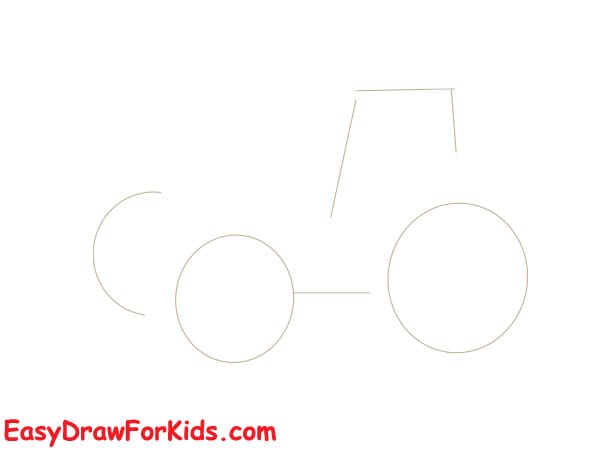
Step 1: Begin by sketching the basic shapes that will form the tractor:
Draw one large circle on the right and one smaller circle on the left — these are the wheels.
Connect the wheels with a horizontal line to form the tractor’s base.
Above the base, sketch a slanted polygonal shape that will become the tractor’s cabin.
These shapes are simple guidelines to help place everything correctly.
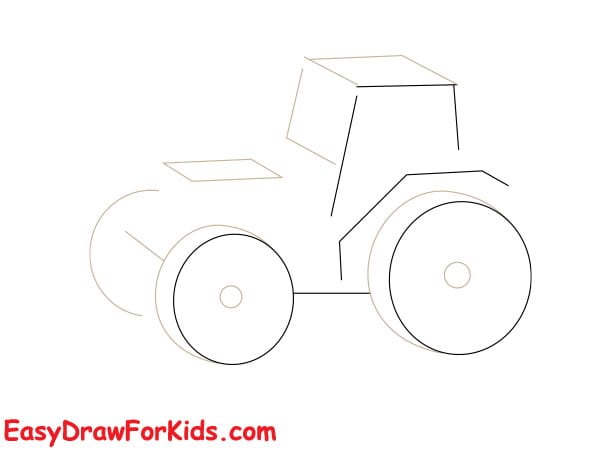
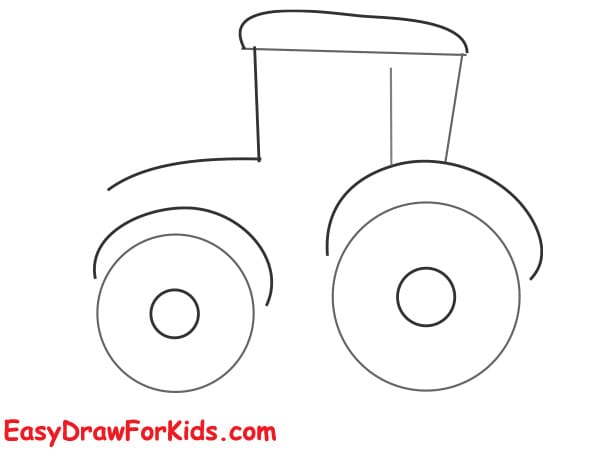
Step 2: Add a more defined 3D cab by drawing a rectangular shape leaning slightly backward. Include the top roof.
Over each wheel, draw arched fenders to show the tractor’s body covering the wheels.
Add center circles inside each wheel to create the rims.
Now the tractor’s structure begins to look three-dimensional.
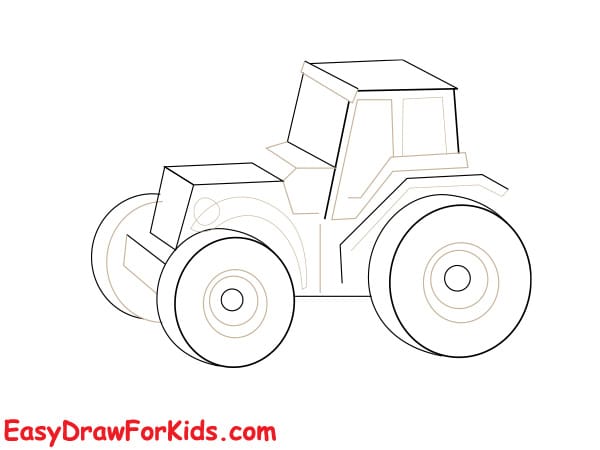
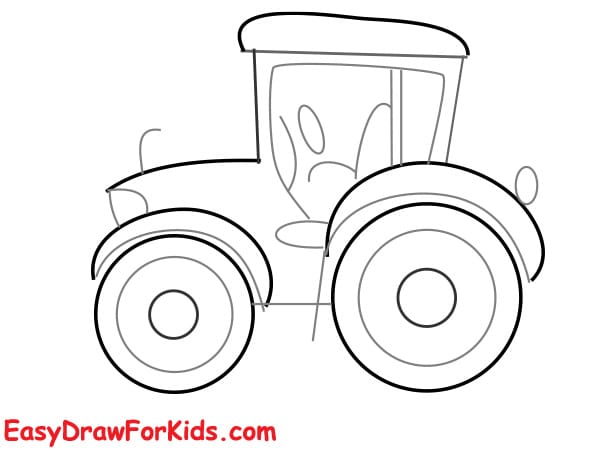
Step 3: Connect the cab to the front wheel with smooth, curved lines to form the front engine cover.
Add a dashboard panel near the center.
Draw the inner wheel circles, following the perspective — make the inner ring smaller and oval-shaped.
Add more shape to the cabin roof and windows.
The drawing now looks like a real tractor.
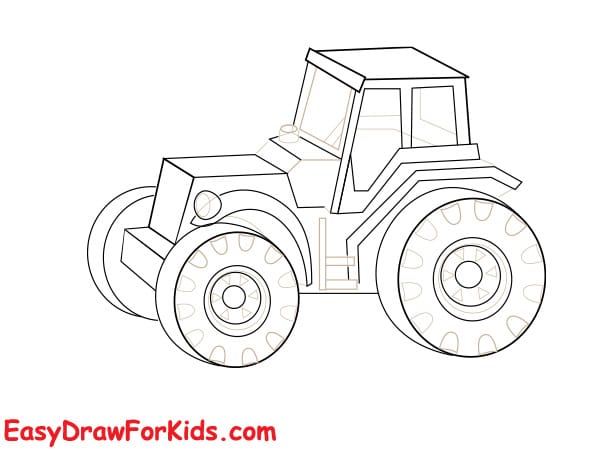
Step 4: Draw the windows clearly: front window, side window, and back edge.
Add the headlight on the front part of the engine.
Sketch the wheel tread outlines around both wheels to give them thickness.
Reinforce all edges with cleaner, darker lines to show the final contours.
This step gives the tractor its strong 3D shape.
Step 5: Add all the small but important mechanical features:
Tire treads: draw repeating triangular or rectangular shapes around the outer edges.
Wheel bolts inside the rims.
Shading lines on the engine to show volume.
Add the steering wheel inside the cab.
Draw a small exhaust pipe on the side of the tractor.
Add thicker lines for areas in shadow to enhance the 3D effect.
At this point the tractor looks detailed and realistic.

Step 6: Color the Tractor
>>>Read more: How To Draw A Police Car – 2 Ways (With Pictures)
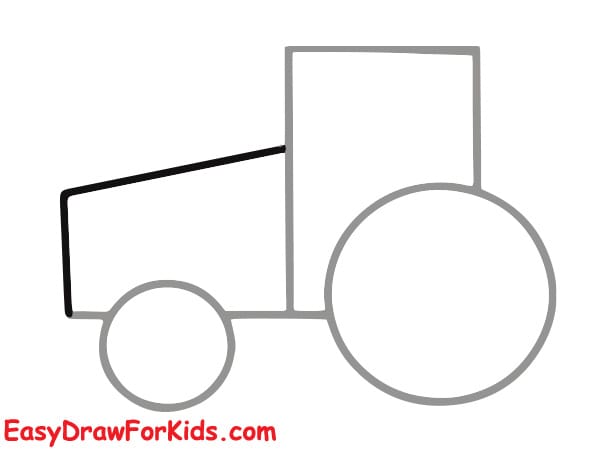
3. How to Draw a Tractor for Kids
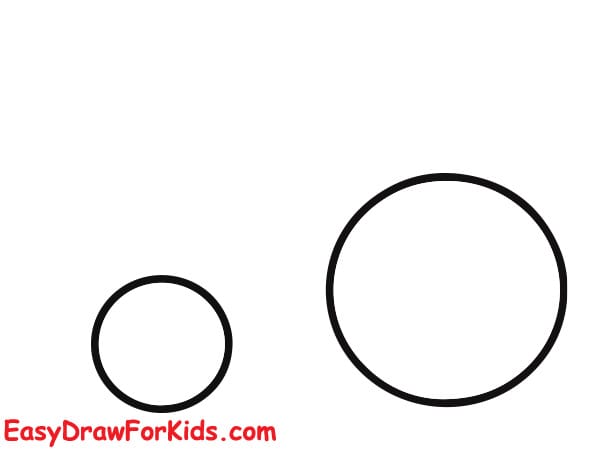
Step 1: Start by drawing two circles:
A small circle on the left — this is the front wheel.
A big circle on the right — this is the back wheel.
Make sure the big wheel is much larger than the small one.
Step 2: Draw a straight horizontal line connecting the centers of both wheels. This line is the tractor’s axle.
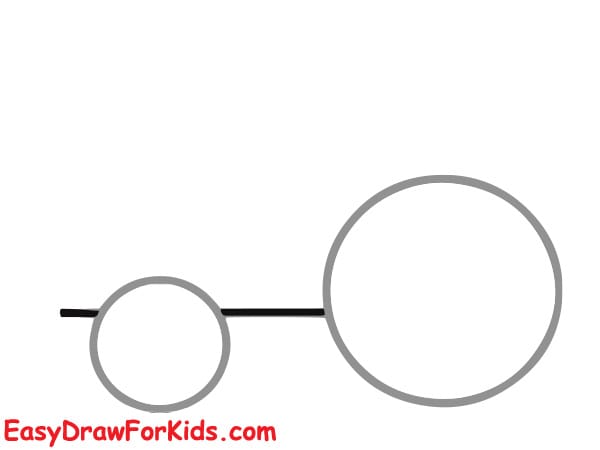
Step 3: Above the big wheel, draw a rectangle standing upright. This will be the tractor’s cabin where the driver sits.
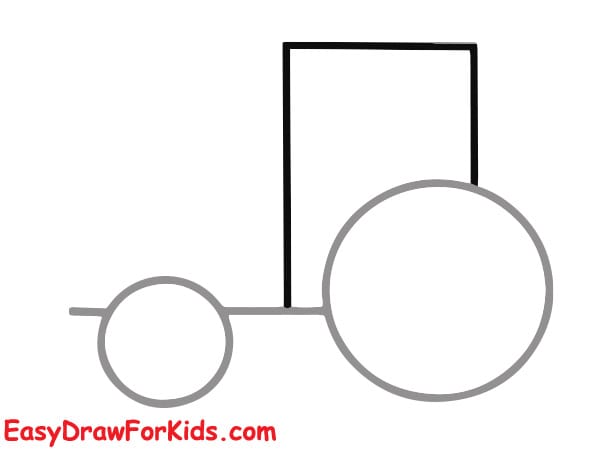
Step 4: Start from the left side of the cabin and draw a slanted rectangular shape that leans down toward the front wheel.
This will form the tractor’s engine section. Now the basic shape of the tractor is visible.
Step 5: On top of the cabin, draw a rounded shape like a half-oval or a curved rectangle. This is the roof of the tractor.

Step 6: Add the tractor’s characteristic details:
Draw a vertical exhaust pipe on top of the engine section.
Add a window inside the cabin using a small square or rectangle.
Draw a small triangle inside the window to show the reflection.
Add inner circles inside both wheels to create the rims.

Step 7: Trace over your drawing with darker, smooth lines.
Make sure the wheels, cabin, body, and details look clean and clear.

Step 8: Finish by coloring your drawing as shown the picture

>>>Read more: How To Draw A Helicopter – 5 Ways (With Pictures)
4. How to Draw a Tractor Realistic
Step 1: Start by sketching two large circles for the tractor wheels—the back wheel should be bigger than the front wheel.
Then, lightly draw the outline of the tractor’s body above the wheels, including a slanted cabin shape and a straight front hood.
Step 2: Inside each wheel, draw two smaller circles: one for the rim and one for the hub.
Next, refine the cabin shape by adding curved lines for the roof and windows.
Sketch the fender line above each wheel and begin shaping the front part of the tractor.
Step 3: Shape the body and add the base structure
Add more details to the tractor’s body:
Draw the headlights at the front.
Add curves to define the hood and the engine cover.
Sketch the connection between the wheels and the body.
Add a small exhaust pipe rising from the engine area.
Begin adding tread shapes on the edges of the wheels.
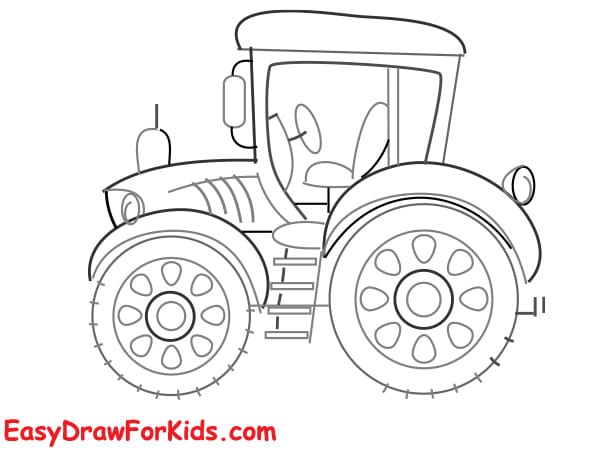
Step 4: Now it’s time to add more realistic details:
Draw the complete tire treads on both wheels, using oval or rectangular segments arranged around the rims.
Add bolts inside the rim of each tire.
Draw the steps below the cabin and the outline of the door.
Add small accessories such as side mirrors, handles, and top lights.
Add lines on the hood to show the metal structure.
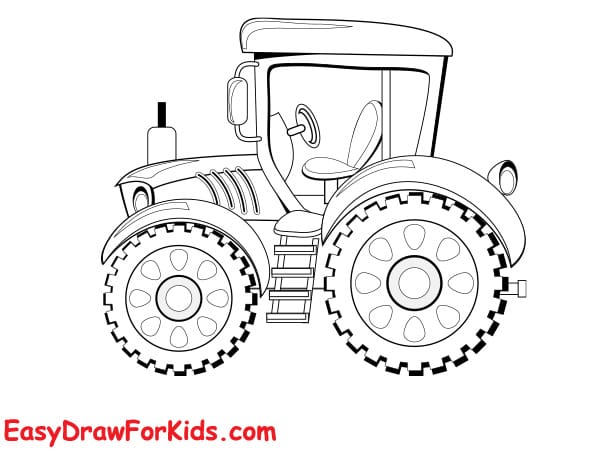
Step 5: Add texture lines to the tires for realism.
Clean up the cabin glass, making sure the frame is sharp and neat.
Add depth to the engine area using curved and angled lines.
Finish the exhaust pipe and any remaining lights or handles.
Thicken important lines to define the structure of the tractor.
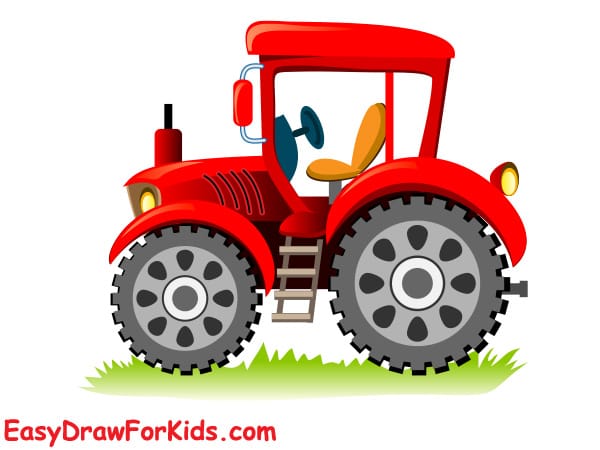
Step 6: Finally, bring your tractor to life with color:
Color the body a bright red.
Paint the cabin windows light blue with white highlights.
Color the tires dark gray and the rims silver.
Add grass under the tractor.
Awesome work!
You now know how to build a tractor using simple shapes.
Feel free to customize it—add smoke, crops, or even a farmer driving it.