If you love music and art, drawing a violin is a perfect way to express both passions.
In this tutorial, easydrawforkids.com will explore how to draw a violin, focusing on its distinctive shape and features, perfect for beginners and experienced artists alike.

How To Draw A Violin – A Step By Step Guide
1. Violin Drawing Easy
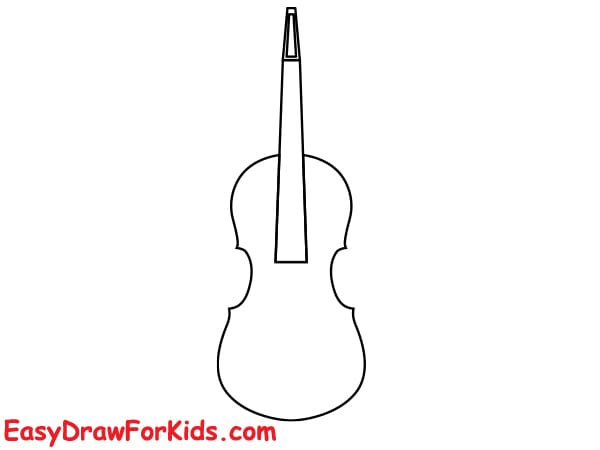
Step 1: Start by drawing an elongated oval shape for the body of the violin. The bottom should be slightly wider than the top.

Step 2: At the top and bottom of the oval, draw inward curves to create the characteristic shape of the violin.
Extend a rectangle from the top of the body for the neck. It should be narrower than the body.
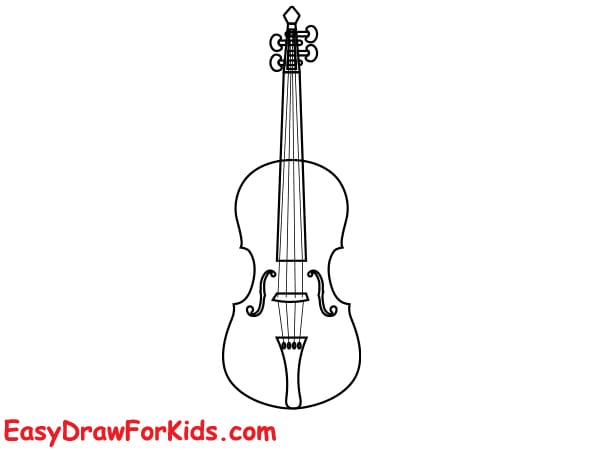
Step 3: At the top of the neck, draw a small spiral shape for the scroll thepartwherethetuningpegsare.
On the body of the violin, draw two f-shaped holes oneoneachside to represent the f-holes. They should be symmetrical and positioned near the center of the body.

Step 4: Draw a small rectangle on the body of the violin, slightly above the f-holes. This is the bridge.
Below the bridge, draw a small rectangle or trapezoid shape for the tailpiece.

Step 5: Draw four straight lines from the scroll down to the tailpiece, passing over the bridge. These represent the strings of the violin.
Step 6: If you want, you can color your violin using browns, blacks, and other colors to mimic the look of wood

2. Realistic Violin Drawing
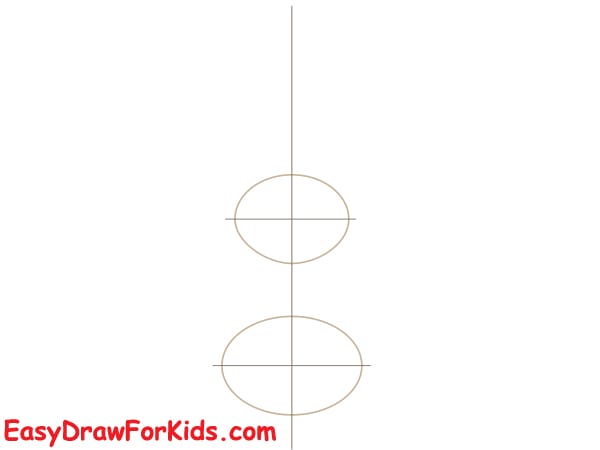
Step 1: Like drawing a guitar, draw a straight line and two horizontal lines, then draw two ovals on the horizontal lines as shown the picture.
Step 2: Start by sketching the outline of the violin’s body. Draw a figure-eight shape to represent the instrument’s rounded top and bottom.
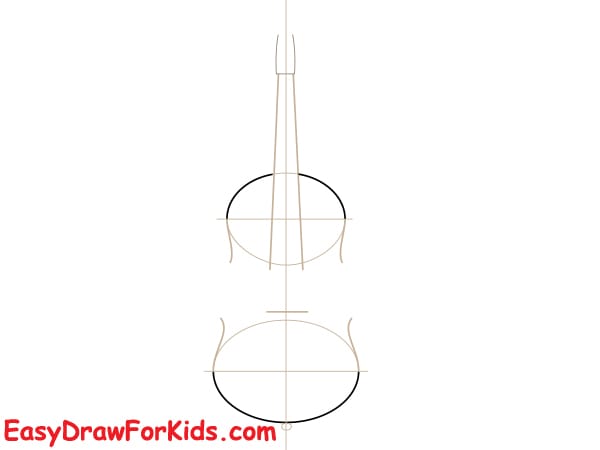
Step 3: Extend two parallel lines upward from the top of the body for the neck, keeping them relatively narrow. Finish this with a rectangle at the top to mark the scroll area.
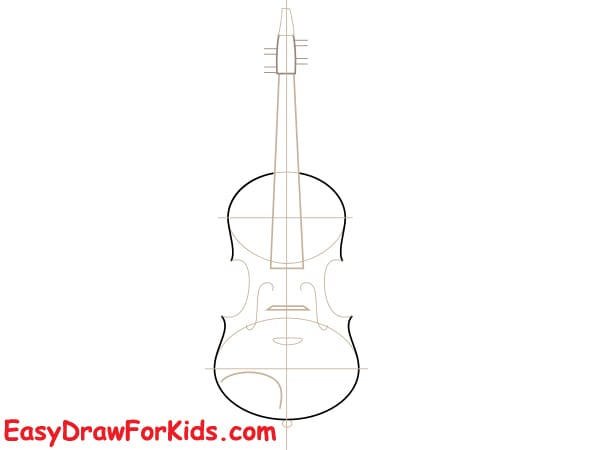
Step 4: At the top of the neck, draw a spiral for the scroll and a small box below it for the pegbox.
On the body, sketch two symmetrical “f-shaped” holes on either side of the centerline. These give the violin its distinct appearance.
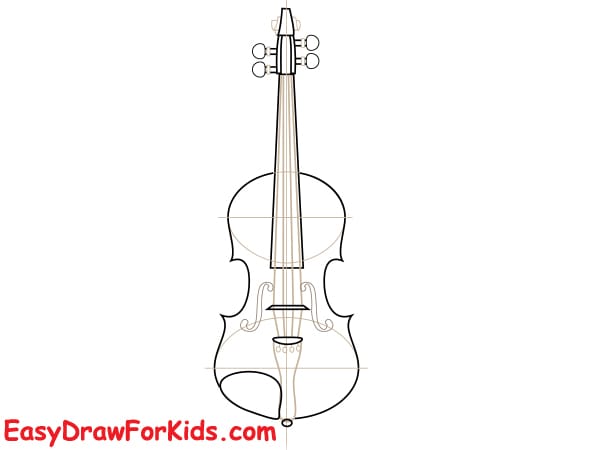
Step 5: Complete the tailpiece and fine tuners. At the base of the violin’s body, draw the tailpiece as a triangular shape attached to the strings, adding small circles or rectangles for fine tuners if desired.

Step 6: Refine your lines, add shading to indicate depth, and include wood grain patterns or varnish texture for realism.

Well done!
You’ve learned how to draw a violin step by step.
Remember, the more you practice, the better you’ll become.
Don’t be afraid to try different angles or styles to challenge yourself and grow as an artist.