Today’s drawing challenge is inspired by Frozen!
Join me as we learn how to draw Elsa in a cute cartoon style.
Let’s draw Elsa together using simple shapes and easy lines.
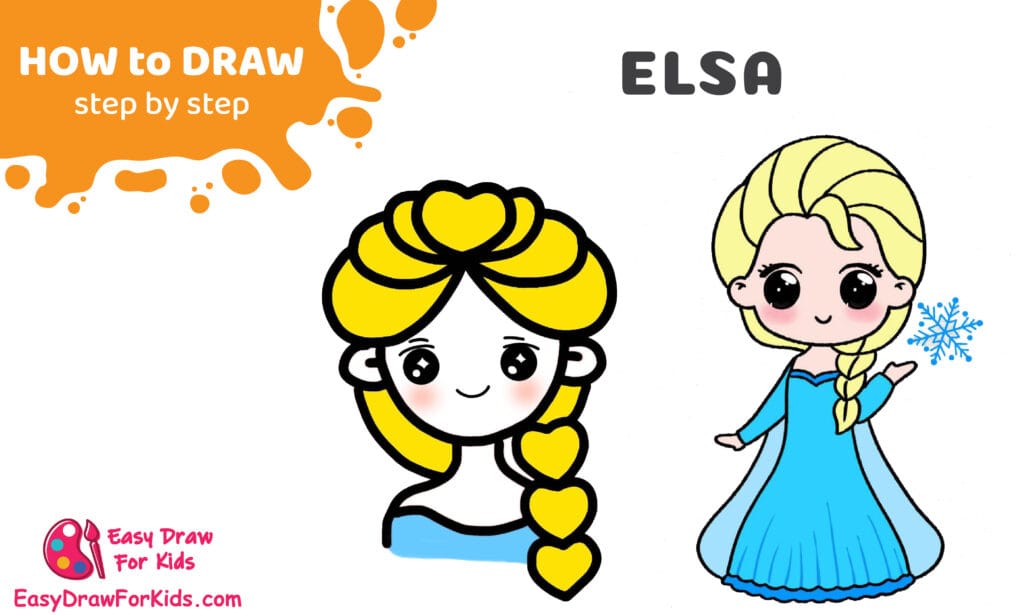
How to Draw Elsa – A Step by Step Guide
1. How To Draw Elsa Full Body
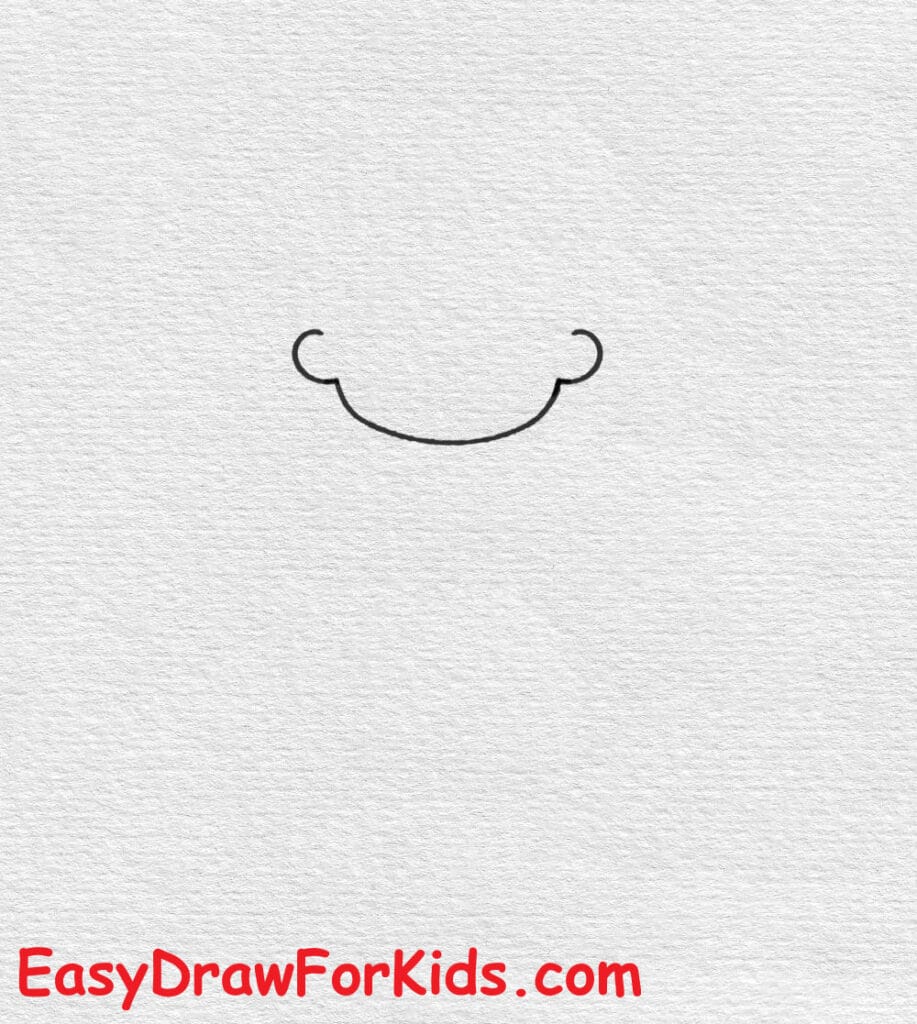
Step 1: Start by drawing a simple curved shape like a soft “U” for Elsa’s face. Make the curve smooth and rounded, as this is a cute chibi style.
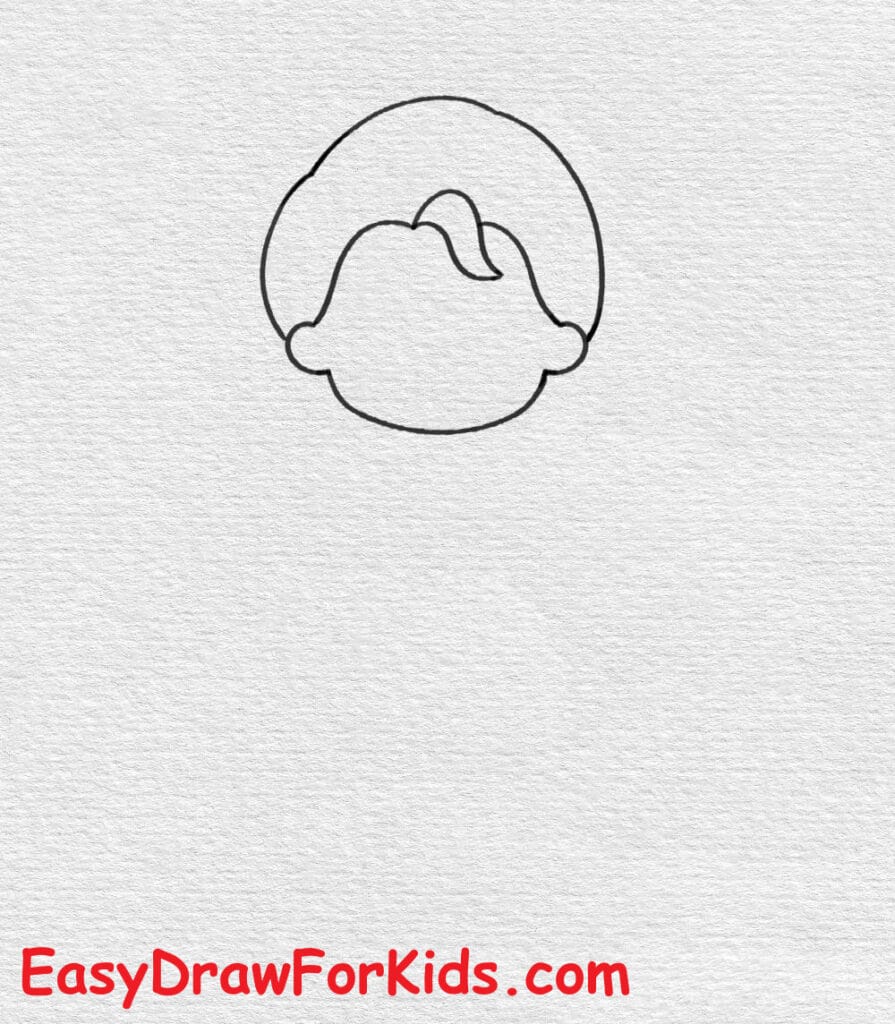
Step 2: Above the face, draw the top outline of her hair. Make two curved lines that join at the sides, forming the top of her head and giving her hair a fluffy, rounded shape.

Step 3: Draw the large swooping strand of hair that falls over her forehead. It should curve from the top right down toward the middle of the forehead. Then add the rest of the head shape behind it.
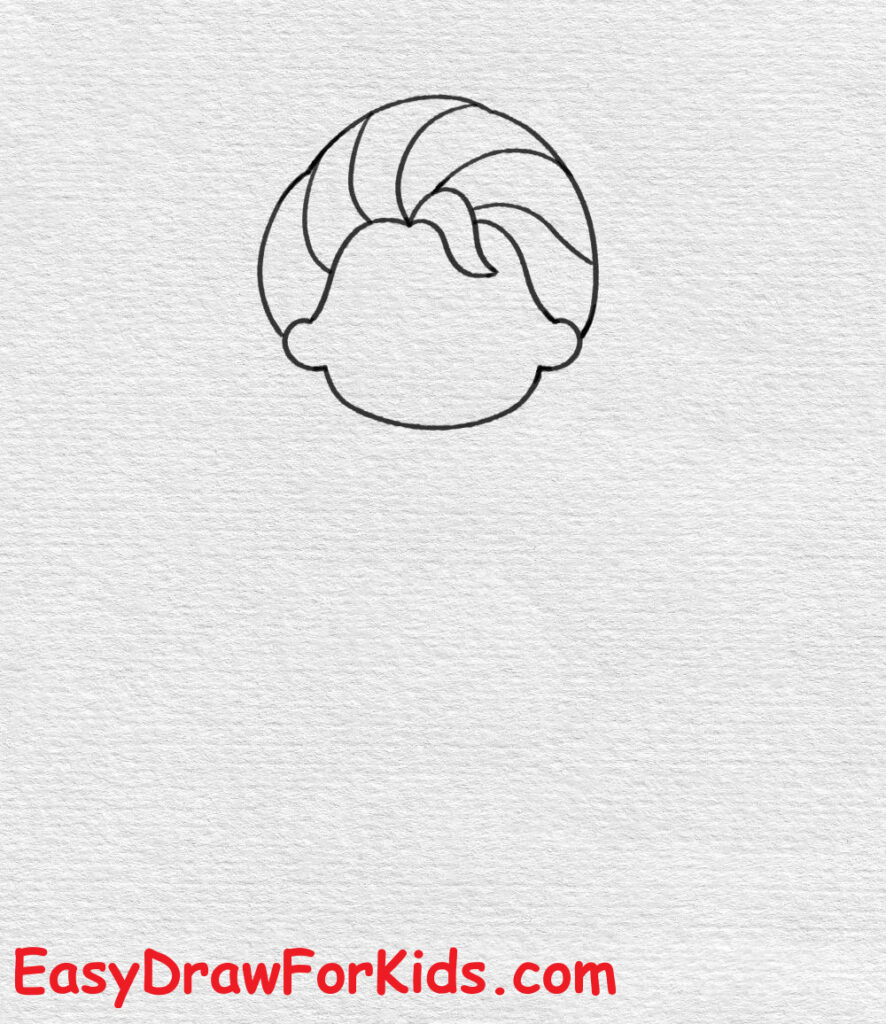
Step 4: Add more hair lines inside the large strand to show texture. Also sketch the curved shape of her braid wrapping over her shoulder.
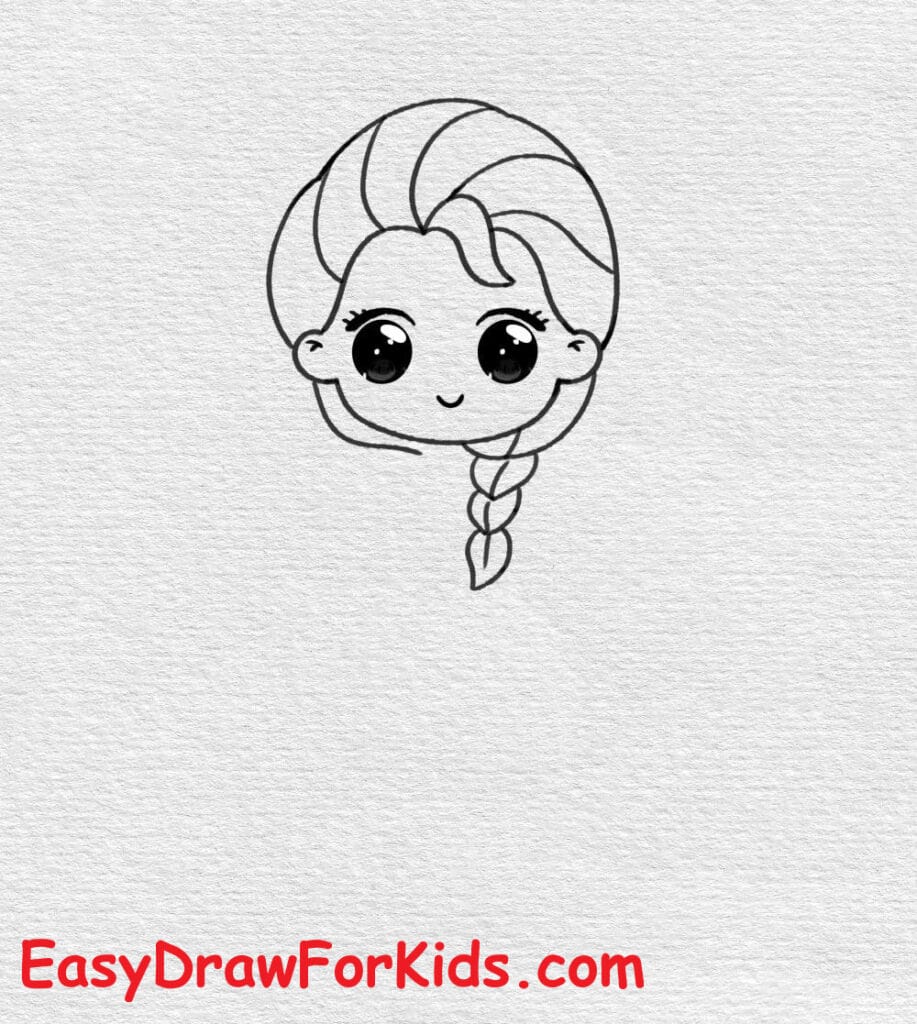
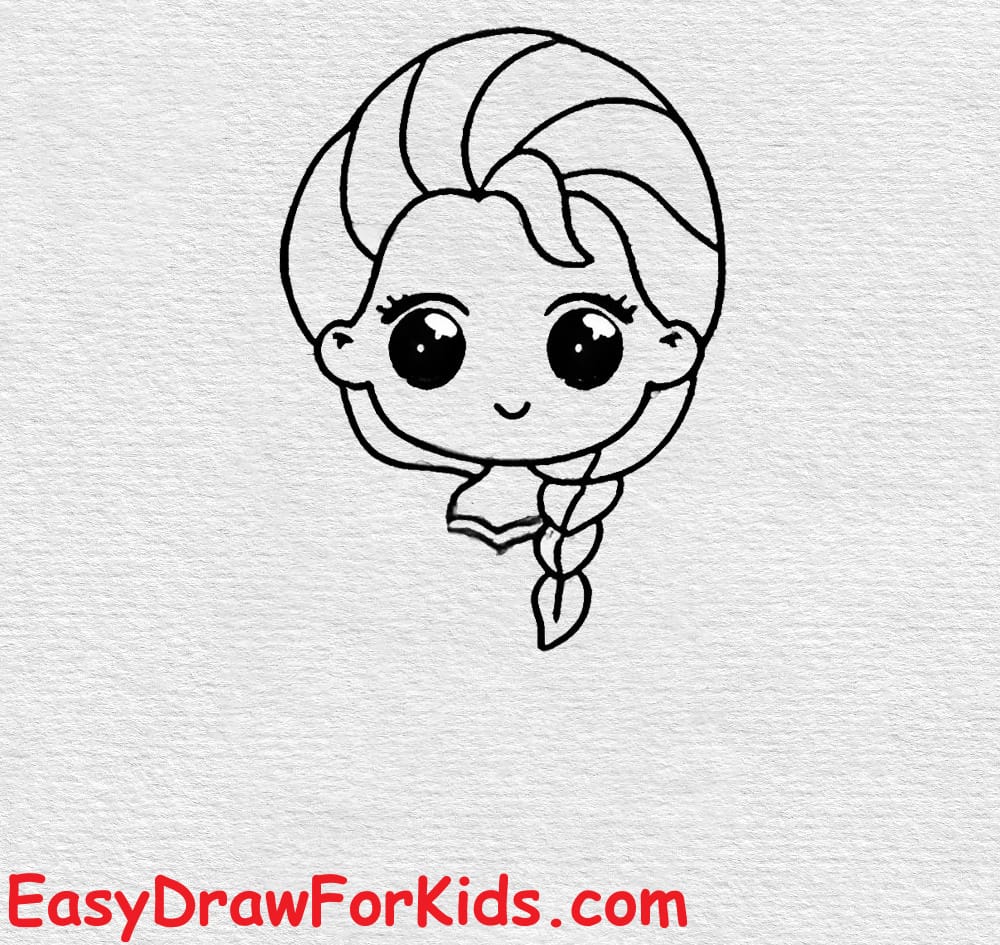
Step 5: Draw two large, round eyes with thick eyelashes. Add two small highlights in each eye to make them look shiny. Draw small curved eyebrows above them.
Draw a tiny nose and a small smiling mouth. Keep the size small for a cute cartoon look.

Step 6: Draw a short neck below the face. Then extend the braid downward. Add small rounded sections along the braid to make it look realistic but cute.
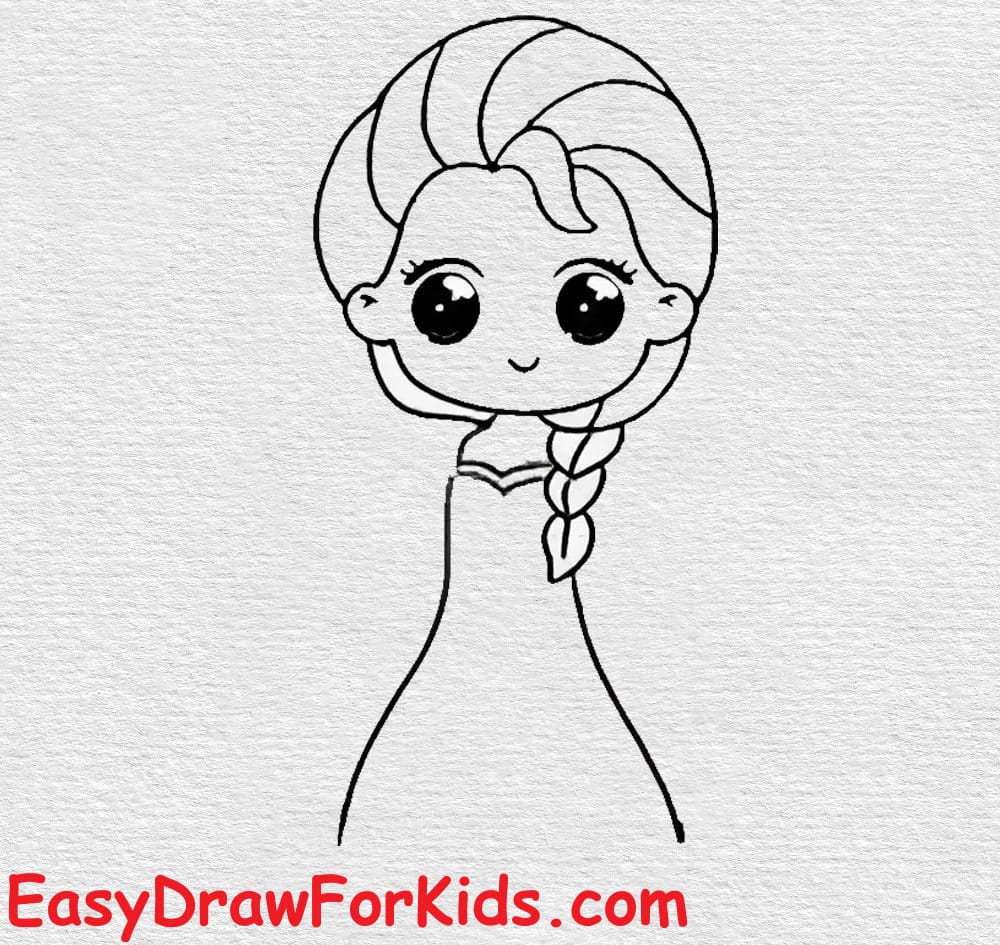
Step 7: Draw two curved lines from her shoulders to outline the top part of her dress. Keep the lines soft and flowing.
Step 8: Draw the skirt by adding a wide triangular shape that flares outward near the bottom. Make the bottom edges slightly curved so the dress looks soft and flowing.
Step 9: Sketch one arm lifting upward as if she is using ice magic.
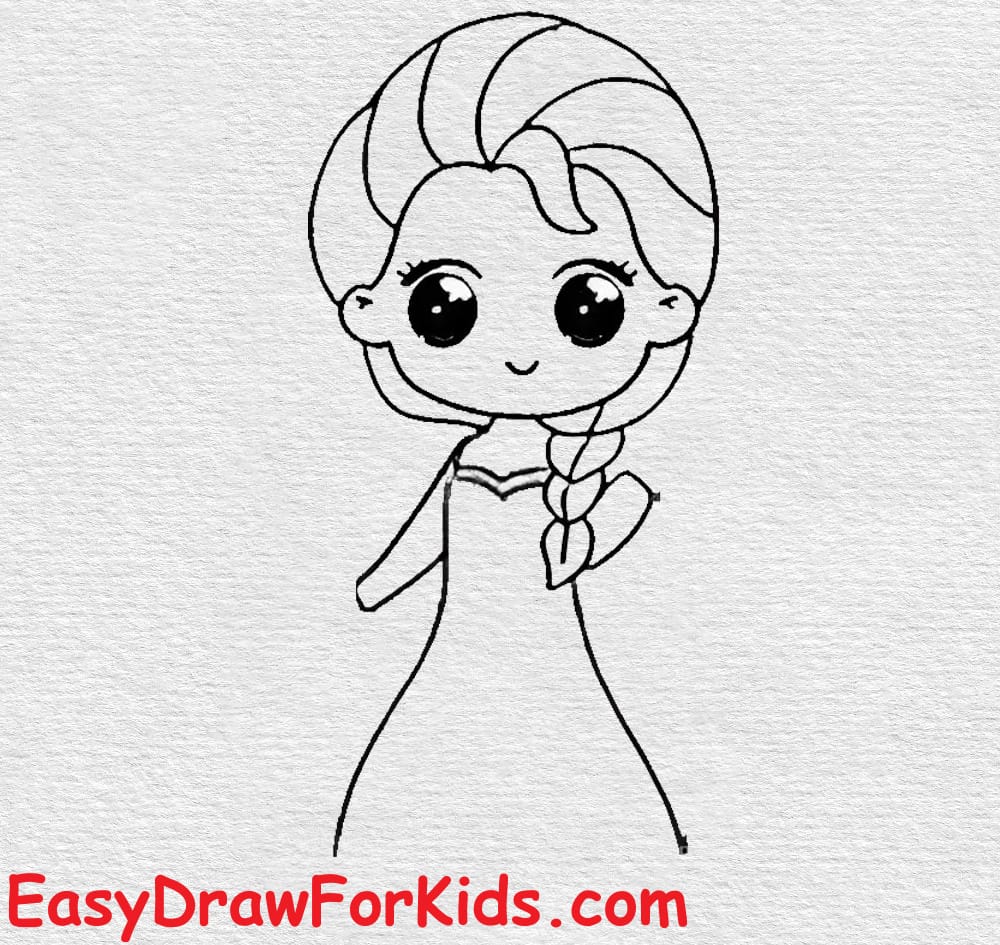
Step 10: Draw her other arm hanging down gently. Then add details on the dress such as the sleeves and neckline.
Step 11: Add the other arm
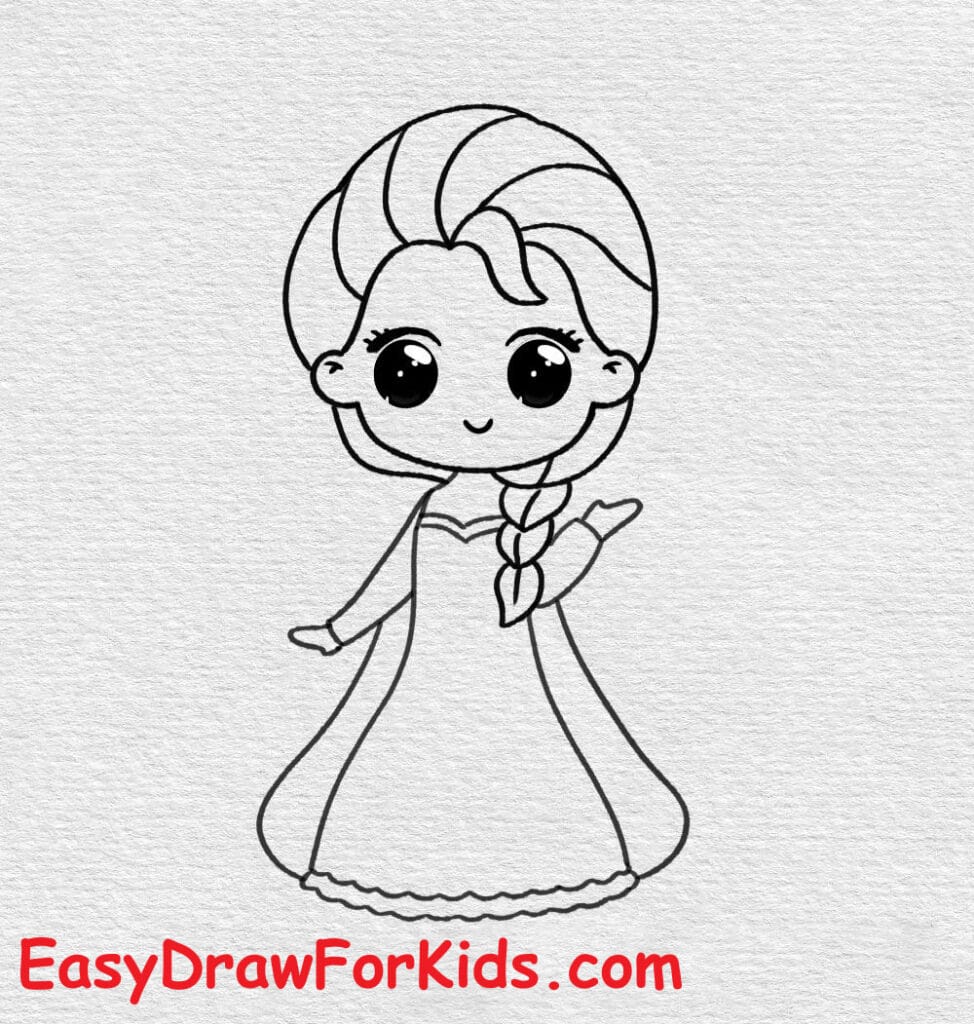
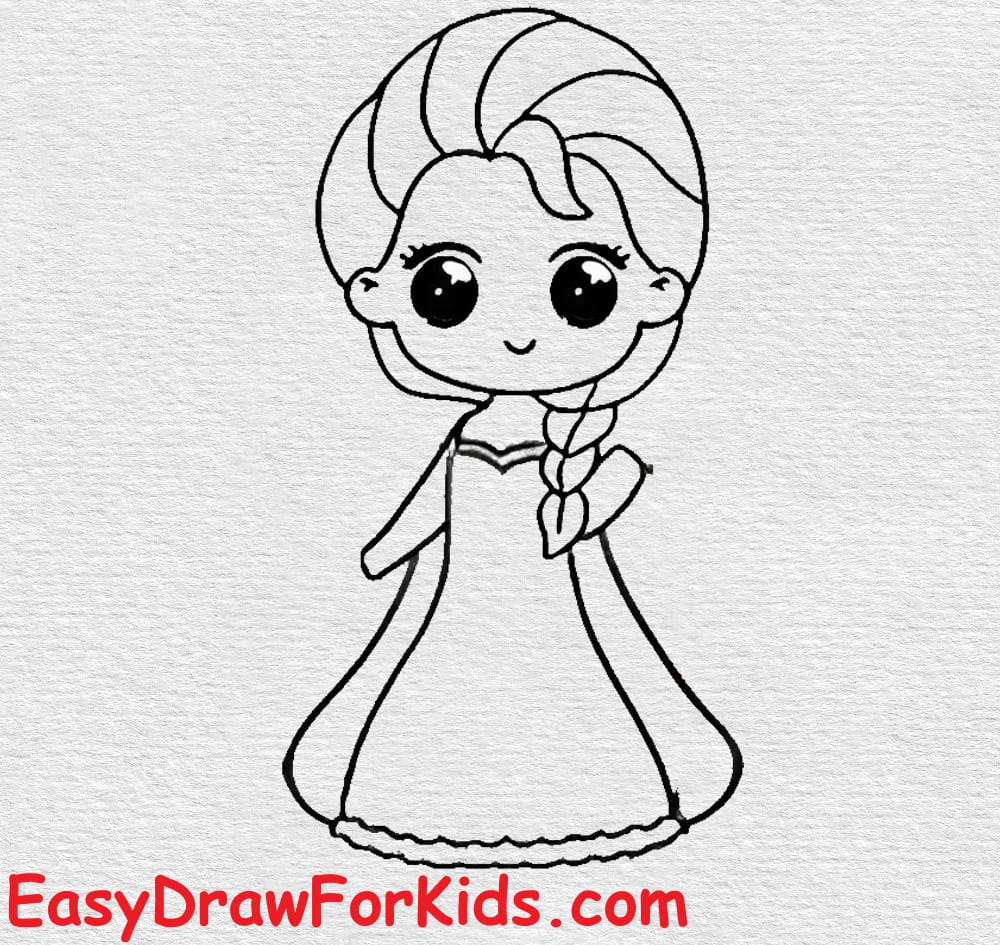
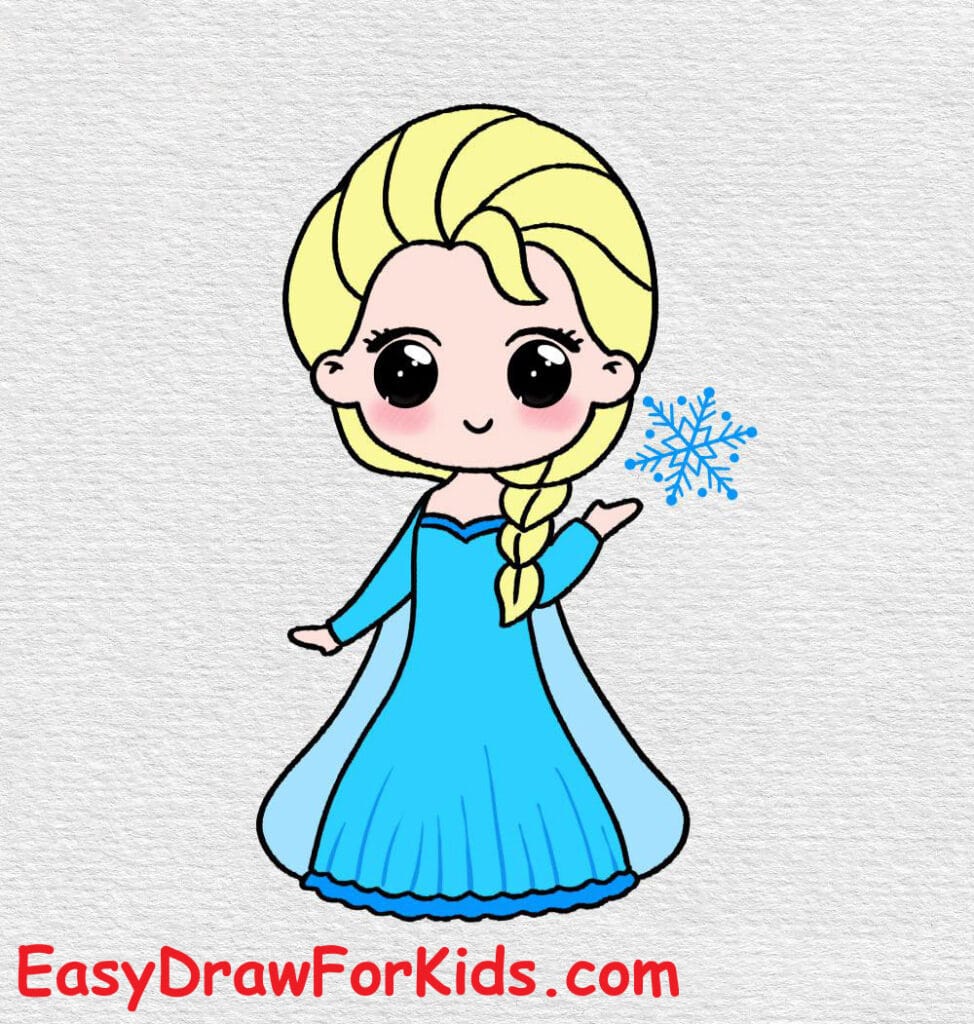
Step 12: Draw several small snowflakes around her raised hand to show her ice power. You can draw simple “X” shapes with extra lines or more detailed star shapes.

Step 13: Color your drawing
Hair: Blonde
Eyes: Blue
Dress: Light blue
Snowflakes: Light blue or white
>>>Read more: How To Draw A Doll – 3 Ways (With Pictures)
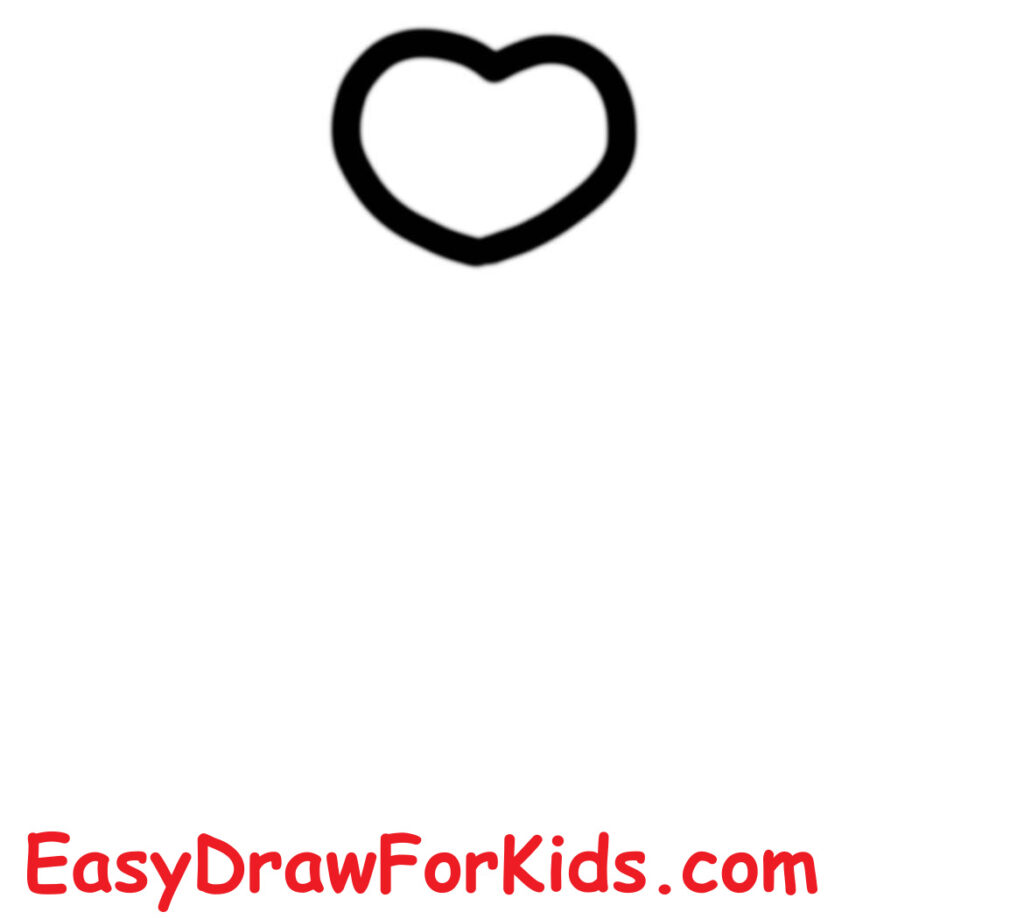
2. How To Draw Elsa Face
Step 1: Start by drawing a small heart shape. This heart will be the base of Elsa’s front hair shape.
Step 2: From the heart, draw two large curved loops on each side.
They should look like big, fluffy curls resting around the heart.
These lines form Elsa’s front bangs and frame her forehead.
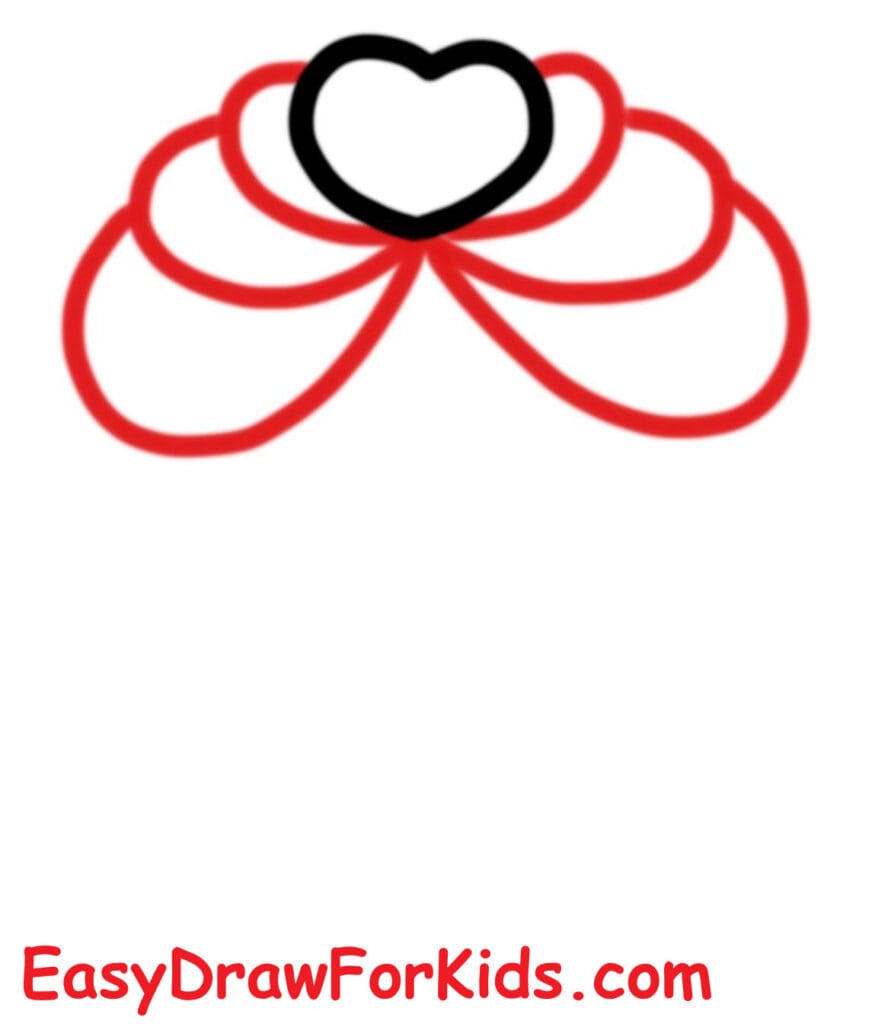
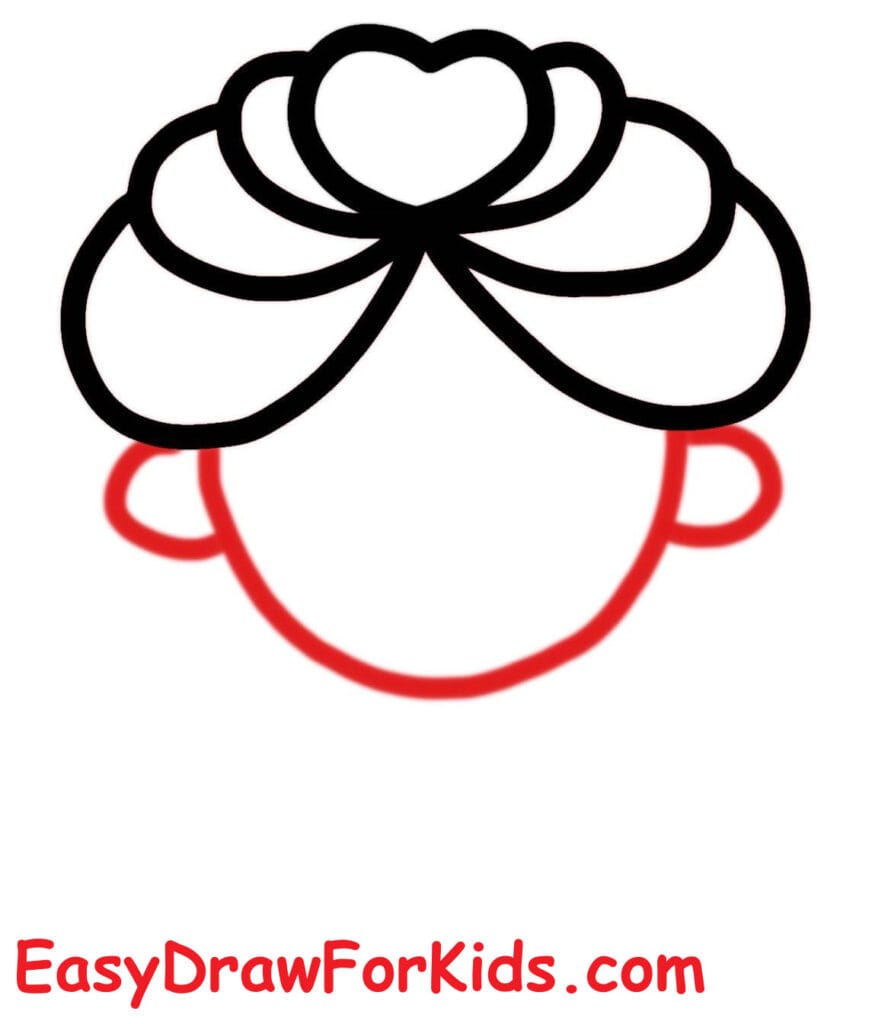
Step 3: Continue adding curved loops around the top of the head to complete her braided hair’s front section.
Under the hair, draw a rounded “U” shape to form Elsa’s chin and cheeks.
Then draw two small semicircles on each side of the head — these are her ears.
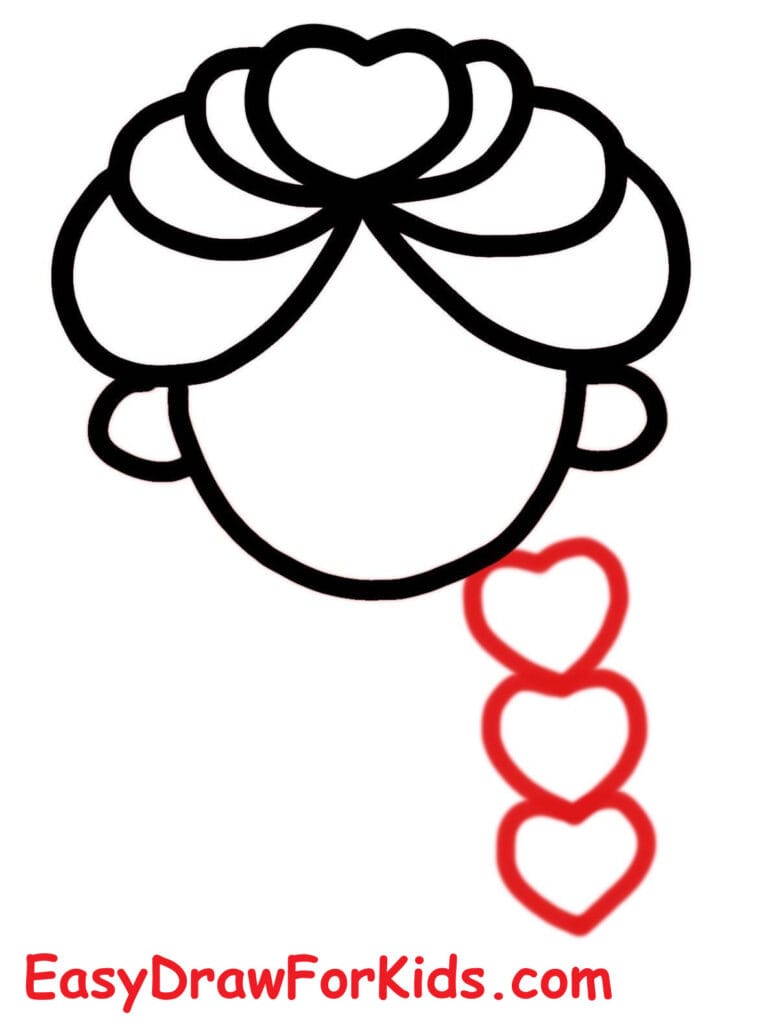
Step 4: Next, begin her braid by drawing three heart-shaped loops descending from the right side of her head.
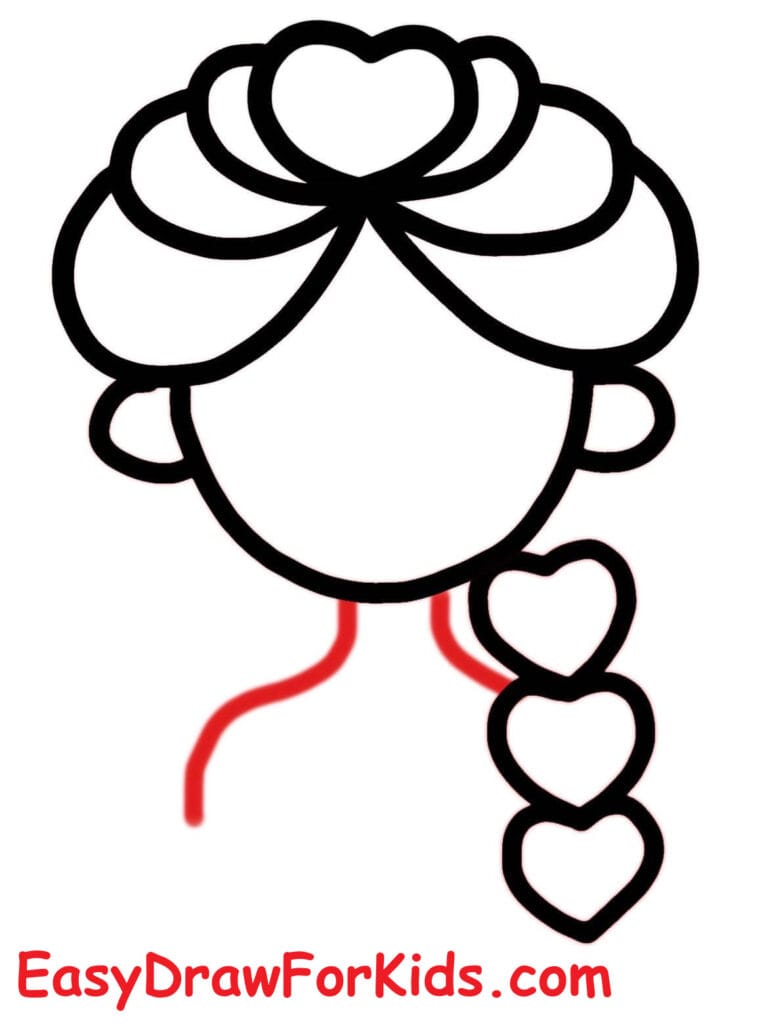
Step 5: Add two small straight lines under the head for the neck.
Extend a long curved line from the bottom hair section to continue forming the braid.
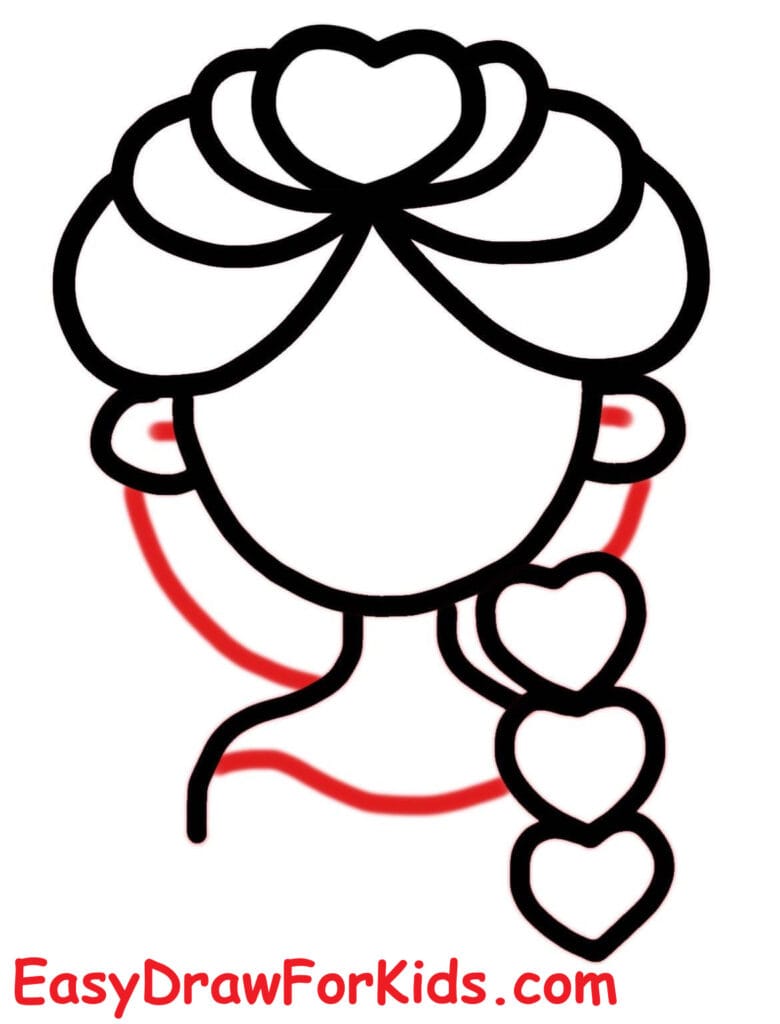
Step 6: Complete the braid by closing the loops and adding the final bottom part of the braid.
Then draw a curved line along the neck and shoulder to shape the upper body area.
Step 7: Inside the face shape, draw:
Two large circle eyes with highlights
Small eyelashes around each eye
A tiny smiling mouth
A small curved line for the nose

Step 8: Finish by adding colors:
Bright yellow for Elsa’s hair
Light skin tones for the face and neck
Pink for the cheeks
Blue for her dress

>>>Read more: How to Draw Donald Duck – 3 Ways (With Pictures)
You’ve reached the end of the lesson.
Thanks for drawing with me today!
I hope your Elsa drawing brings a little extra magic to your day.