If you’ve ever wanted to learn how to draw Godzilla step by step, you’re in the right place.
Godzilla is one of the most iconic movie monsters of all time.
In this guide, easydrawforkids.com will walk you through how to draw Godzilla step by step with 3 ways for you choose.
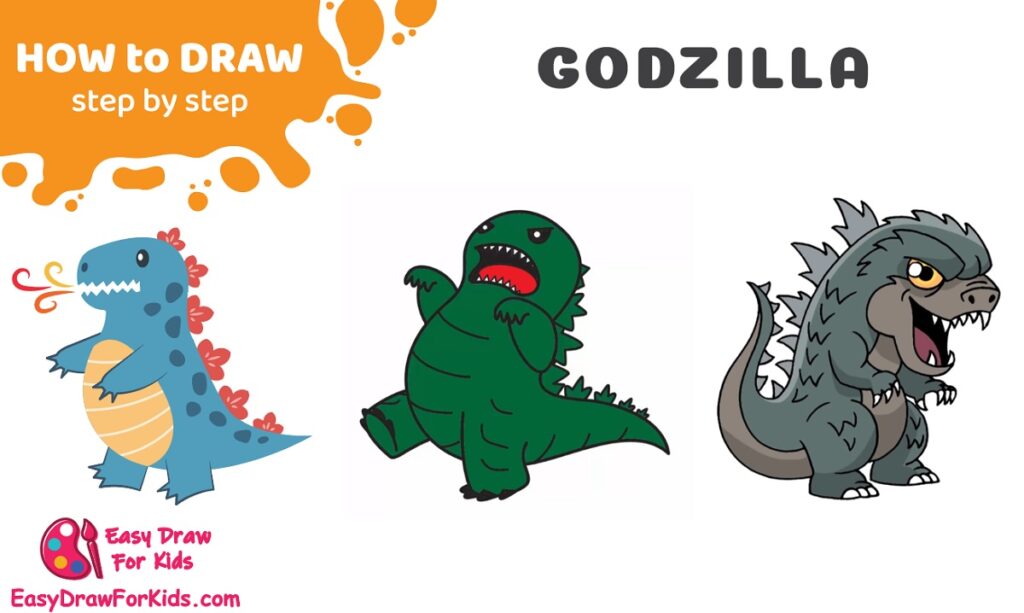
How to Draw Godzilla – A Step by Step Guide
1. Easy Godzilla Drawing
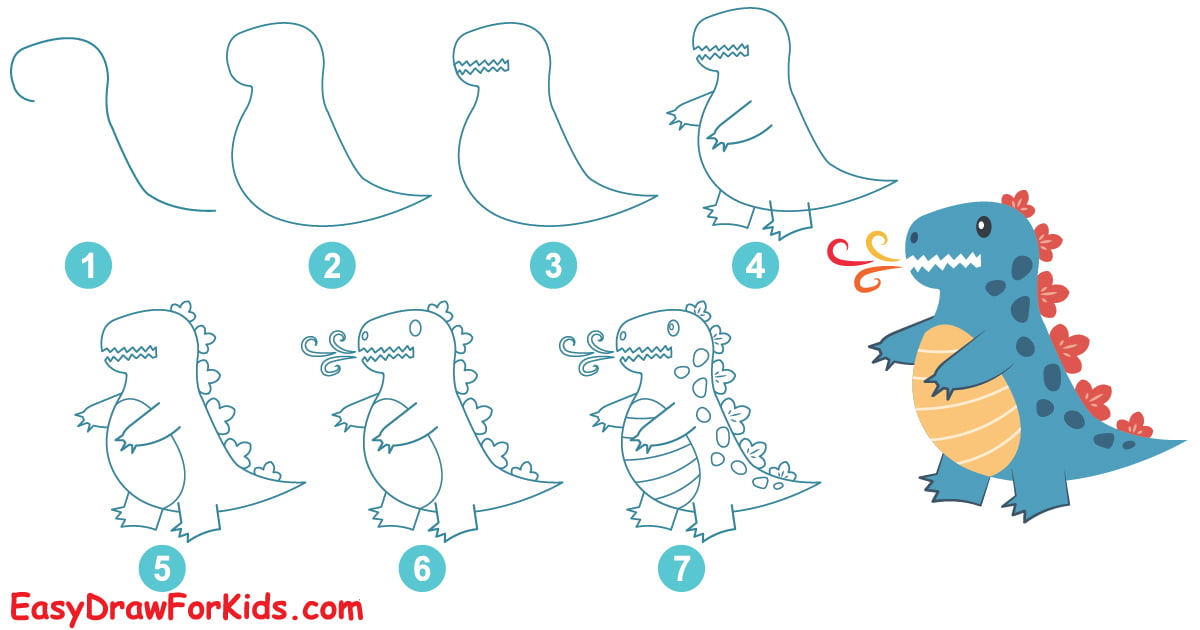
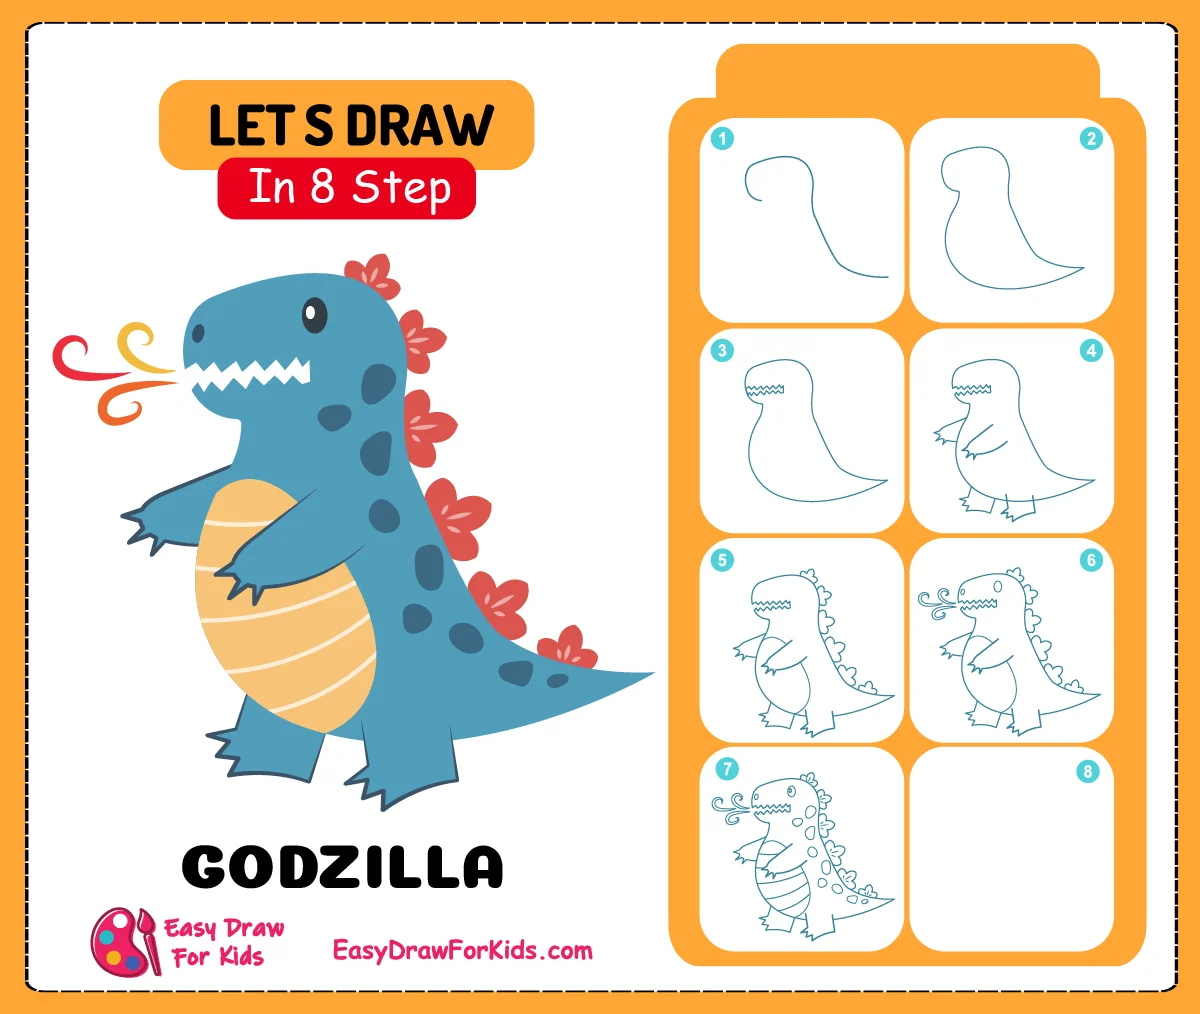
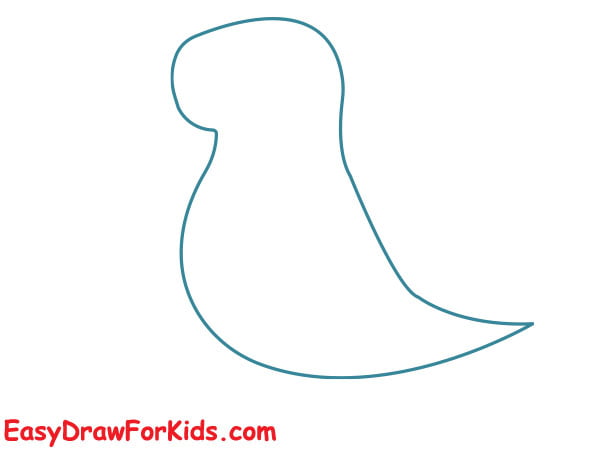
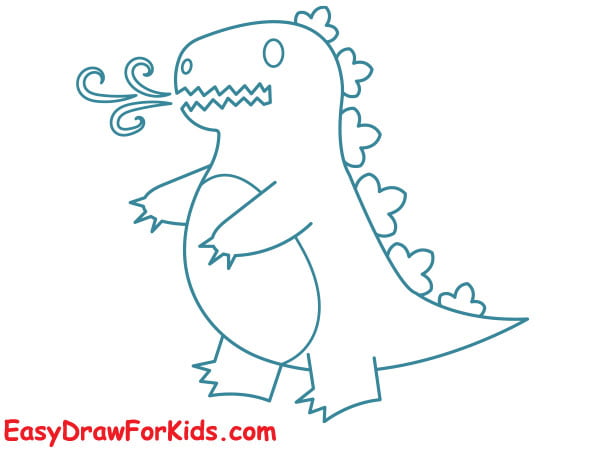
Step 1: Draw a large curve line for the head, tilted slightly forward, as you can see in the reference image.
Below the head, draw a long curve line for the neck and form the back, angled slightly upwards.
At the bottom end, draw a longer curve line for the tail.
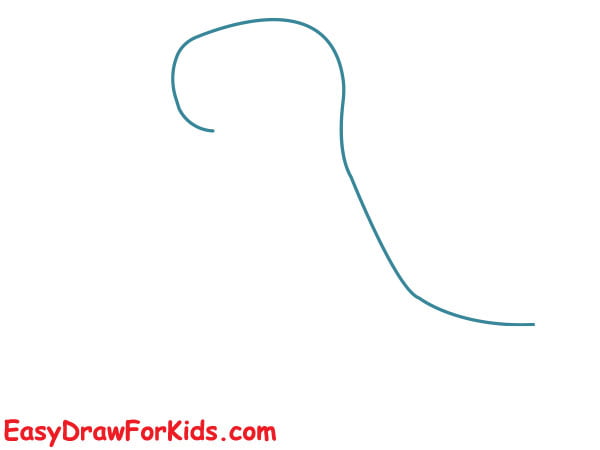
Step 2: Draw a long curve line connect the chin and tail for the chest and belly of godzilla.
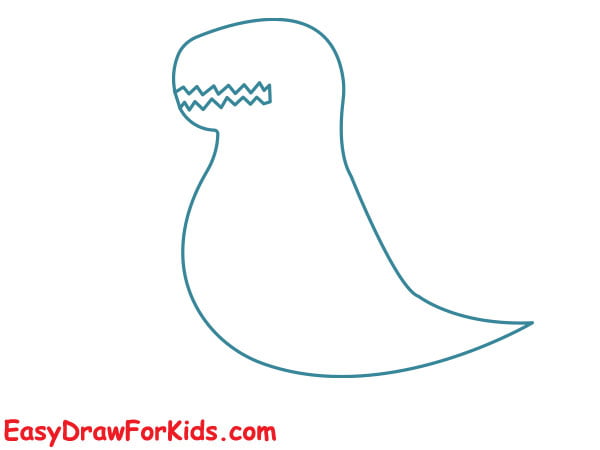
Step 3: Below the head, draw a broad U-shaped line for the mouth, with a series of sharp, jagged teeth in Godzilla’s mouth
Make the teeth different sizes, with the largest ones located at the front of the mouth.
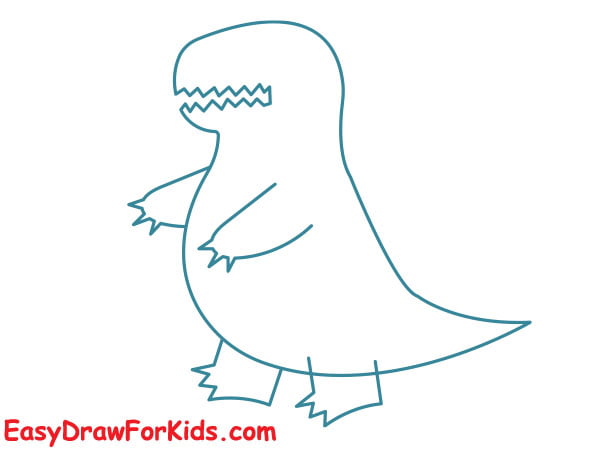
Step 4: For the arms, draw them as thick curved lines similar to the letter Z.
Draw legs like extended ovals or rounded rectangles for thick thighs.
Add three sharp claws to each foot and hands.
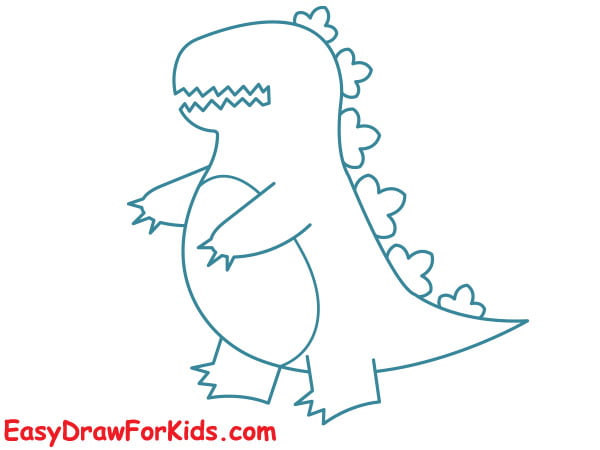
Step 5: Add small spikes protruding up in rows from the head to the tail as shown the picture.
Step 6: Draw circular eye sockets near the top of the head, and small oval shape for the nostril.
Draw a stream of fire or energy from Godzilla’s mouth.
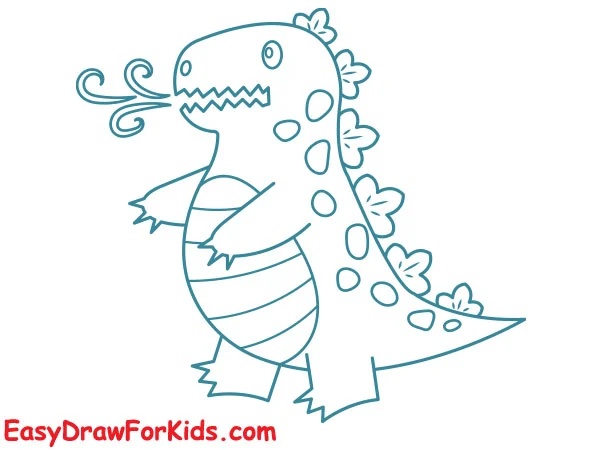
Step 7: Godzilla’s most recognizable features are its rough, jagged scales.
Start by drawing a series of uneven ovals and U-shapes all over the body, head, limbs, and tail.
Overlap some of the shapes and vary the sizes for a natural look.
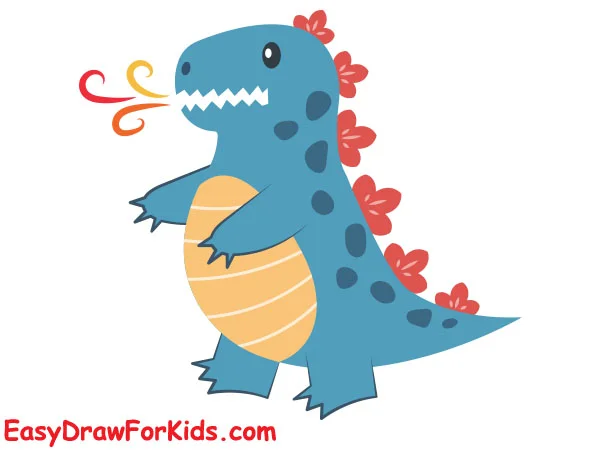
Step 8: Choose colors such as green, black, and orange for Godzilla.
Add smoke, sparks, or other effects to Godzilla’s atomic breath to make it look even more powerful.
2. Godzilla King Of The Monsters Drawing
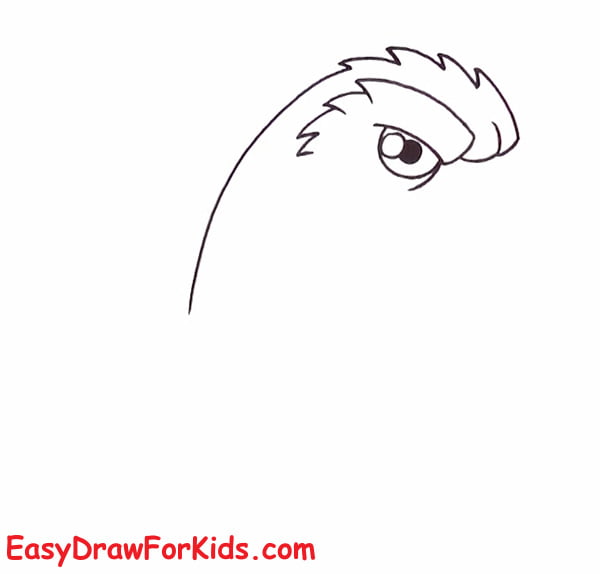
Step 1: Draw a half-circle and a line to finish off for the eye, draw two small dot on the eye for the pupil.
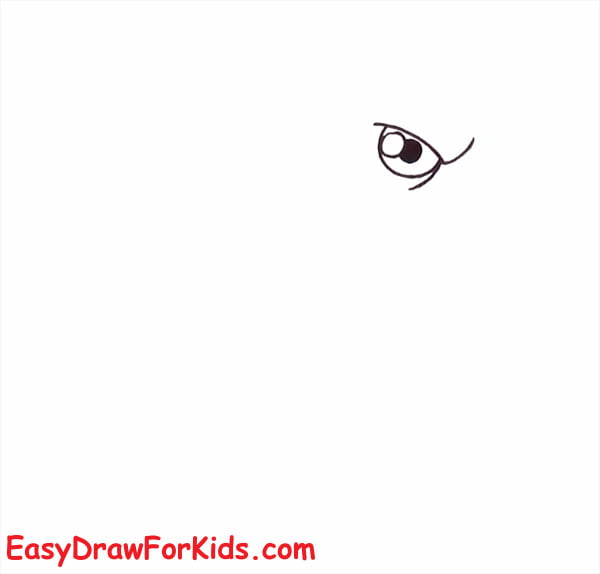
Step 2: Using wavy lines to draw a head as shown the picture
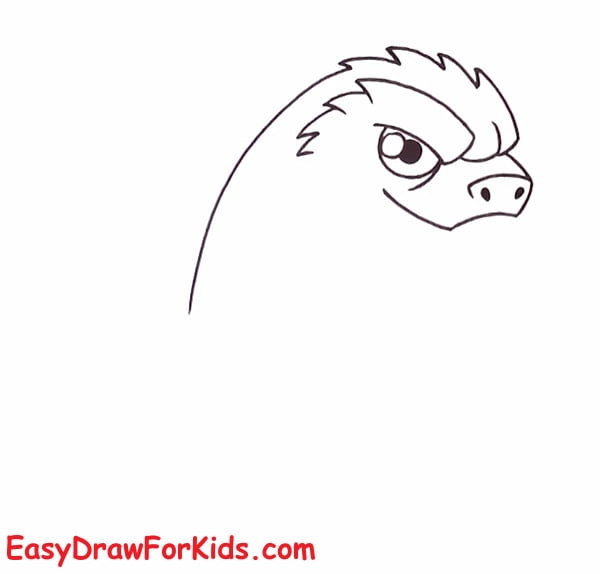
Step 3: Below the head, draw a snout and two small dot for the nostrils
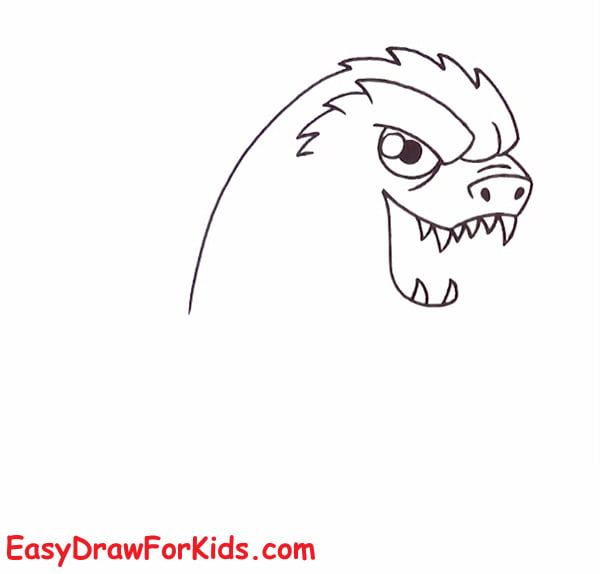
Step 4: Below the snout, draw a wide mouth and series of sharp, jagged teeth as shown the picture.
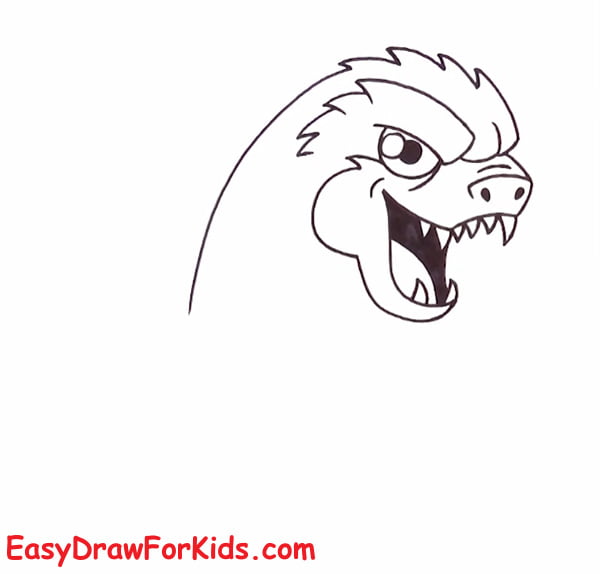
Step 5: Add detail to complete the face of Godzilla
Step 6: Draw curved lines for the forearms and biceps which attach at the shoulders.
Sketch 3-fingered hands with sharp claws using triangle shapes.
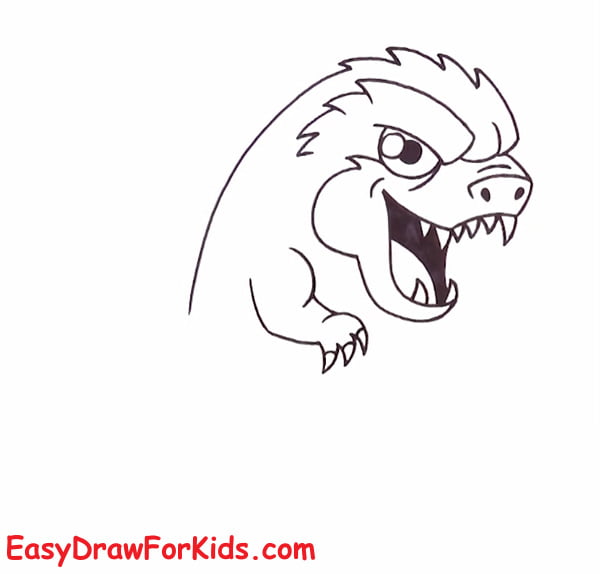
Step 7: Draw the leg like trunk-like legs with more muscular thighs and calves.
Draw the large feet with 3 visible toes on each. Include jagged toenails.
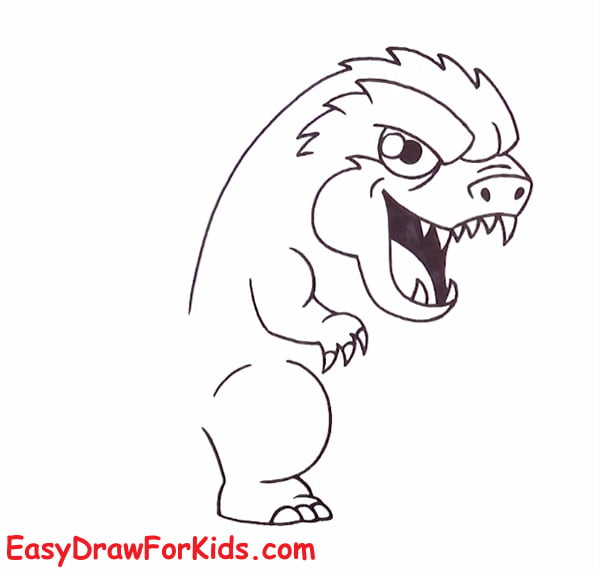
Step 8: Draw the second arm from the side of body as shown the picture, it will be at a different angle to the first arm.
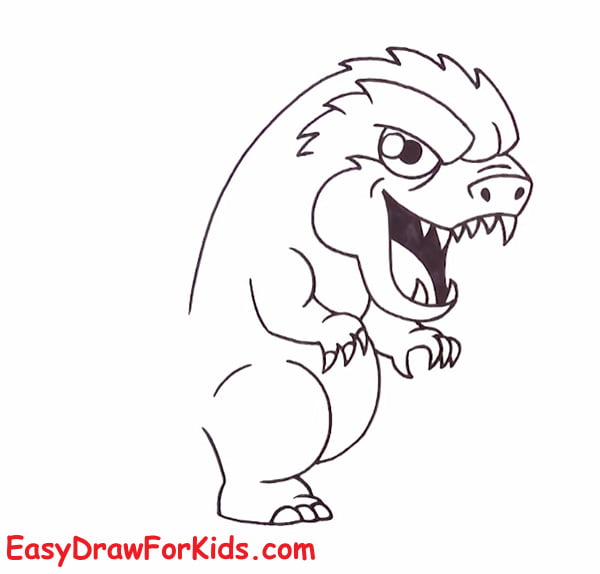
Step 9: Draw another leg coming off from the body
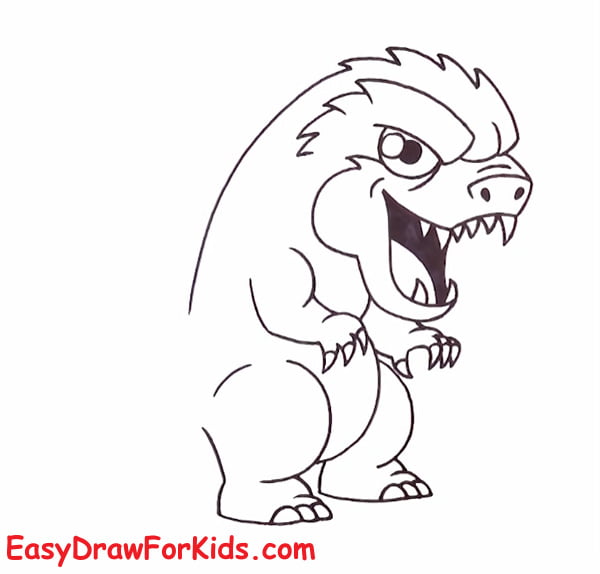
Step 10: Draw curved lines from the base the tail for the big, thick tail.
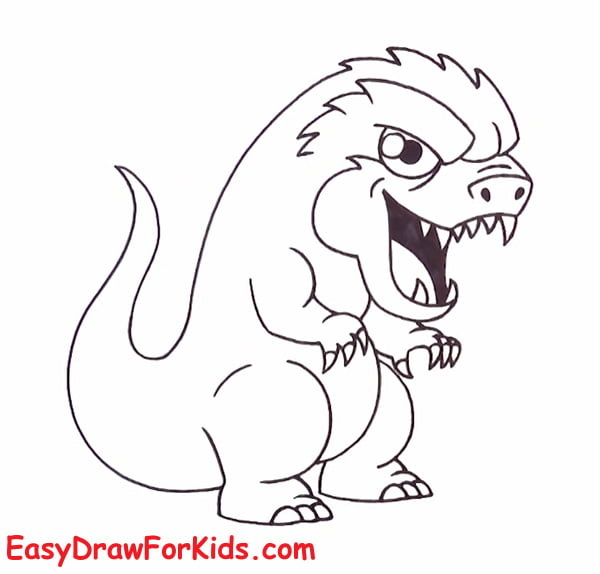
Step 11: Draw spikes protruding up in rows along from the head to end of tail.
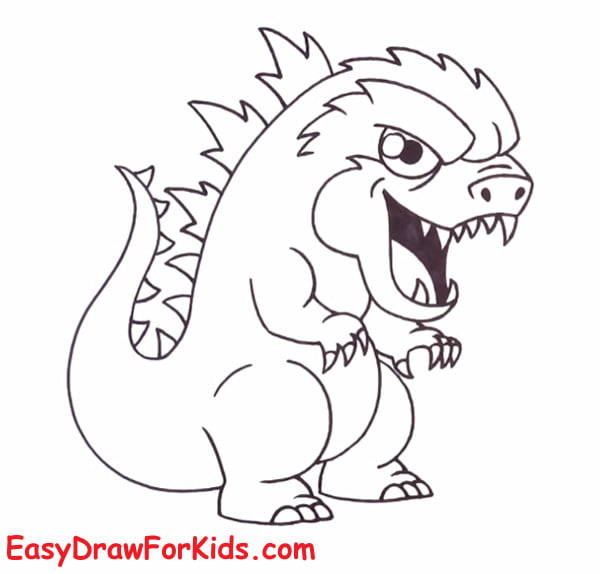
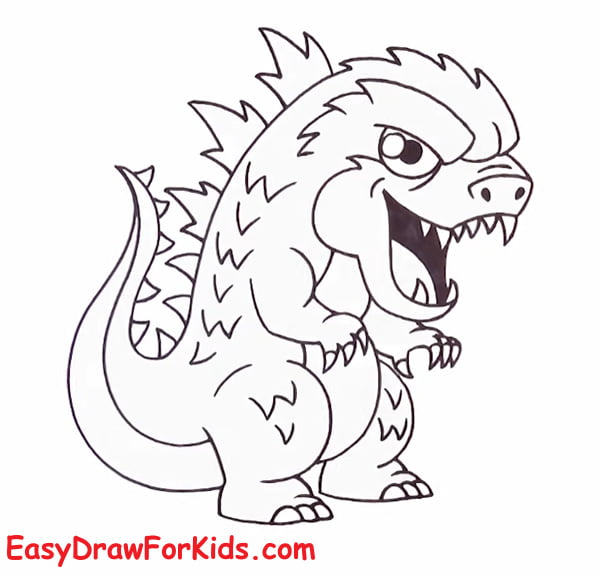
Step 12: Draw jagged triangles and spikes on the body of Godzilla
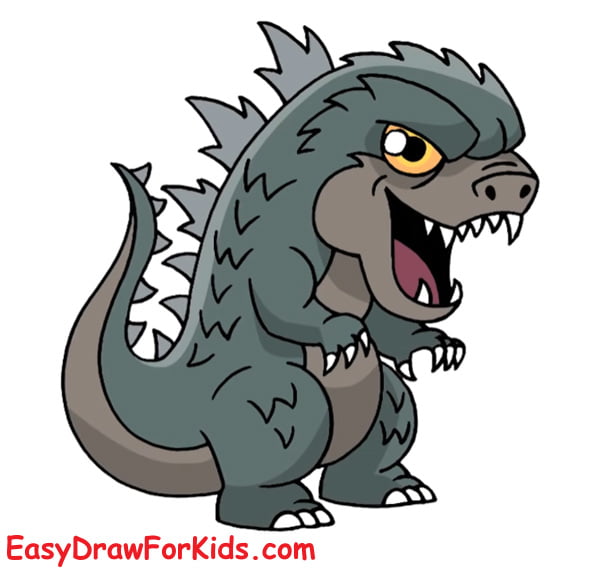
Step 13: Finish Godzilla off with some color
3. Legendary Godzilla Drawing
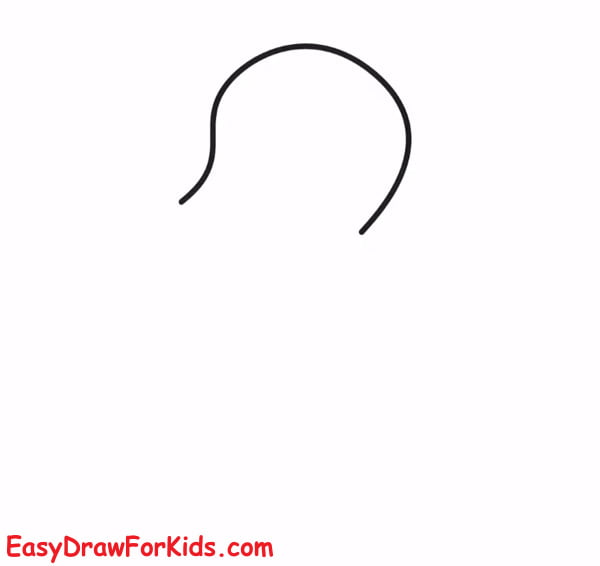
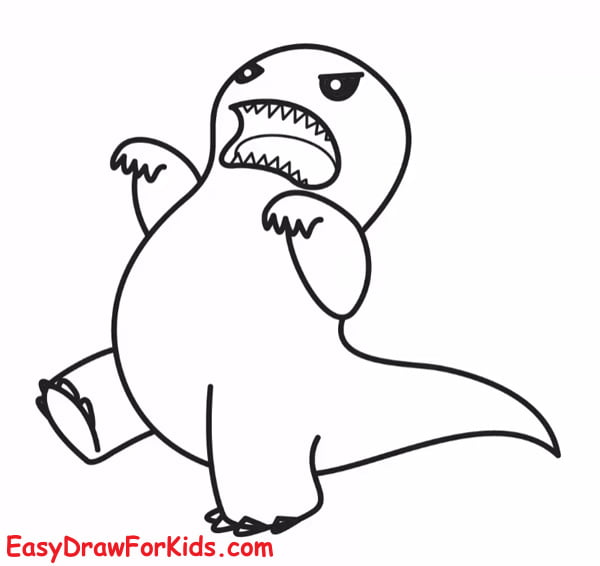
Step 1: Draw a curve line for the head
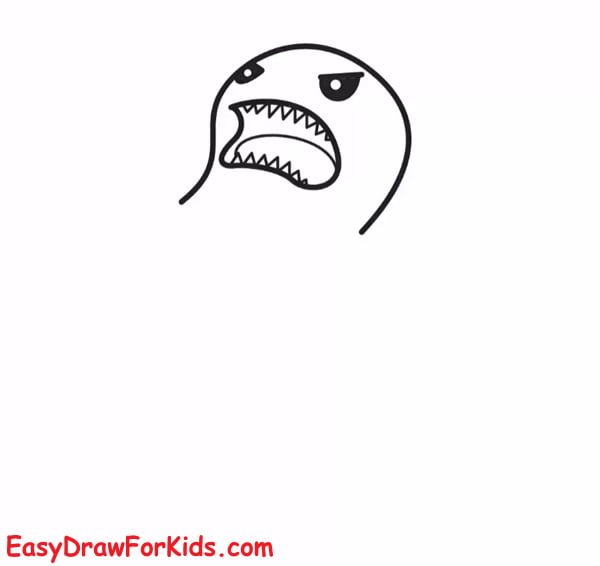
Step 2: Draw the angry face
Draw two circle for menacingly eyes and large oval shape for the mouth.
Draw a series of sharp, jagged teeth in Godzilla’s mouth.
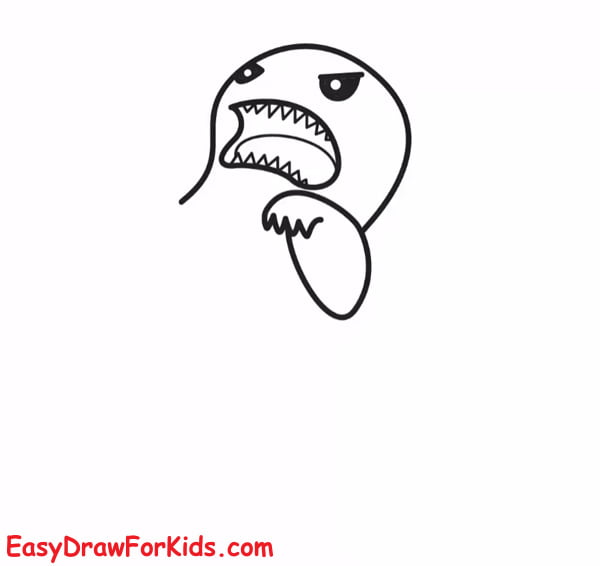
Step 3: Draw an arm and sharp, curved claws below the head
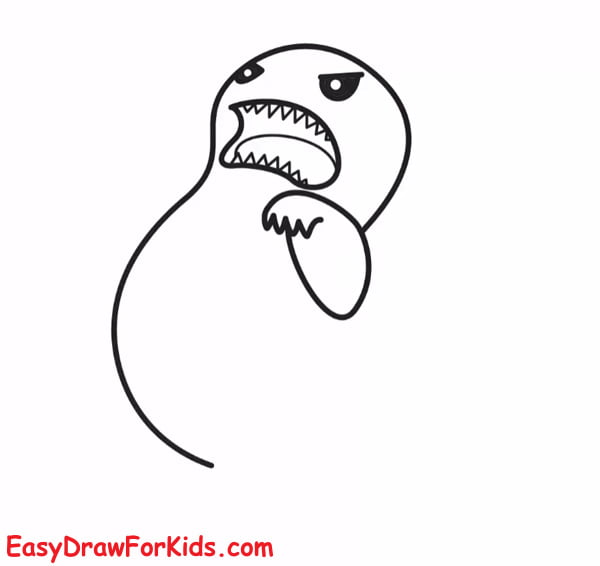
Step 4: Draw a curved line below the head for the chest and belly
Step 5: Draw other arm coming out the body
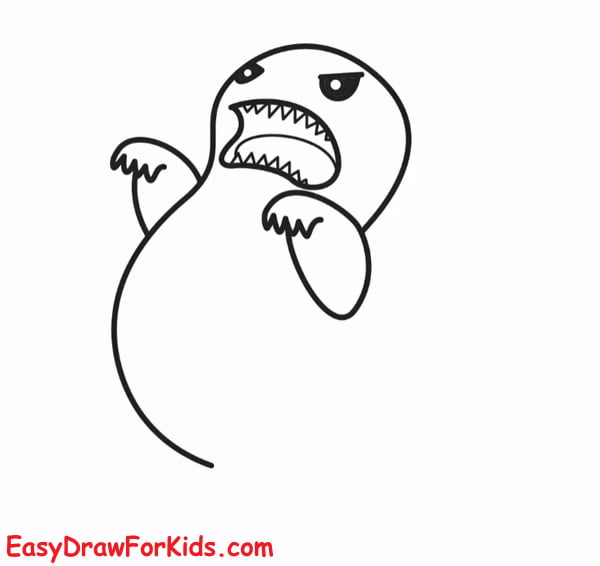
Step 6: Draw a thick, muscular leg below the body
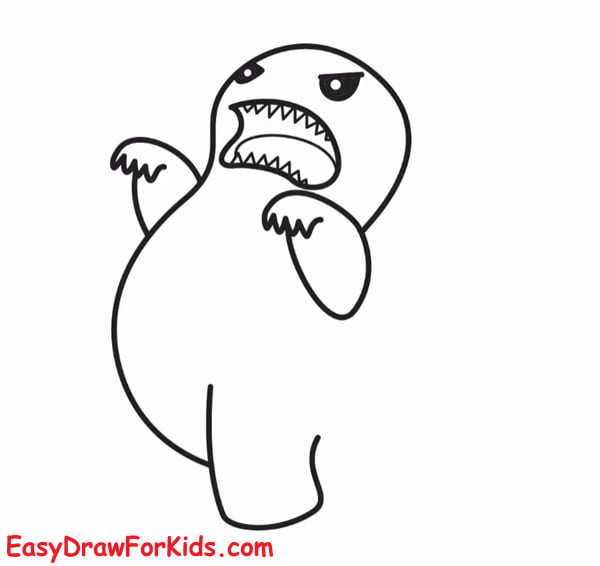
Step 7: Draw a long, snake-like tail extending from the back of Godzilla’s torso.
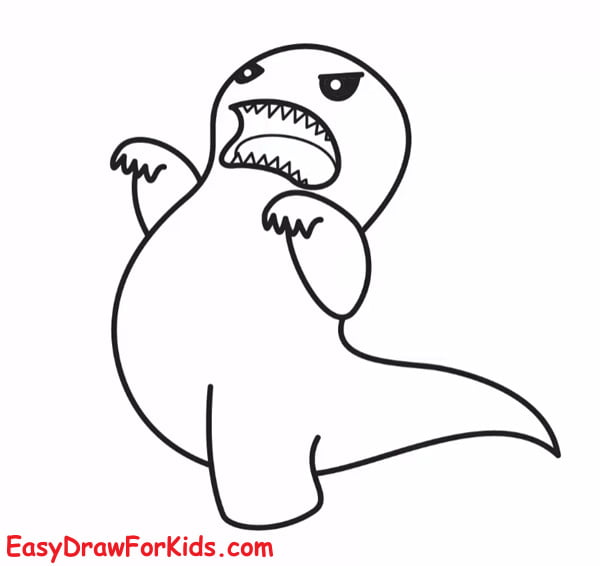
Step 8: Draw other leg on the side of Godzilla body
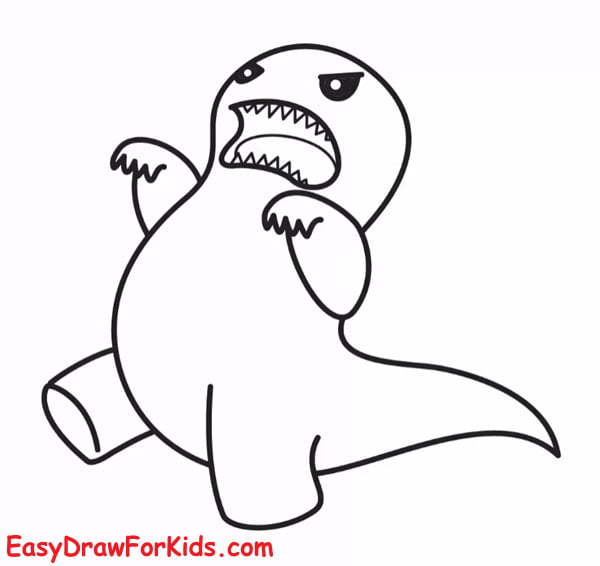
Step 9: Draw sharp, curved claws on Godzilla’s hands and feet
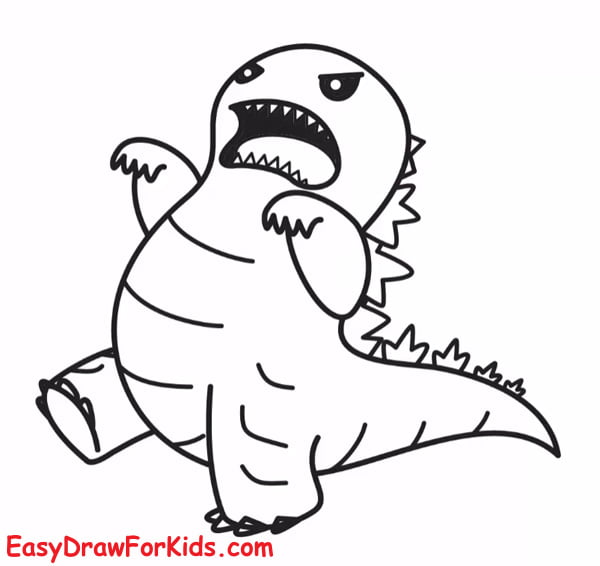
Step 10: Draw a series of triangular shapes along Godzilla’s back for the dorsal plates. The largest ones located near the head and the smallest ones near the tail.
Add wrinkles and folds in skin to give it a realistic look.
Step 11: Choose colors such as green, black for your drawing
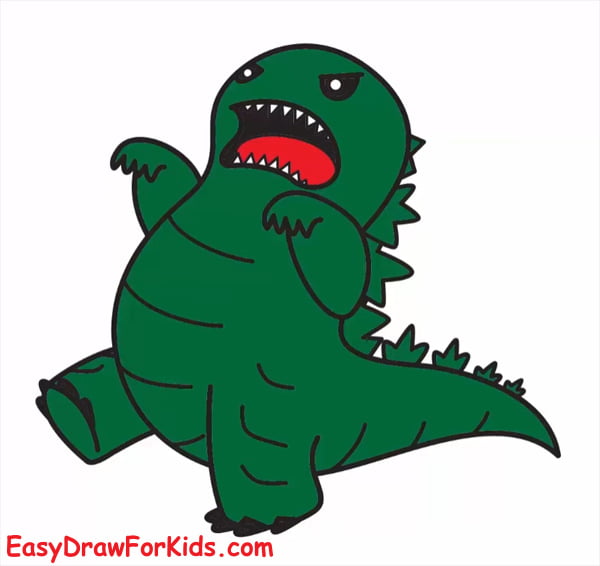
Congrats, you made it to the end! Learning how to draw Godzilla step by step.
Now, go pick up a pencil and bring Godzilla to life on the page.
