Welcome back to another One Piece drawing tutorial!
Are you ready to bring the beautiful and clever navigator of the Straw Hat Crew to life?
In today’s tutorial, we’ll learn step by step how to draw Nami from One Piece — from her cheerful smile to her stylish outfit!
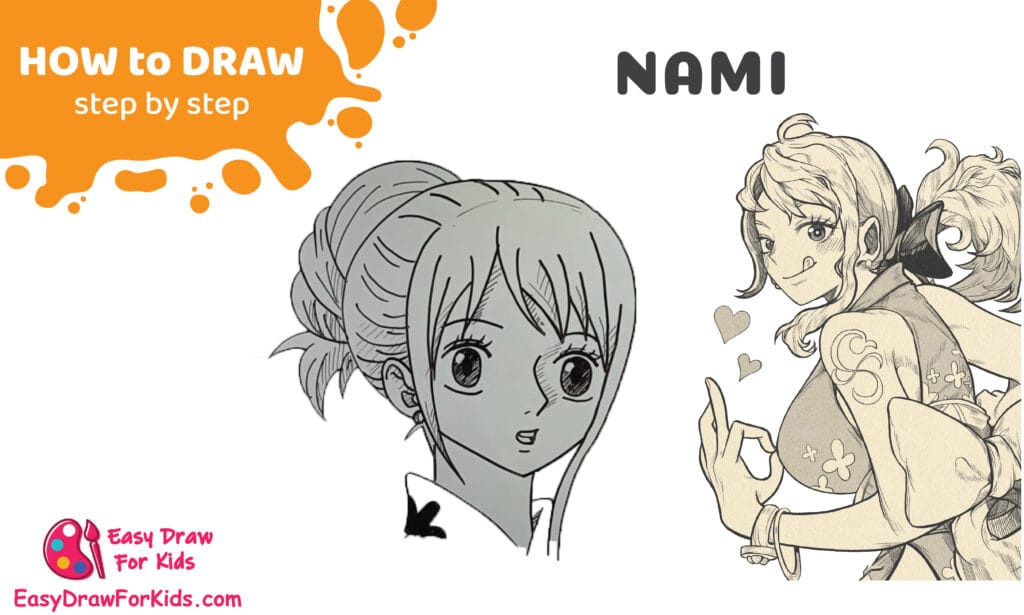
How to draw Nami from One Piece – A Step by Step Guide
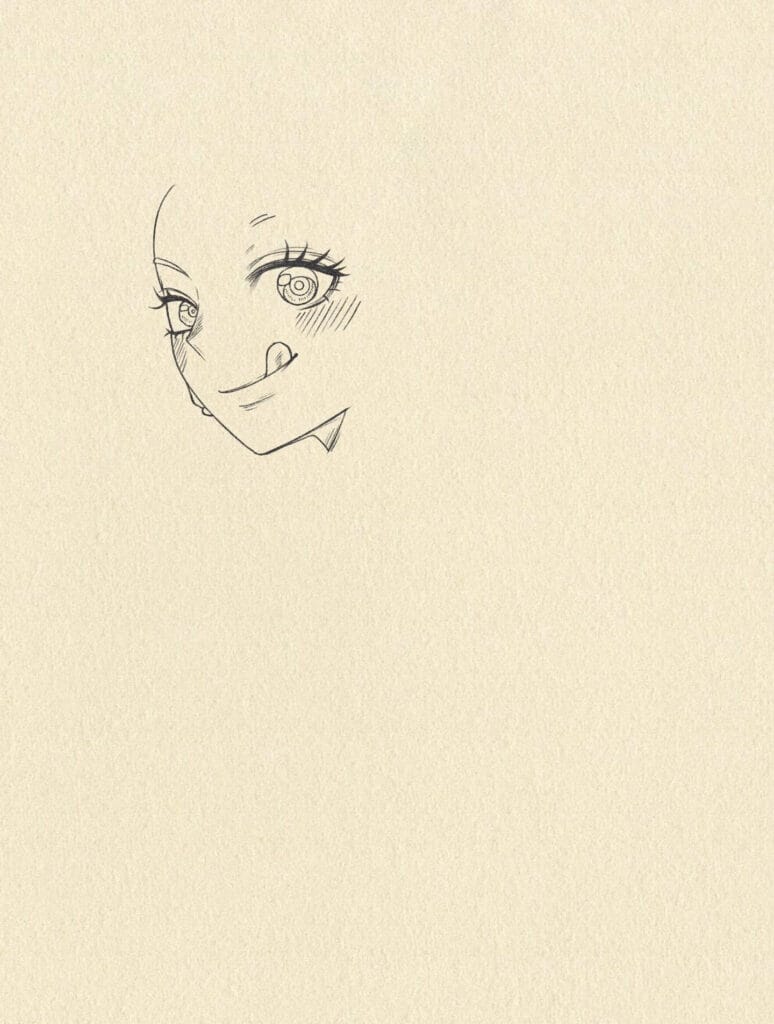
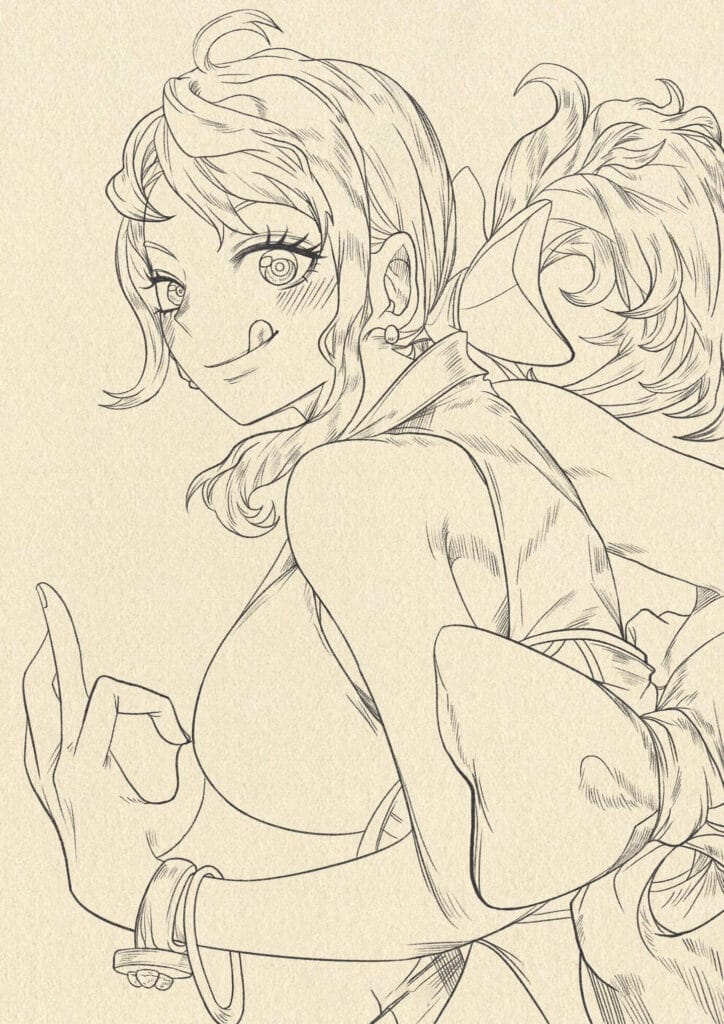
1. Nami Face Drawing
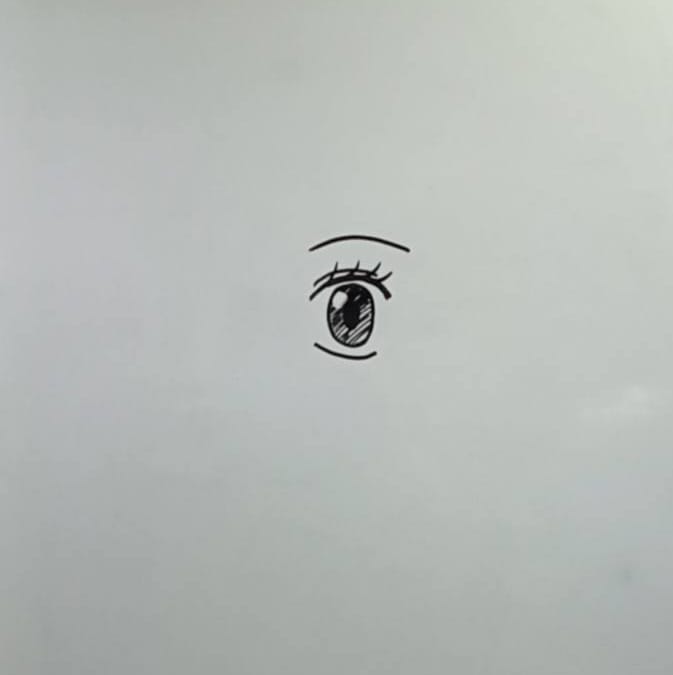
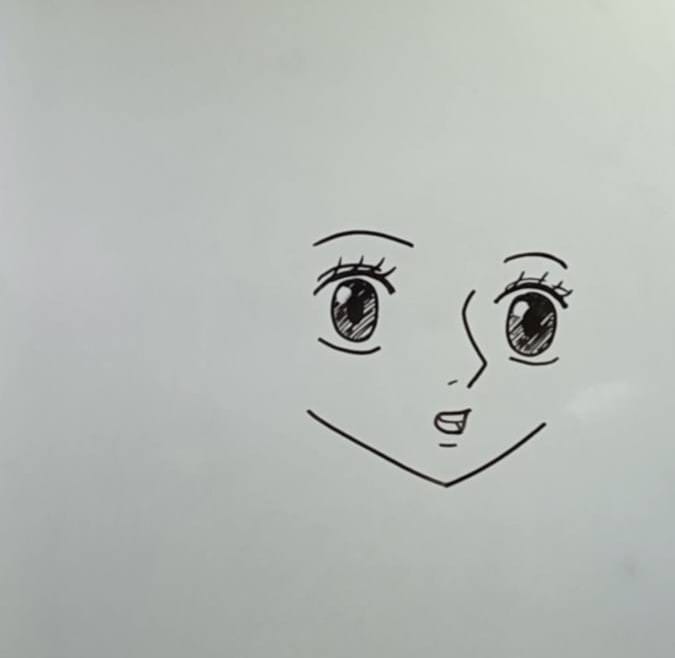
Step 1: Draw Nami’s Eye
Start by drawing a large, round anime-style eye near the center of your paper.
Add the upper eyelid with a thick curved line and a few eyelashes at the edge.
Inside the eye, draw the pupil and iris — make them large and shiny to give Nami her expressive look.
Finally, sketch a small eyebrow above the eye to match her cheerful expression.
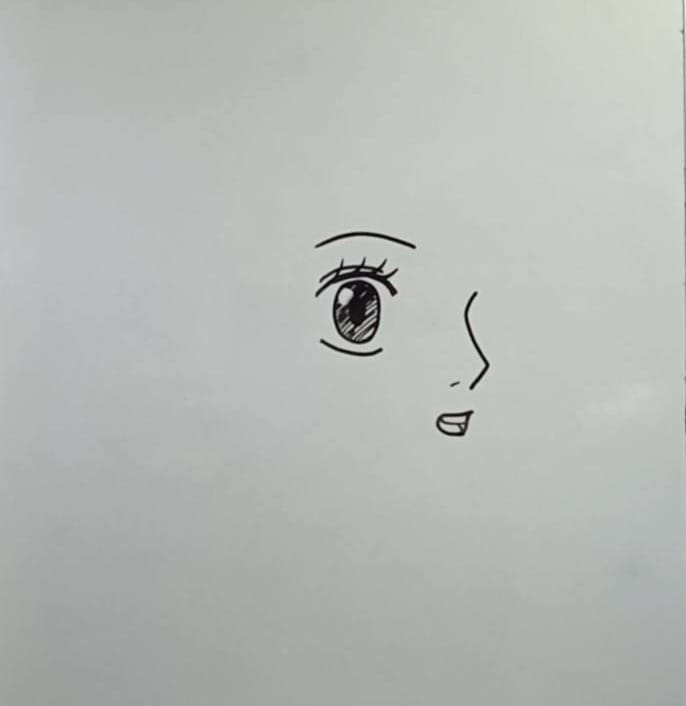
Step 2: Draw the Nose and Mouth
Next, draw a small, simple nose using a curved line on the right side of the face.
Below the nose, sketch a small smiling mouth — Nami often has a soft, confident smile.
Keep your lines light and smooth, as her facial features are delicate.
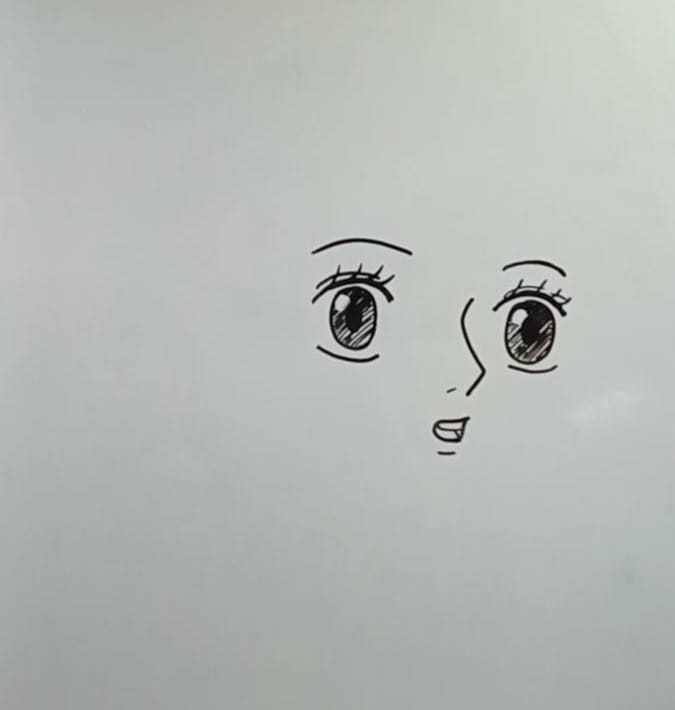
Step 3: Add the Second Eye
Now, draw Nami’s second eye on the left side, balancing it with the first one.
Make sure both eyes are symmetrical and at the same height.
Add eyelashes, eyebrows, and shine inside the pupils to make her eyes come alive.
This gives her a bright, charming look typical of anime characters.
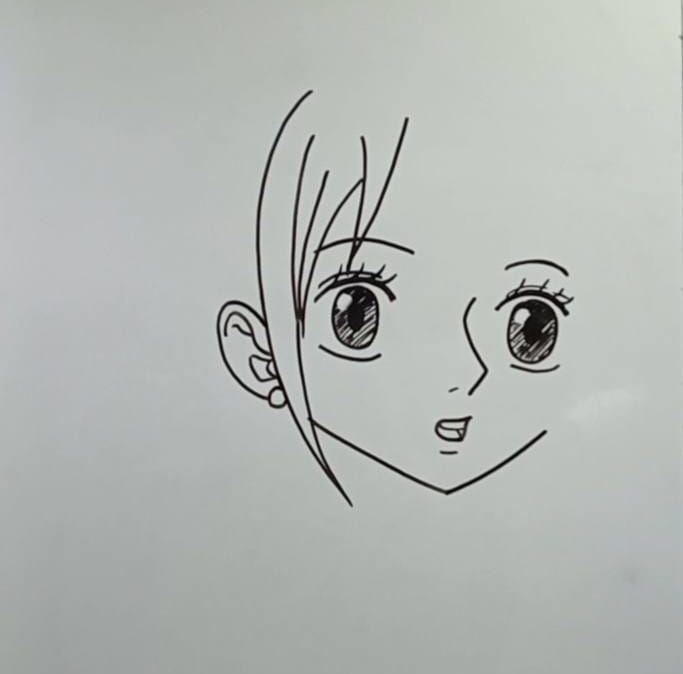
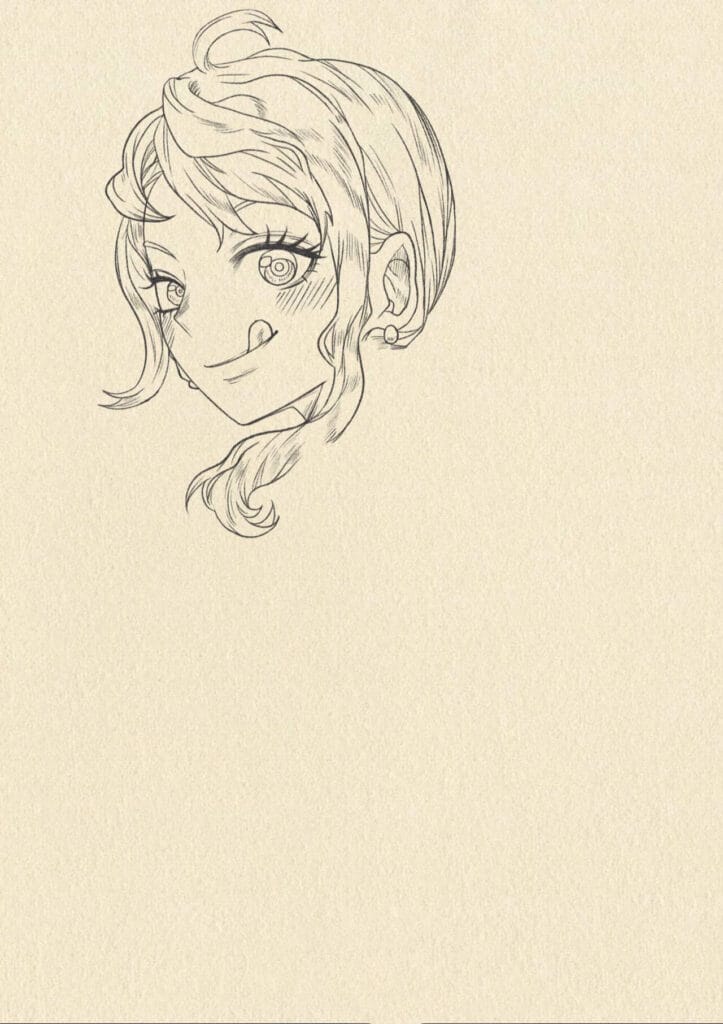
Step 4: Sketch the Face Outline
Start from the top of her forehead and curve down to form her cheeks and chin.
Then, connect the jawline with a slightly pointed chin.
Step 5: Draw the Hairline and Ear
Start by sketching her front bangs — long, flowing strands that frame her face.
Draw the ear on the right side, just below the hairline, and add small details inside it.
Nami’s hairstyle should look soft and natural, so keep your lines curved and light.
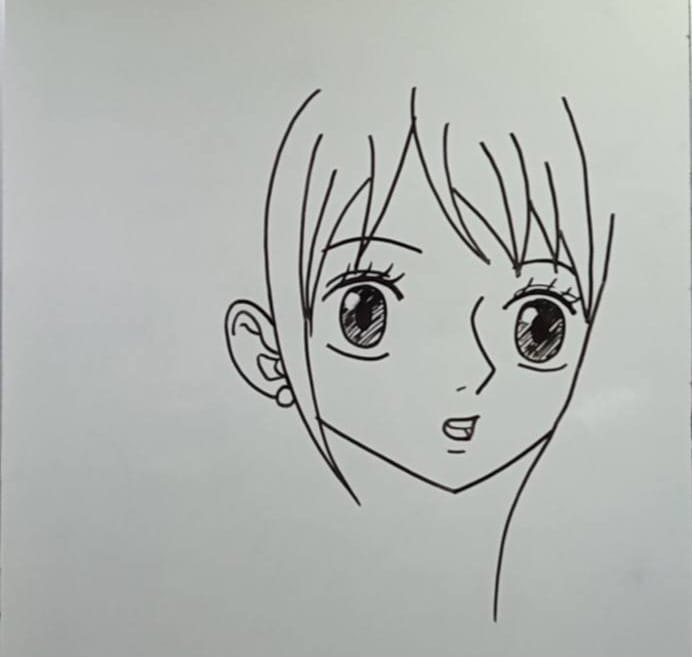
Step 6: Complete the Hair
Continue adding more strands to build the rest of her hair.
Draw her side bangs and the outline of her head, following the natural curve of the skull.
You can also add some strands crossing the forehead to make her look more dynamic.
Make sure her hair flows smoothly and matches her lively personality.
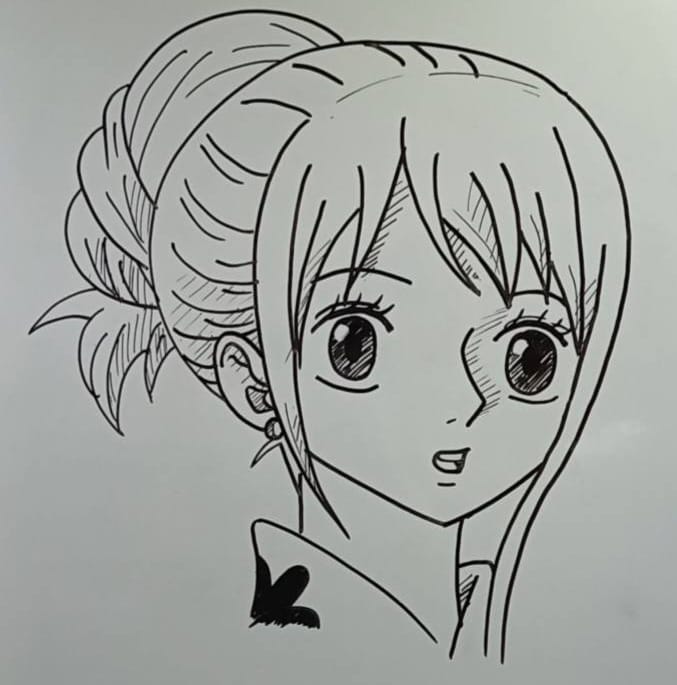
Step 7: Add the Bun and Final Details
In this final step, draw Nami’s beautiful updo hairstyle.
Sketch the large bun tied at the back of her head, showing layers of wavy strands.
Add some smaller lines to give texture and volume to her hair.
Finally, darken the eyes and outline to complete your drawing.
2. Nami Drawing Easy
Step 1: Lightly sketch a soft oval for the head tilted slightly to the right.
Place the eye-line and center line to guide features.
Draw one large anime eye (upper lid thick, inner highlight) and a small hint of the other eye behind hair.
Add a small nose and a gentle smiling mouth. Keep features delicate and slightly upturned for a friendly expression.
Step 2: Block in the hairline and the large front bangs that fall over the forehead — long curved locks framing the face.
Sketch the neck lines down from the jaw and a light collarbone guide.
Add the start of the ponytail/bun area behind the head as a loose mass — don’t detail yet.
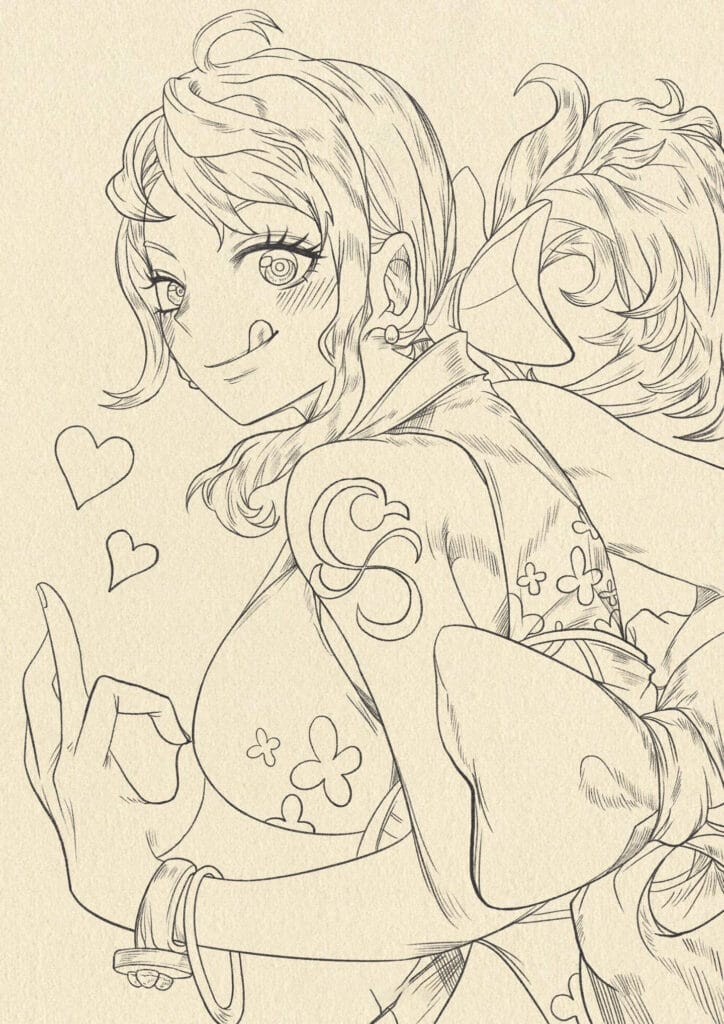
Step 3: Draw the shoulder and shoulder-strap of her outfit
Refine the ponytail shape: large rounded bundle with flowing locks — mark major hair clumps.

Step 4: Sketch the visible arm bent toward the chest; define elbow and forearm.
Draw the other arm resting back — show some of the sleeve.
Step 5: Add clothing details: sleeve edges, seam lines, the tie/belt area and any visible neckline.
Draw fabric folds where the arm bends, under the chest, and where the waist twists — folds should follow body movement.
Refine the bun: draw individual hair strands and the tie holding it.
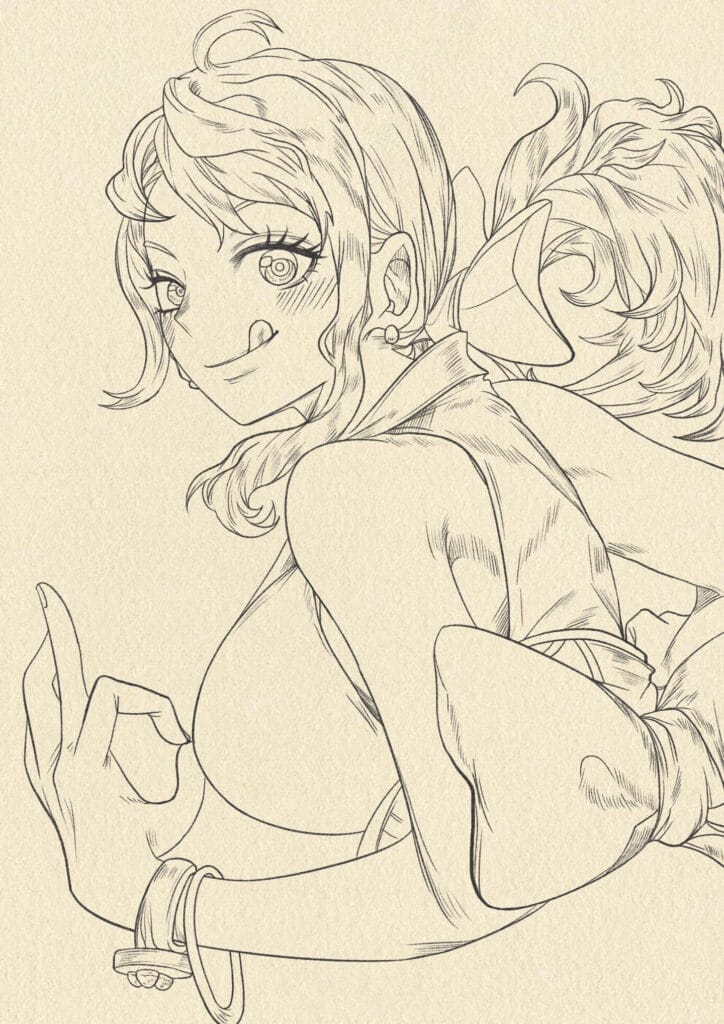
Step 6: Clean up the facial lines, add eyelashes, eyebrow, and the curl detail if present.
Add patterns or accessories on the sleeve
Add stray hair strands and texture inside large hair shapes to create volume.
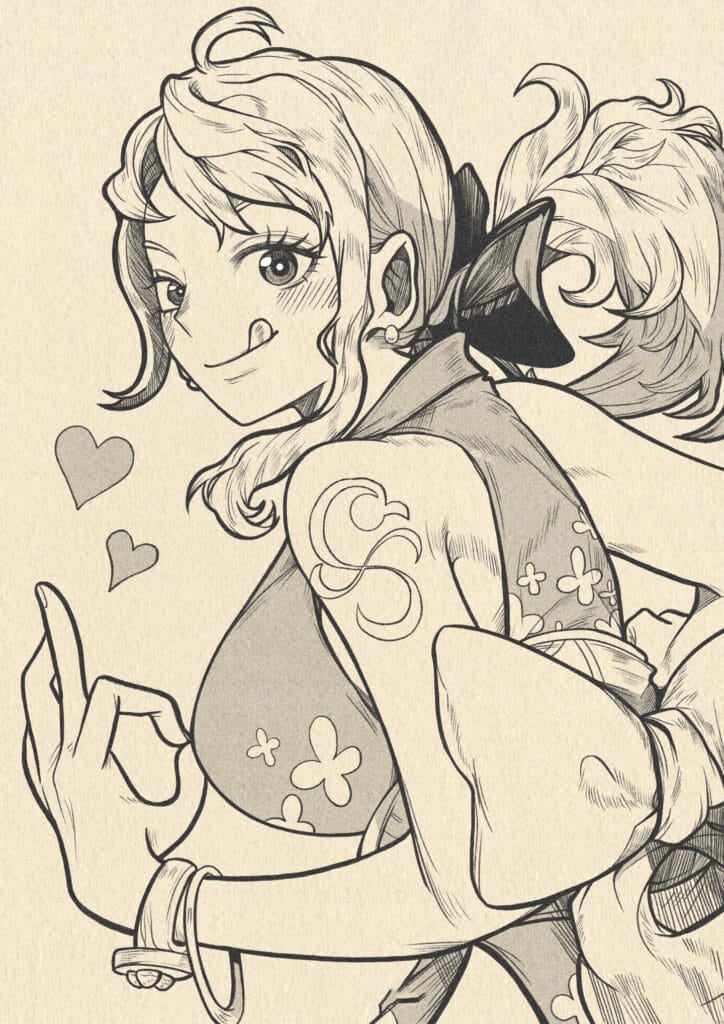
Step 7: Once satisfied with pencil lines, ink the drawing. Use thicker outer contour lines and finer inner detail lines to create depth.
Ink hair clumps with confident strokes, vary line thickness on fabric folds.
Step 8: Add shading under the chin, beneath hair, inside sleeve folds, and under the ponytail to anchor the figure.
Add small decorative elements (floating hearts, pattern in background) if your reference has them.
That’s it for today’s tutorial!
Now you know how to draw Nami step by step — smart, stylish, and full of confidence, just like the real character.
Don’t forget to color her in to bring out her iconic orange hair and stylish outfit.
With her confident pose and bright smile, you’ve captured the heart of the Straw Hat navigator.
Read more tutorial Chopper, Luffy, Sanji, Nico Robin….