Welcome back, artists!
Today we’ll learn how to draw Obito Uchiha, one of the most complex and emotional characters from Naruto.
Whether you know him as Obito, Tobi, or the masked man, this tutorial will show you how to draw him perfectly.
Step by step, we’ll uncover the face behind the mask.
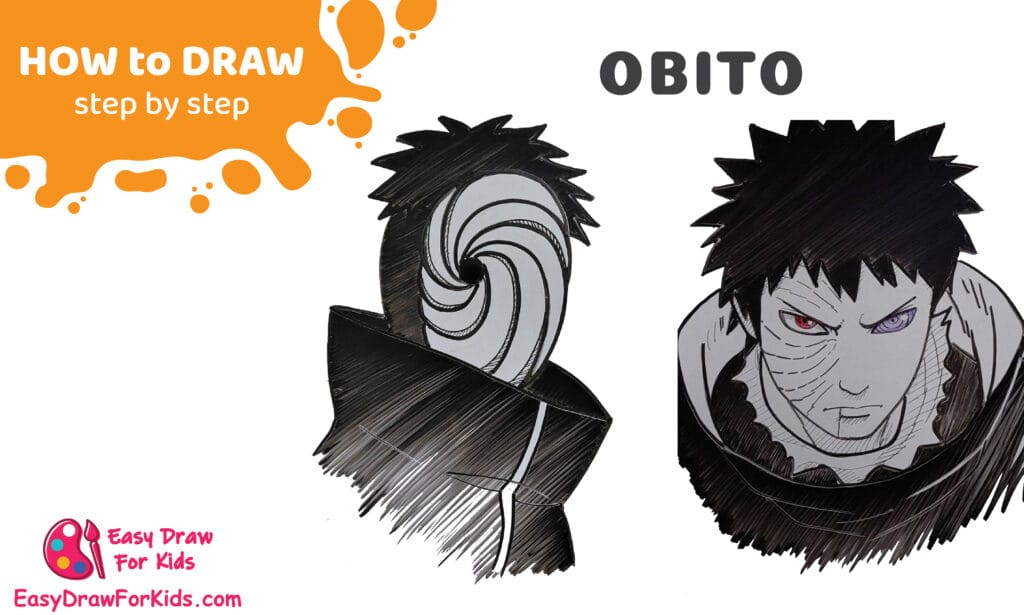
How To Draw Obito Uchiha from Naruto – A Step by Step Guide
1. How To Draw Obito Uchiha
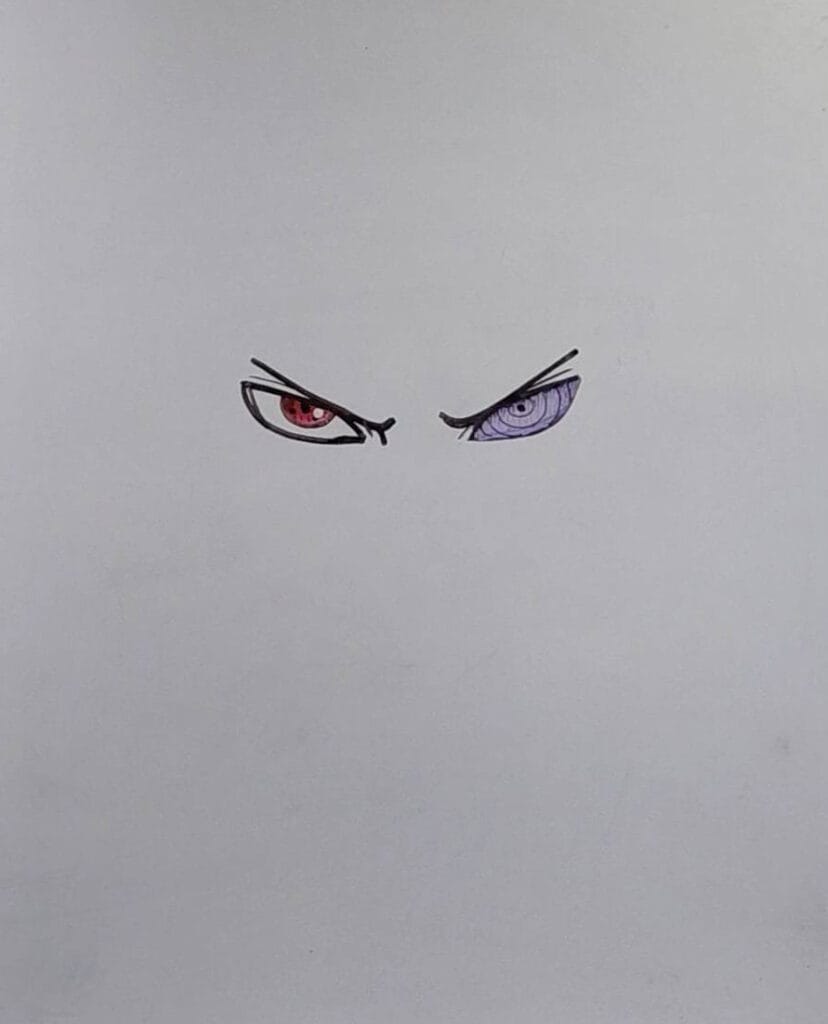
Step 1: Start your drawing with Obito’s eyes, as they are the most important feature.
Draw two sharp, narrow eyes slanting slightly inward to show his intense expression.
The left eye should have the Sharingan (a red circle with three tomoe), while the right eye should have the Rinnegan (a purple eye with ring patterns).
Add dark upper eyelids and a slight shadow above both eyes for a fierce look.
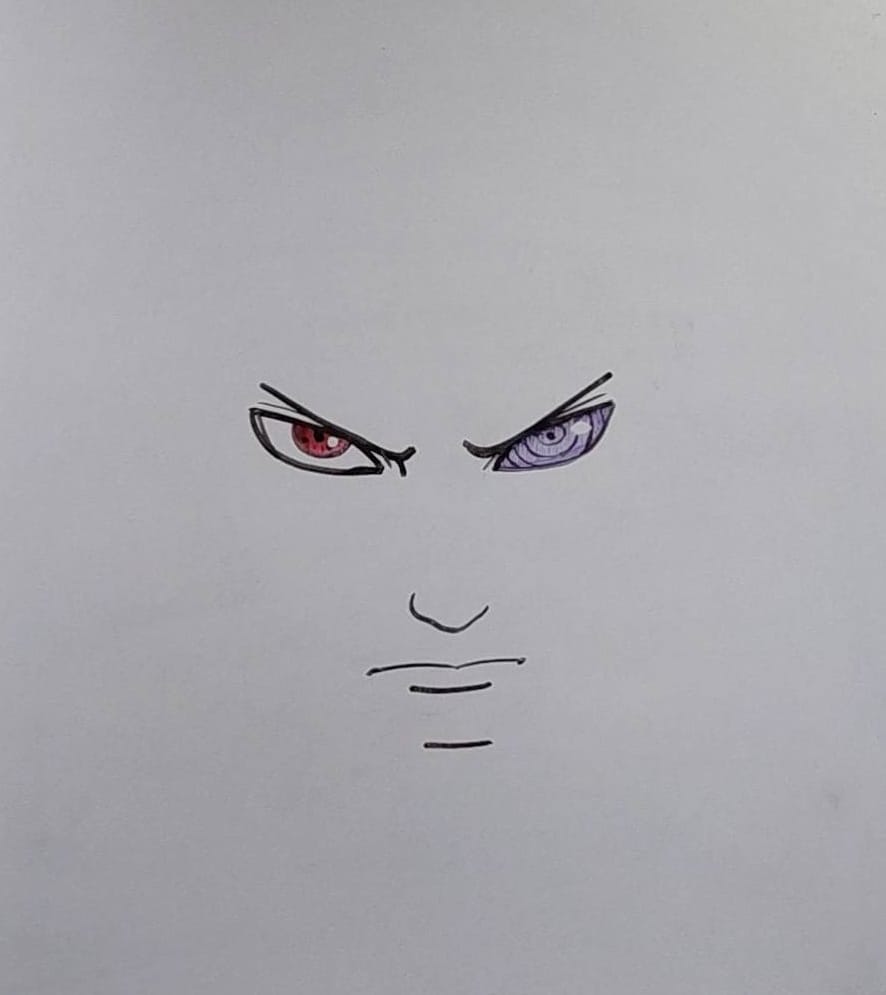
Step 2: Below the eyes, sketch a small, angular nose.
Then, add a tight, serious mouth with a slight curve downward to emphasize his determination.
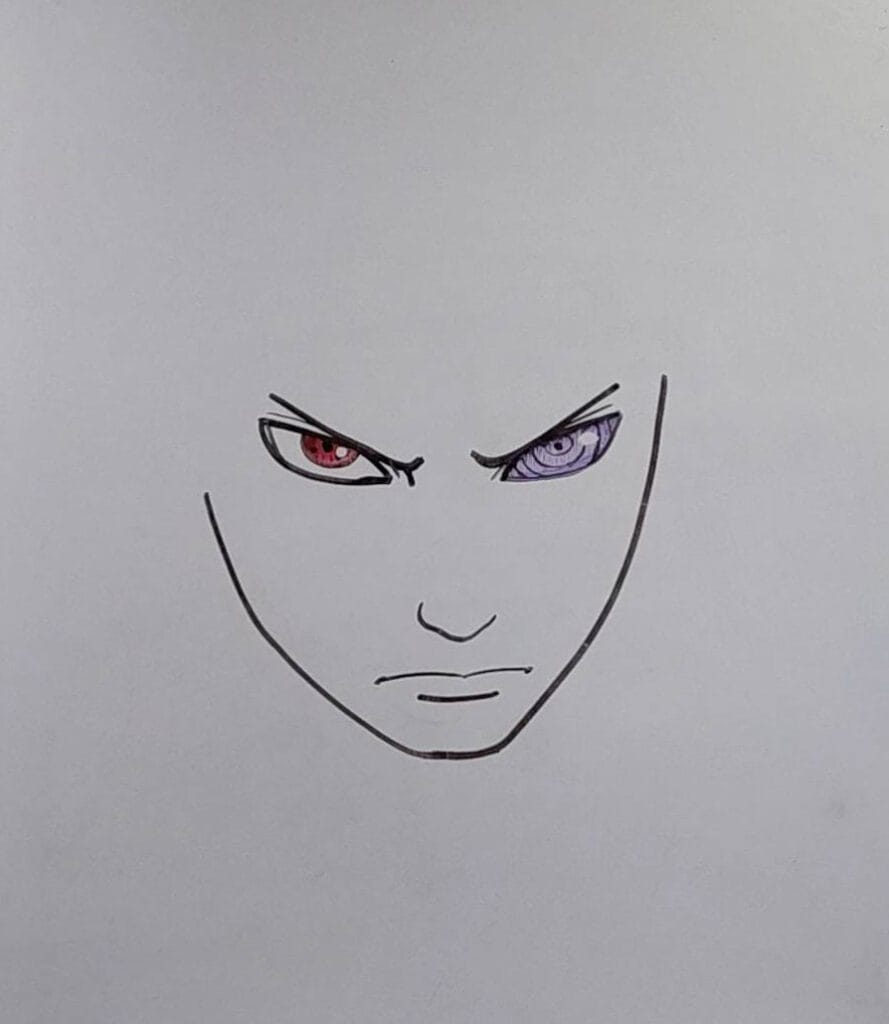
Step 3: Now, sketch the shape of his face.
Draw a smooth jawline and slightly pointed chin to match his anime look.
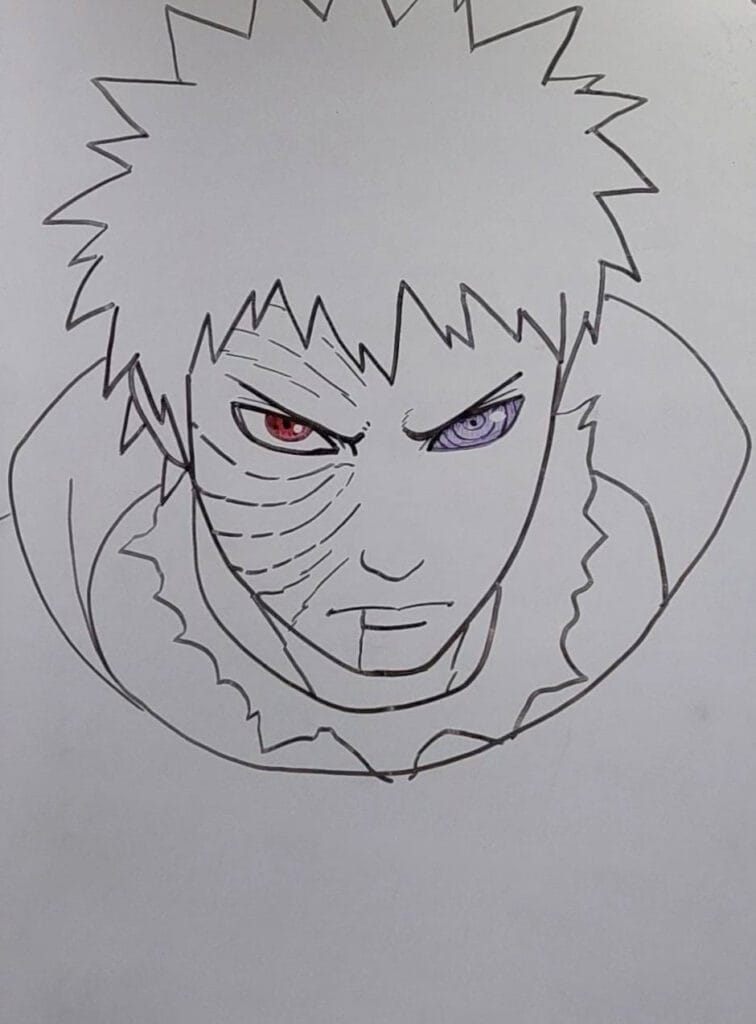
Step 4: On the right side of his face, start drawing the scars and cracked texture.
These marks represent the damage Obito suffered from his past battles.
Draw them as uneven, curved lines — some short, some long — following the shape of his cheek.
Next, lightly sketch the outline of his hair, forming the first spikes around his forehead.

Step 5: Add the rest of Obito’s spiky hair — make it wild and sharp, spreading out from the top of his head.
Then go over the eyes, scars, and mouth again to make them darker and cleaner.

Step 6: Now it’s time to draw Obito’s cloak.
Start with two curved lines from below his chin to form the high collar.
Then sketch his shoulders and upper chest, showing the cloak’s folds.
Step 7: Fill in his hair completely black, leaving a few white highlights for texture.
Add shadows under his chin and on his cloak to make the drawing more dynamic.
Finally, deepen the color of the Sharingan (red) and Rinnegan (purple) — these are Obito’s most striking features.

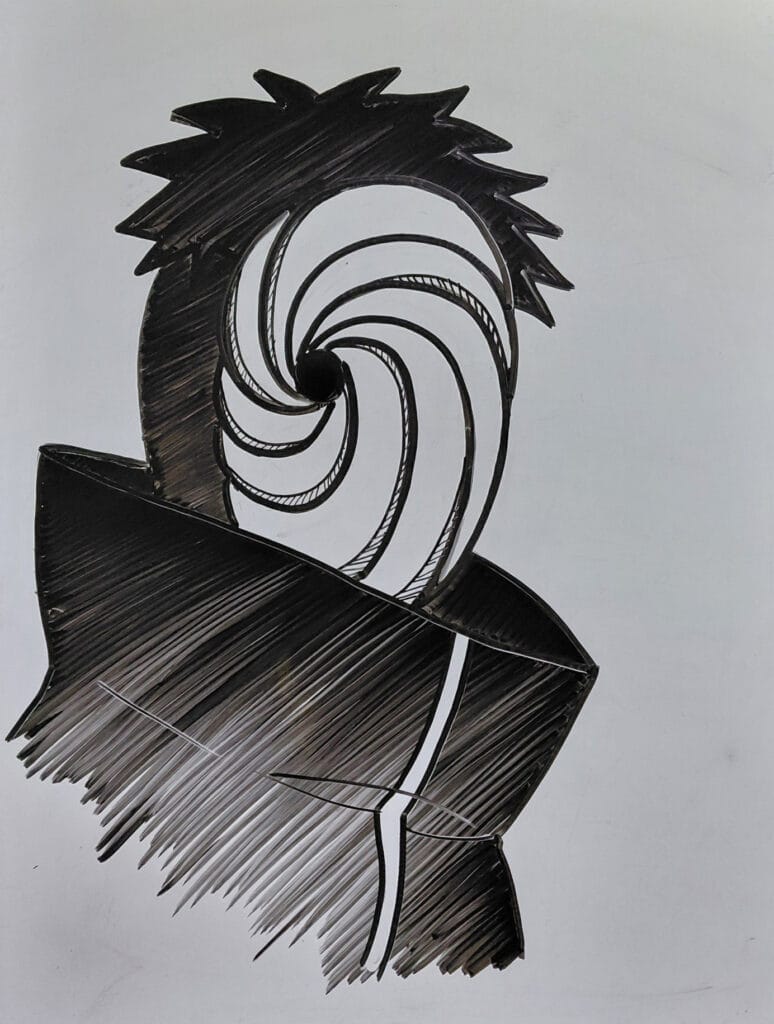
2. How to Draw Obito Uchiha from Naruto
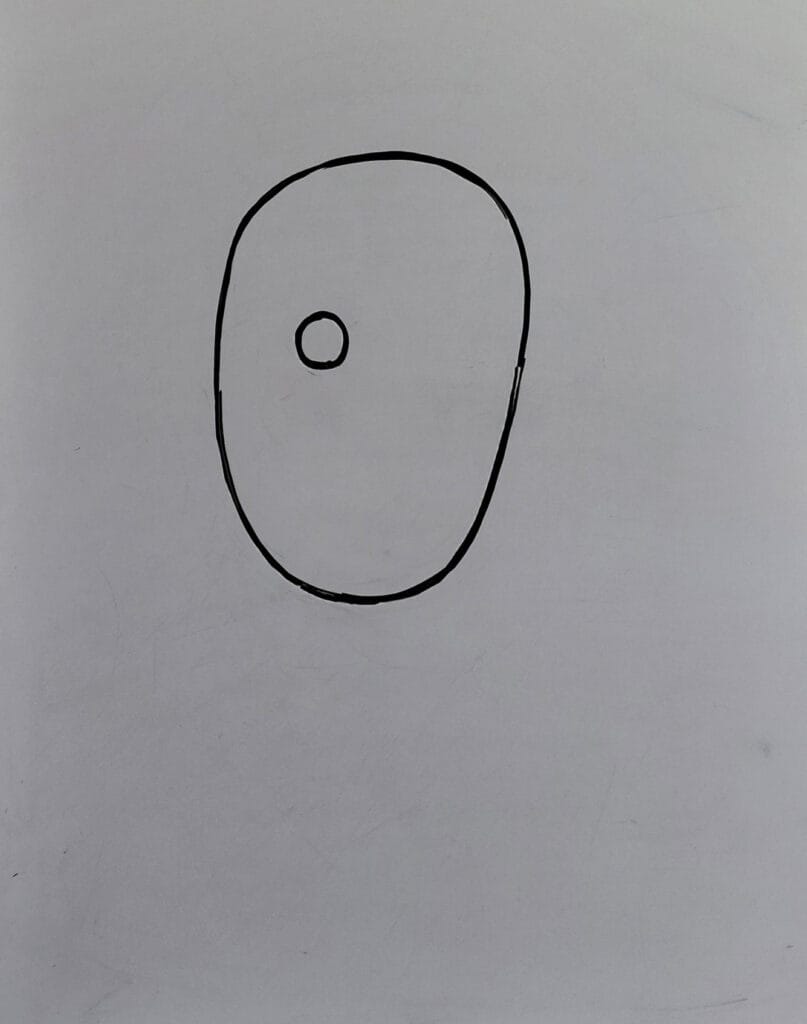
Step 1: Start by sketching an oval shape for Obito’s mask.
Inside the oval, draw a small circle near the center — this will be the eye hole for his Sharingan.
Make sure the oval is slightly taller than it is wide, to match the natural face proportions.
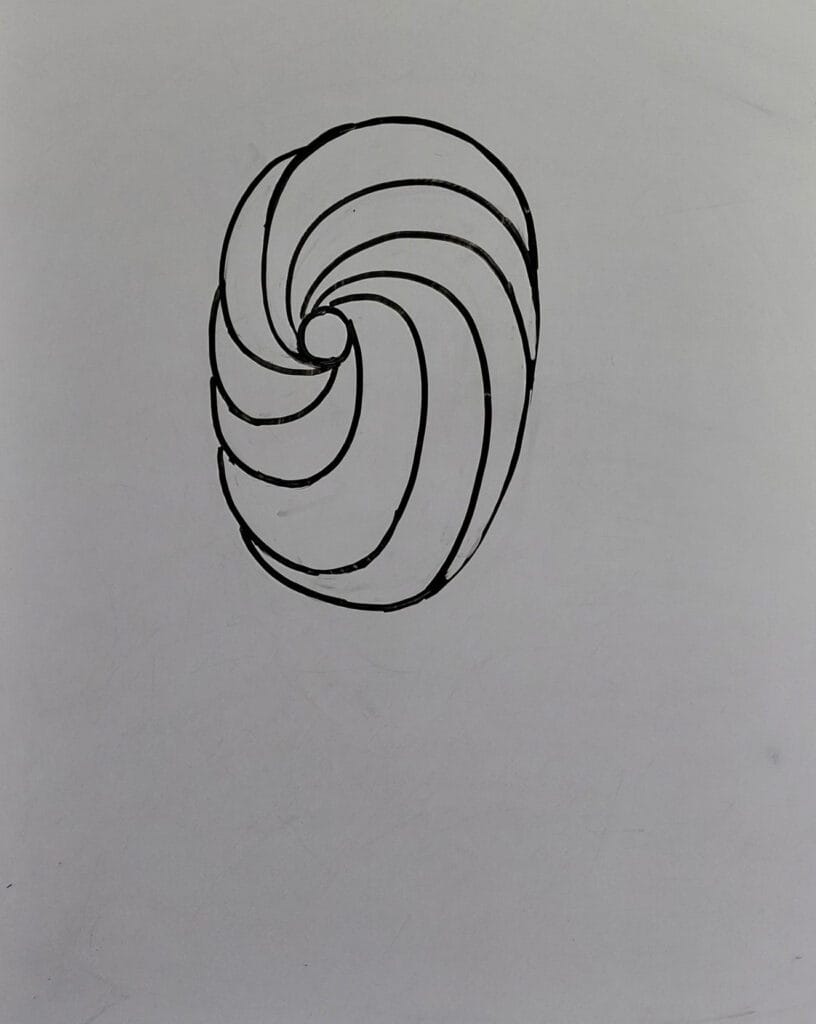
Step 2: Next, draw the spiral lines that curve outward from the center circle.
Each curved line should flow smoothly, expanding as it moves toward the edge of the mask.
These spirals give Obito’s mask its unique, hypnotic design — take your time to make the spacing even.
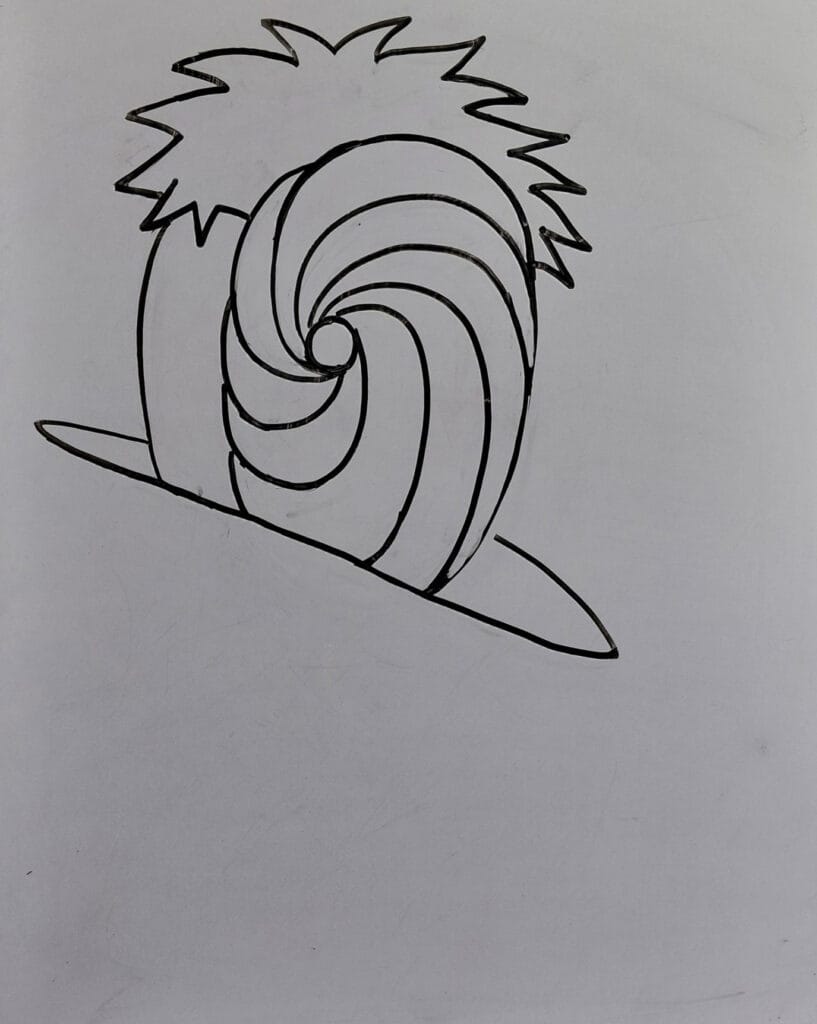
Step 3: Now, draw Obito’s spiky hair above the mask.
Use short, sharp strokes pointing in different directions to create his messy hairstyle.
Then, sketch a diagonal shoulder line starting from under the mask — this begins forming his cloak.
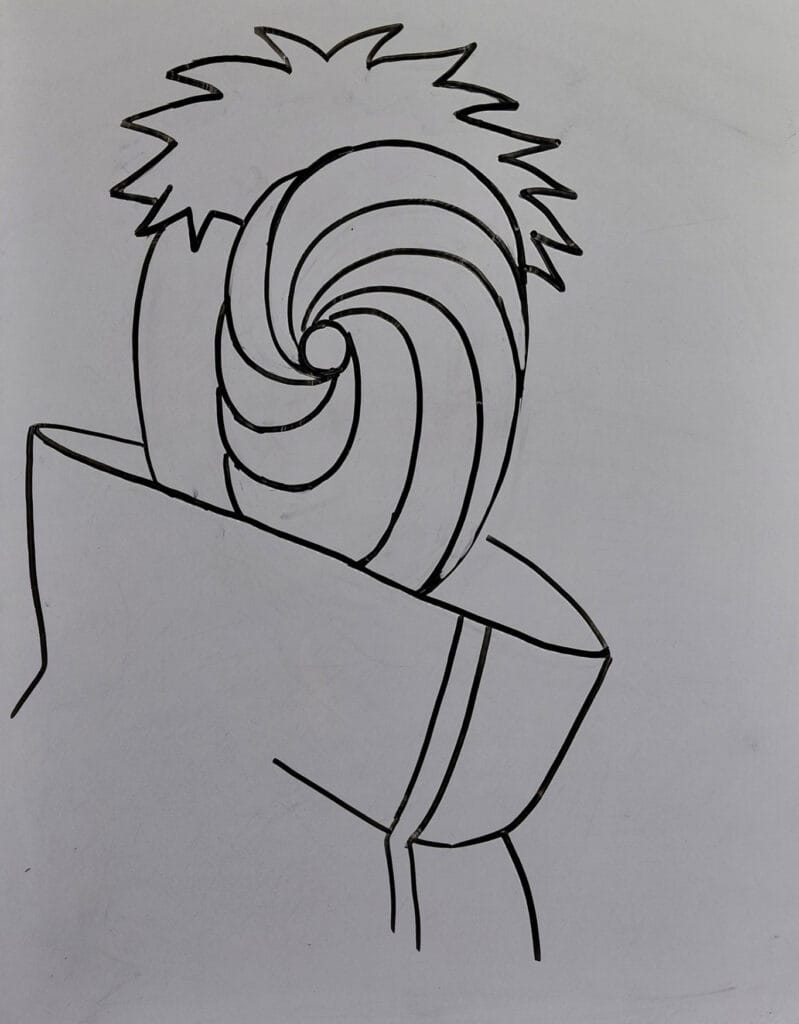
Step 4: Add more detail to Obito’s Akatsuki cloak.
Draw a thick collar curving around his neck area and a few folds to show the flow of the fabric.
Make sure to keep the mask as the focal point while balancing the proportions of the body.
Step 5: Now it’s time to bring your drawing to life!
Shade the cloak with dark tones or cross-hatching, leaving a few lighter areas for highlights.
You can also darken his hair for more depth and contrast.
Finally, outline the mask and spirals clearly with a black pen or marker to make them stand out.
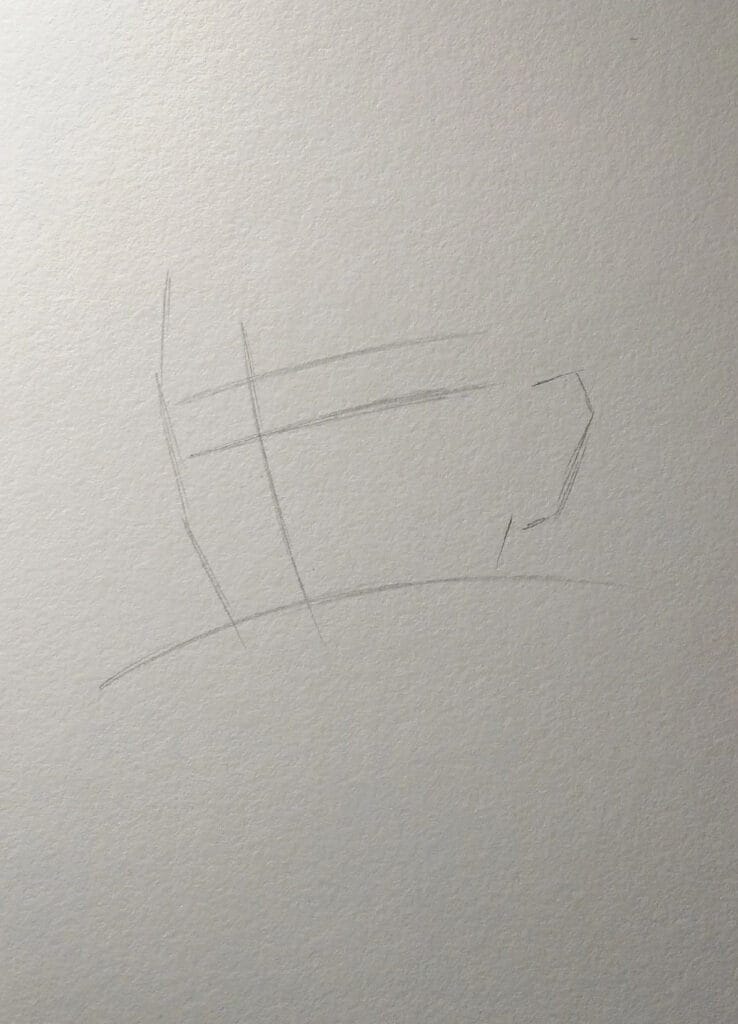
3. Easy Obito Drawing
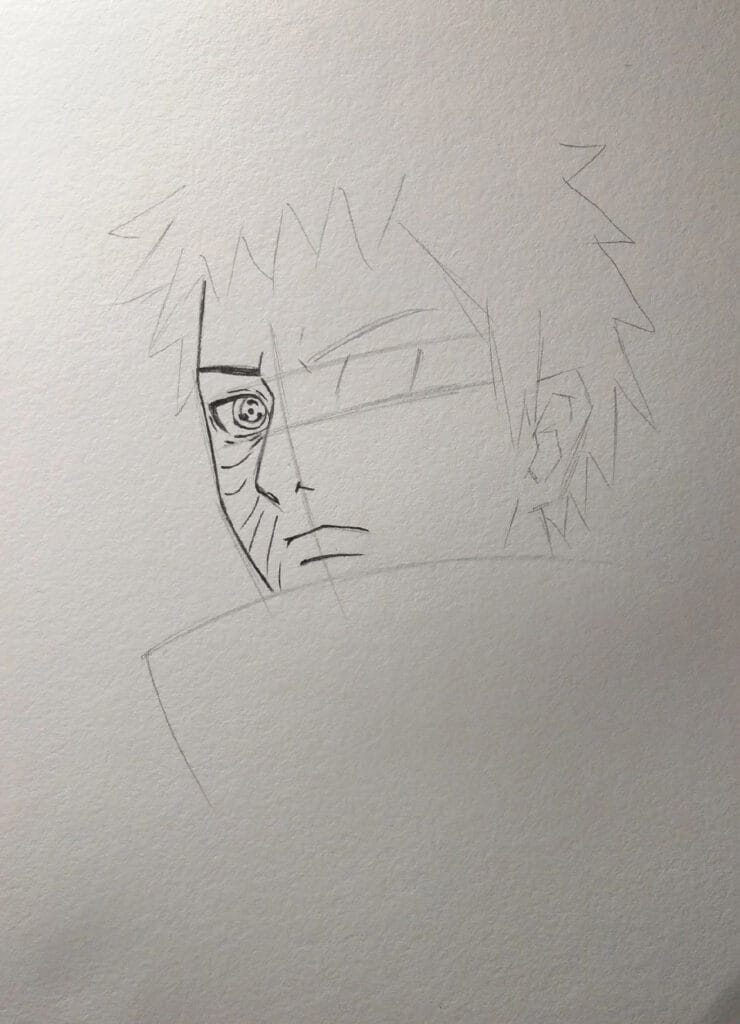
Step 1: Begin by lightly sketching the outline of Obito’s head.
Draw a slightly angled oval for the head and a horizontal guideline across the middle for eye placement.
Then add a vertical line to divide the face and help position the features correctly.
Finally, sketch the collar of his cloak beneath his chin.
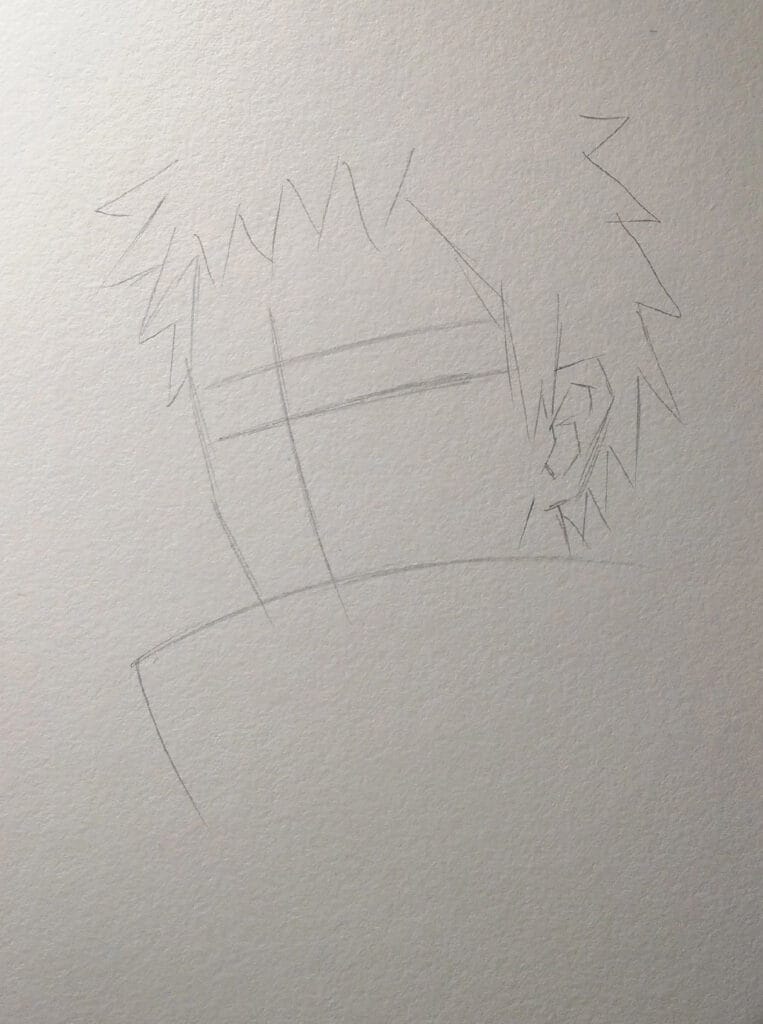
Step 2: Using light pencil strokes, draw Obito’s spiky hair — make the strands uneven and slightly jagged to match his look in the anime.
Next, sketch his ear just below the hairline, following the guide line for correct height.
Don’t forget to refine the shape of the collar, giving it a wide, high-neck appearance typical of the Akatsuki cloak.
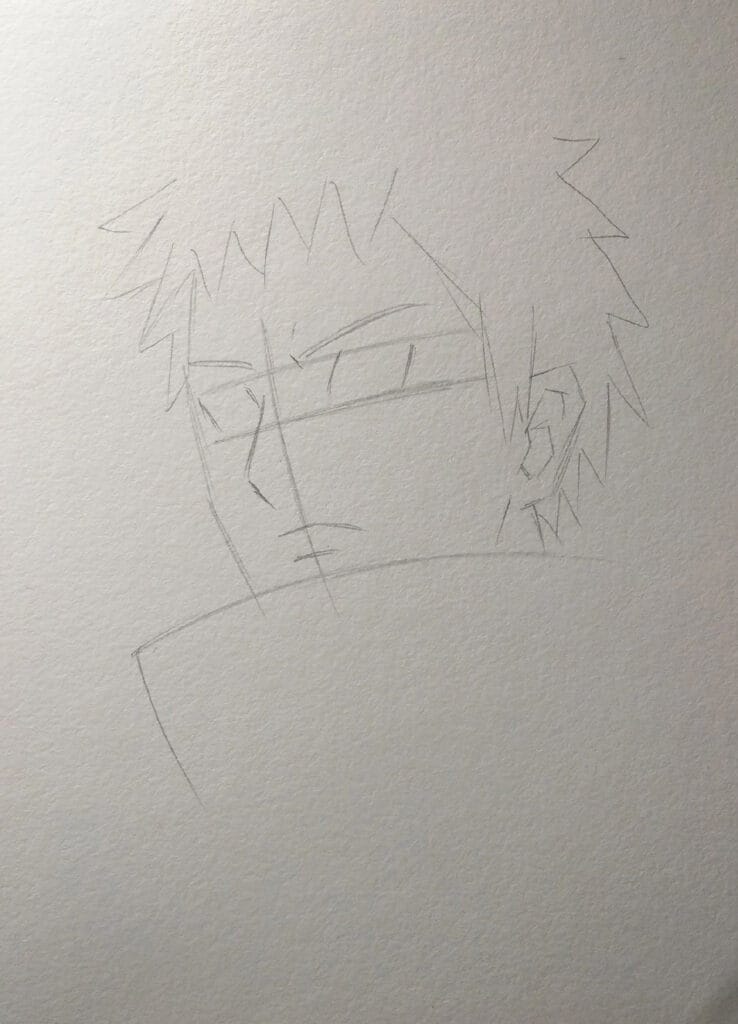
Step 3: Now, focus on his face.
Sketch both eyes along the horizontal guide — make the left eye (his Sharingan eye) sharper and slightly narrower.
Add his eyebrows above the eyes, angled slightly downward to show his serious expression.
Then draw his nose and mouth carefully, keeping his expression calm but intense.
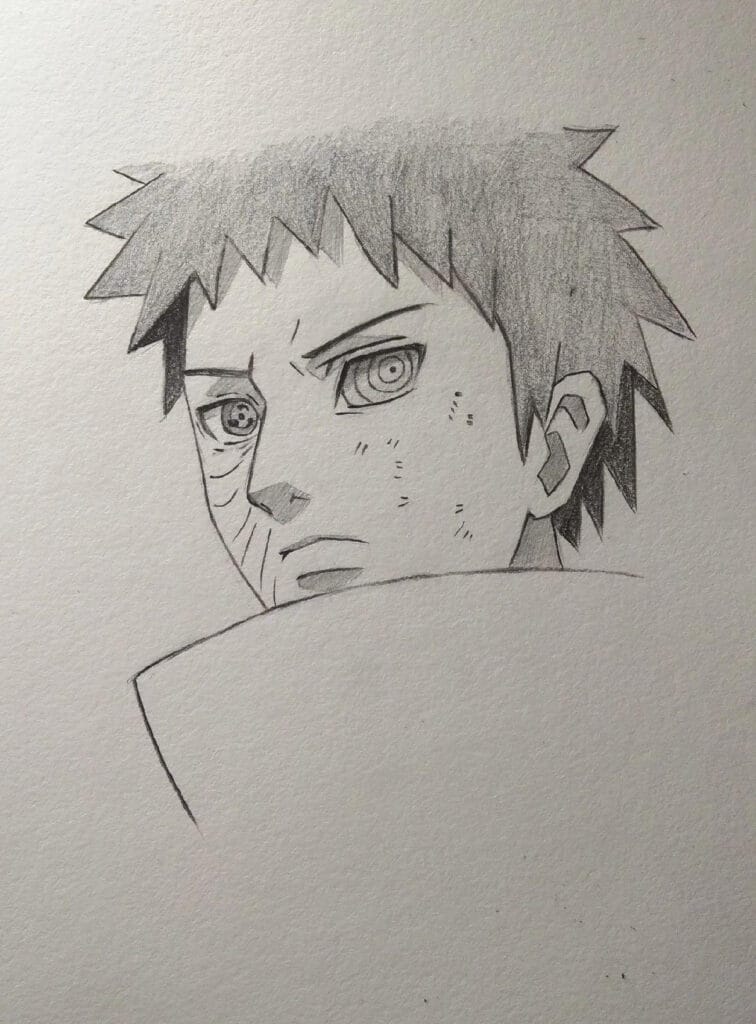
Step 4: At this stage, you can start refining all the lines.
Go over his eyes, eyelashes, and eyebrows to make them bolder and more defined.
Add small details inside the ear and around the eye area to show his older, battle-worn appearance.
Then, darken the lines of his hair and the edge of his cloak for a clearer shape.
Step 5: Begin shading Obito’s hair, using soft pencil strokes to create a natural texture.
Leave a few lighter spots on top for highlights.
Add subtle shading around his jawline, under the eyes, and beneath the collar to add depth and realism.
You can also darken the pupils and the Sharingan eye slightly.

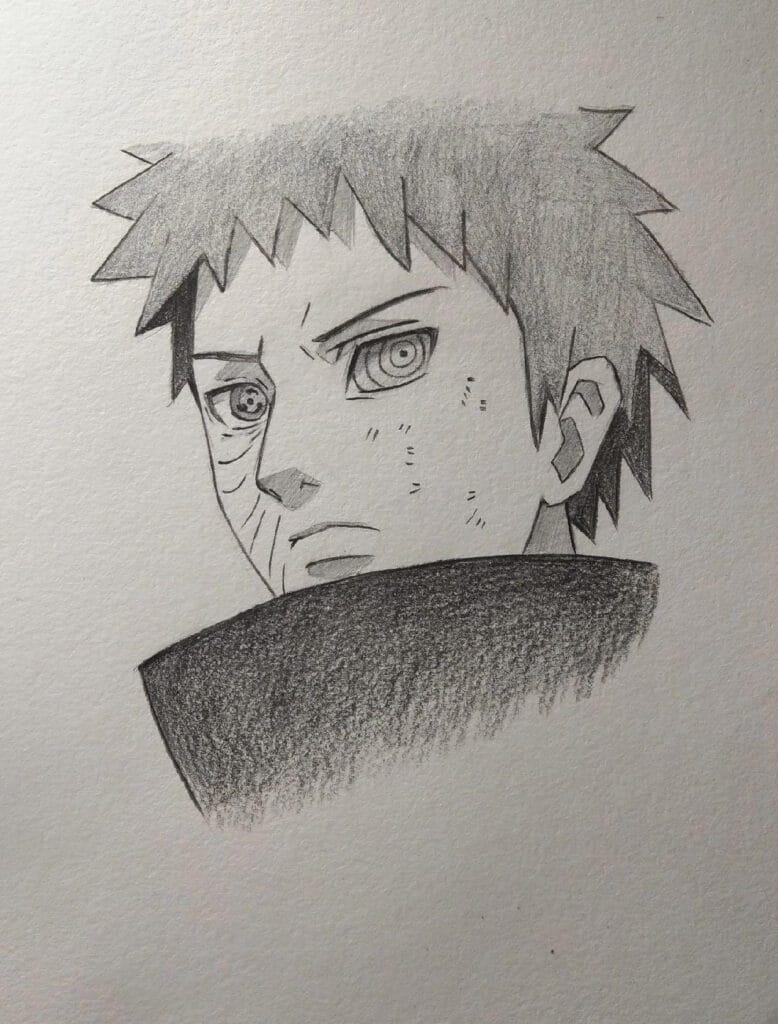
Step 6: Finally, darken his hair fully while keeping a soft gradient near the edges.
Add light shading to his cloak and deepen the tones on his face to make the drawing more dramatic.
At this stage, Obito’s serious expression and sharp gaze should look powerful and complete.
Step 7: Color his hair dark brown, his Sharingan eye red with a black pattern, and his cloak black with red clouds, this will make the drawing more vibrant and true to the anime.
Well done! You now know how to draw Obito Uchiha step by step.
From the first sketch to the final detail, you captured his strength and emotion beautifully.
Keep sketching your favorite Naruto characters and build your own shinobi art collection!