Who lives under the sea and loves to nap all day? That’s right — Patrick Star!
In this step-by-step tutorial, we’ll show you how to draw Patrick Star, SpongeBob’s best friend and the king of simple thoughts and big laughs.
Follow along as we sketch his cheerful face and silly expressions with easy-to-follow steps.
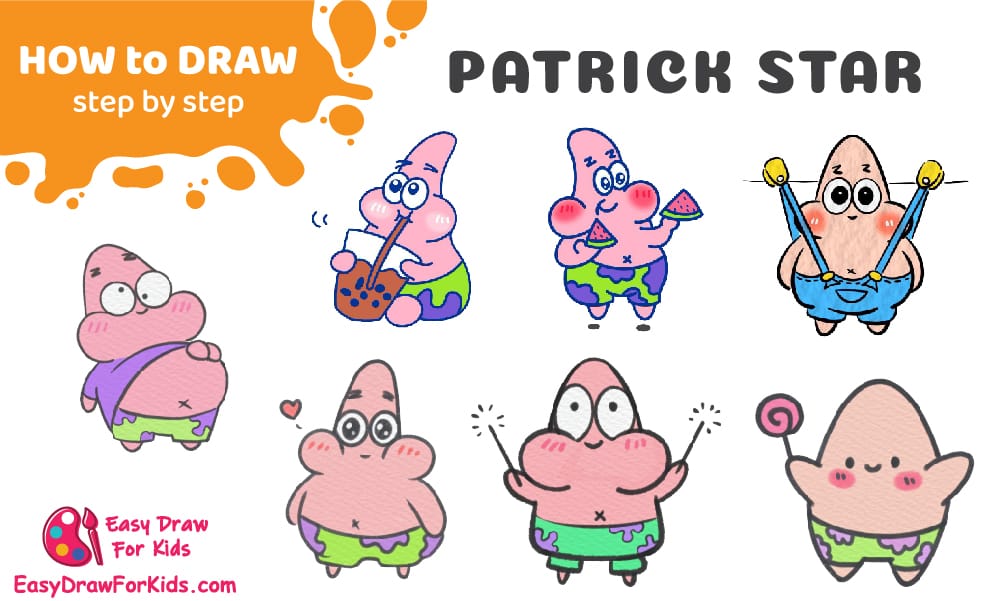
How to Draw Patrick Star from SpongeBob SquarePants – A Step by Step Guide
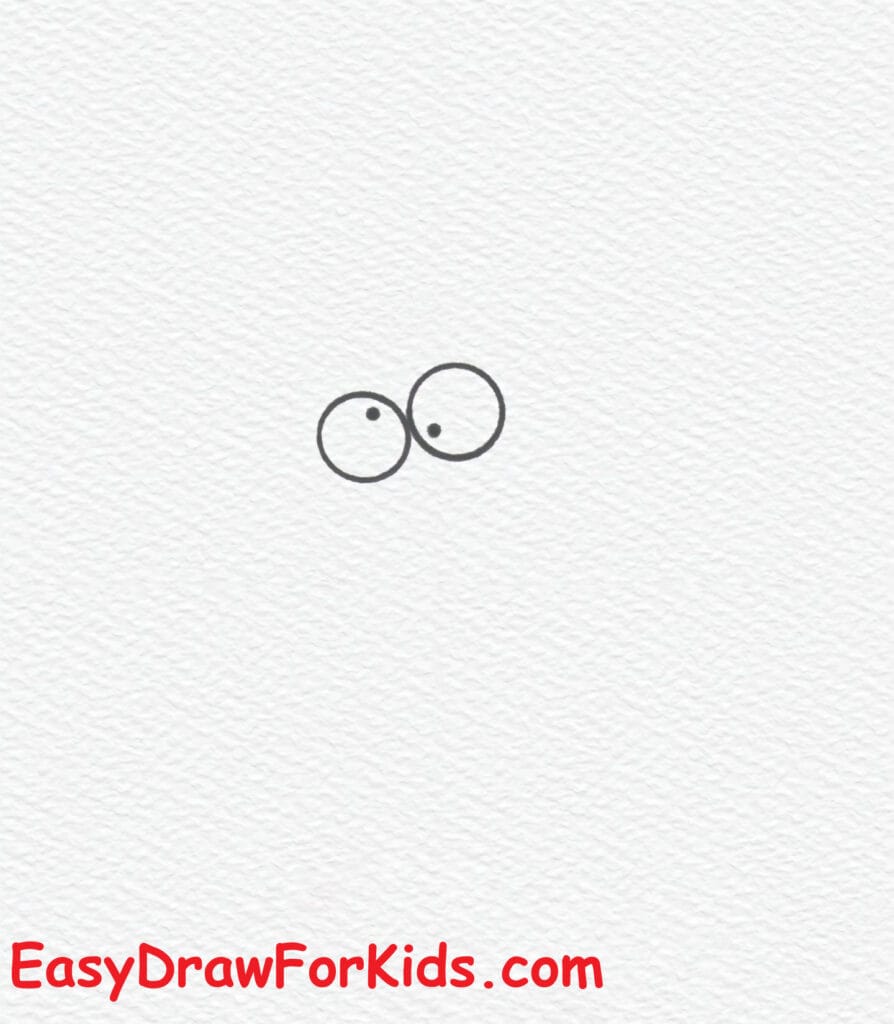
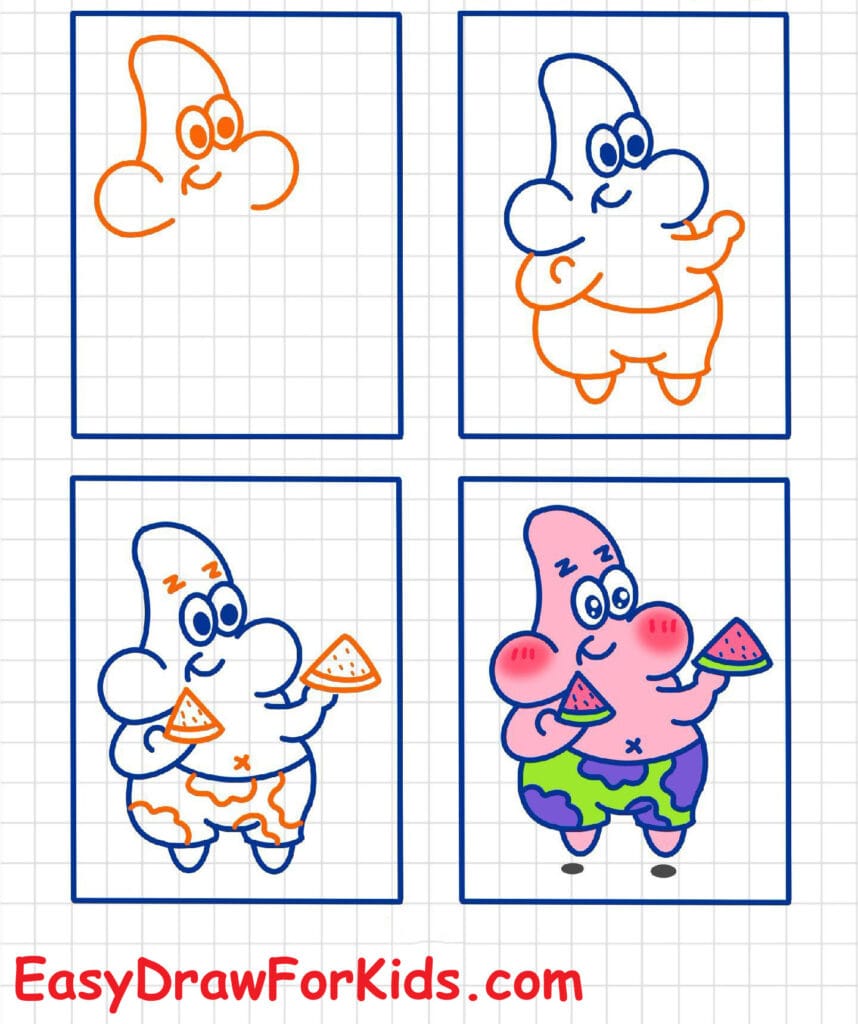
1. Cute Patrick Star Drawing
Step 1: Start by drawing two large circles close together in the center of your paper. These will be Patrick’s eyes.
Inside each circle, add smaller black circles for his pupils — make sure they’re looking slightly upward to give him that innocent, funny look.
Step 2: Next, draw a small curved line between his eyes for the nose.
Then sketch the top outline of Patrick’s head — a soft, rounded shape like a cone pointing upward. This forms the top part of his starfish head.
Step 3: Extend the line from his head downward on both sides to start forming his face.
Keep the edges rounded — Patrick’s body is smooth and soft, not angular.
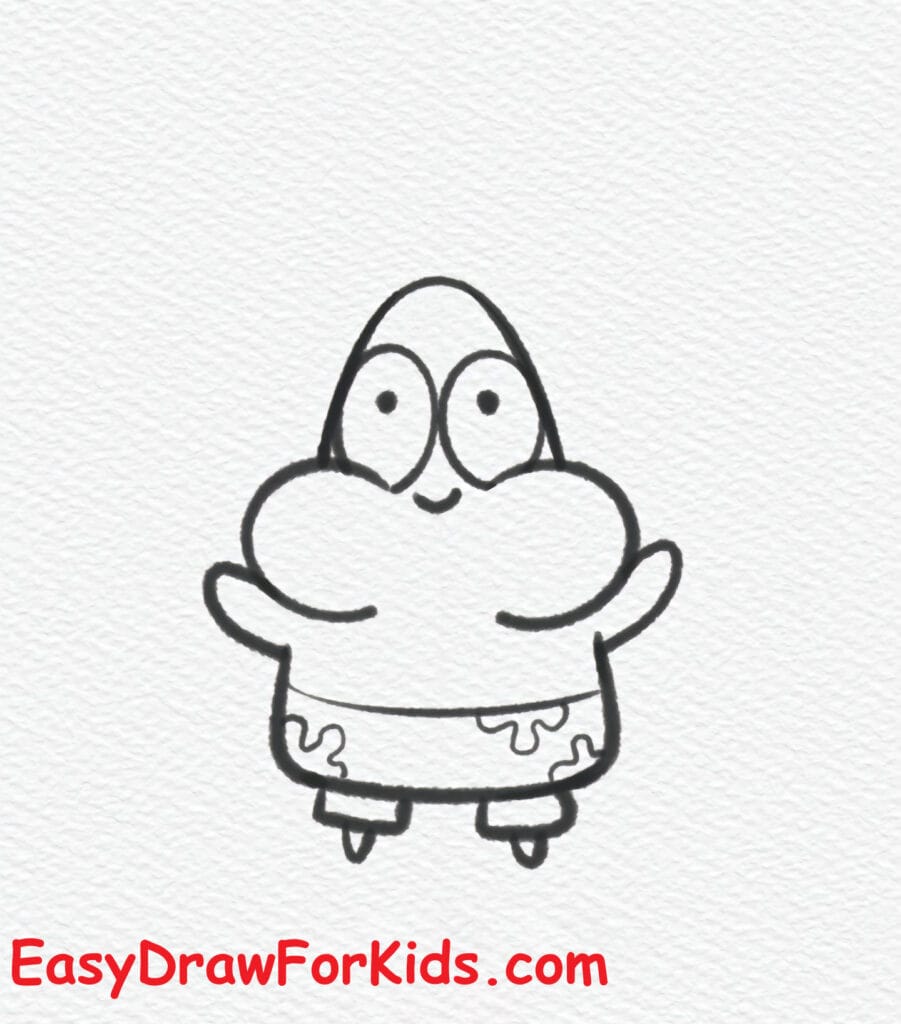
Step 4: On the right side of his body , draw a short, curved arm sticking out.
His hand can be a small oval or mitten-like shape — remember, Patrick has no fingers, just a simple rounded hand.
Step 5: Now sketch his left arm curving across his body.
Underneath, draw his round belly — make sure it looks nice and plump!
Step 6: At the bottom of his body, draw two curved lines for his shorts.
Add a wavy line separating his shorts from his body — this marks the waistband.
Step 7: Below the shorts, draw two small rounded legs sticking out.
His legs should be short and stumpy to match his playful, cuddly look.
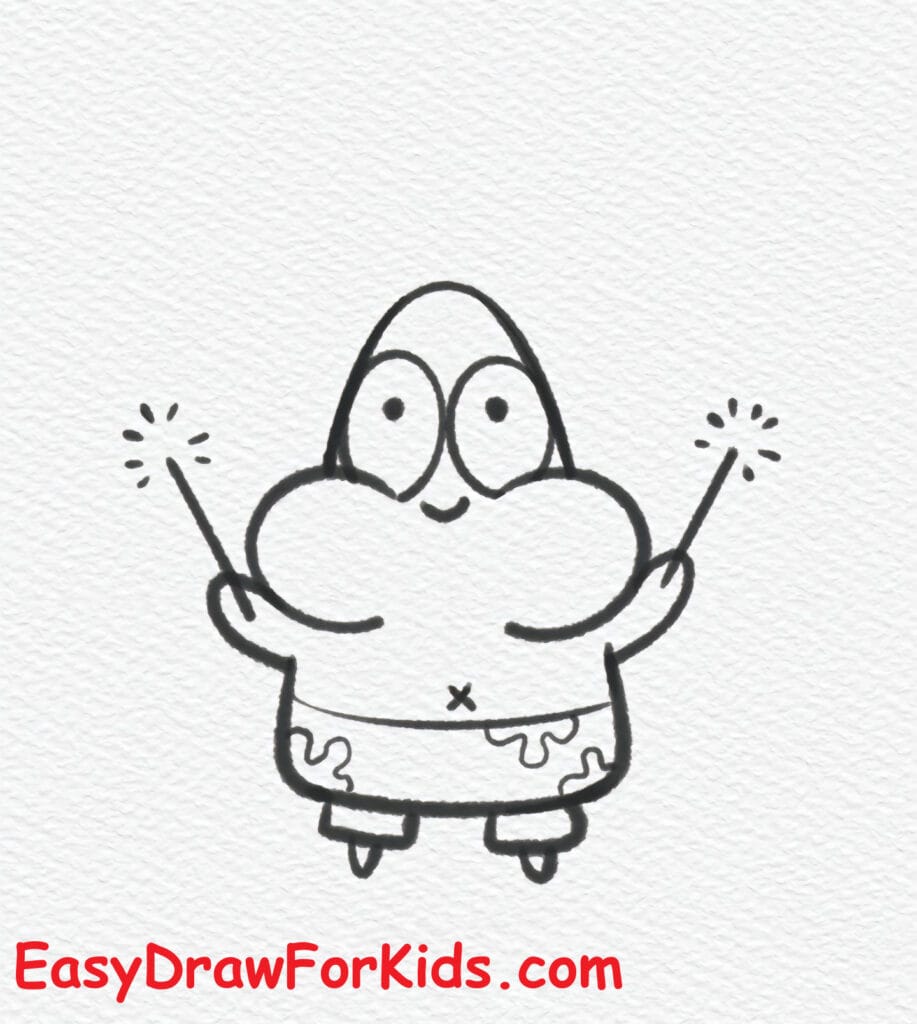
Step 8: Draw the floral pattern on Patrick’s shorts — just a few petal-shaped designs on each side.
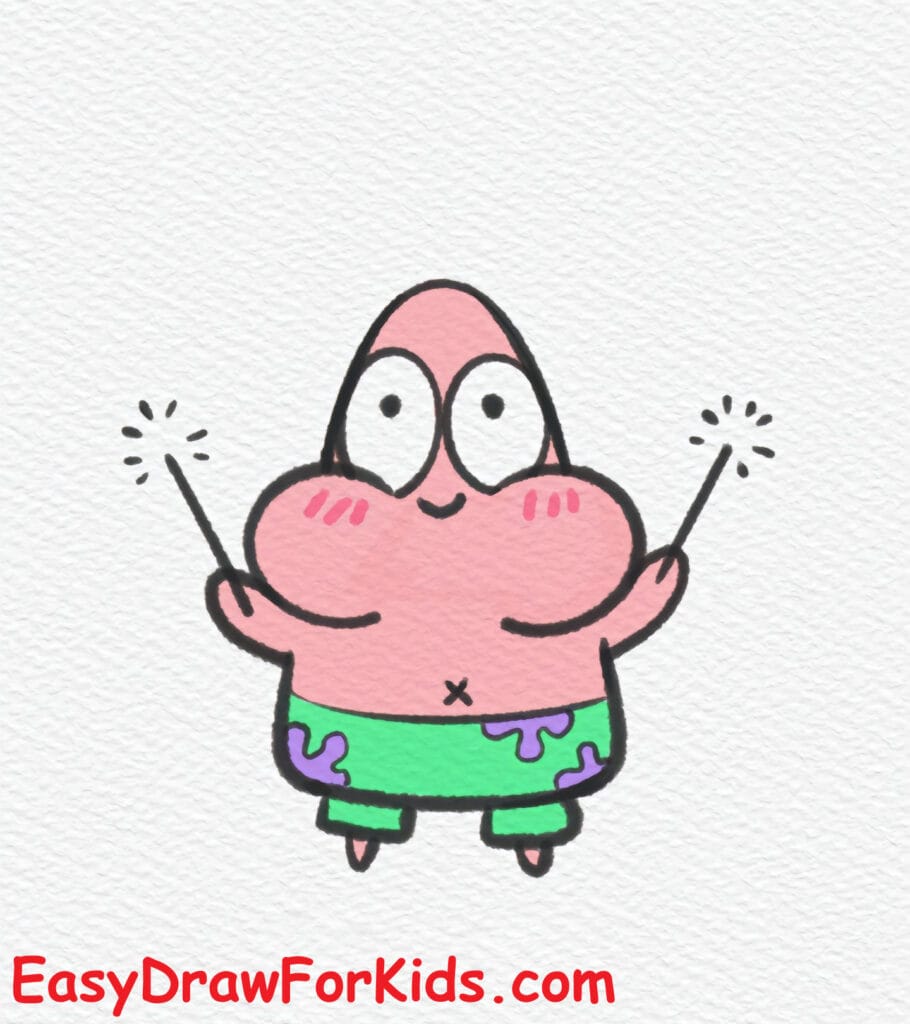
Step 9: Now the fun part — color Patrick!
His body should be a soft pink.
His shorts are light green with purple flowers.
His eyes are white with black pupils.
Add light shading if you like — and your adorable Patrick Star is ready!
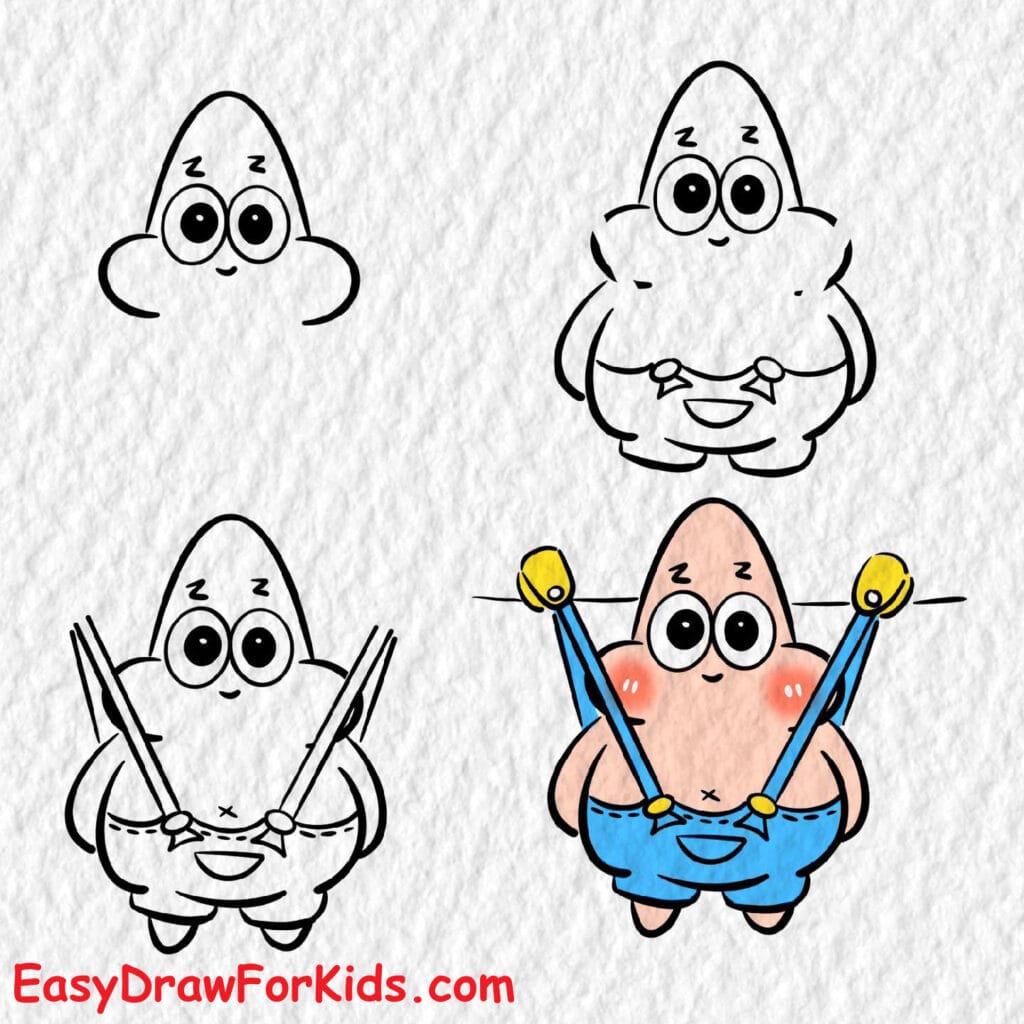
2. How to Draw Patrick from SpongeBob SquarePant
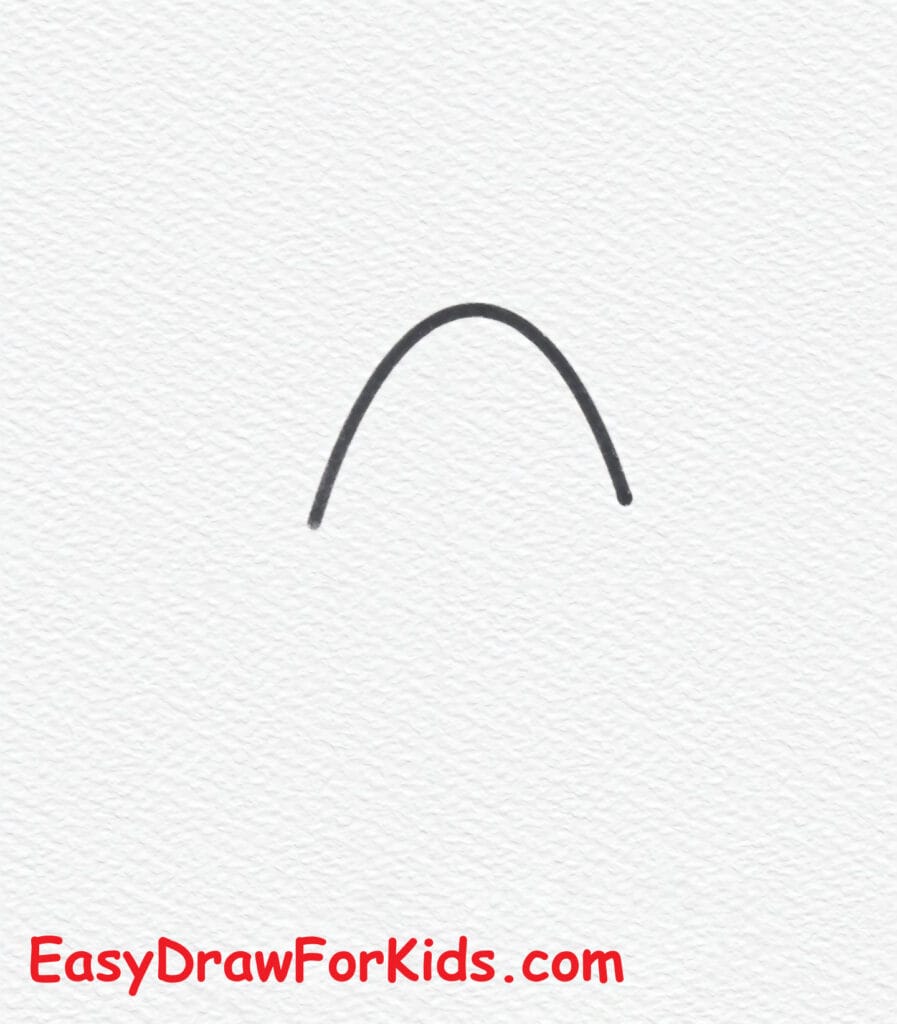
Step 1: Start by drawing a curved “V” shape — this will be the top of Patrick’s head.
Make sure both sides are symmetrical, as it will form the basis of his star-shaped body.
Step 2: From each end of the curve, draw two round shapes that curve outward and then inward — these will be Patrick’s cheek. They should look like soft, rounded bumps.

Step 3: Inside the head area, draw two large oval eyes that touch each other slightly in the middle.
Then, add small dots inside for the pupils. Patrick’s eyes should look surprised and friendly.
Step 4: Add a small smile just below the eyes to give Patrick his classic cheerful look.
Beneath the arms, draw a curved line to form the lower part of his torso.
Step 5: Draw two short, stubby legs at the bottom of his body. Each leg should be slightly curved outward, giving him a bouncy appearance.
Step 6: Now, sketch Patrick’s shorts. Draw a straight line across his waist and then add wavy edges at the bottom of each leg to form the hem of his pants.
Step 7: Add small details to bring Patrick to life!
Draw little flower shapes or patterns on his shorts.
Add small dots or freckles on the sides of his cheeks.
Step 8: Use light pink for Patrick’s body.
Color his shorts green with purple flower patterns.
3. Patrick Drawing Cute
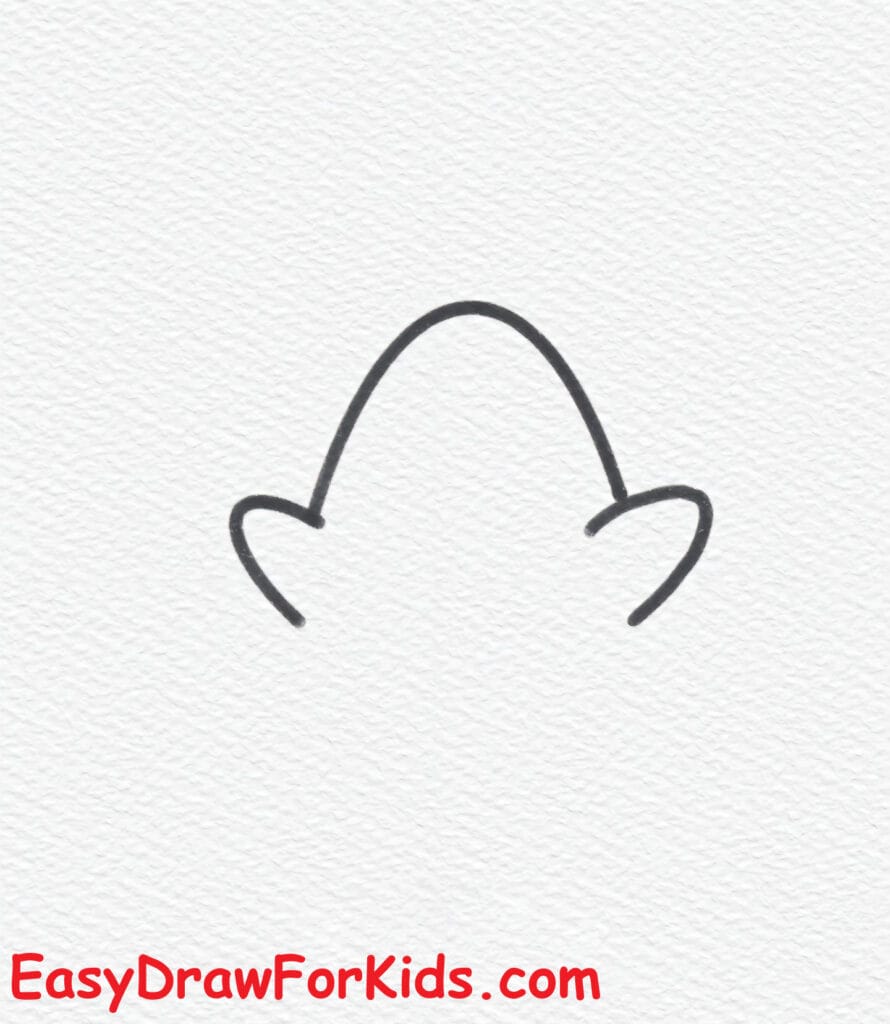
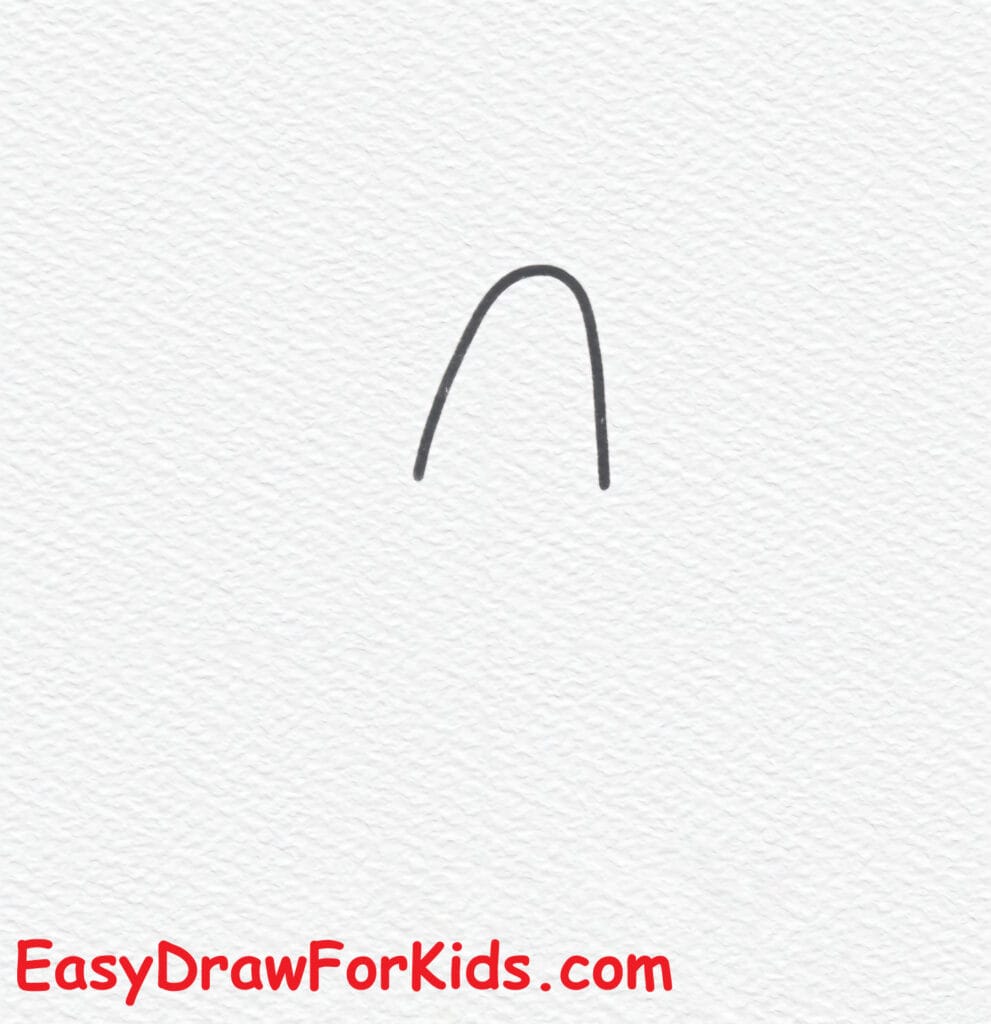
Step 1: Draw a smooth, rounded arch (an upside-down “U”) near the top of the paper. This is the top center of Patrick’s head.
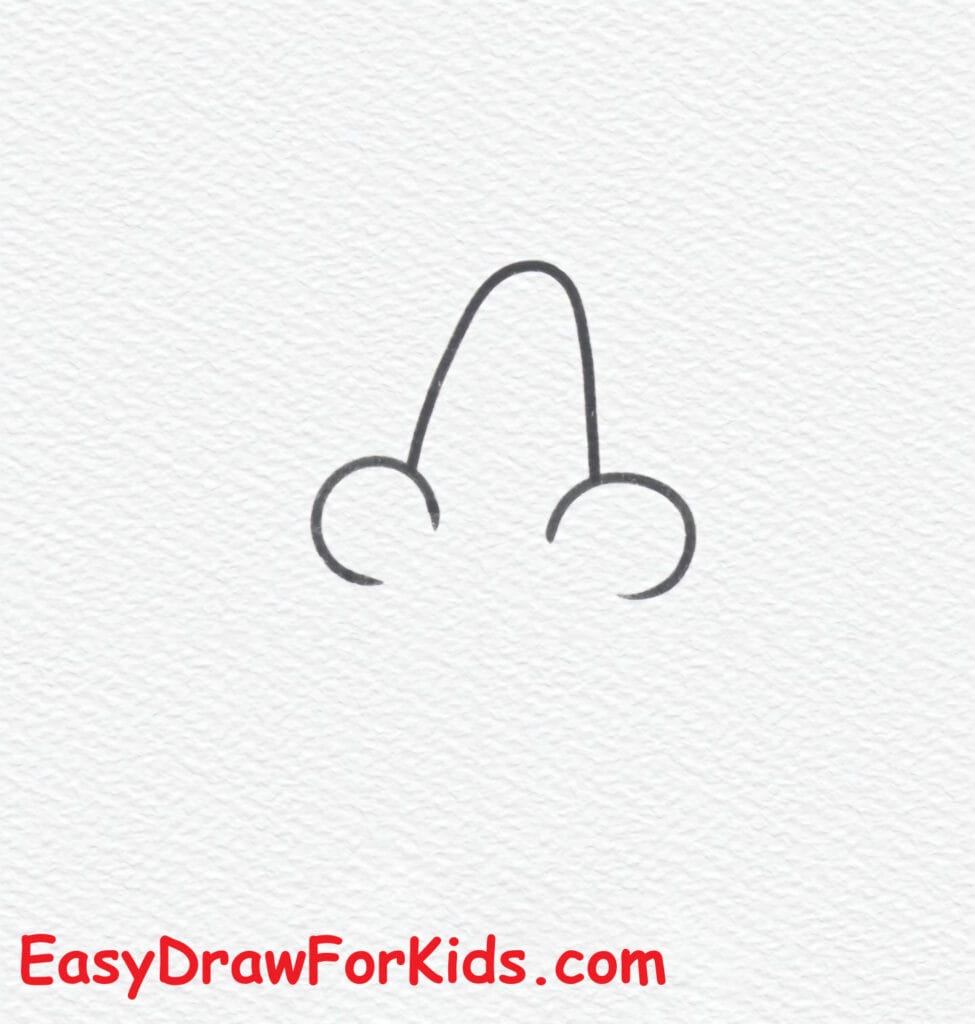
Step 2: From each end of the arch, draw a short rounded bump that curves outward and then back down — these become the top edges of Patrick’s arms.
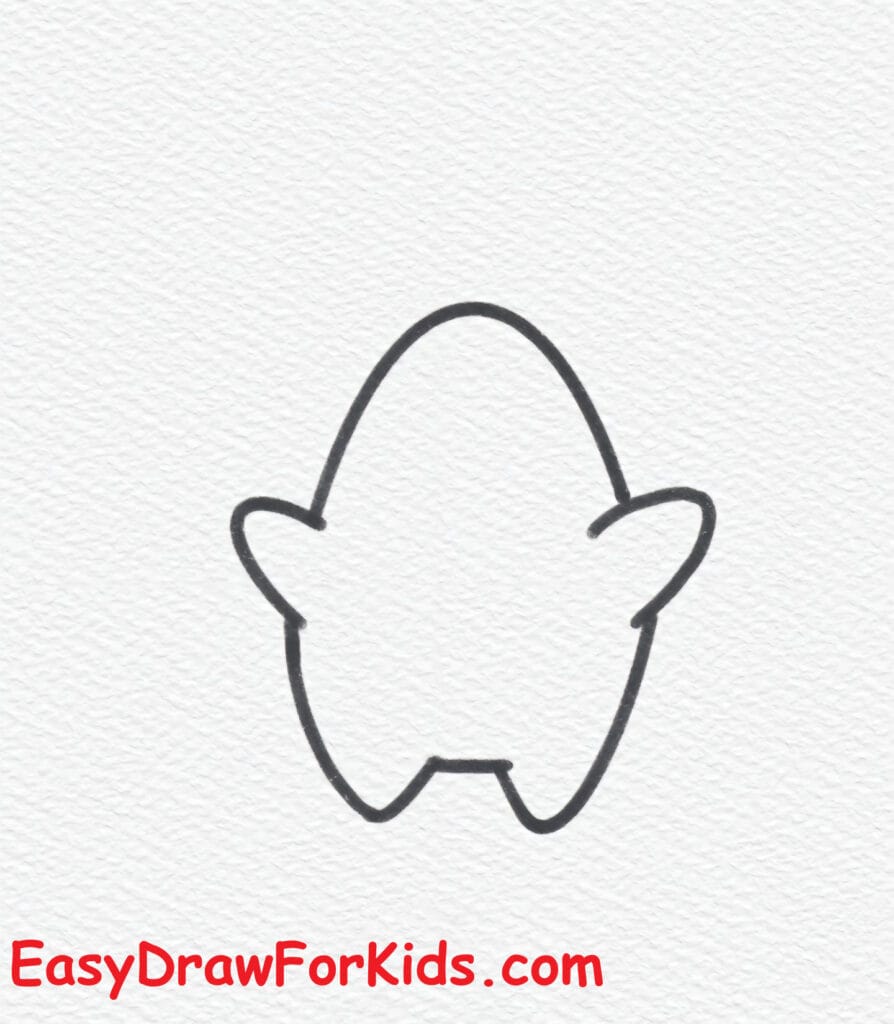
Step 3: Extend the side lines downward from the shoulder bumps and curve them inward to form the tapered bottom of his body.
Connect the bottom with a slightly curved line so the whole silhouette looks like a chubby teardrop or upside-down pear.
Add two little rounded feet shapes at the bottom.
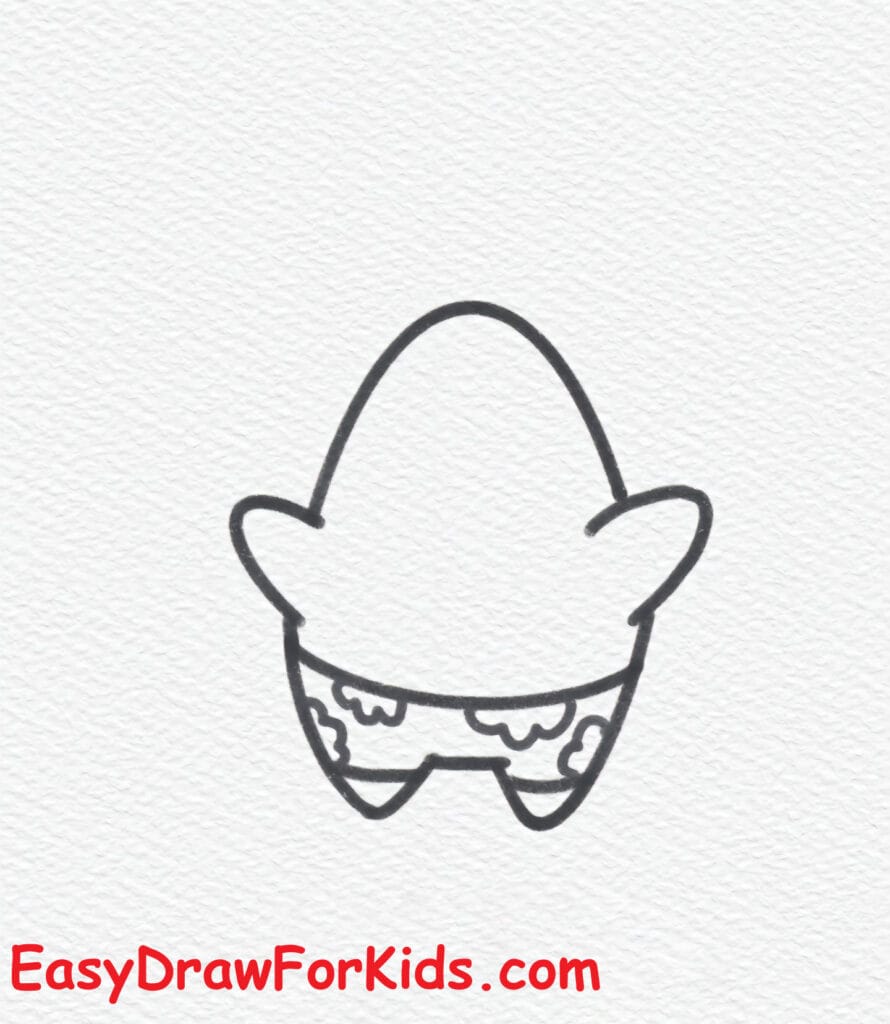
Step 4: Across the lower portion of the body, draw a horizontal band for the shorts’ waistband.
Under the waistband, draw a wavy hem line that wraps around the body to form the bottom of his shorts.
Make the shorts wide and simple.
Step 5: Inside the head area add two big round eyes close together and small black pupils.
Draw a tiny curved smile under the eyes and add three small freckles or dots on each cheek.
Optionally add a short curved line on the belly for a tummy fold.
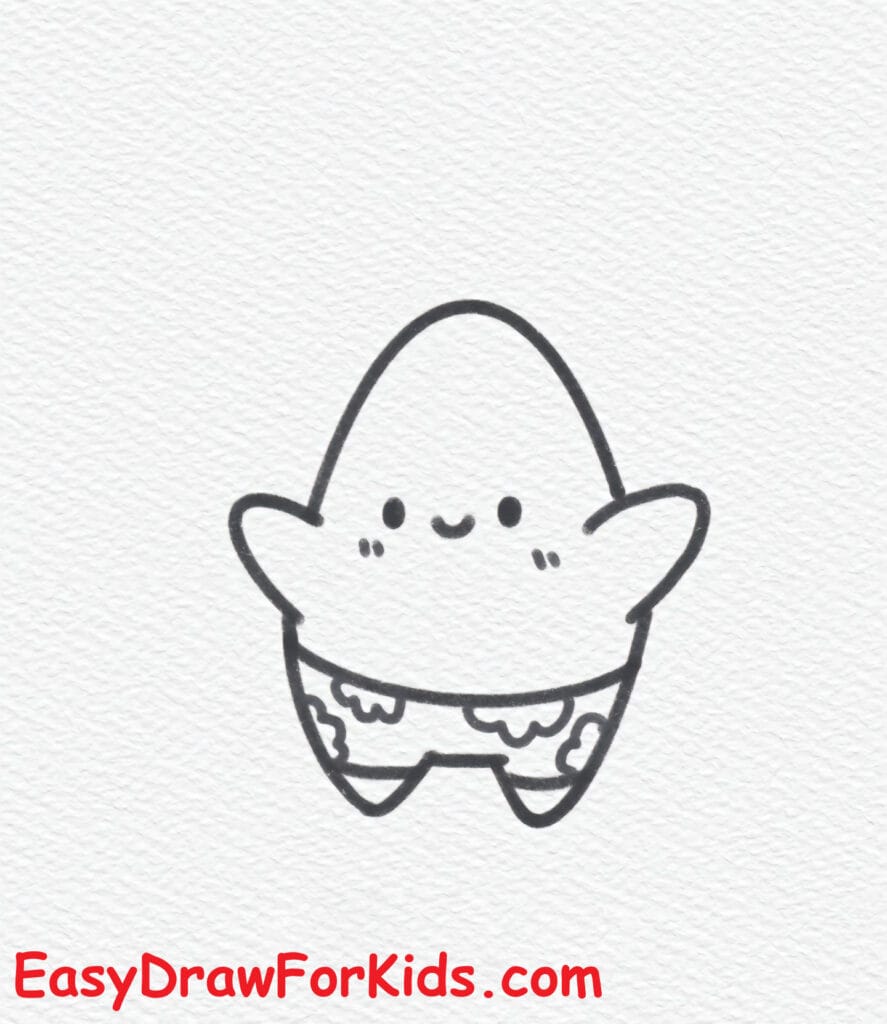
Step 6: Decorate the shorts with simple flower shapes. Place a small lollipop or accessory in one hand for extra cuteness.
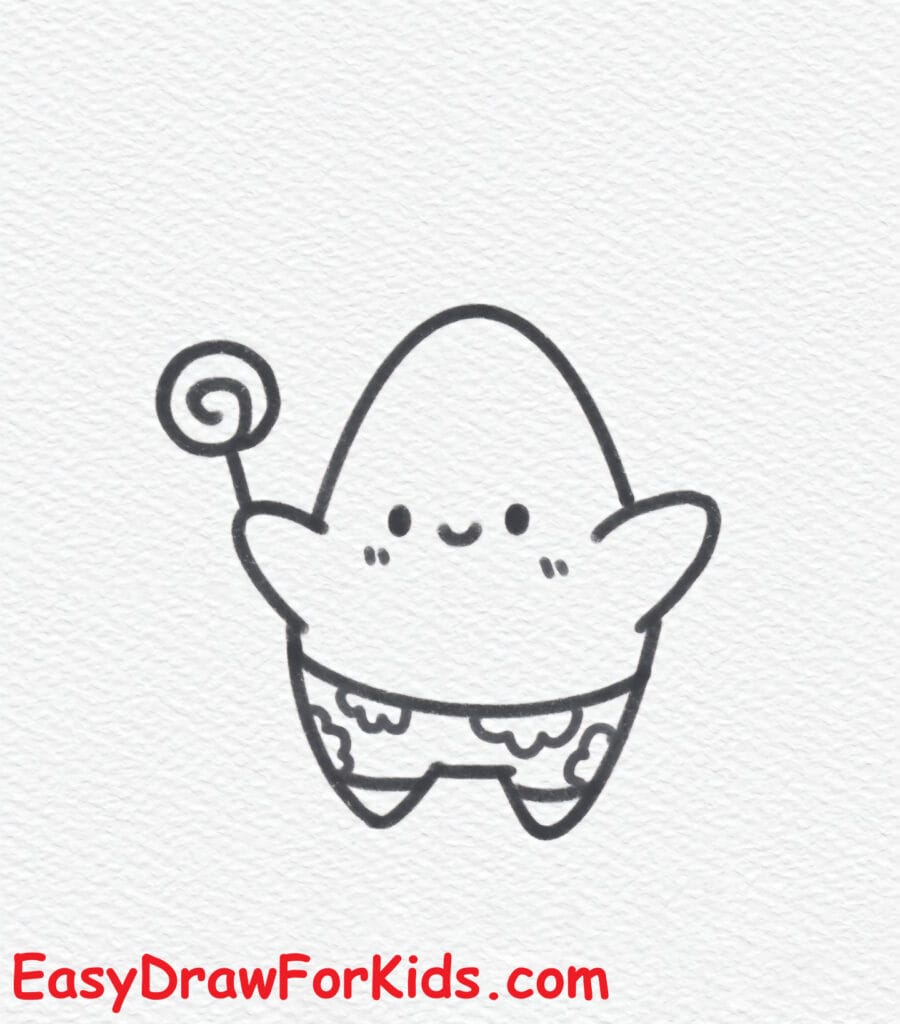
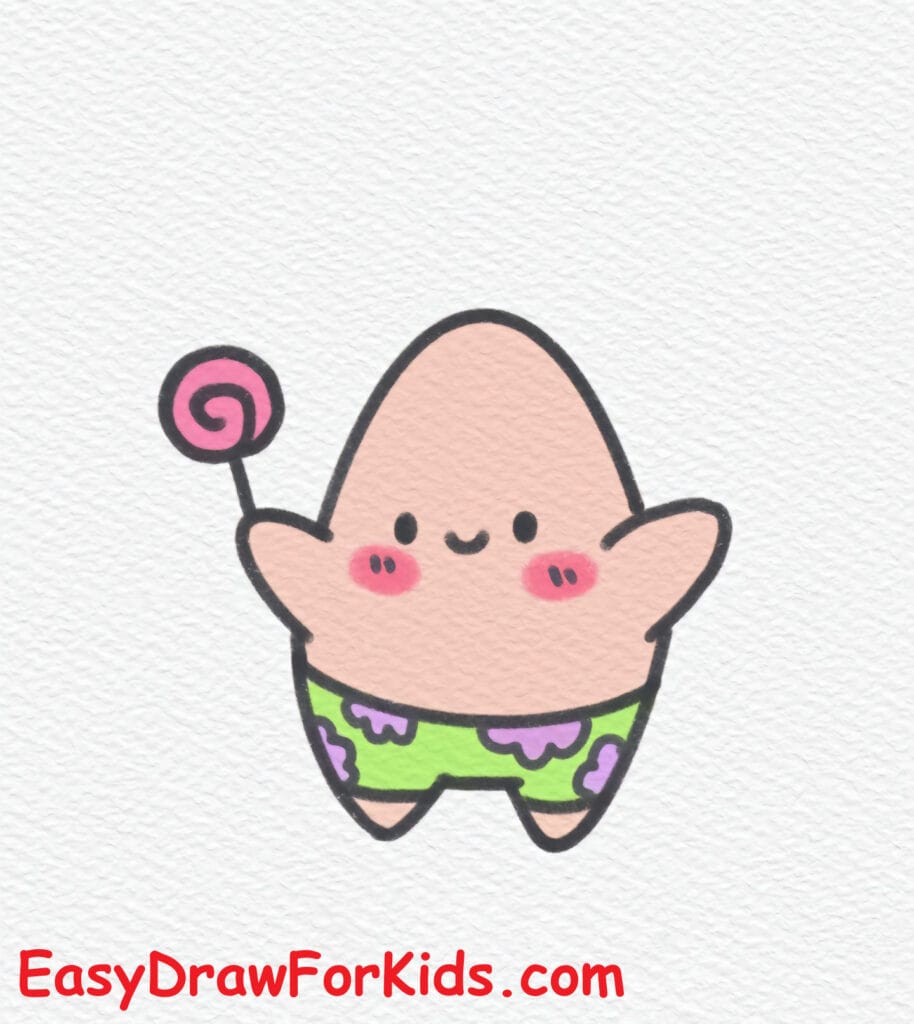
Step 7: Color Patrick with:
Body: light pink
Shorts: light green with purple flowers
Eyes: white with black pupils and a tiny white highlight
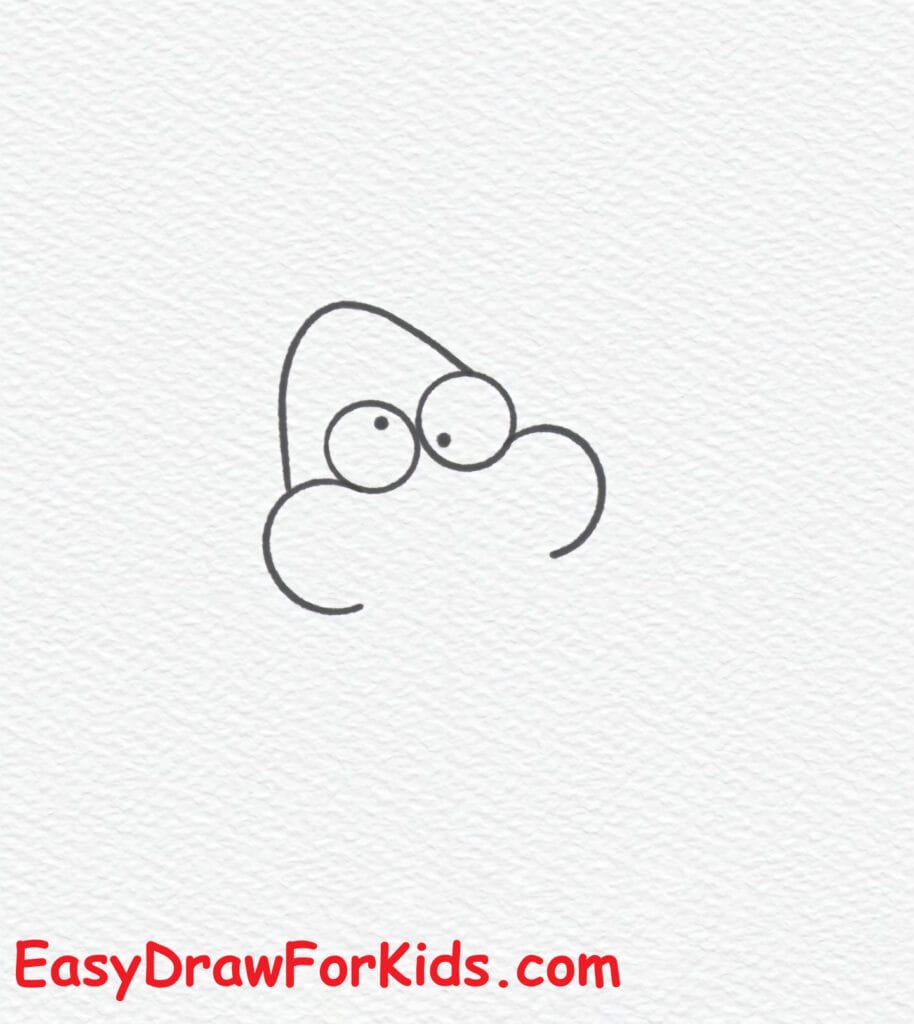
4. Patrick Star Drawing Easy
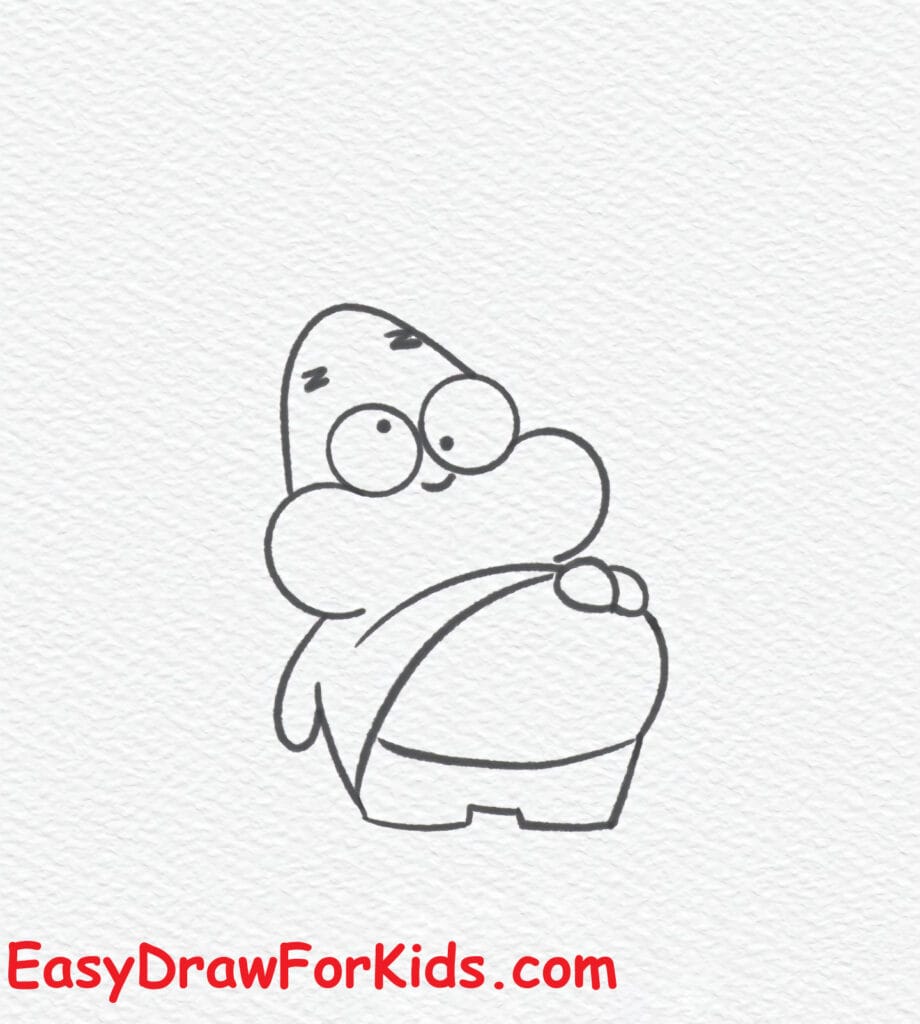
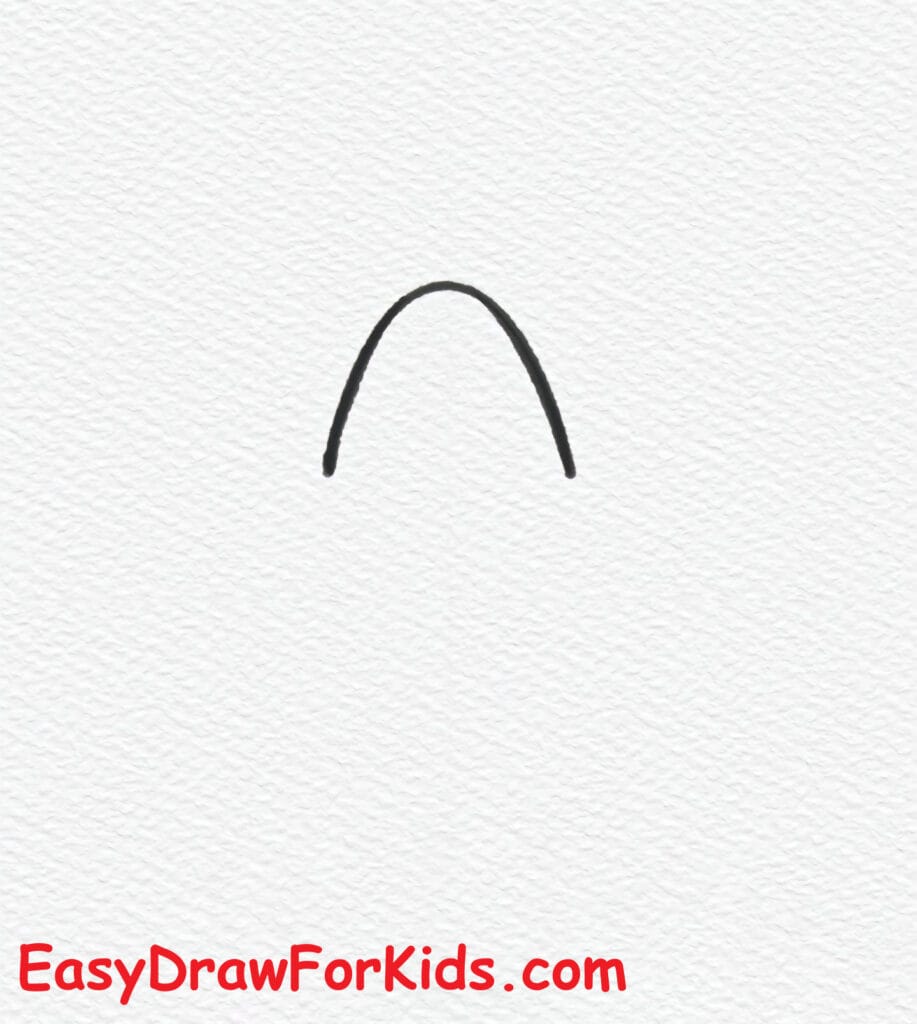
Step 1: Draw a soft, rounded arch. This is the top center of Patrick’s head.
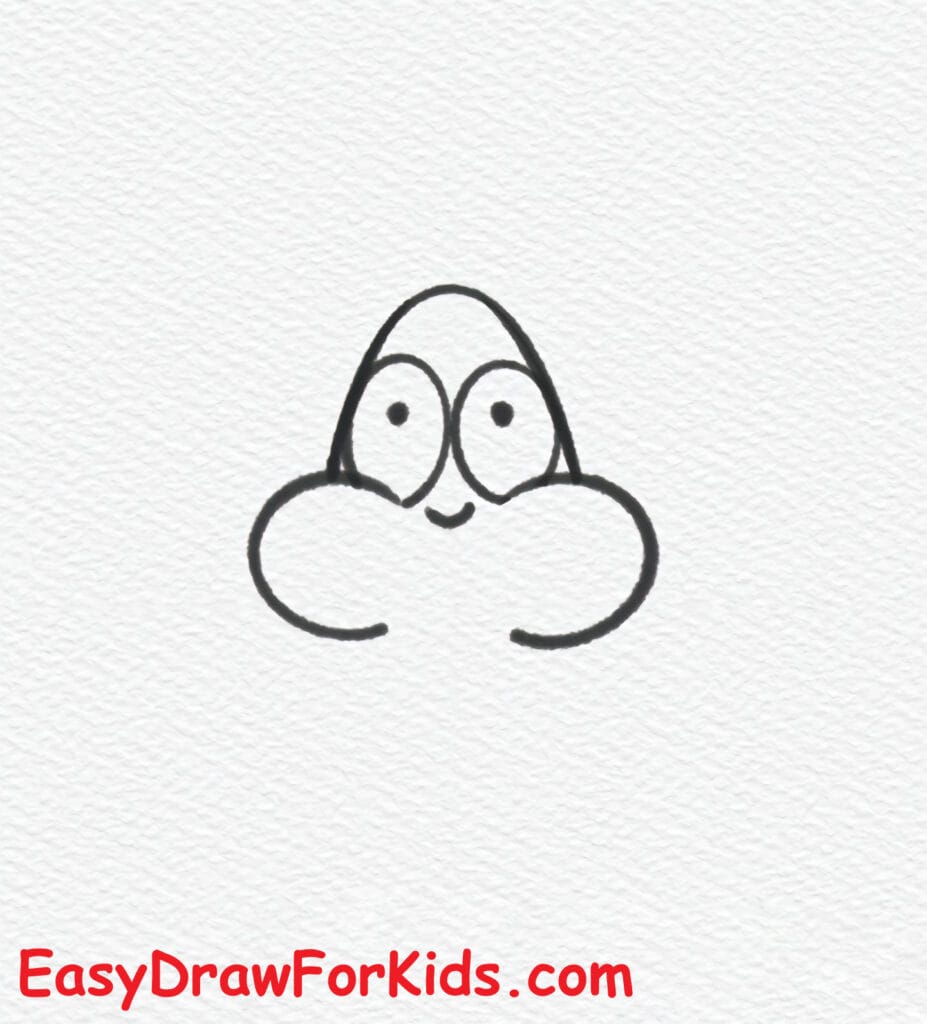
Step 2: From each end of that arch, draw a short rounded bump that curves outward and then down for cheeks
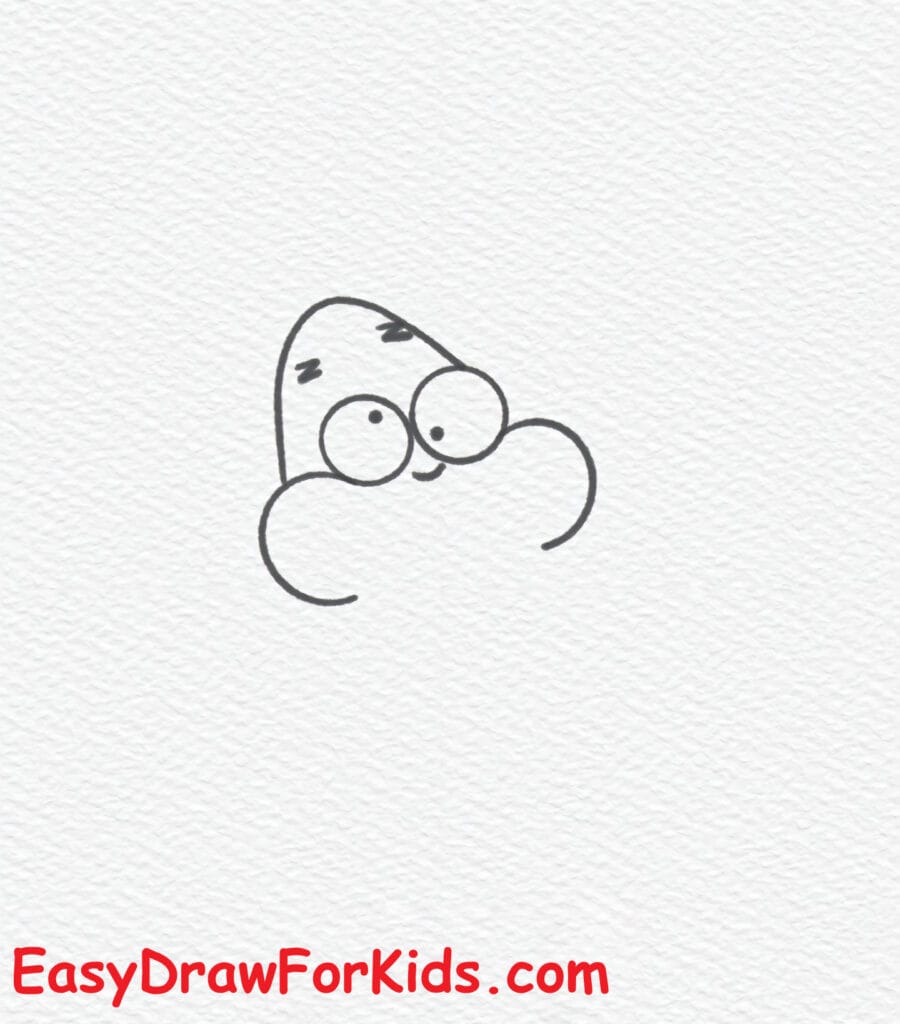
Step 3: On the top of the head, draw two straight lines for the eyebrows.
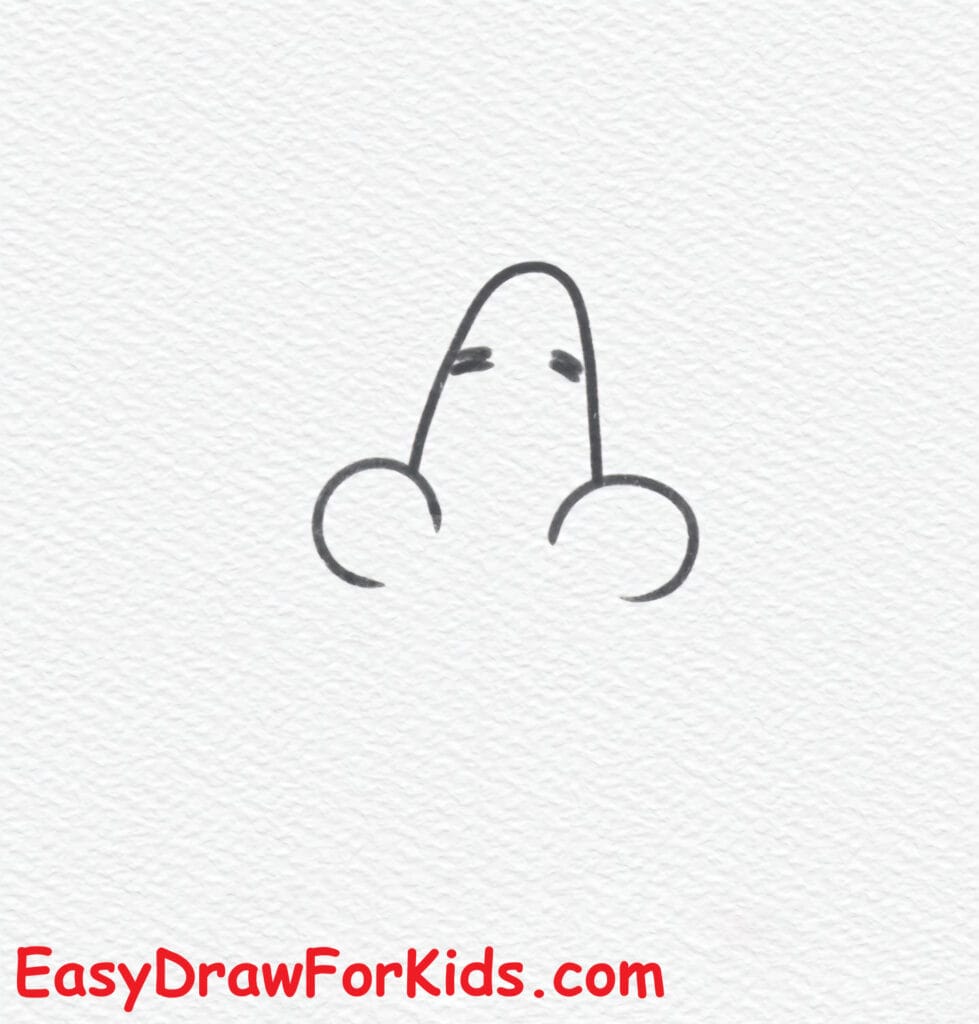
Step 4: Inside the head area, draw two large ovals close together for the eyes. Add small filled pupils inside each oval.
Between and a little below the eyes, add a tiny curved nose.
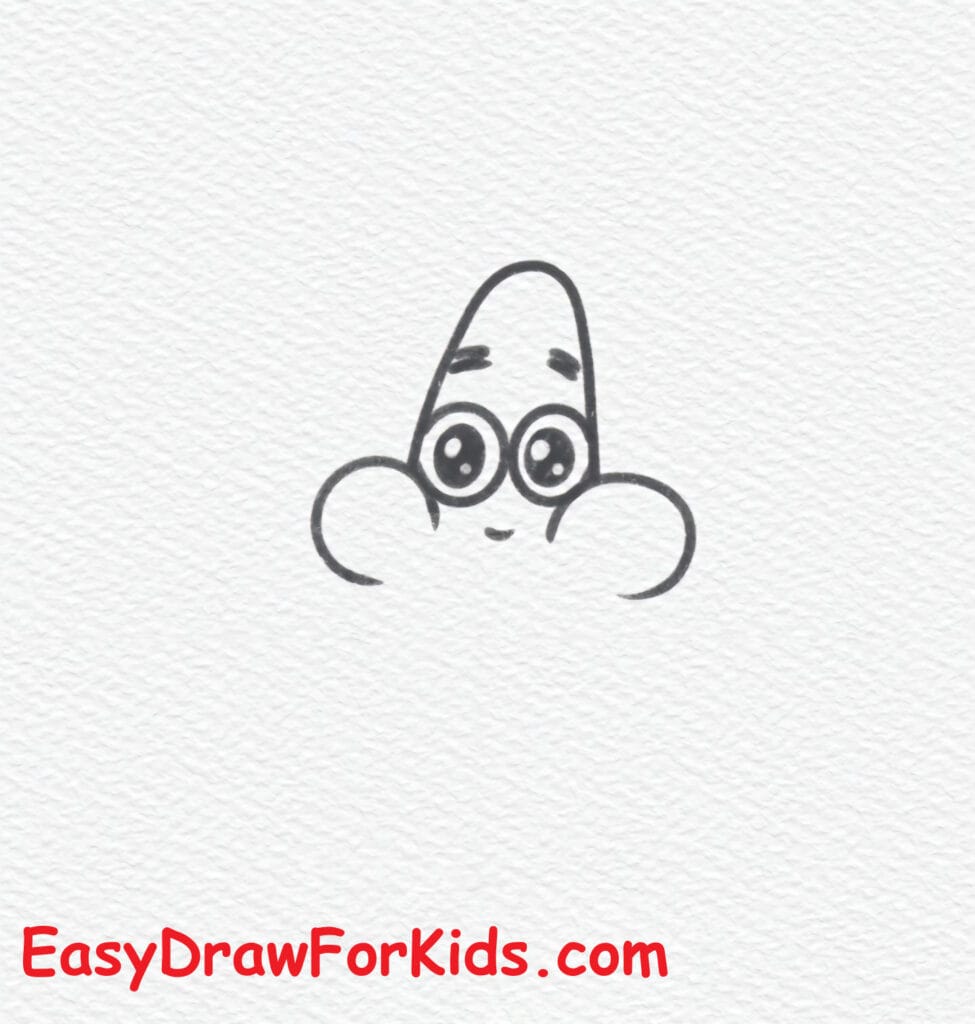
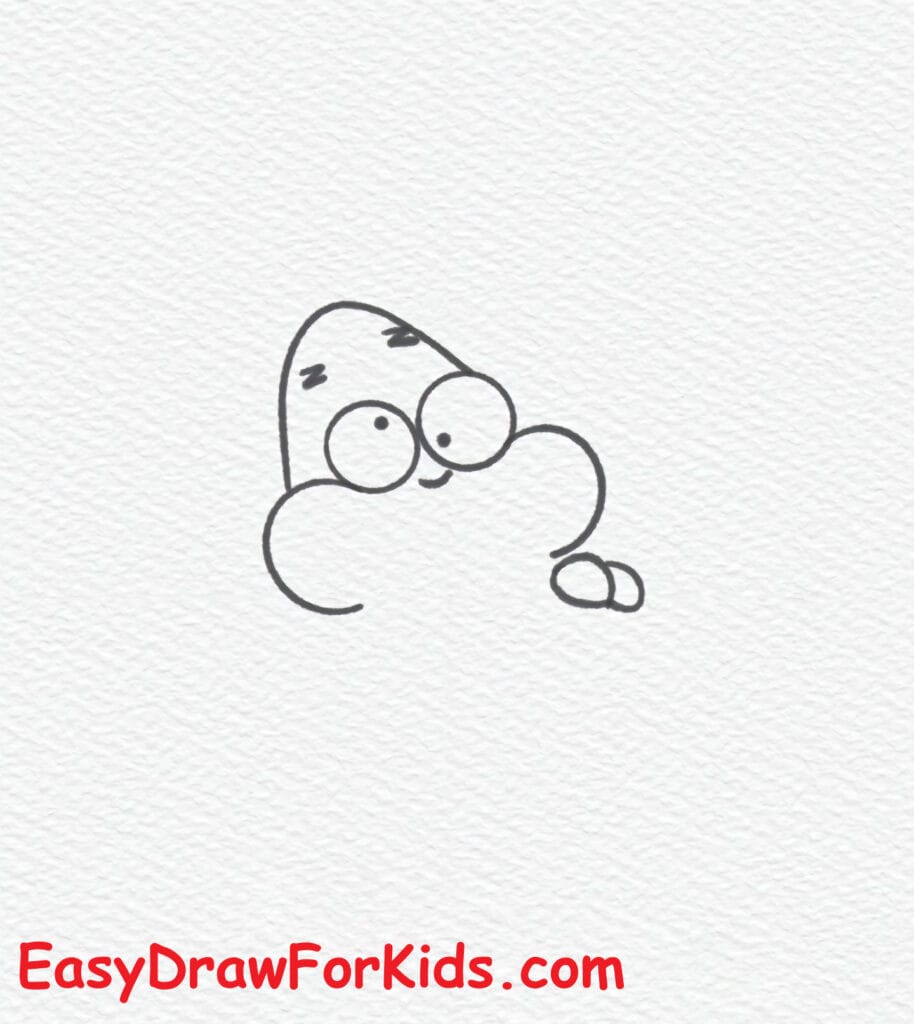
Step 5: Draw a small curved smile beneath the nose. Add a short horizontal line on the belly to suggest a tummy fold.
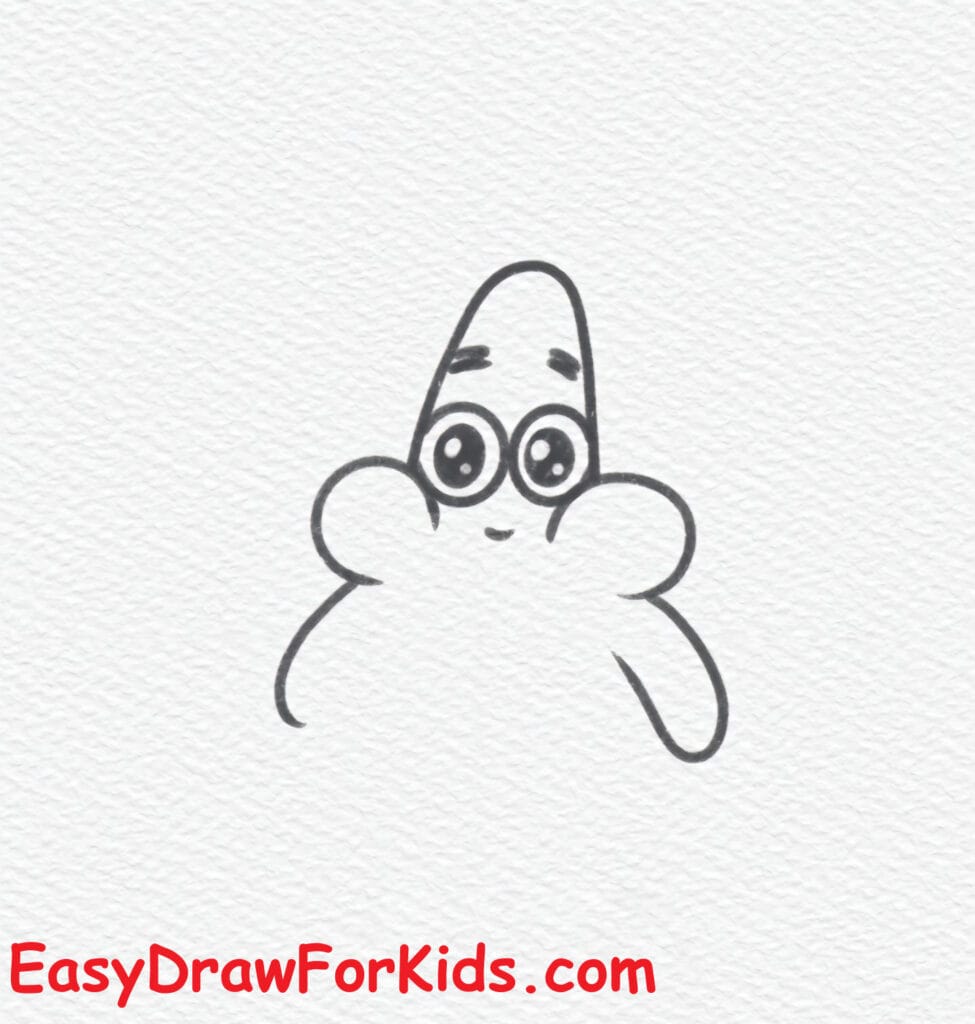
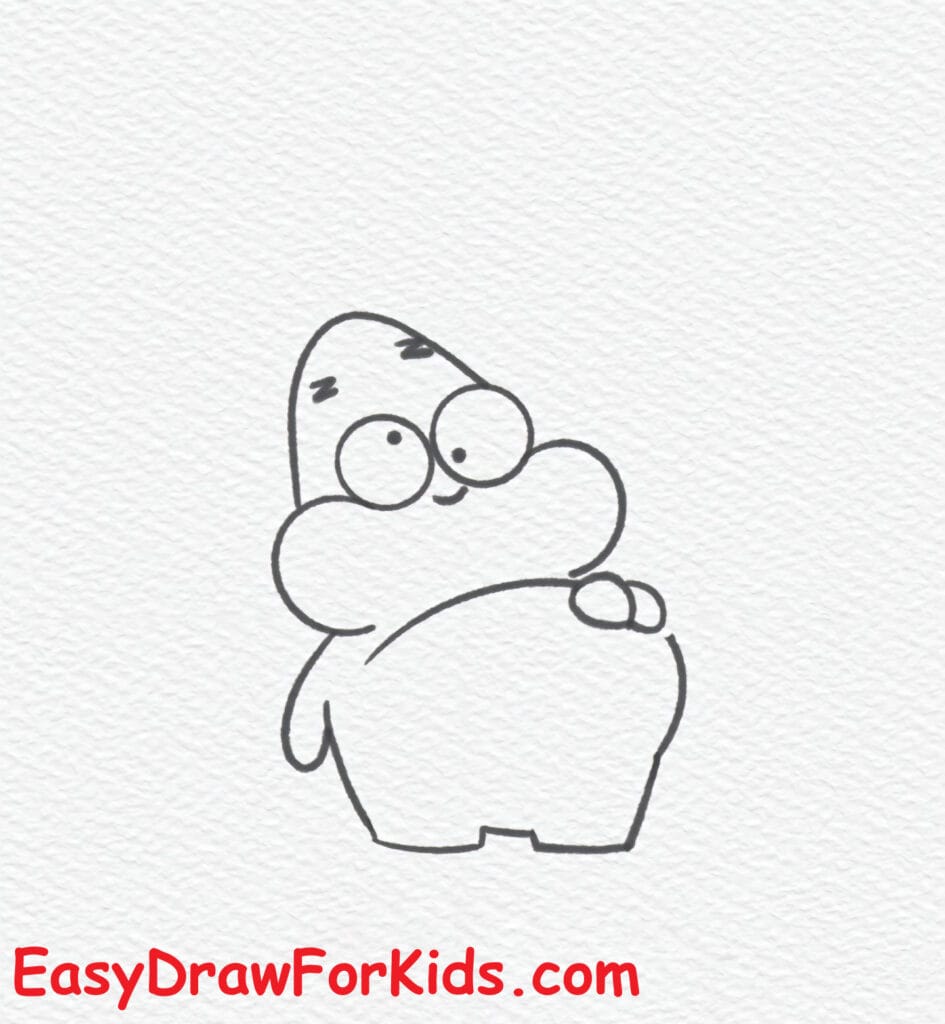
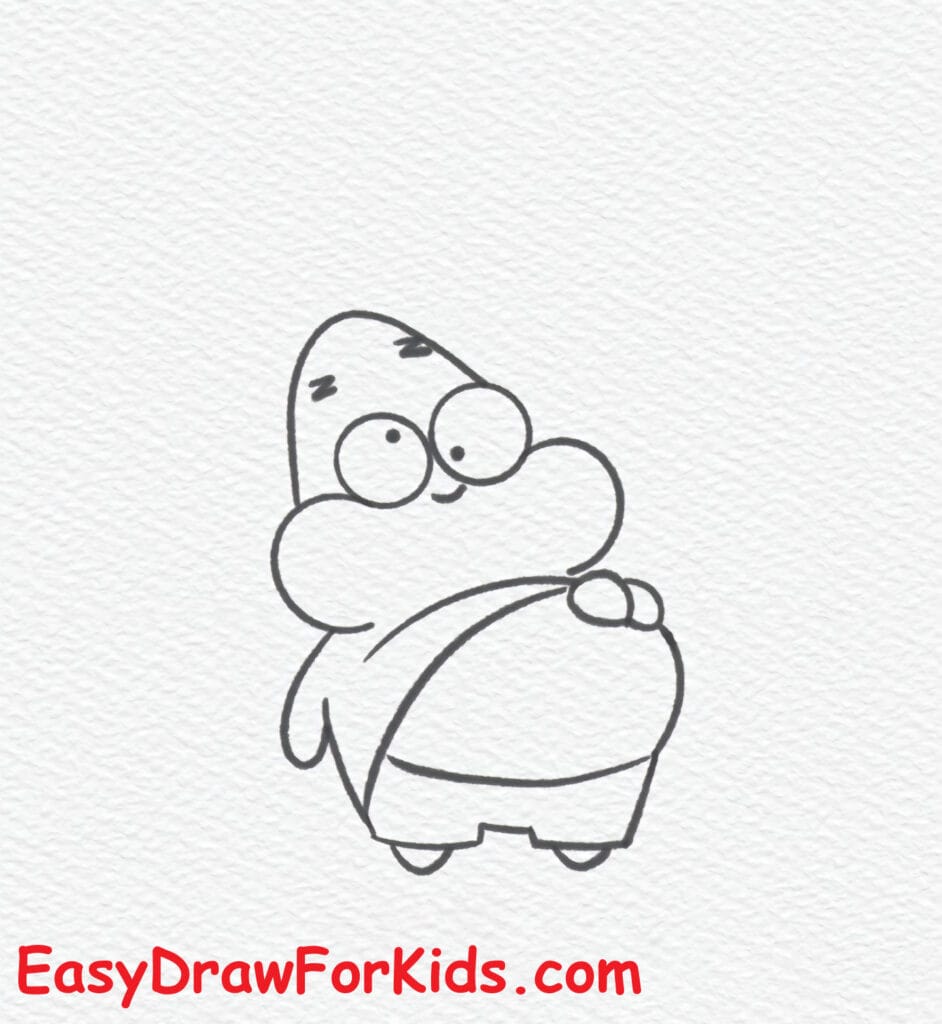
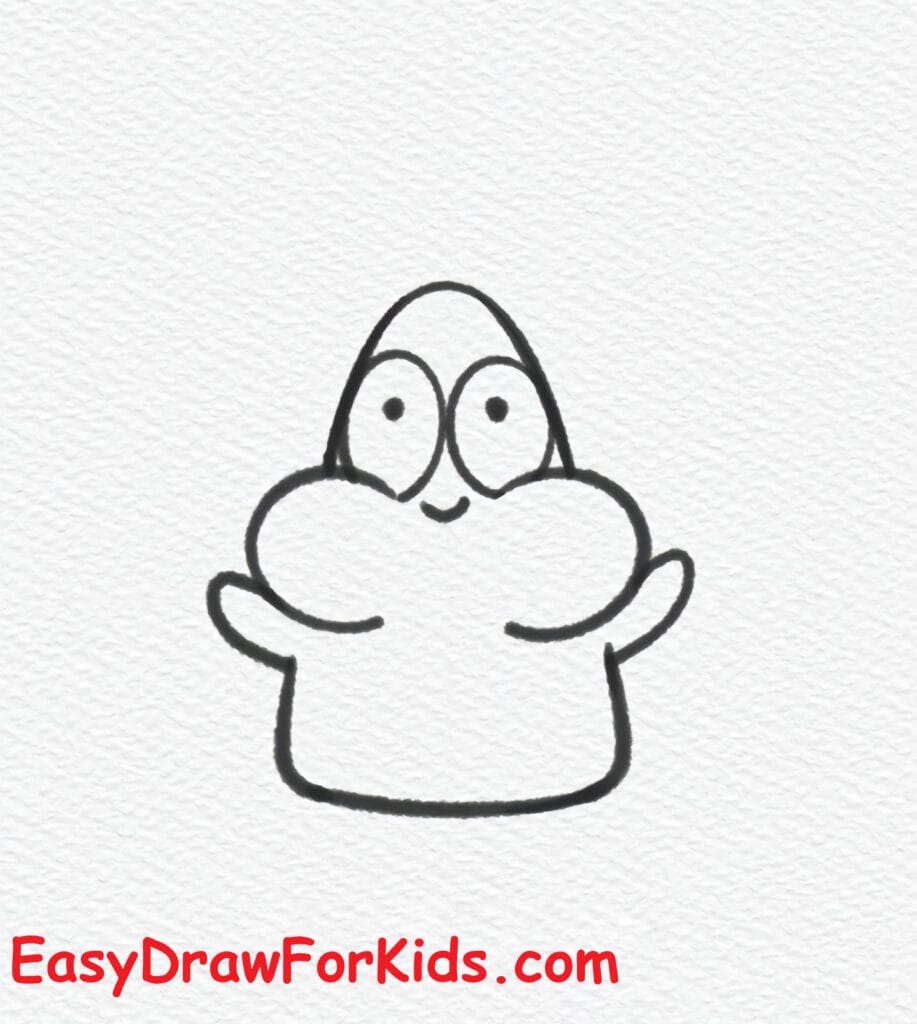
Step 6: Finish both arms as short rounded stubs coming from the shoulder bumps.
Across the lower torso draw a straight horizontal line for the shorts’ waistband.
Under that line, draw a wavy hem that wraps around his body to form the bottom edge of the shorts.
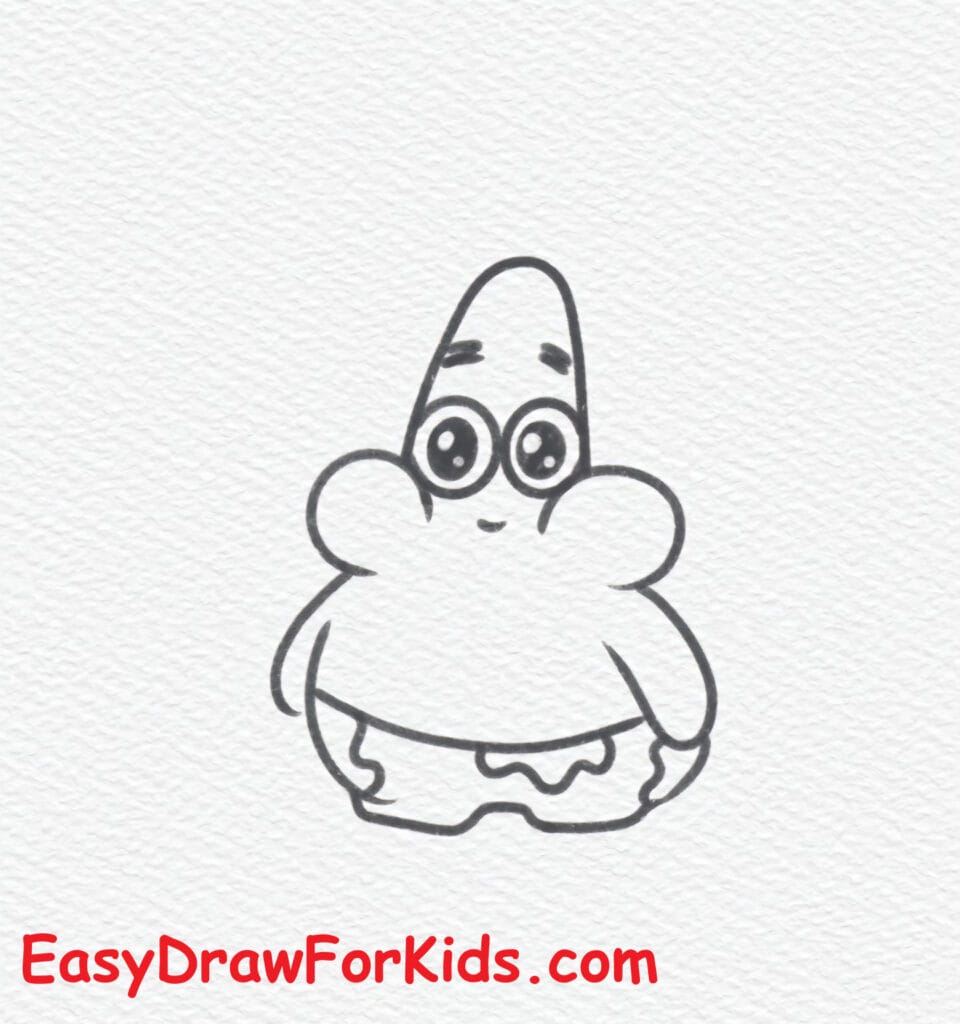
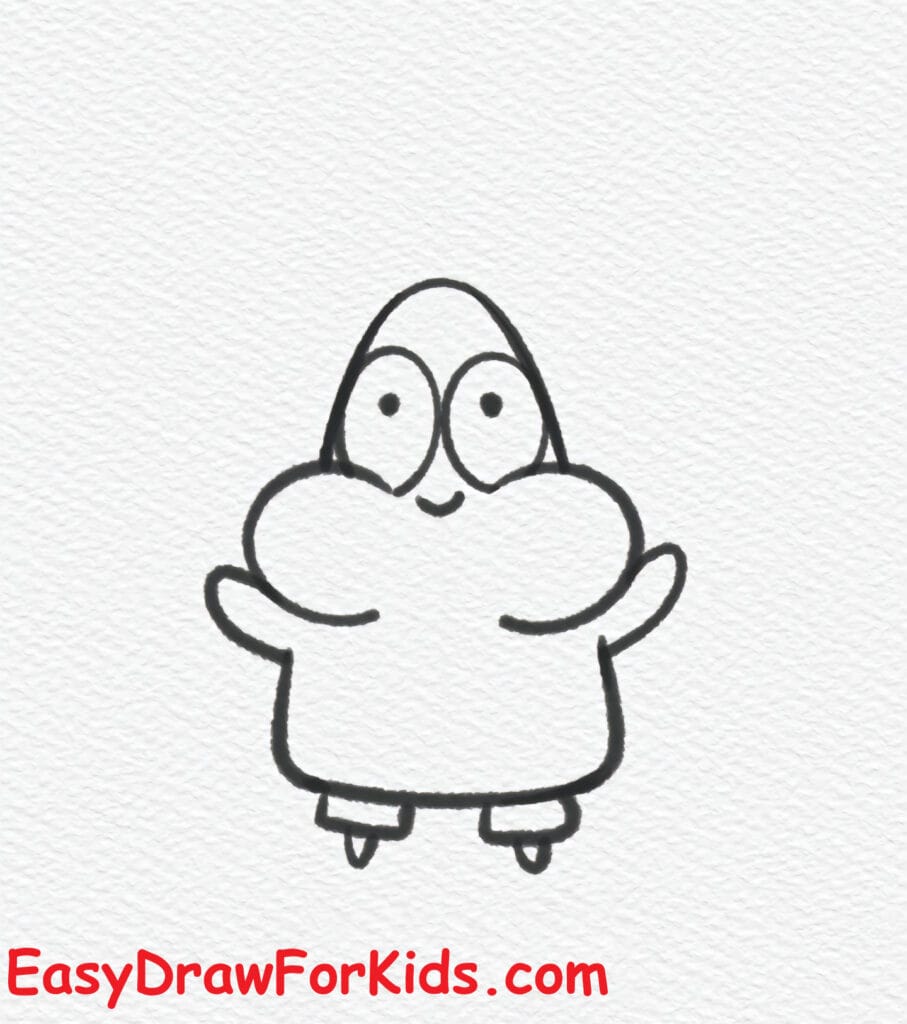
Step 7: Make the two small, rounded legs a little more defined beneath the shorts.
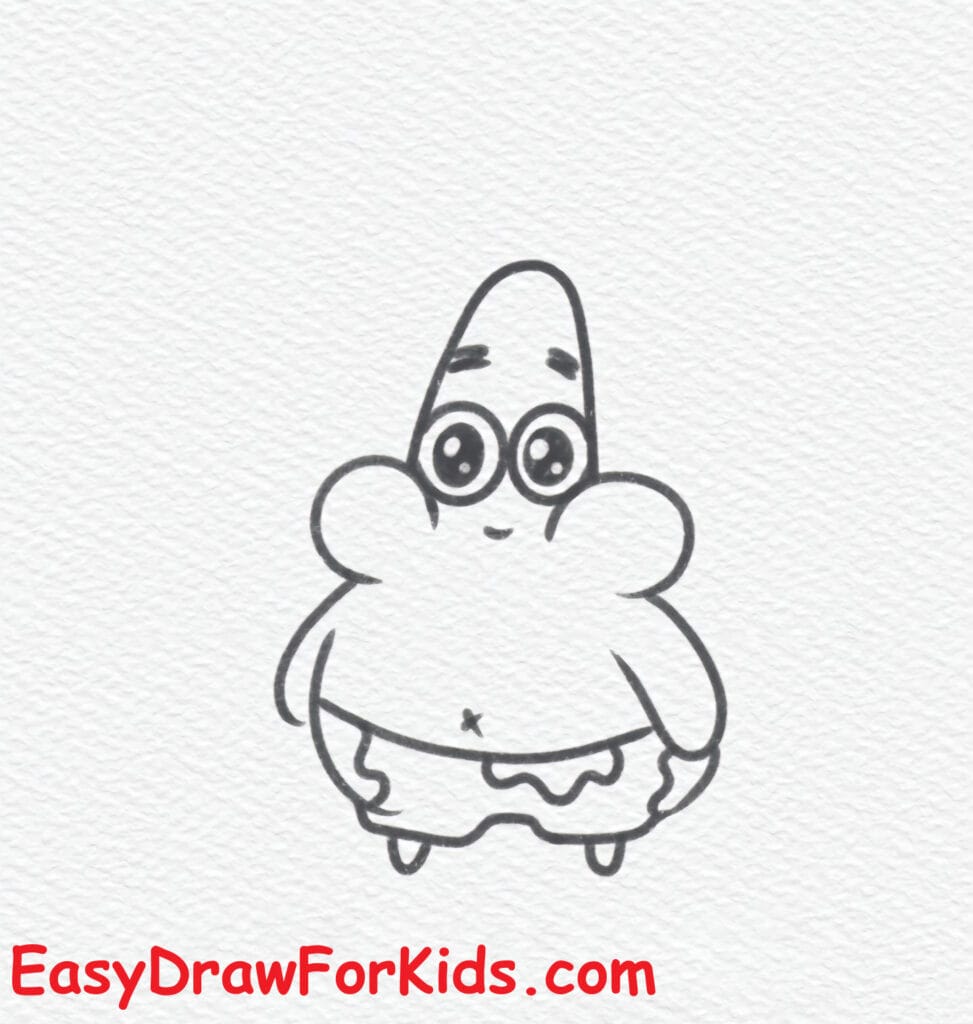
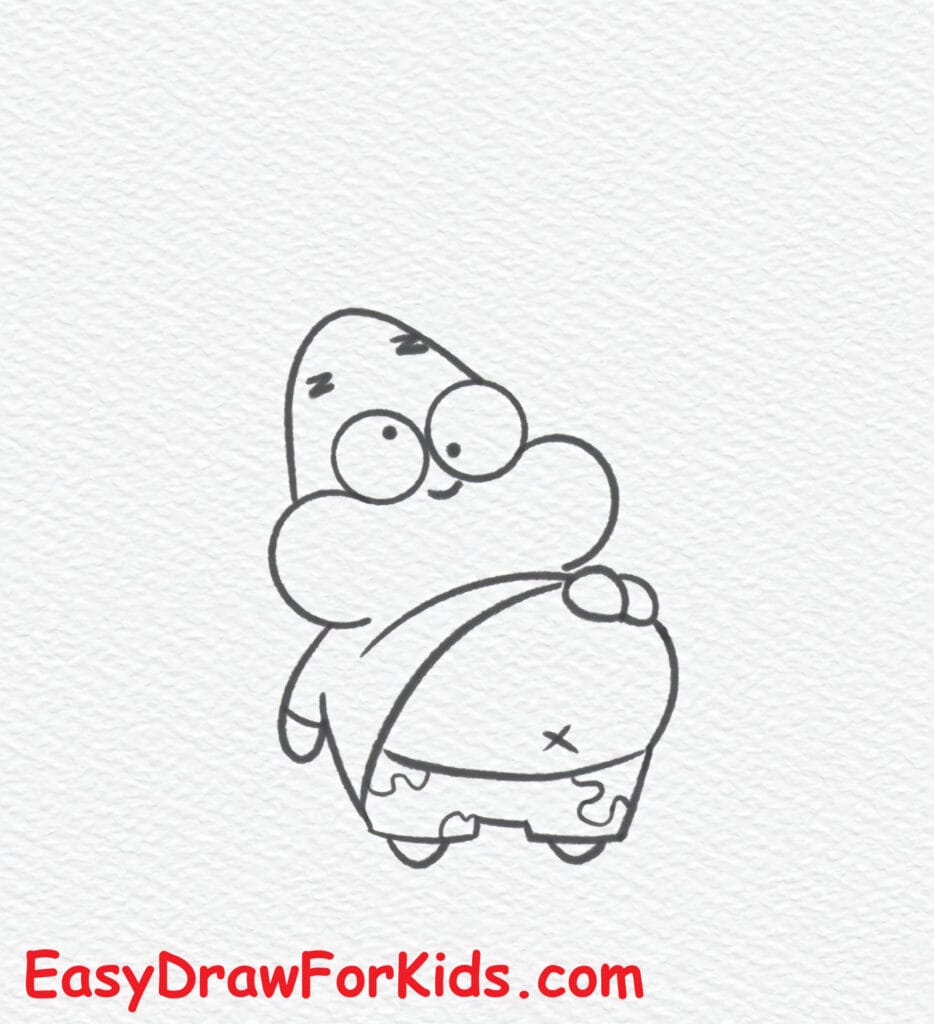
Step 8: Decorate the shorts with simple flower shapes or petal motifs spaced evenly.
Add tiny motion marks near the arms if you want them to look like they’re waving, and a little heart or accessory for cuteness.
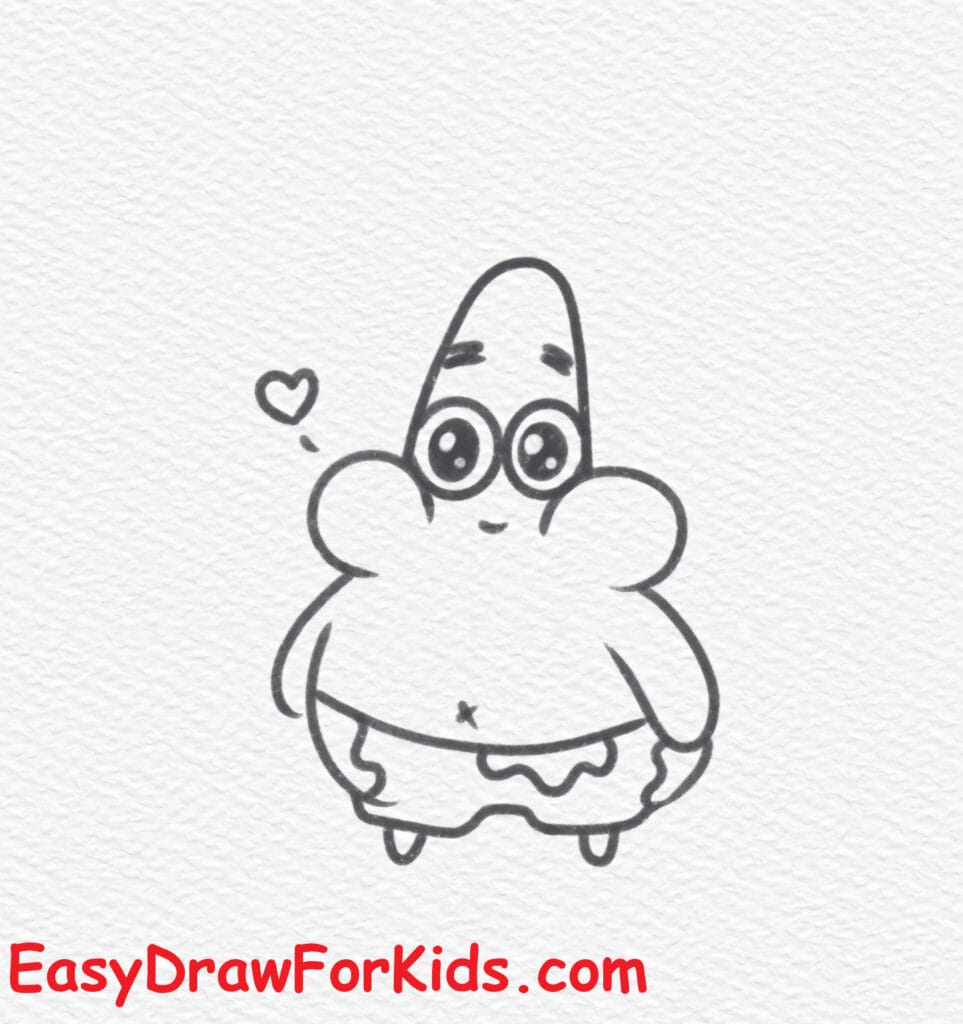
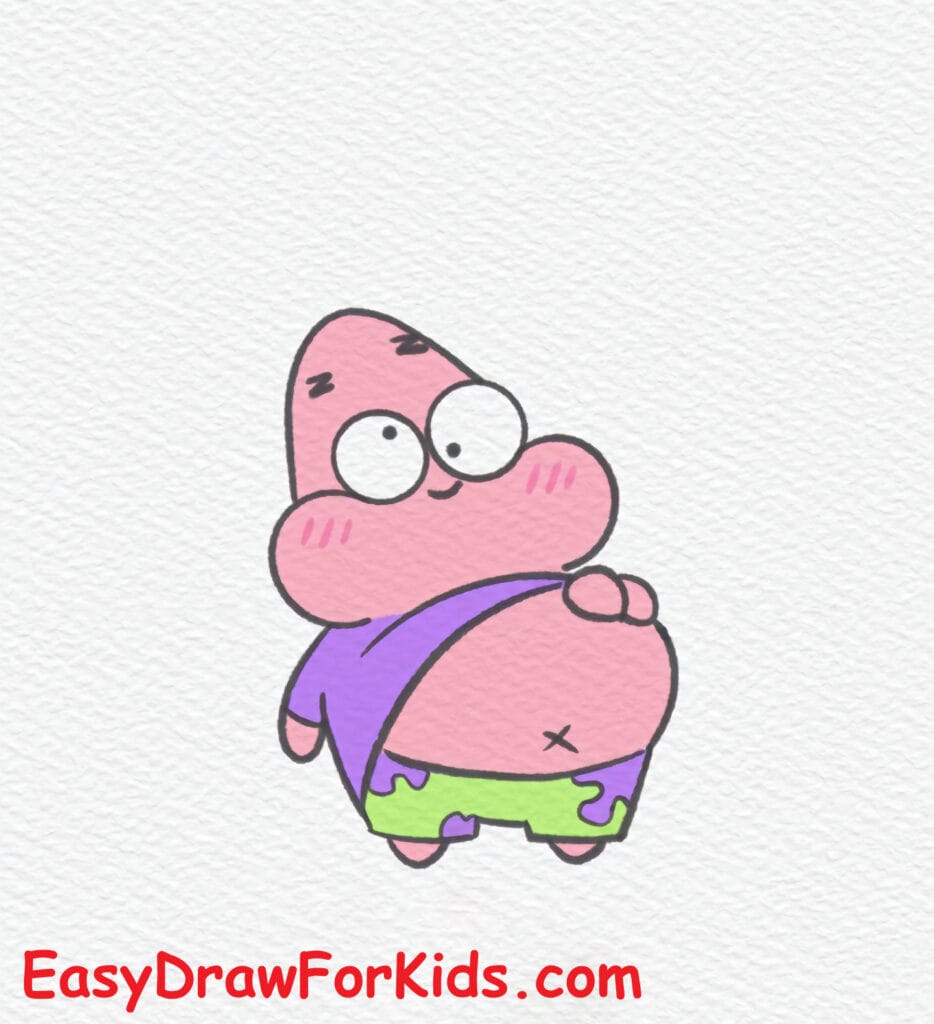
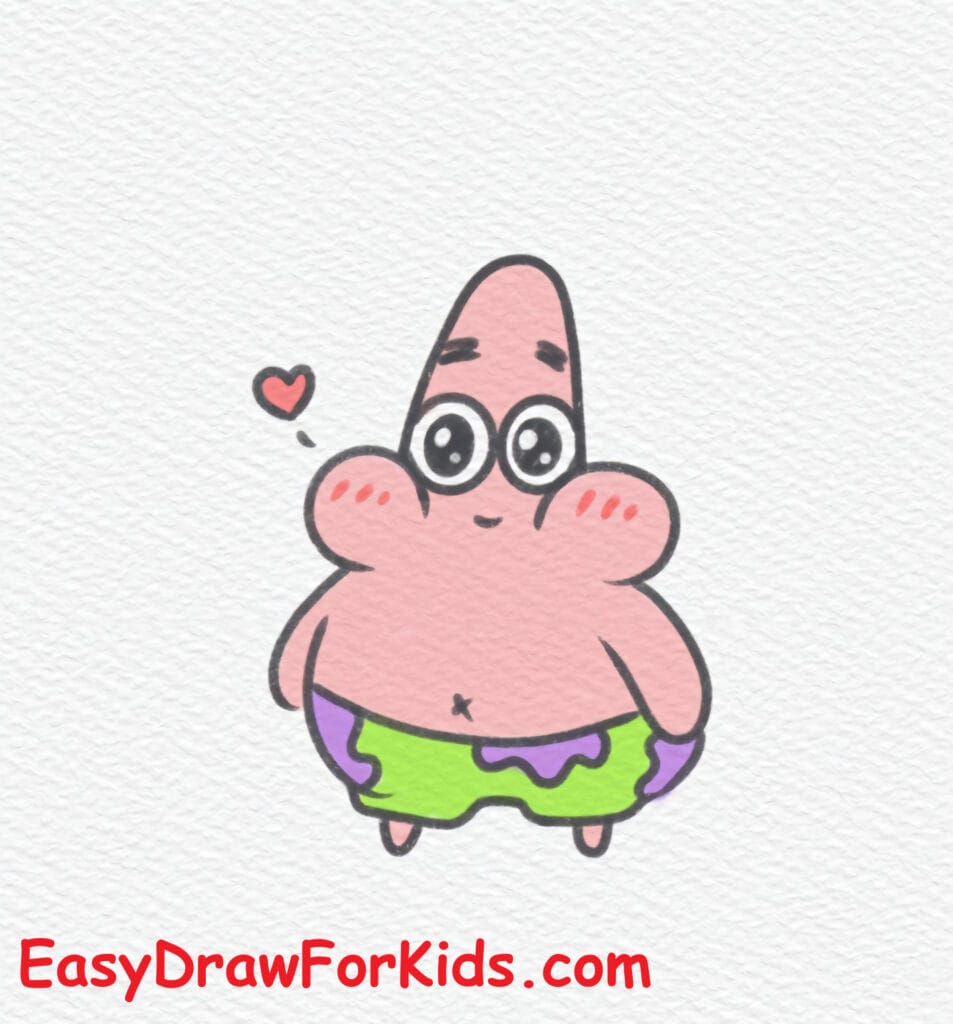
Step 9: Color Patrick drawing
5. Patrick Star Drawing Another Way 1
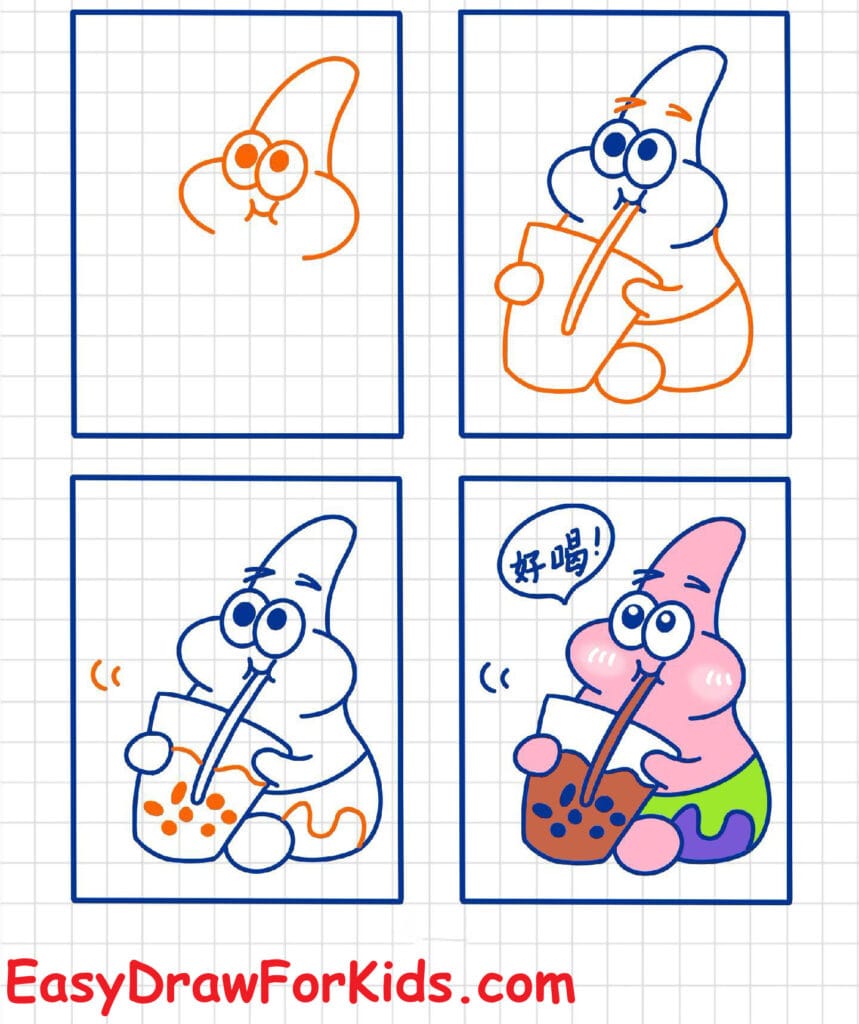
6. Patrick Star Drawing Another Way 2
7. How to Draw Patrick Star Way 3
And that’s how to draw Patrick Star from SpongeBob SquarePants!
Remember, drawing should always be fun — just like Patrick’s attitude toward life.