Have you ever wanted to draw the adorable Winnie the Pooh?
Today I’ll show you how to draw Winnie the Pooh with simple strokes and easy instructions.
Follow along and have fun.

How to Draw Winnie The Pooh – A Step by Step Guide
1. How to Draw Winnie the Pooh for Kids
Step 1: Start by drawing two simple curved lines near the top of your paper.
Each curve looks like an upside-down “C.” These will be the tops of the ears.

Step 2: Connect the two ears using a curved line.
Then draw a rounded top for the head and extend gently curved lines downward from the ears.
Close the head shape at the bottom using another curved line.

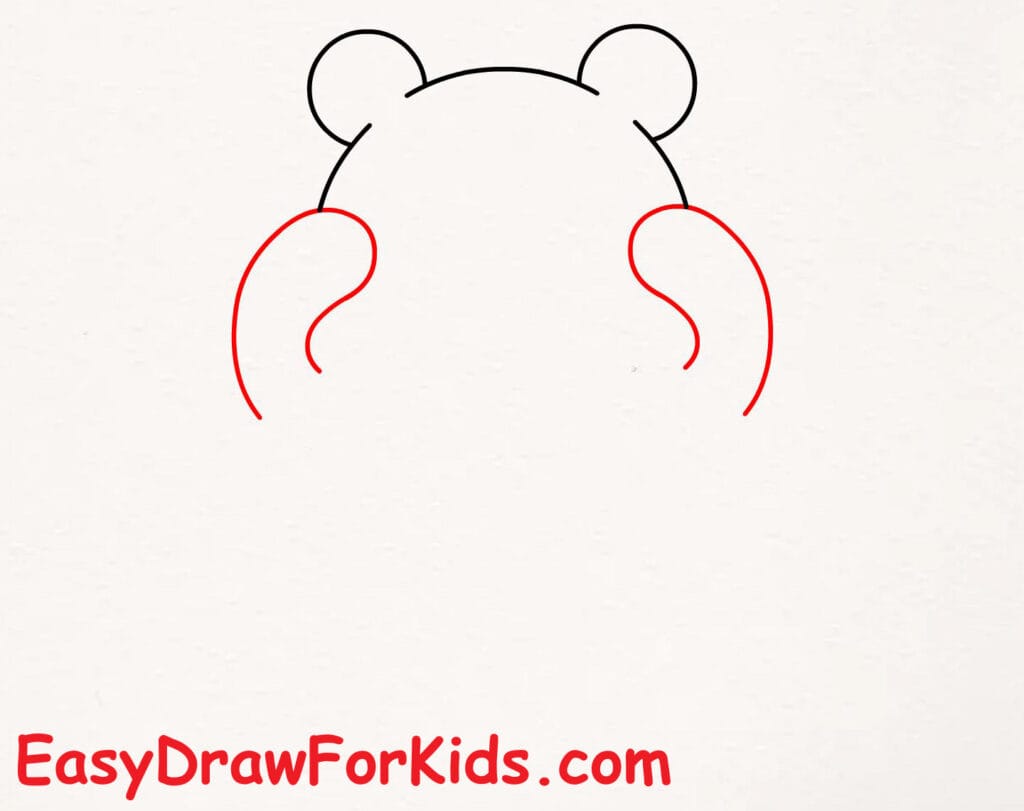
Step 3: On each side of the head, draw a large curved shape that looks like a soft, rounded arm.
They should angle downward but remain close to the head.
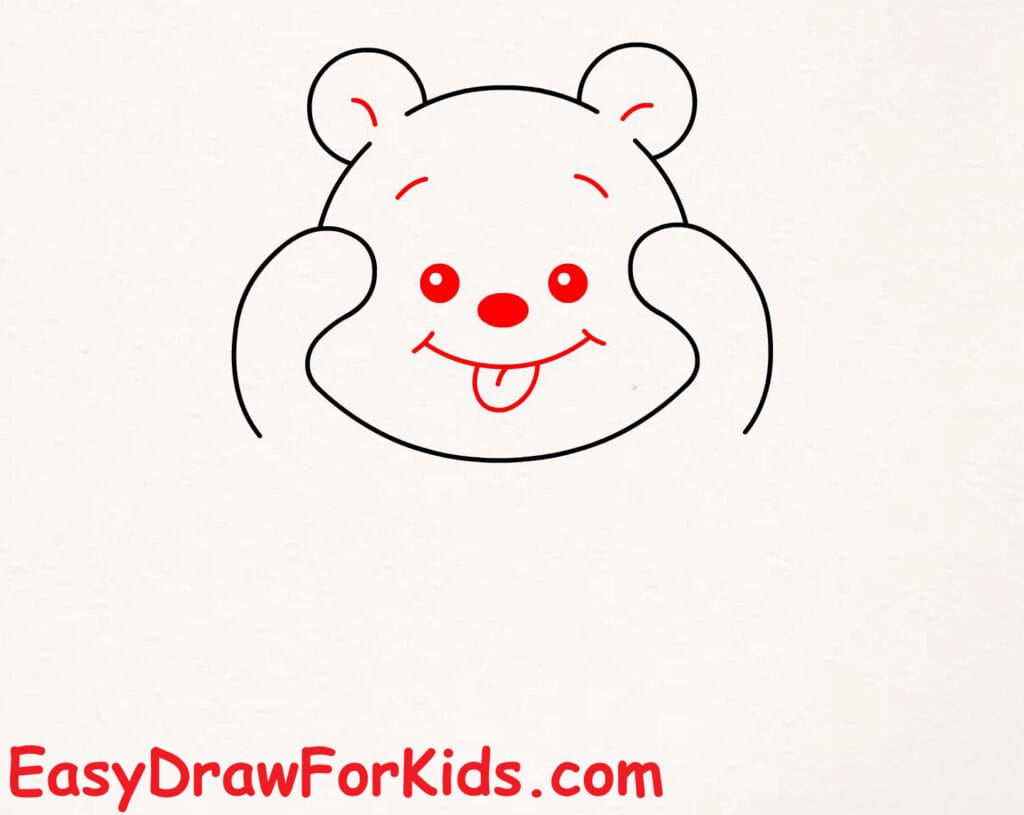
Step 4: Inside the arm shapes, draw two puffed-out cheek lines. Each cheek curves slightly inward toward the center of the face.

Step 5: Add the facial features:
Two small oval eyes
A tiny round nose
A smiling mouth with a small curved tongue showing
Keep the expression friendly and cute.
Step 6: Below the head, draw a large oval shape for the belly. The bottom part of the oval should be slightly wider than the top.

Step 7: Add two small curved lines inside the oval to indicate the lower belly. Make another curved line below that to separate the legs.

Step 8: Between the arms and the body, add short curved lines that form the sleeves of the shirt.
Make sure each sleeve wraps naturally around the upper arm.

Step 9: Add a curved horizontal line around the belly to mark the bottom edge of the shirt.

Step 10: Add small details such as:
Short lines on the shirt sleeves
A heart shape or text on the shirt
Extra curves to suggest folds in the clothing

Step 11: Color the drawing

>>>Read more: How To Draw My Melody – 5 Ways (With Pictures)
2. How to draw Disney’s Winnie the Pooh
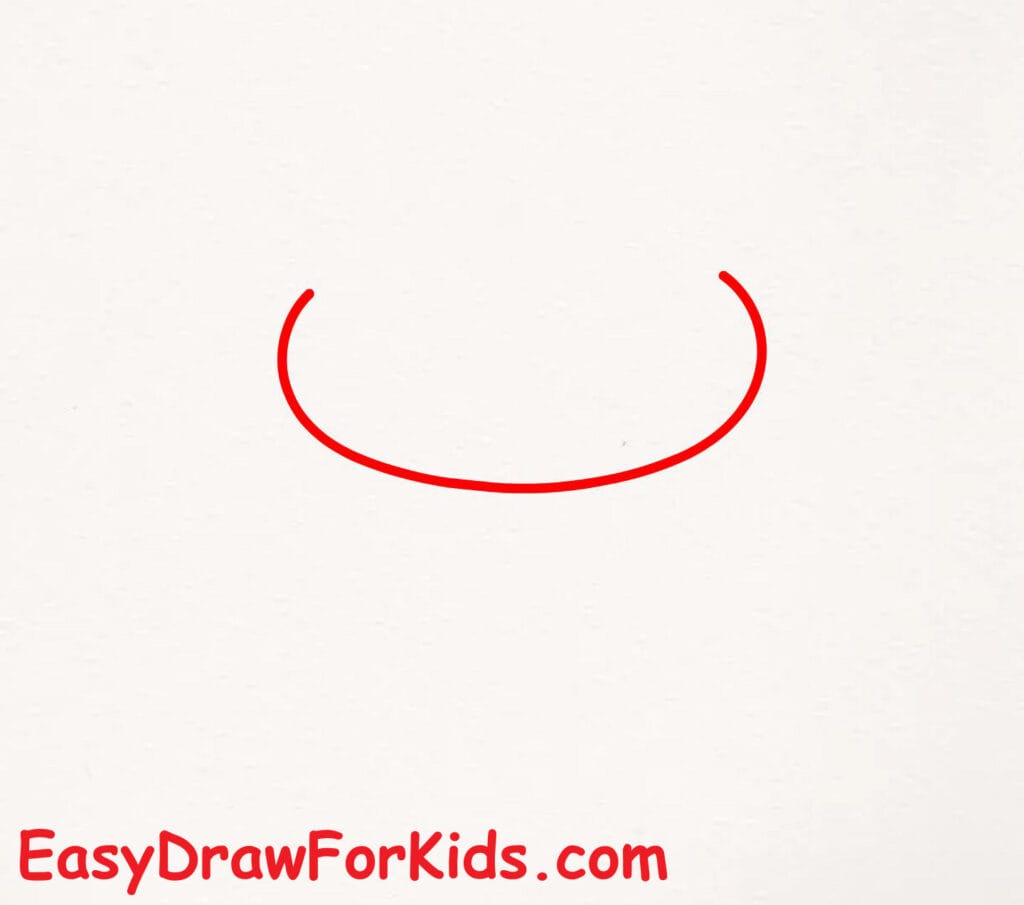
Step 1: Draw the lower part of the face
Create a wide, curved line shaped like a shallow “U.”
This will be the bottom outline of the character’s head.
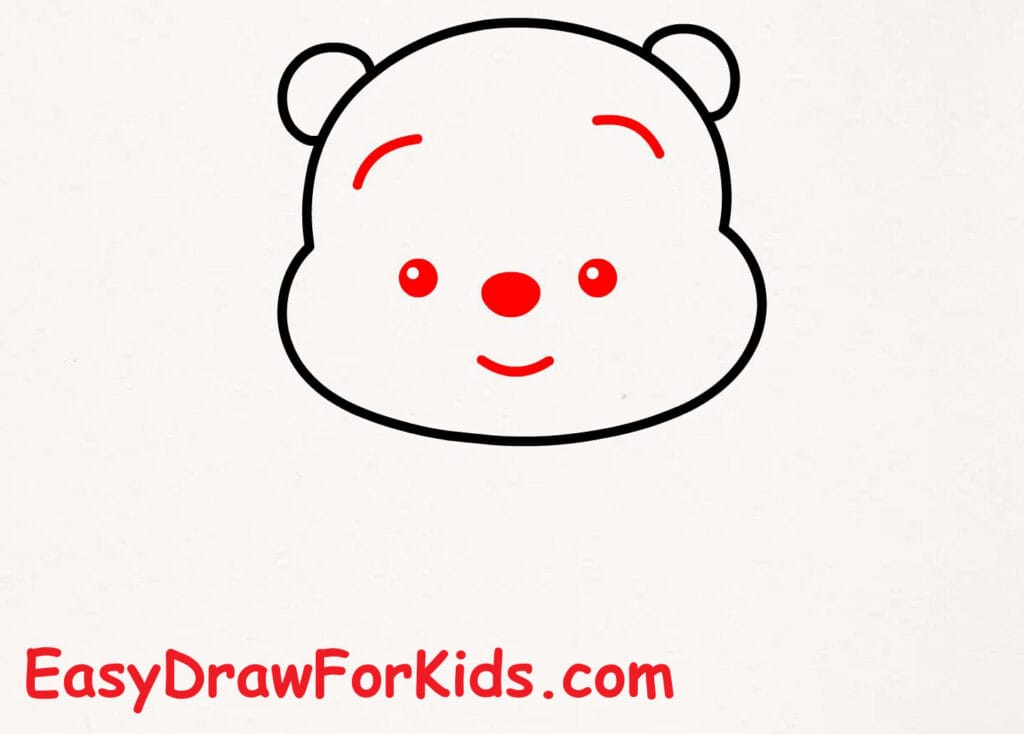
Step 2: Complete the head and add ears
From each end of the U-shape, draw slightly curved lines upward to form the sides of the head.
Connect them with a curved top line to close the head shape.
Add two small round ears on top—one on each side.
You now have a complete head outline.

Step 3: Draw the facial features
Inside the head, add:
Two small oval eyes
A small rounded nose
A gentle curved smile
Keep all features simple and placed near the center of the face.
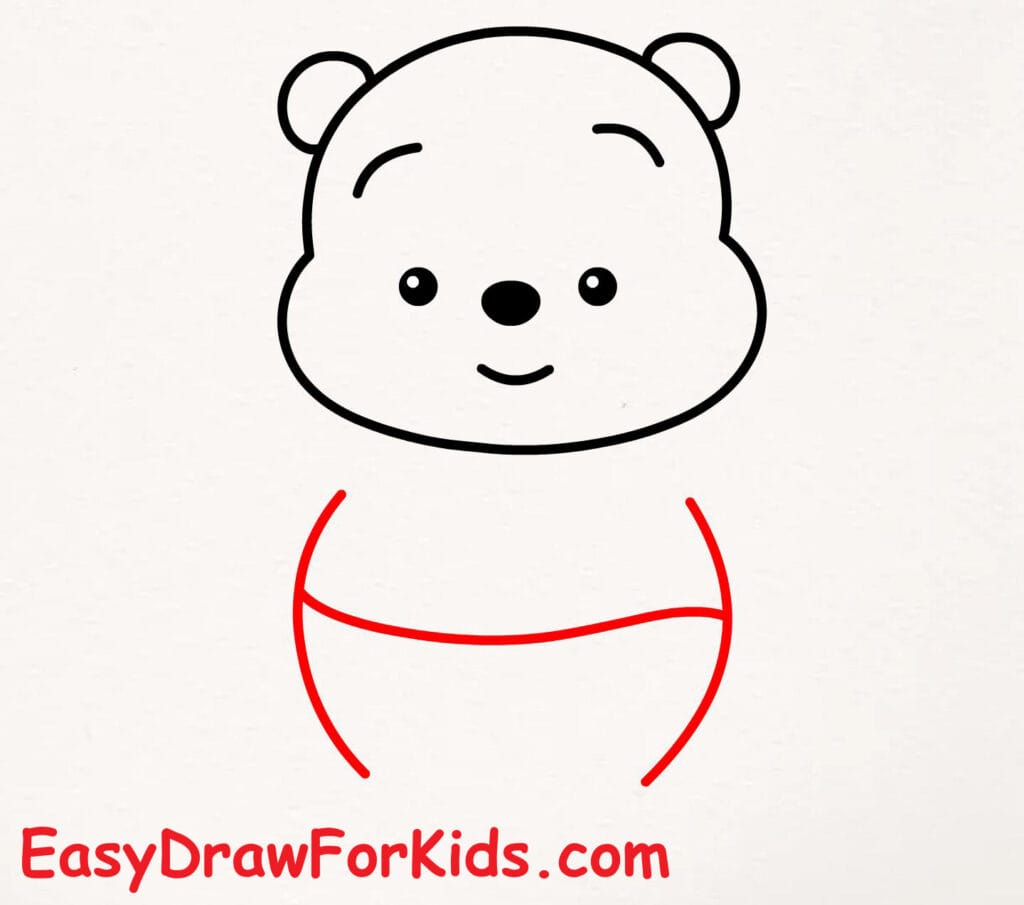
Step 4: Start drawing the body
Below the head, draw a curved horizontal line to show the top of the torso.
Under this line, add two curved diagonal lines pointing downward to form the sides of the stomach.
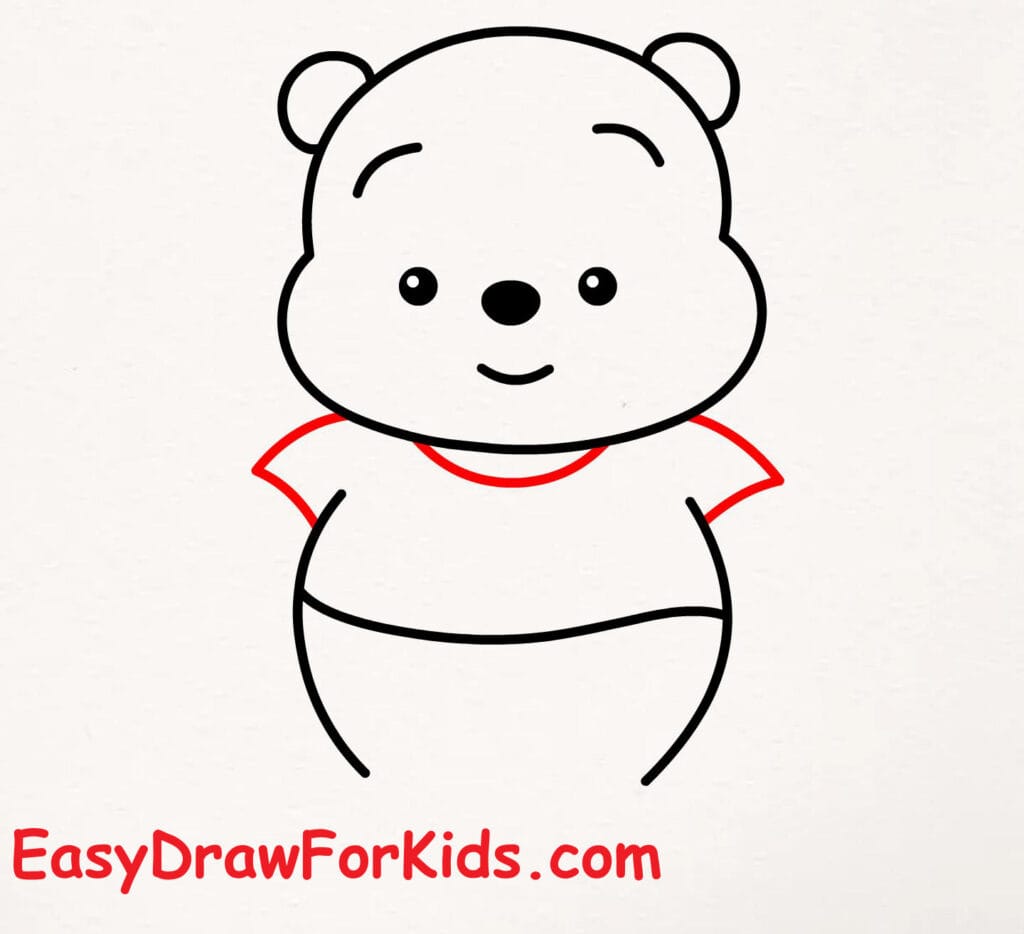
Step 5: Draw the sleeves of the shirt
Draw two small curved shapes on each side of the body to form short sleeves.
Connect these sleeves to the neckline with short curved lines.
Step 6: Add the arms
From each sleeve, draw a rounded arm shape pointing downward.
Keep the arms short and slightly curved.

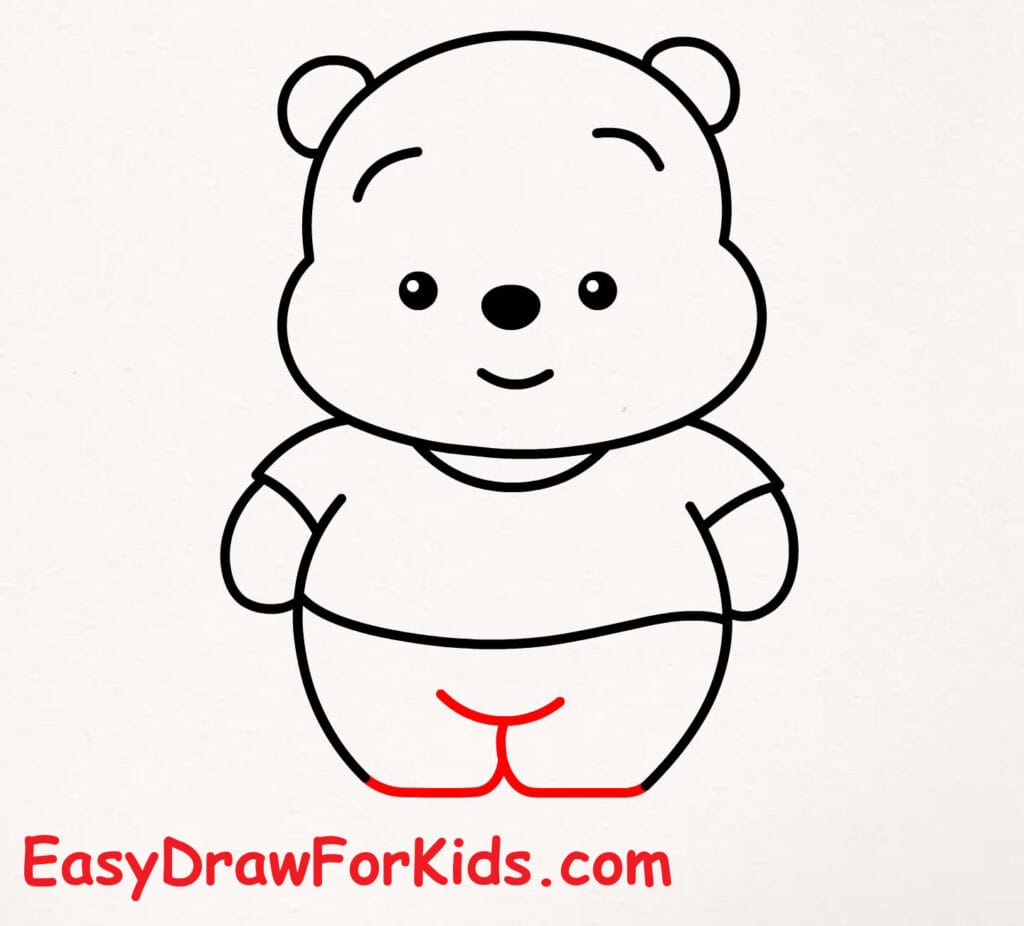
Step 7: Add the lower body and legs
Below the stomach area:
Draw two curved lines to form the upper legs
Separate the legs with a short vertical line
Add small curves to shape the lower belly and leg areas
This completes the full body outline.
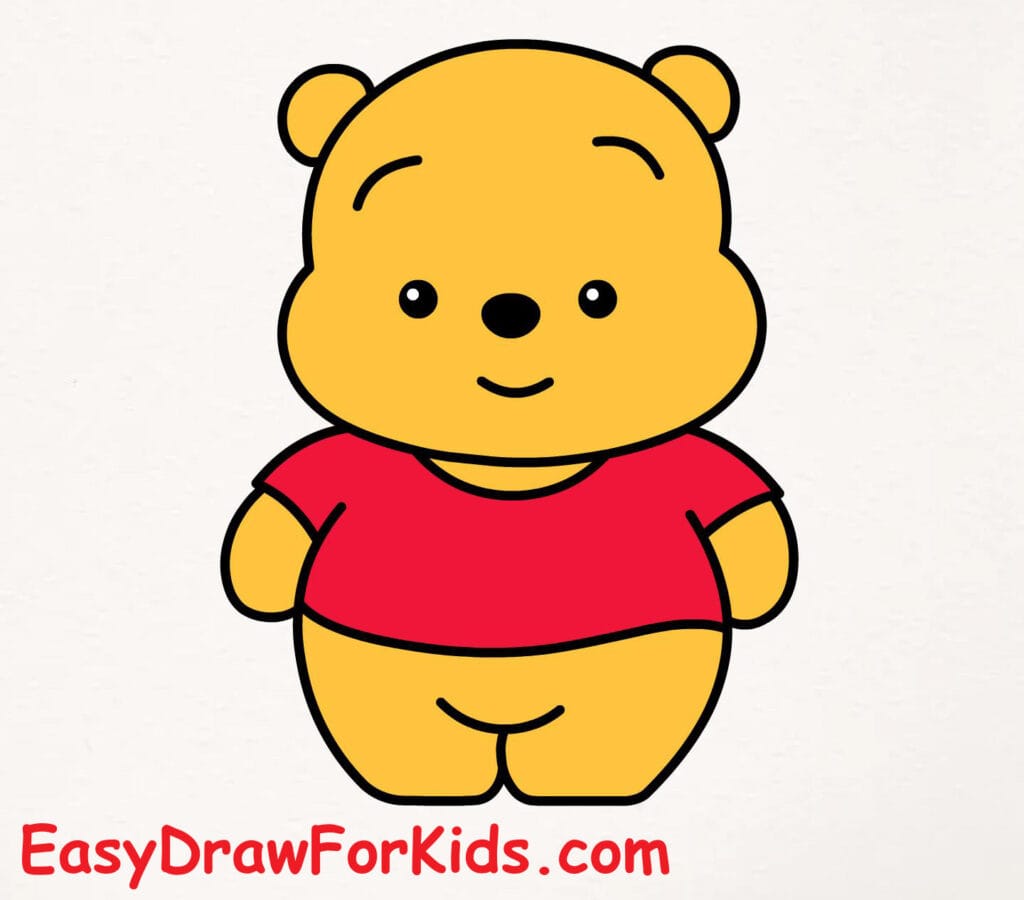
Step 8: Color the character’s body a golden-yellow tone
The shirt is bright red
Eyes and nose remain black
>>>Read more: How to Draw Patrick Star from SpongeBob SquarePants – 7 Ways (With Pictures)
3. Winnie the Pooh drawing cute

You’ve reached the end of the tutorial—amazing work!
Now that you’ve mastered Pooh, try drawing his friends like Piglet, Tigger, or Eeyore next.
Join me again for more fun drawing lessons.