If you’re looking for a fun way to celebrate someone’s special day, why not try drawing them a birthday cake?
In this article, easydrawforkids.com will provide a step-by-step guide on how to draw a birthday cake.
How To Draw A Birthday Cake – A Step By Step Guide
Here are five different styles you can try when you learn how to draw a birthday cake step by step!
1. Cute Birthday Cake Drawing
Step 1: Start by sketching a rectangular for the first cake layer.
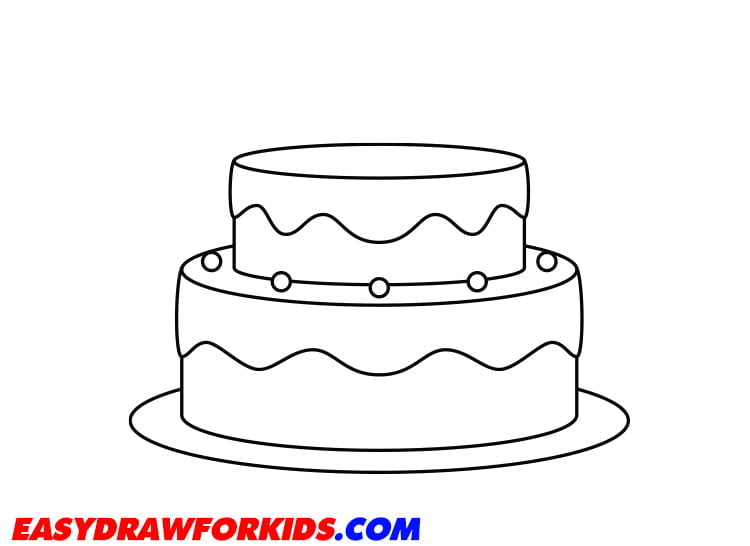
Step 2: Continue stacking cake layers, each one a bit smaller than the one below, to create the tiered cake shape.
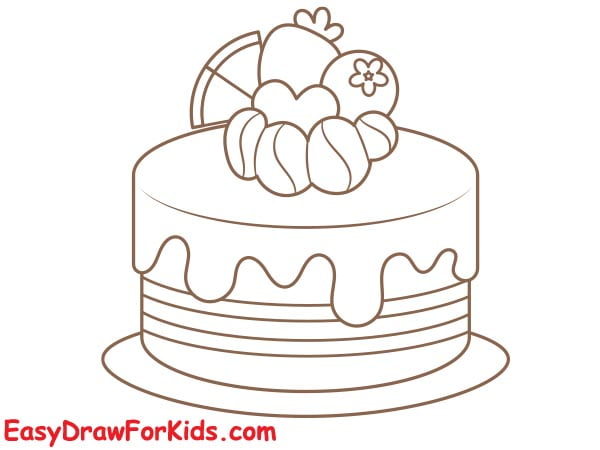
Step 3: Adding wavy lines on top for the frosting.
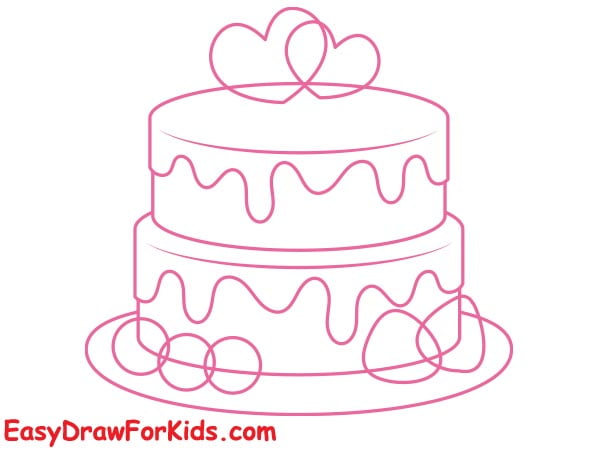
Step 4: Draw an arc around the base of the first cake layer for the fork.
Step 5: Draw two heart on the top of the cake, then draw strawberry and blueberry around the cake
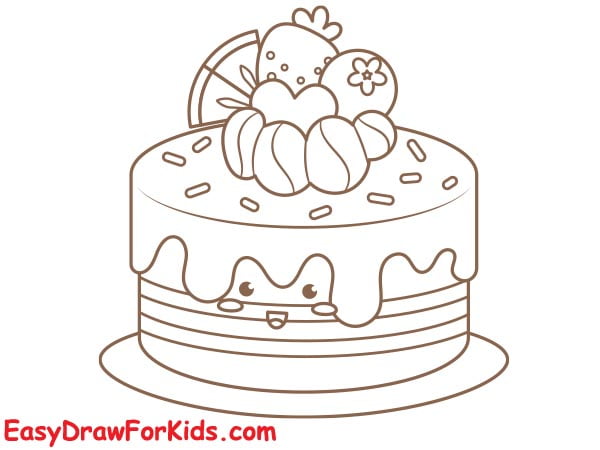
Step 6: Draw the word “LOVE” on the top of the cake
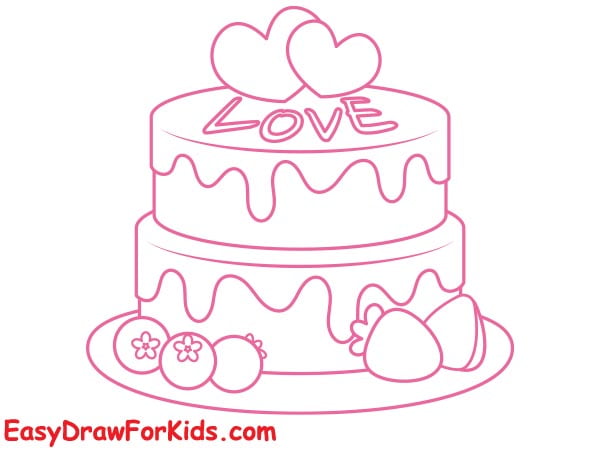
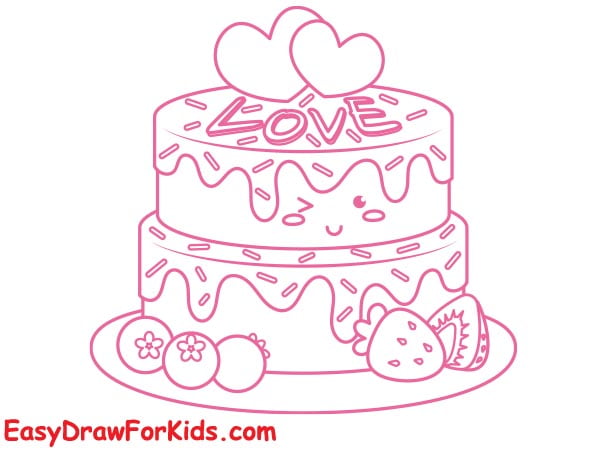
Step 7: Add details like sprinkles and colorful icing drips down the sides.
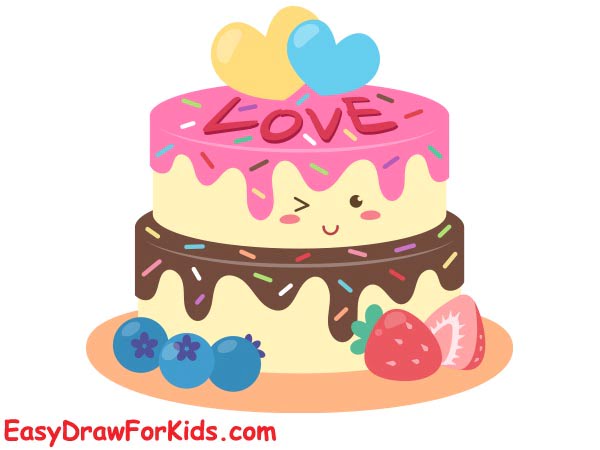
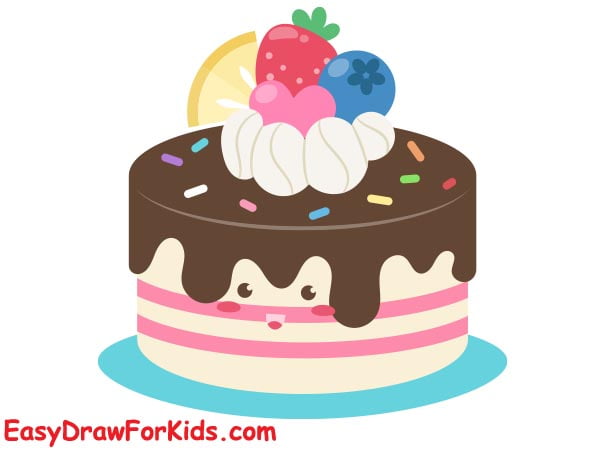
Step 8: Once you’re happy with the line drawing, you can color it in using bright, cheerful colors.
2. Cartoon Birthday Cake Drawing
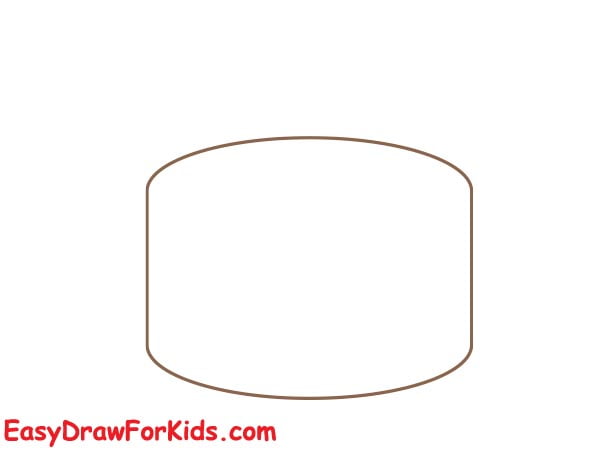
Step 1: Draw a cylinder to form the cake
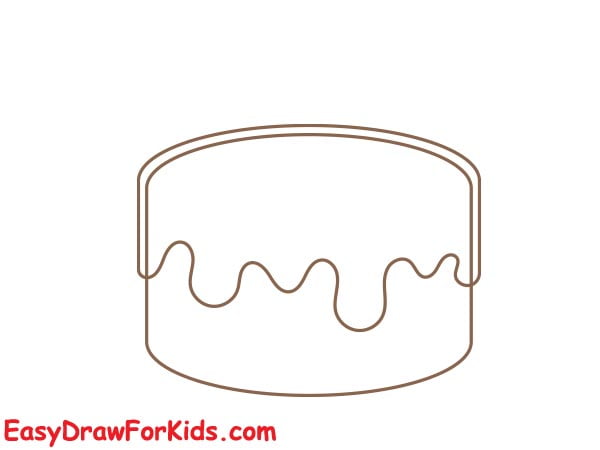
Step 2: Add chocolate topping on top of the birthday cake.
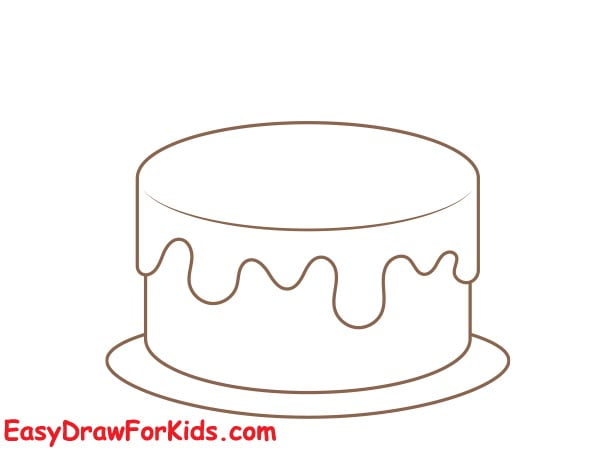
Step 3: Draw curved lines around the birthday cake to make the cake base.
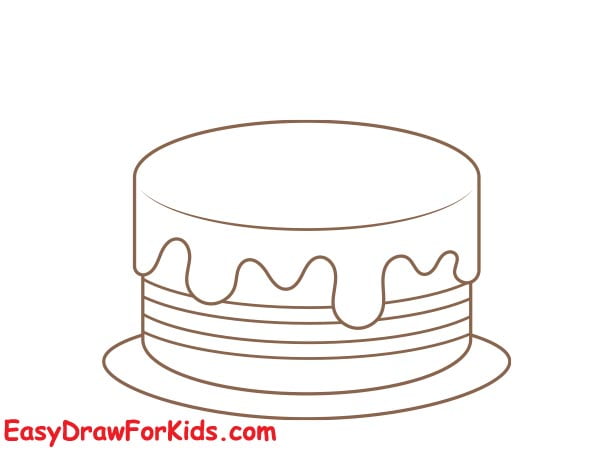
Step 4: Draw three thick, curved line around the sides of the cake.
Step 5: Adding strawberry, cherry, watemelon, slice orange on the top of the cake
Step 6: Add sprinkles, bows, stars to make your cartoon cake even cuter.
Step 7: Use pink, blue, yellow, and white for cartoon birthday cake.
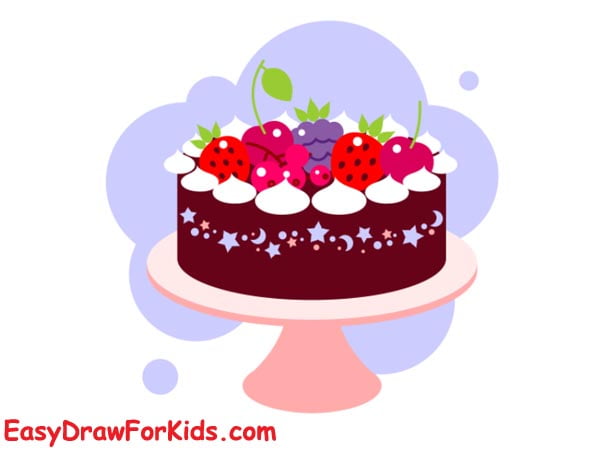
3. Chocolate Birthday Cake Drawing
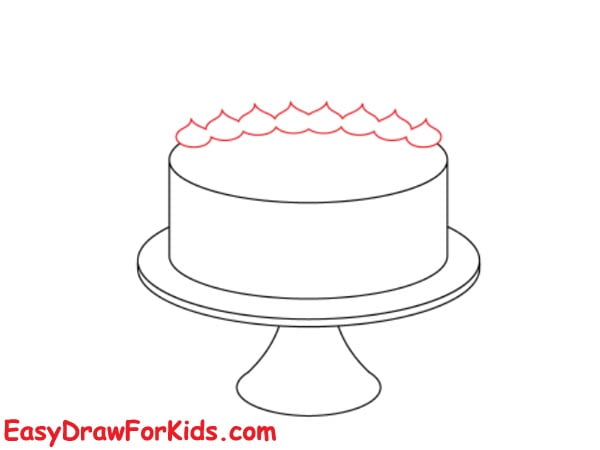
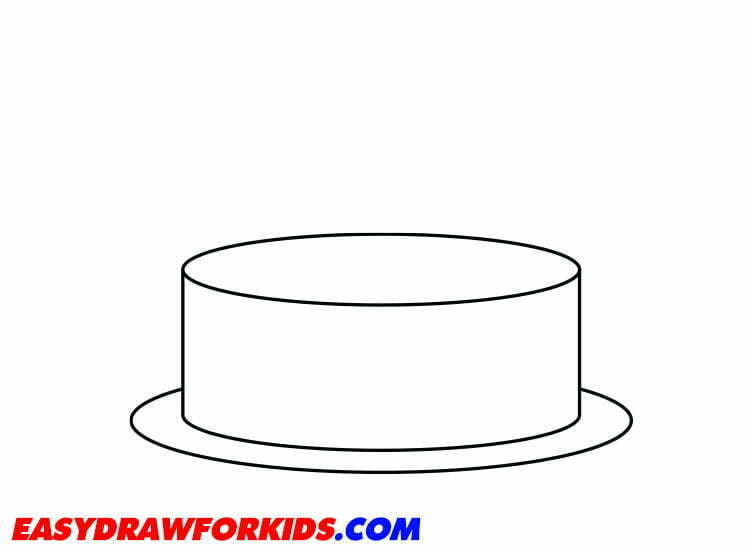
Step 1: Draw a plate with a base and a birthday cake on top like the picture
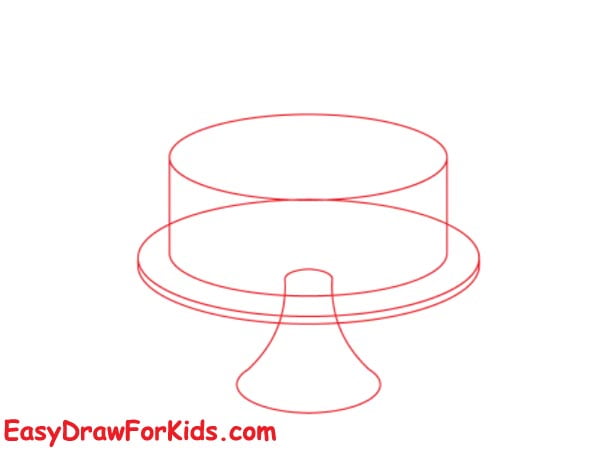
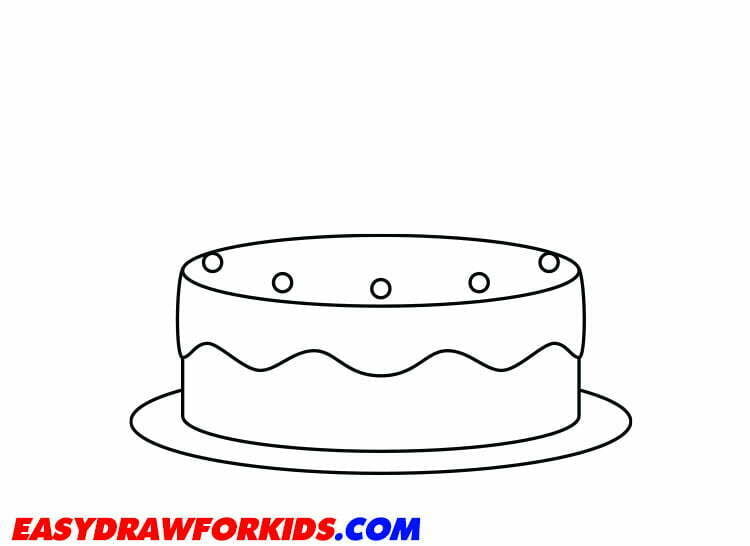
Step 2: Adding playful, swirling shapes on top for the frosting.
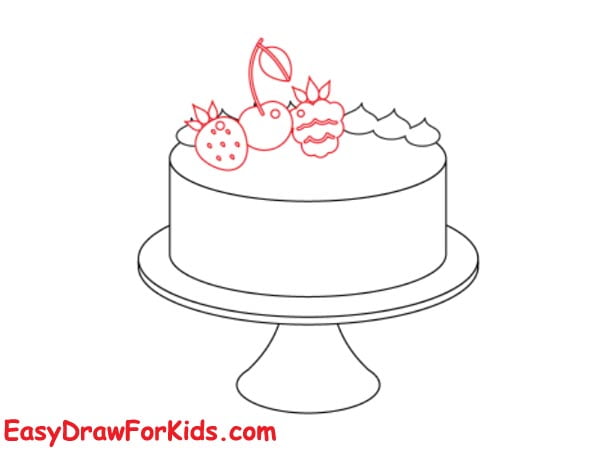
Step 3: Now, ypu are adding strawberry, cherry.
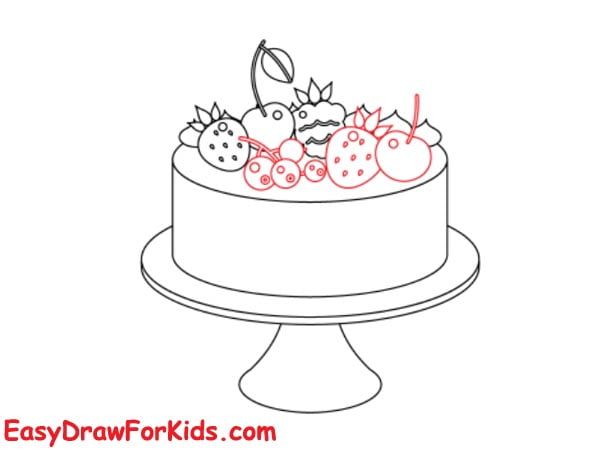
Step 4: Add more cherry, strawberrry, blueberry
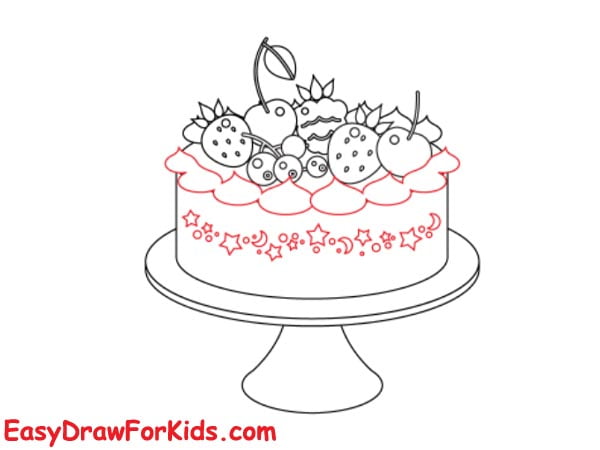
Step 5: Adding more playful, swirling shapes in front of the birthday cake
Step 6: Coloring
4. Birthday Cake Drawing Easy

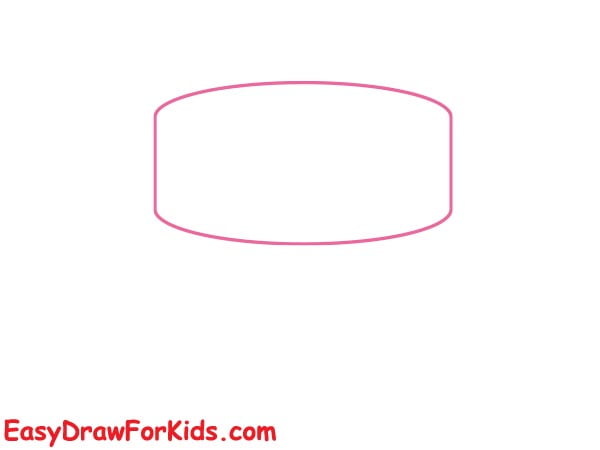
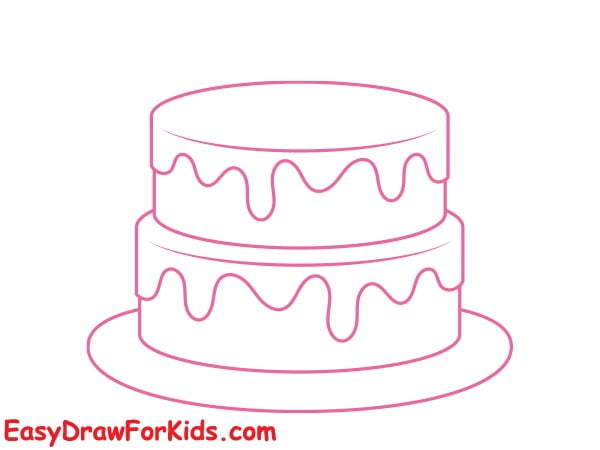
Step 1: Start this guide how to draw a birthday cake by draw an oval shape for a plate, the cake will be on it.

Step 2: Draw a rectangle on top of the plate. This will be the bottom tier of the cake
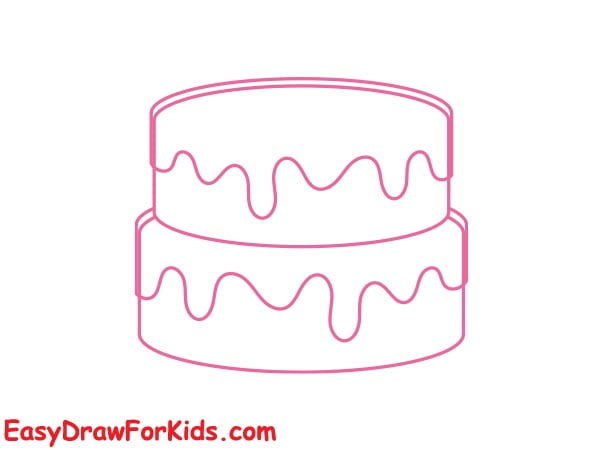
Step 3: Draw wavy lines around the edges of cake for the frosting as shown in the picture.

Step 4: Draw loops with frosting along the edges of cake. Sprinkle them across the frosting.
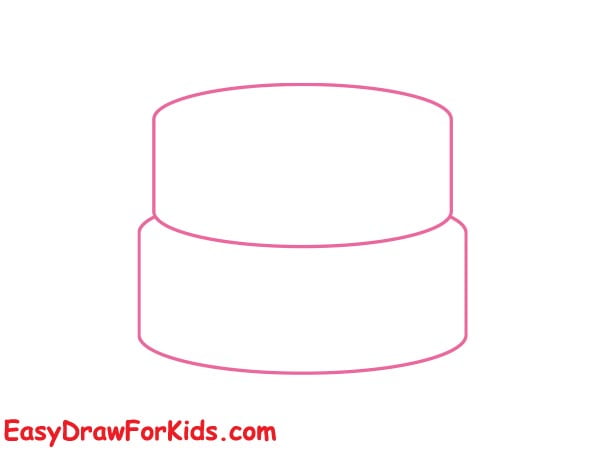
Step 5: At the top of the cake, draw a smaller oval shape. This is the top tier of the cake.
Then draw wavy lines on each layer of the cake for the frosting.
Step 6: Add candles along the top, varying candle heights for interest. Draw flickering flame shapes.

Step 7: Now that your drawing is complete, it’s time to add some color!

5. Simple Birthday Cake Drawing

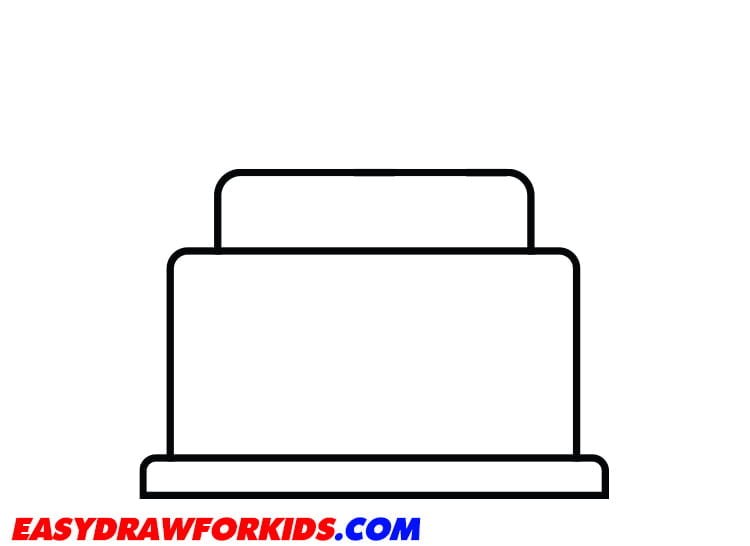
Step 1: Begin with a rectangle for the base and add another smaller rectangle on top of it.

Step 2: Add more layers to your cake by drawing smaller rectangles on top of the previous ones.
Step 3: Adding wavy lines on each layer of the cake for icing, then add other decorations on the top of the cake.
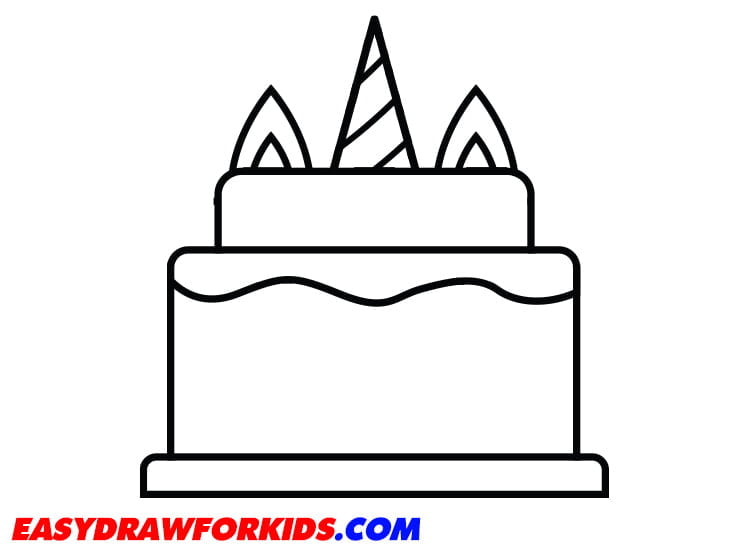
Step 4: Draw the curved lines for the smiling mouth and eyes

Step 5: Color the cake layers brown or white to resemble cake.
Use brighter colors like pink, blue, yellow, etc. for the frosting and decorations.
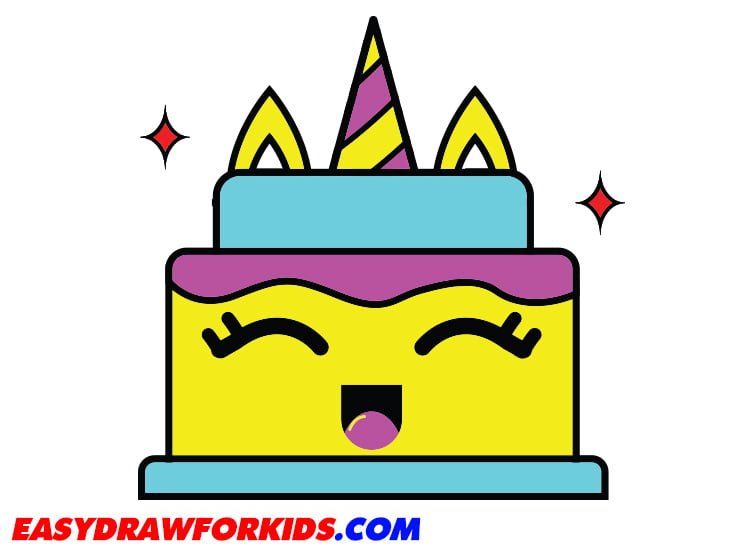
Congratulations! You have just learned how to draw a birthday cake.
Write a birthday greeting like “Happy Birthday” as well.