If you’ve ever wanted to sketch a powerful buffalo but didn’t know where to start, this lesson is for you.
Today we’ll walk through a simple method to capture their bulky body, curved horns, and calm expression.
Let’s explore how to draw a buffalo—the symbol of strength and endurance.
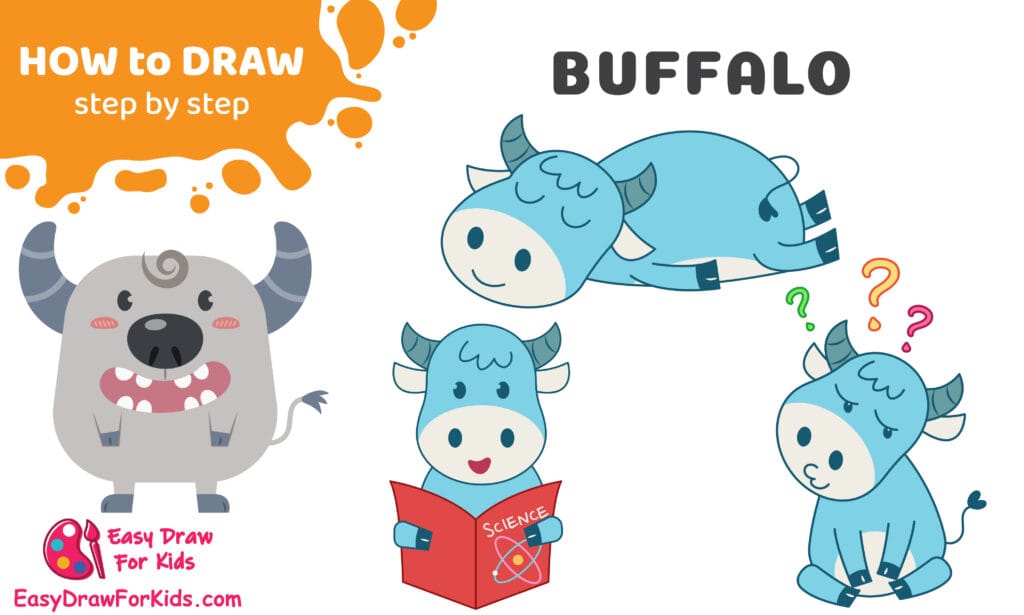
How to Draw a Buffalo – A Step by Step Guide
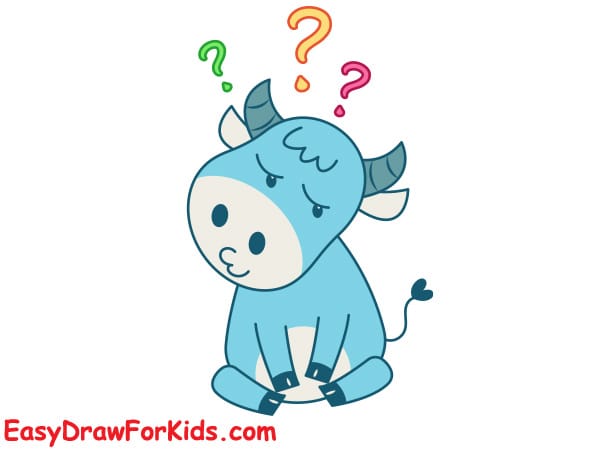
1. How to Draw a Confused Buffalo
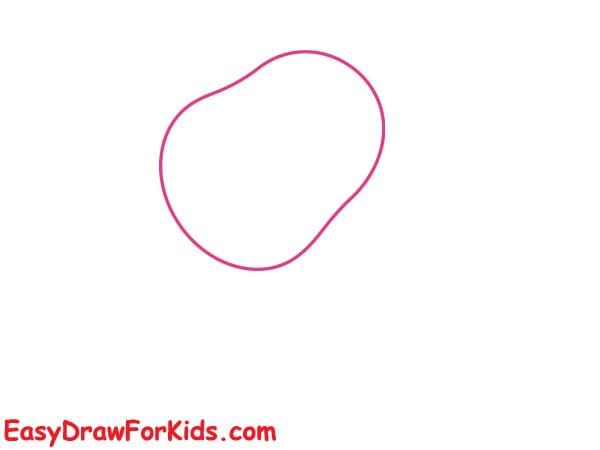
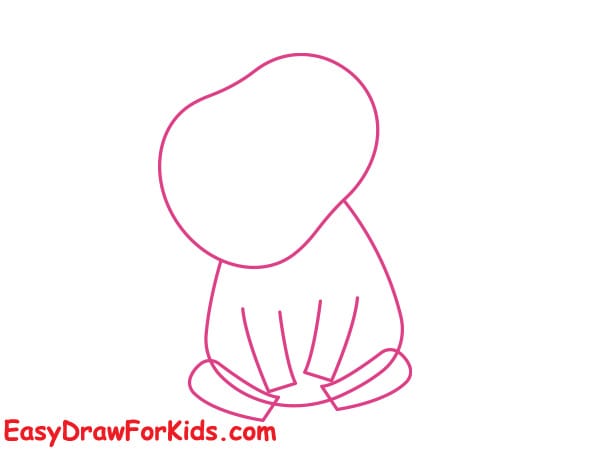
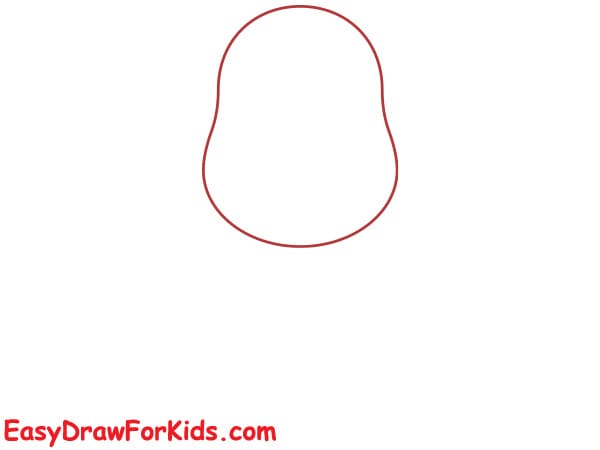
Step 1: Start by sketching a large, uneven oval shape. Make the top wider and the bottom slightly narrower.
This shape will be the buffalo’s head and should look soft and rounded.
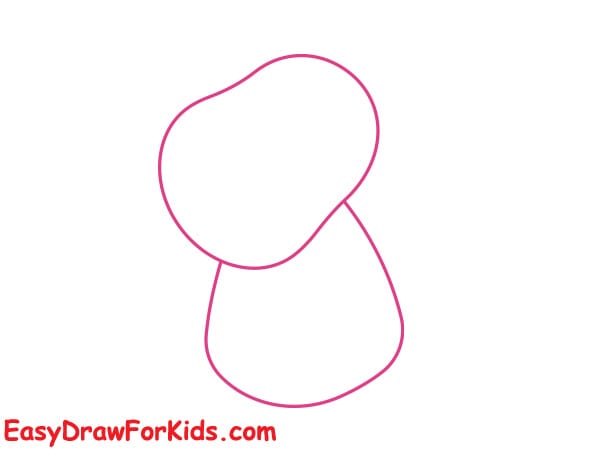
Step 2: Below the head, draw a pear-shaped body.
The top of the body should be smaller and connect smoothly to the head, while the bottom widens out.
Keep the lines soft and rounded to match the cute style.
Step 3: At the bottom of the body, draw two short front legs by sketching two curved lines on each side.
Add two small oval shapes at the base for the hooves.
On the right side, draw another hoof resting on the ground to show the buffalo sitting.
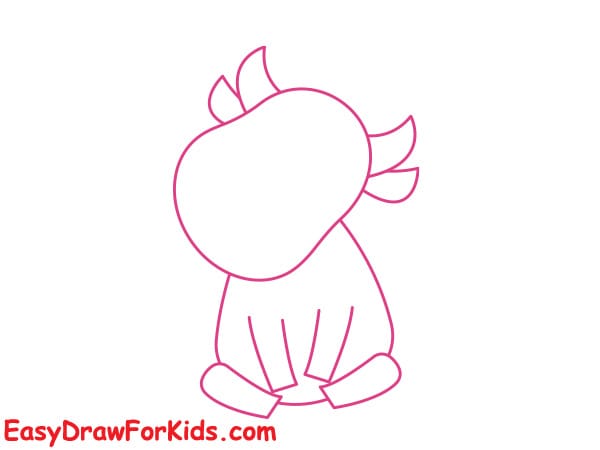
Step 4: Now, start adding the details on the head:
Draw two small curved horns on each side of the head.
Below each horn, add a cute rounded ear pointing outward.
On top of the head, sketch a few tufts of hair using short curved shapes.
These features help bring out the buffalo’s personality.
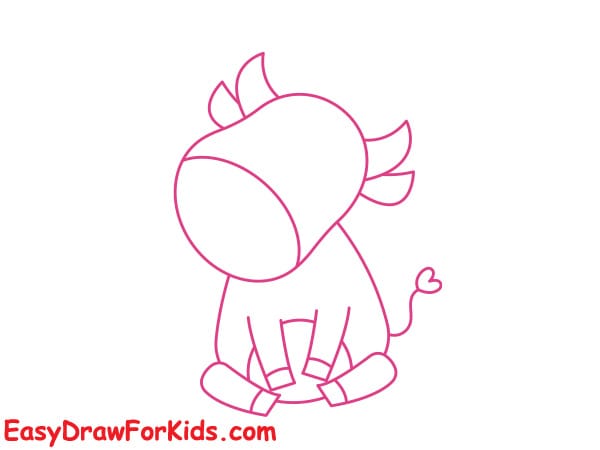
Step 5: On the right side of the body, draw a simple curved line for the tail.
Add a small rounded tuft at the end of it. Make sure the tail curves upward slightly to keep the pose cute.
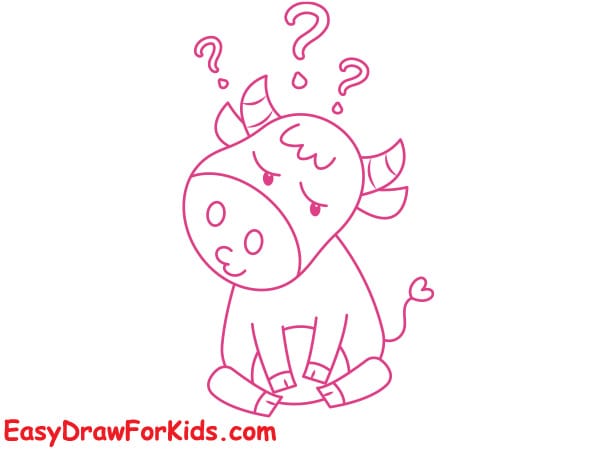
Step 6: Now it’s time to add the expression:
Draw two big round eyes with small circles inside for highlights.
Add a round snout in the center of the face.
Draw two small nostrils and a tiny confused mouth.
Add several question marks above the buffalo’s head to show confusion.
These question marks make the expression look funny and expressive!
Step 7: Color the buffalo with:
Light blue or turquoise for the body
Darker blue for the hooves and tail
Pink inside the ears
Light beige for the snout
Bright red, green, and yellow for the question marks
This gives you the final adorable confused buffalo!
>>>Read more: How to Draw a Raccoon – 6 Ways (With Pictures)
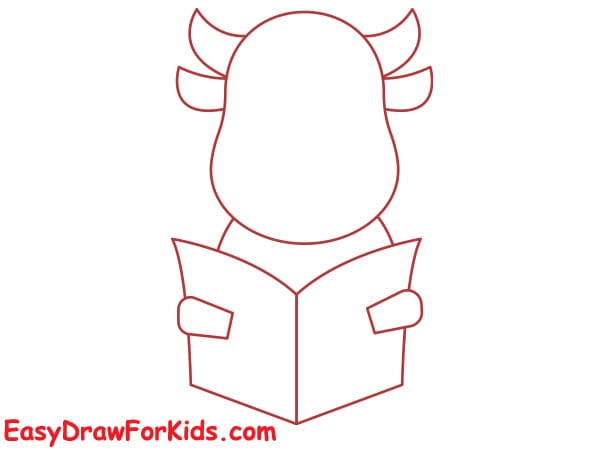
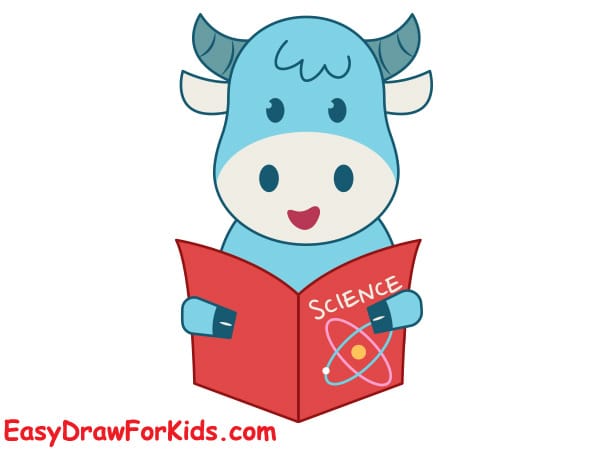
2. How to Draw Buffalo reading book
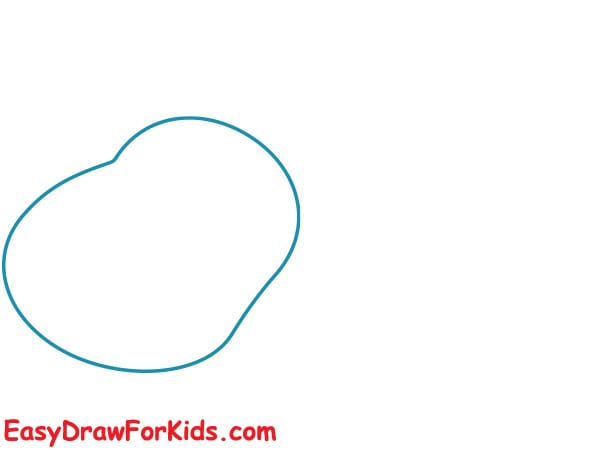
Step 1: Lightly draw a rounded, slightly pear-shaped oval for the buffalo’s head.
The top is a bit wider and it narrows slightly toward the chin. This simple shape sets the head proportion.
Step 2: Under the head, draw an open book: two angled rectangles meeting at a center fold (a “V” seam).
Add a short curved line from the head down to the top of the book, this marks the neck and how the head sits above the book.

Step 3: Draw two simple curved shapes on each side of the book’s top edges to show the buffalo’s shoulders and the position of its forearms

Step 4: On the top corners of the head, add two small curved horns and, under each horn, sketch a rounded ear shape.
Add a couple of small rectangular details at the shoulder edges to suggest the top of the front legs or sleeves.
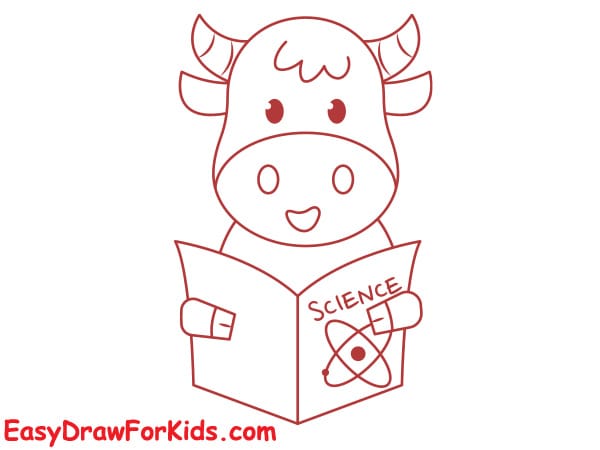
Step 5: Inside the head shape, draw the buffalo’s face: two round eyes, a rounded rectangular snout in the lower center, two small nostrils and a gentle smiling mouth.
On the book cover add a title block or small icons.
Refine the hands so they wrap around the book edges.
Step 7: Color the buffalo
>>>Read more: How to Draw a Hedgehog – 18 Ways (With Pictures)
3. How to Draw sleeping Buffalo
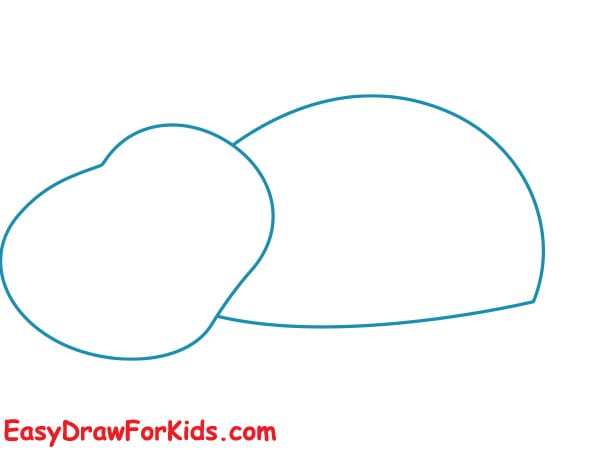
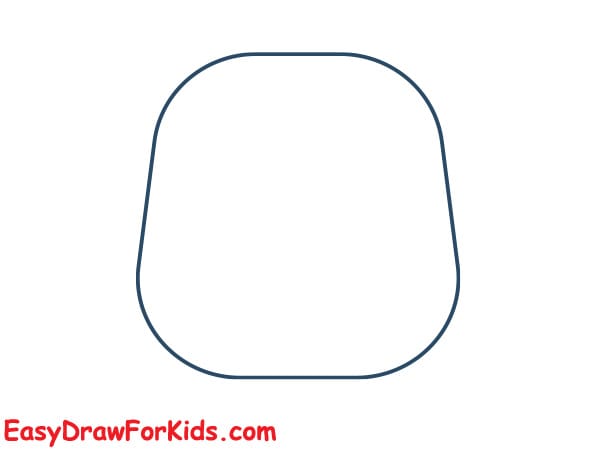
Step 1: Lightly sketch a soft, rounded bean shape for the buffalo’s head.
Step 2: Next, draw a larger dome shape, attached to the head, for the main body.
Make both shapes slightly flattened so the buffalo will look like it’s lying down.
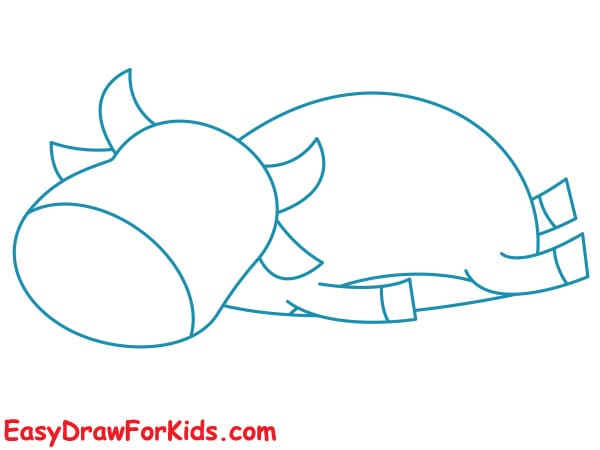
Step 3: Under the body, draw the two rear legs tucked in: short rounded blocks that sit close to the belly.
Add a small rectangular shape near the front for the front hoof tucked under the head. Keep limb shapes simple and stubby for a cute, chibi look.
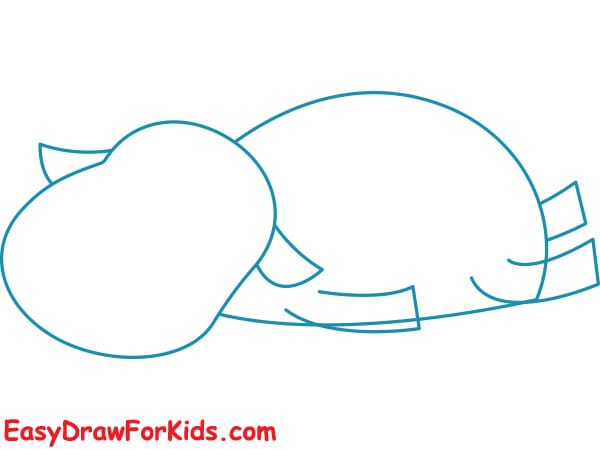
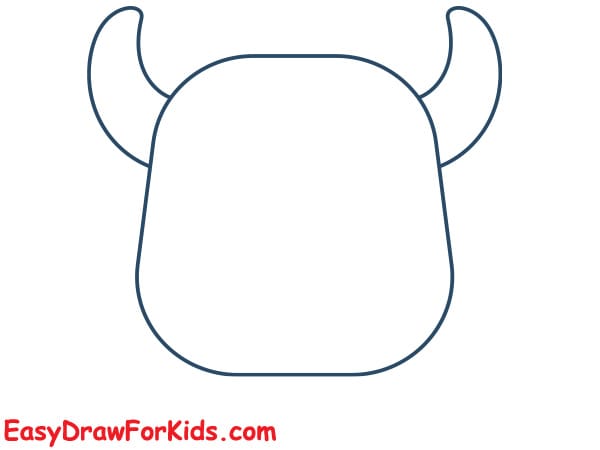
Step 4: At the top of the head, add two small curved horns.
Draw a small rounded ear behind one horn.
Step 5: On the face draw a rounded rectangular snout with two small oval nostrils.
Add the closed eye to show sleeping. Draw a small tail stub.
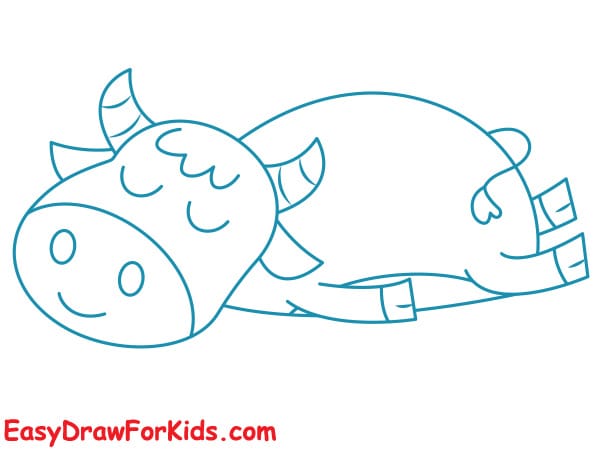
Step 6: Color the buffalo: choose a soft blue for the main fur, a lighter cream or peach for the snout and belly patch, a darker tone for the horns and hooves, and a subtle pink for the cheek blush.

>>>Read more: How To Draw A Bull – 3 Ways (With Pictures)
4. How to Draw a Baby Buffalo
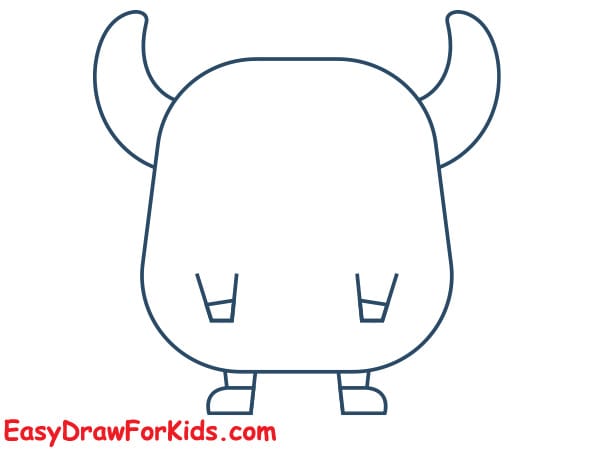
Step 1: Draw a rounded square with very rounded corners. The shape should be slightly taller than it is wide. This is the buffalo’s main body.
Step 2: At the top left and top right corners, draw two curved horns. Make them thick at the base and taper a bit toward the tips.
Step 3: Along the bottom edge, draw two short rectangular legs visible in front view.
They are small and stubby; add a tiny horizontal line near each leg’s bottom to show the hoof separation.
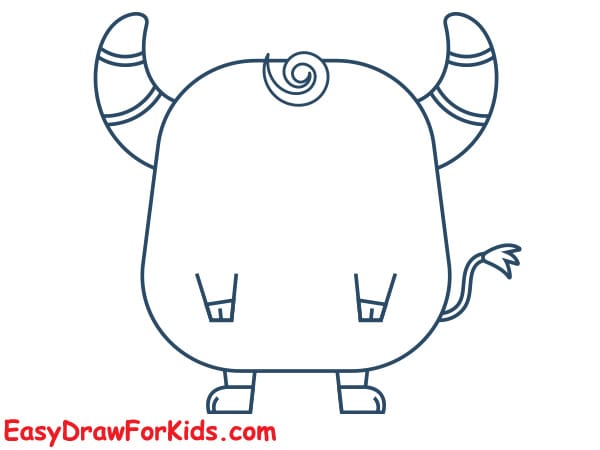
Step 4: Add a small curl of hair at the forehead
Add a short thin tail on the lower right side with a little tuft at the end.
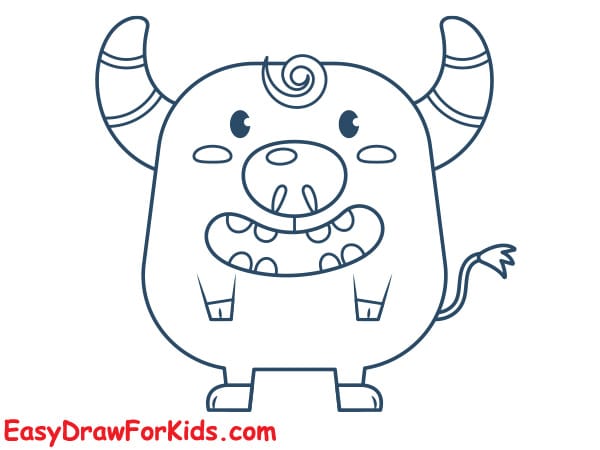
Step 5: Draw two small round eyes above the snout, spaced evenly apart.
Add two small circles for rosy cheeks slightly below and to the sides of the eyes.
Draw a large rounded nosearea on the snout: a wide oval with two dark nostril dots.
For the mouth, draw a wide smiling curve under the snout. Inside the mouth you can add two or three big, slightly crooked teeth to get the playful look.
Step 6: Coloring
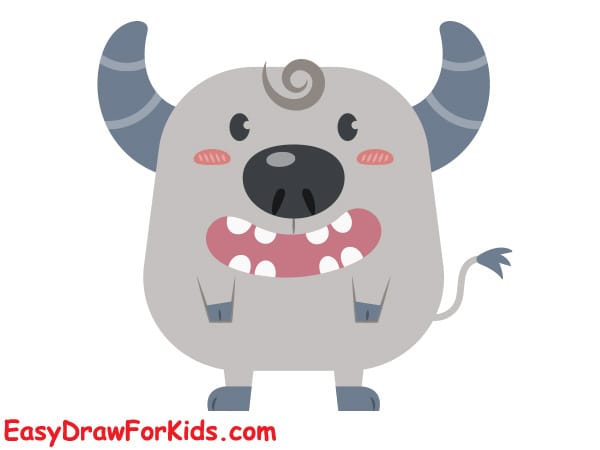
Thanks for following along—your buffalo drawing is complete!
With a few shapes and careful lines, you’ve created a powerful animal full of character.
Keep this method in mind, and you’ll be able to draw many more impressive animals.