Welcome to another drawing adventure!
In this tutorial, we’ll show you how to draw a clown that’s full of charm and personality.
Let’s draw an adorable clown using simple shapes and easy strokes.
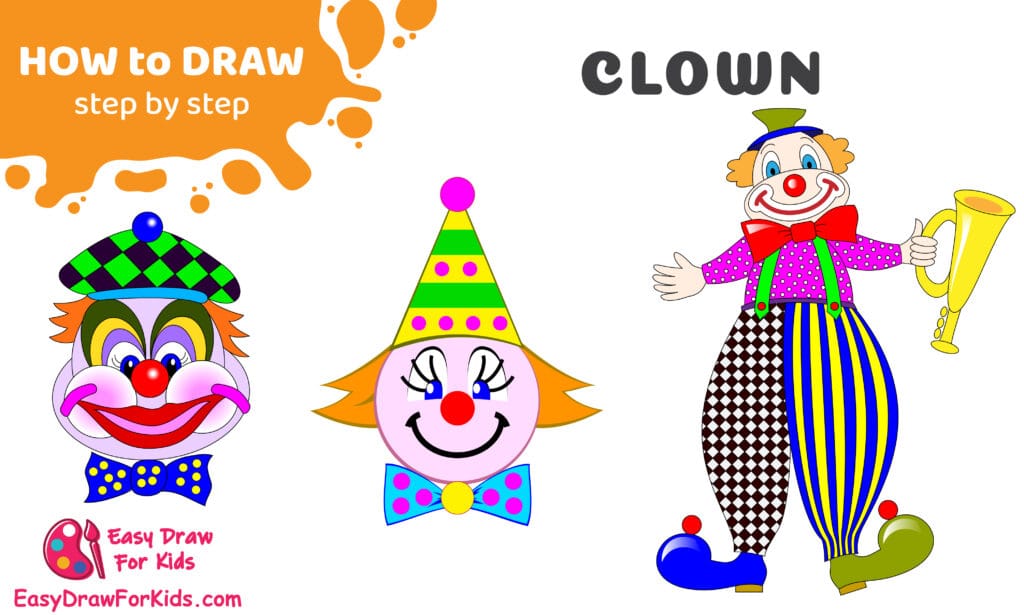
How To Draw A Clown – A Step by Step Guide
1. How to Draw a Clown Easy
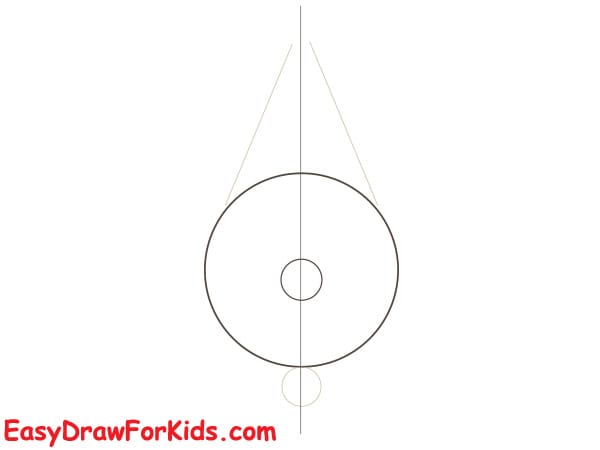
Step 1: Begin by drawing a large circle for the clown’s head.
Add a smaller circle inside the big one, placed at the bottom center — this will be the clown’s nose.
Lightly draw a vertical center guideline from the top of the page down through the head.
At the top of the vertical line, sketch a small circle — this will be the pom-pom of the clown’s hat.
Connect the pom-pom to the top of the head using two slanted lines to form the triangular clown hat.
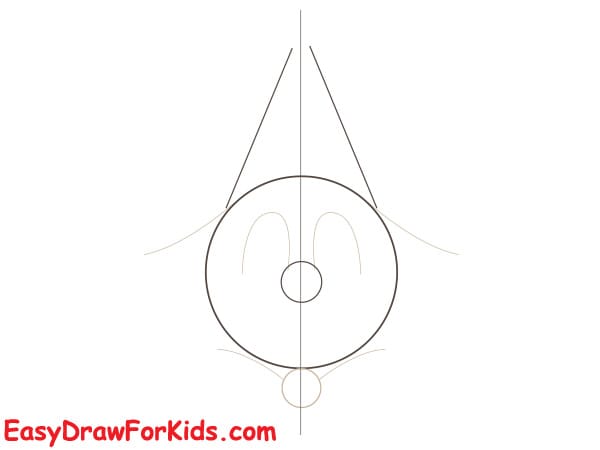
Step 2: Inside the head circle, draw two oval shapes for the eyes.
Keep them symmetrical by using the vertical guideline as reference.
Lightly sketch curved lines around the face to position the cheeks and mouth later.
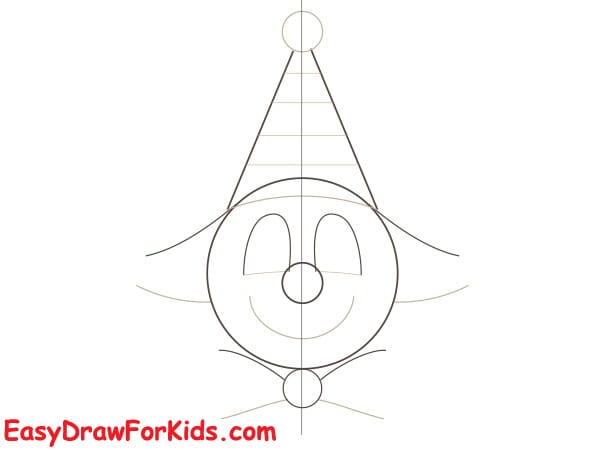
Step 3: Draw the eyebrows above the eyes.
Add two long curved lines under the eyes to shape the clown’s smiling cheeks.
Draw the mouth using a wide curved line that extends across the face.
Add a small circle at the bottom of the face for the chin structure.
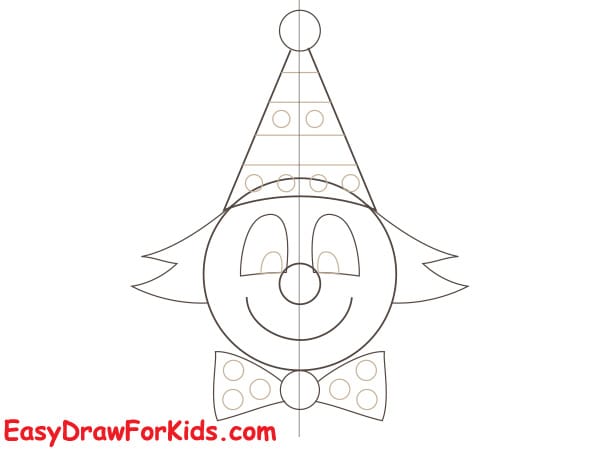
Step 4: Draw the clown’s hair on each side of the head:
Use wavy, zigzag-like lines to make the hair look fluffy.
Add decorative circles on the clown hat.
Draw a large bow tie under the head:
Start with two triangles on each side.
Add a small circle in the middle for the knot.
Add smaller circles as decoration on the bow tie.
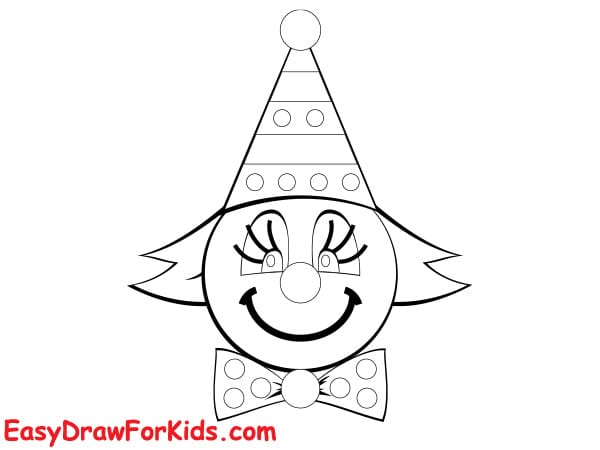
Step 5: Outline the eyes with thicker lines.
Add eyelashes above the eyes.
Redraw the smile more clearly.
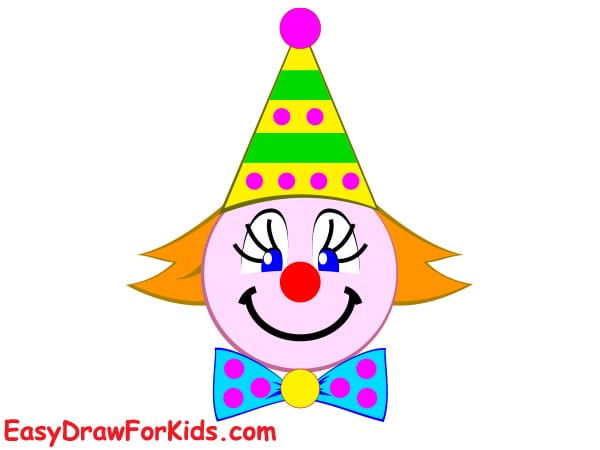
Step 6: Coloring
Color the hat using bright, fun colors like green, yellow, and pink.
Color the pom-pom pink or red.
Color the clown’s hair orange.
Color the face light peach.
Make the nose bright red.
Color the bow tie blue with yellow or colorful dots.
>>>Read more: How To Draw A Soldier – 2 Ways (With Pictures)
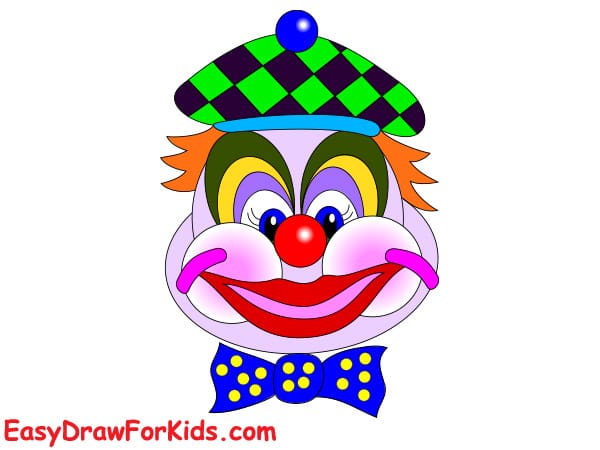
2. How to Draw a Clown Face
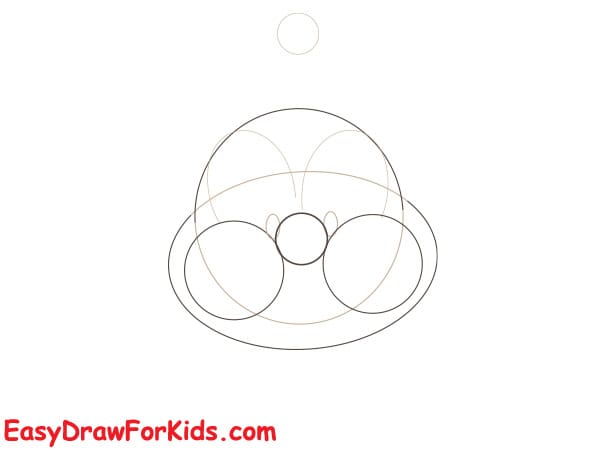
Step 1: Start by sketching the main outlines:
Draw a large oval for the clown’s face.
Add two smaller horizontal ovals on each side for the cheeks.
Draw two small circles on the cheeks to mark where the eyes will go.
Add a circle at the center for the clown’s nose.
These shapes help you place all parts correctly before adding details.

Step 2: On top of the head, draw another circle to guide the top of the clown’s hat.
Add curved lines above the eyes for the eyebrows.
Draw a small circle below the face for the chin to complete the basic structure.
At this stage, everything should look like connected simple shapes.
Step 3: Start turning your guide shapes into facial features:
Draw curved upper eyelids and lower eyelids around the eye circles.
Shape the cheeks so they look round and chubby.
Refine the nose with a bold round outline.
Add the outline of the hat on top using the circle guide.
Your drawing is starting to look like a clown.

Step 4: Now add the characteristic clown details:
Sketch the clown’s puffy hair on both sides of the head with zig-zag or curved strokes.
Draw a large curved smile below the nose.
Add a bow tie under the chin.
Refine the hat shape so it looks complete.
Add small lines on the hair for texture.

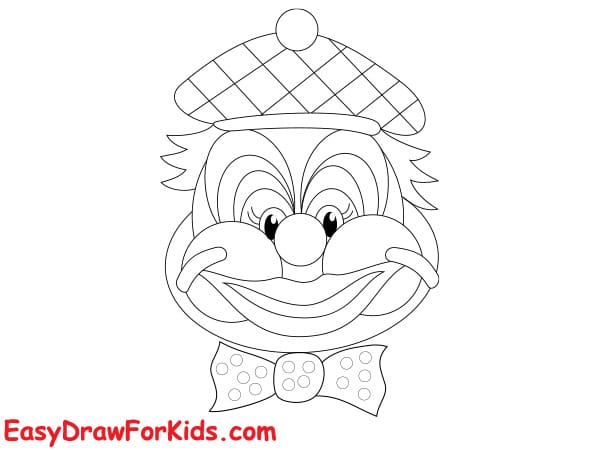
Step 5: Draw diamond shapes across the hat to make a checkered pattern.
Add decorations to the bow tie.
Erase light construction lines that are no longer needed.
The drawing should now look clean and finished.
Step 6: Now bring your clown to life with color
>>>Read more: How To Draw An Artist – 2 Ways (With Pictures)
3. How to Draw a Clown Full Body
Step 1: Draw the basic body shapes
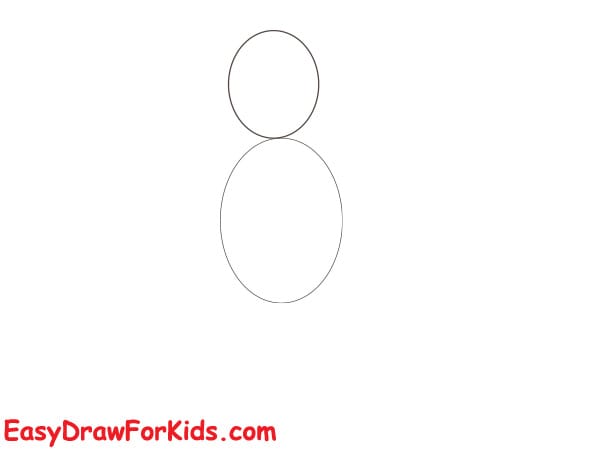
Draw a small circle for the clown’s head.
Below it, draw a larger oval for the body.
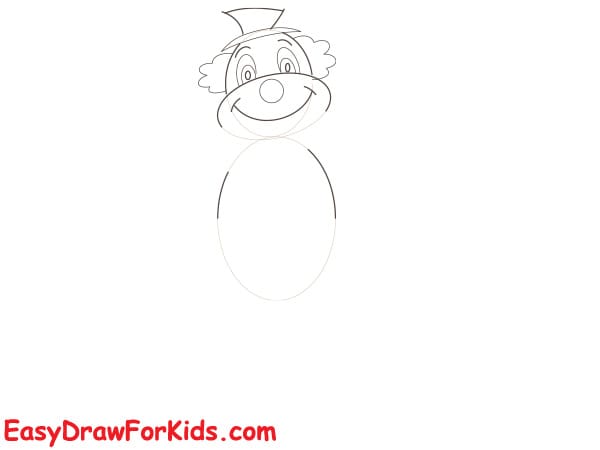
Step 2: Draw the clown’s hat and hair
On top of the head, draw a clown hat.
Add fluffy hair on both sides of the head using small curved, zig-zag, or cloud-like lines.
This gives the clown a fun and cheerful appearance.

Step 3: Draw the face
Inside the head circle:
Draw two eyes near the upper center.
Add a large round nose.
Draw a big smile under the nose.
Add eyebrows or makeup lines above the eyes.
At this stage the clown’s facial expression should look happy and friendly.
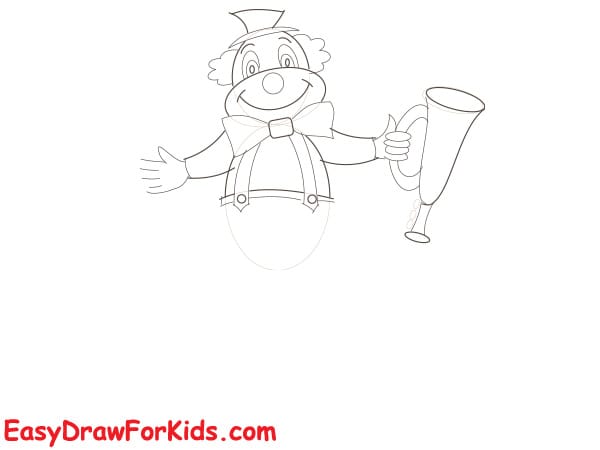
Step 4: Draw the collar
Just below the head, draw a clown collar made of several curved or triangular shapes.
It should spread outward around the neck and attach to the top of the body.

Step 5: Draw the arms
Draw two arms extending from the shoulders:
Use long curved lines for each arm.
On one arm, draw a hand held outward with open fingers.
On the other arm, draw a hand holding a clown horn.
Make the shapes round and soft to keep the cartoon style.

Step 6: Draw the clown horn
On the hand that is raised:
Draw a cone-shaped horn.
Add a small rounded base at the end where the clown would blow into it.
This accessory helps give the clown personality.
Step 7: Draw the pants and legs
Now add the lower body:
Draw two large wide pants, almost balloon-like in shape.
Add a vertical seam in the middle to separate the two legs.
Under the pants, draw large clown shoes with rounded tips.
Make everything large and exaggerated for a funny cartoon effect.

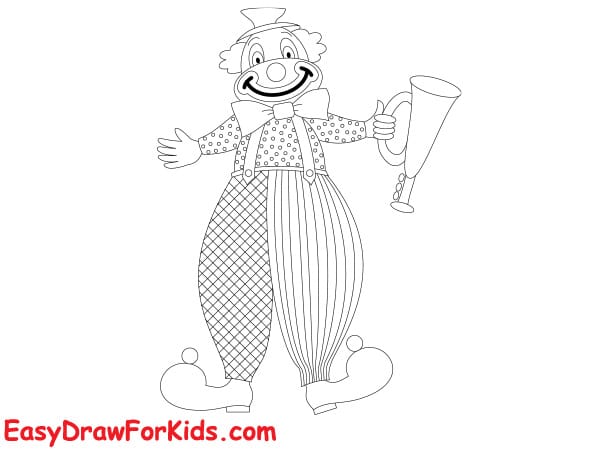
Step 8: Add patterns and accessories:
Draw suspenders or straps on the clown’s shirt.
Add stripes, dots, or checkered patterns on the pants.
Add buttons on the shirt.
Refine shoe shapes with soles and details.
This step brings personality and texture to the outfit.
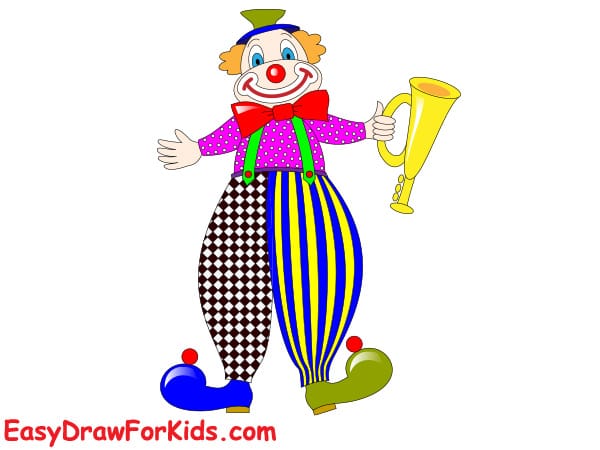
Step 9: Color the drawing using bright, lively colors.
The more colorful the clown is, the more cheerful it will look!
>>>Read more: How To Draw Super Dad – 6 Ways (With Pictures)
Thanks for drawing with me!
Your clown is ready to join the circus. Try drawing more characters to create a whole scene.
I hope you had fun creating this cheerful clown.
See you in the next tutorial!