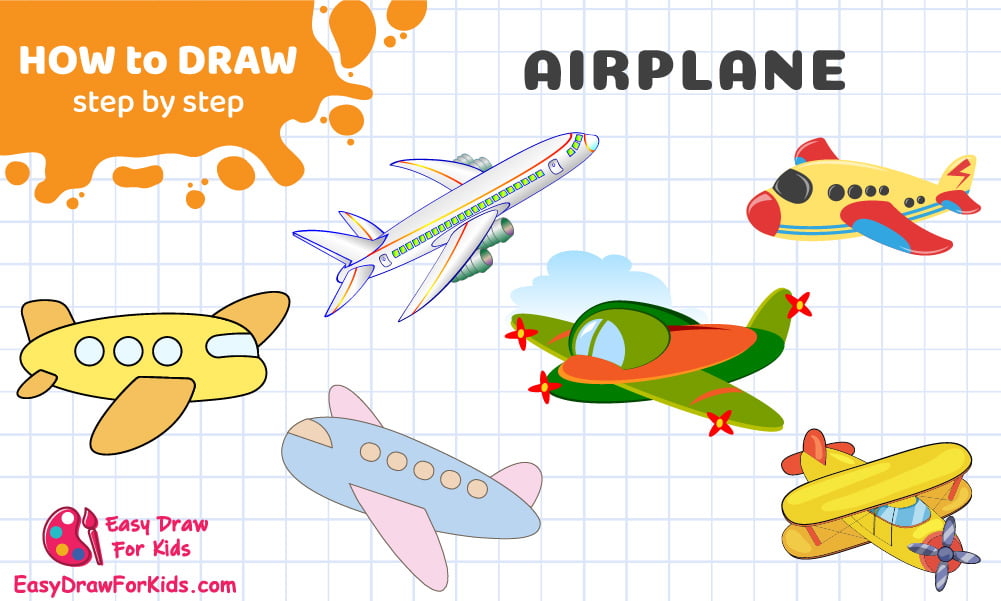
Have you ever want to draw an airplane?
Learning how to draw an airplane is a great topic for kids.
In this tutorial, easydrawforkids.com will give you 6 easy methods for drawing an airplane, ensuring that even beginners can achieve impressive results.
How to draw an Airplane – A step by step guide
1. Aeroplane Flying Drawing
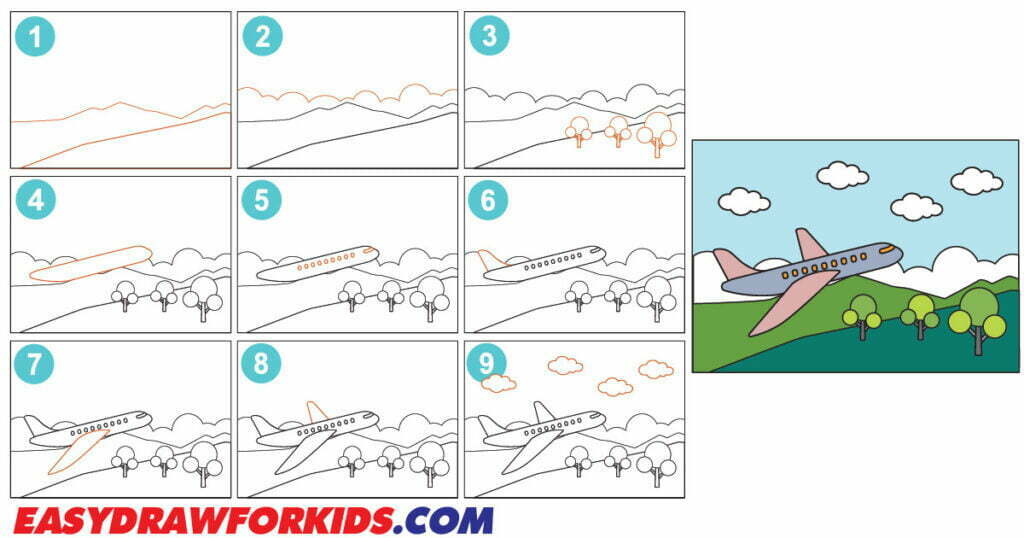
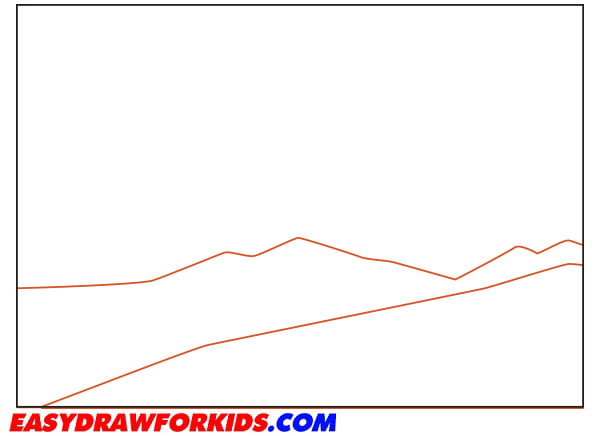
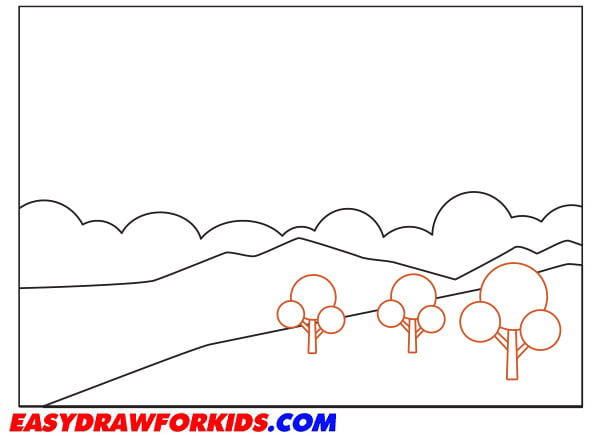
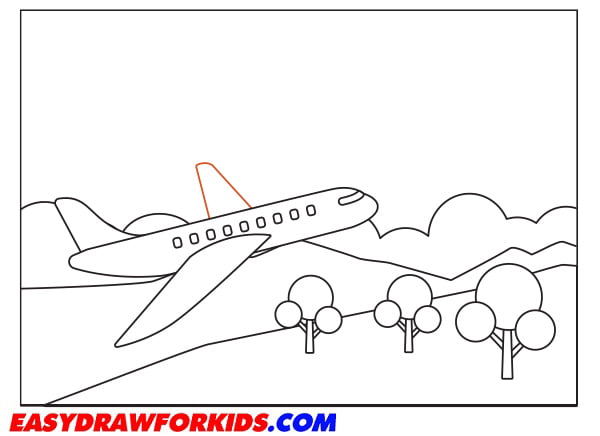
Step 1: Draw curved lines from the bottom to the upper part of your paper for the land and moutains.
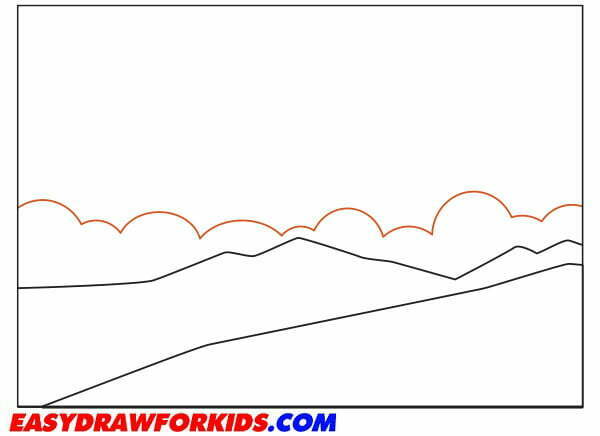
Step 2: Draw wavy lines above the moutain for the clouds
Step 3: The third step on guide how to draw an airplane by draw trees, flowers on the land
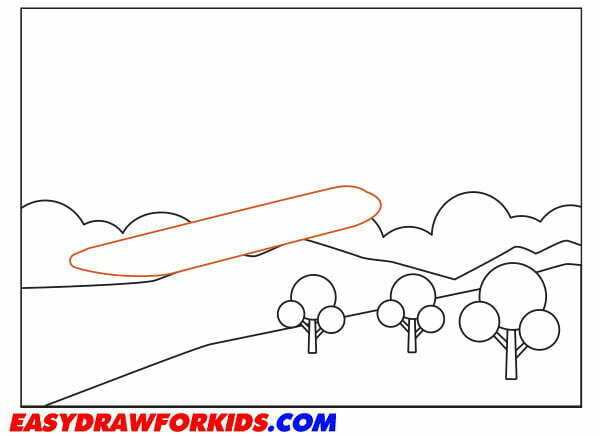
Step 4: Draw a long, narrow oval shape slightly above the horizon line. This will be the main body of the plane.
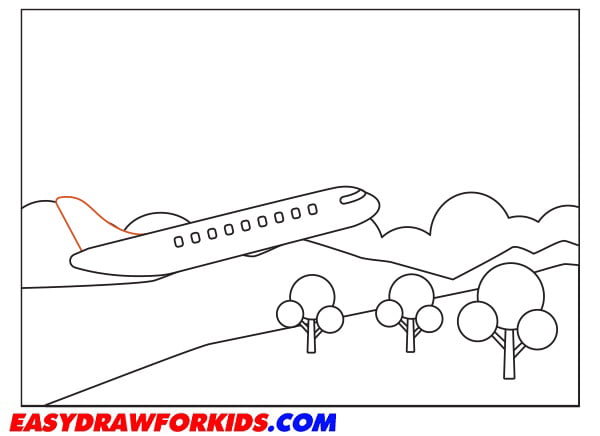
Step 5: Add some Details
Add a smaller oval shape at the front of the fuselage to represent the cockpit area.
Draw rectangular shapes for the windows and a curved line for the door.

Step 6: Draw a rectangular shape extending upwards from the fuselage for the stabilizer.
Step 7: Draw the first wings on the side of the fuselage.
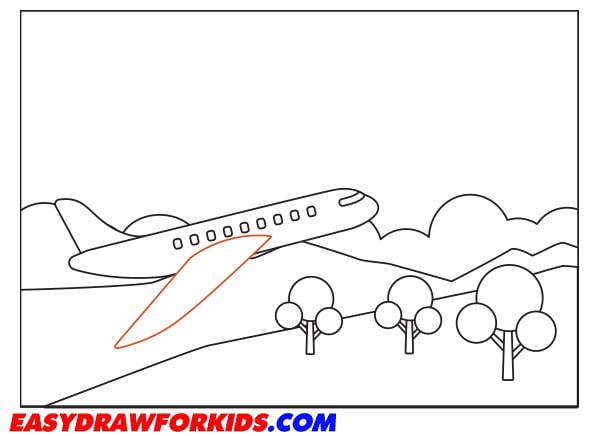
Step 8: Draw the second wing of the same shape at the top.
Step 9: Draw the Clouds
Draw the wavy lines of freeform shapes for the clouds at the sky.
You can go over a few ideas by how to draw a clouds of us

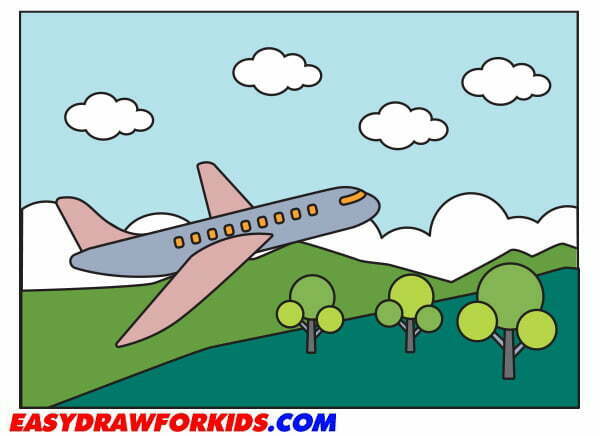
Step 10: Use coloring materials to bring your landscape to life
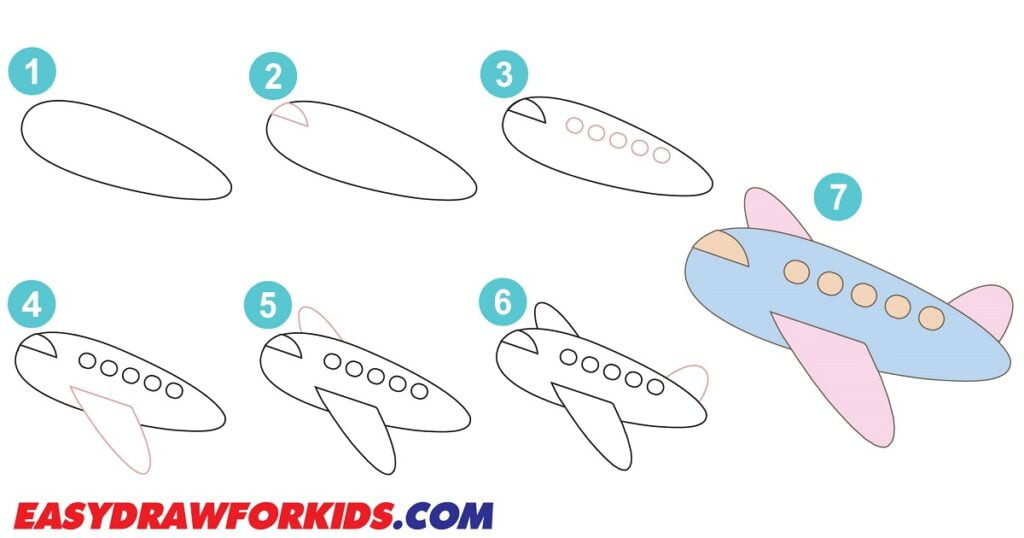
2. Simple Airplane Drawing

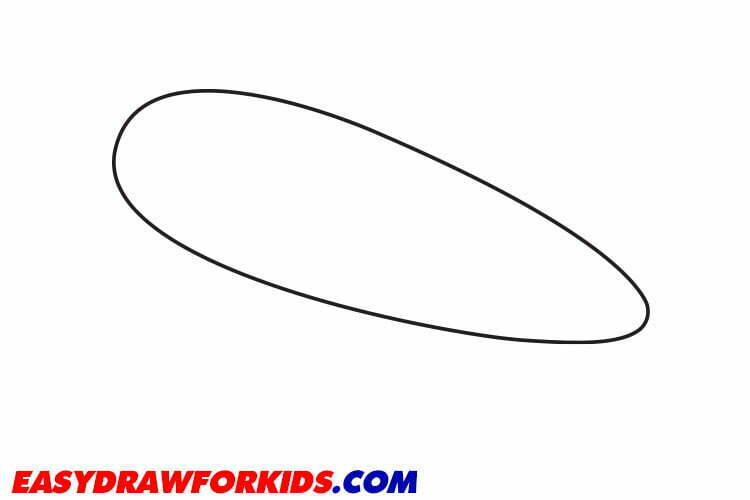
Step 1: Draw a long, curved line for the body of the plane

Step 2: Draw a curved line to the back of the plane to represent the tail helps to stabilize the airplane in flight.

Step 3: Depict the wings and window
Draw two smaller curved line on either side of the fuselage. These will be the wings.
Sketch out the small window at the front of the plane.

Step 4: Sequentially draw three small identical circles on the aircraft body.

Step 5: Color the airplane
Now that the airplane is drawn, it’s time to add some color! For the body of the airplane, use a light yellow color. The wings can be a dark yellow color.

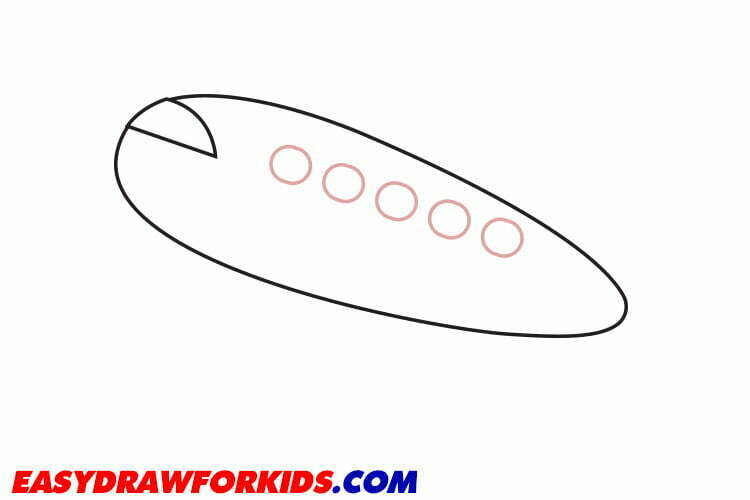
3. Easy Plane Drawing
Step 1: The first step on guide how to draw an airplane by drawing a long, curved line for the body of the airplane
Step 2: Sketch out the small window at the front of the plane as shown the picture

Step 3: Sequentially draw five small identical circles on the aircraft body.
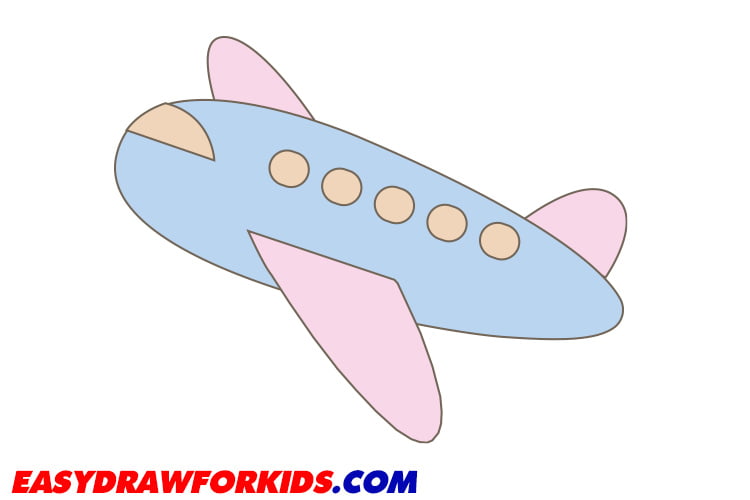
Step 4: On either side of the body, draw a wing. Each wing should be a long, curved line that’s slightly curved inward at the top.

Step 5: Repeat the previous step for the other wing.

Step 6: Draw the tail of the plane using a curved line.

Step 7: Airplanes are usually painted with bright, bold colors that make them easy to spot in the sky. Have fun with it and be creative!
4. Aircraft Drawing
Step 1 : Drawing a long, narrow cylinder shape for the body and a vertical line near the tapered end for the cabin
Step 2: Draw two parallel lines extending outward from the fuselage, one on each side for the wings

Step 3: At the back of the fuselage, draw a triangle shape for the tail fin.
Step 4: Add details like air intake vents or exhaust nozzles to the engines.
Step 5: In this step on guide how to draw an airplane by drawing wavy line above the airplane for the cloud
Step 6: If desired, add color to your drawing.

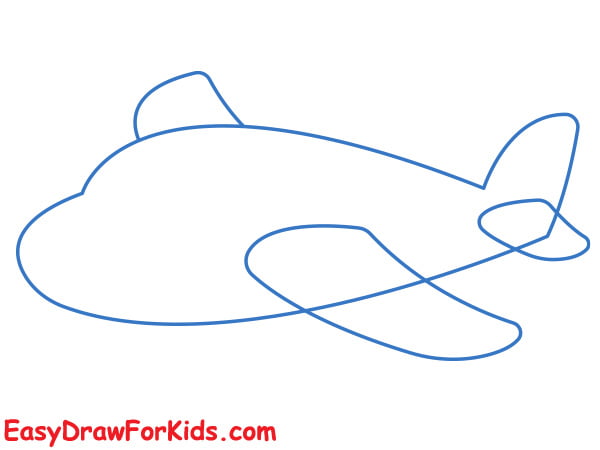
5. Cartoon Airplane Drawing
Step 1: Draw a long curved lines for the top and tail of the airplane
Step 2: Draw a curved line connect as shown the picture to complete the body
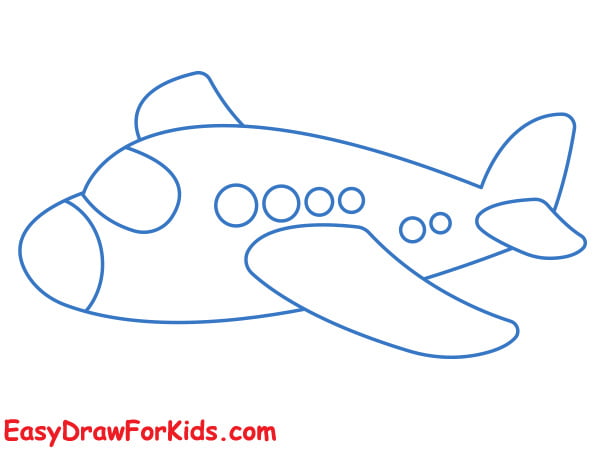
Step 3: Draw the wings for the cartoon airplane
Step 4: Add a series of small circular or oval shapes to indicate the windows along the sides of the cockpit.
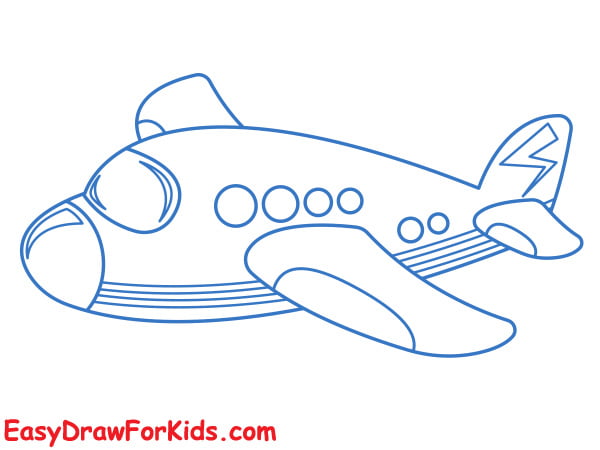
Step 5: Refine the outlines
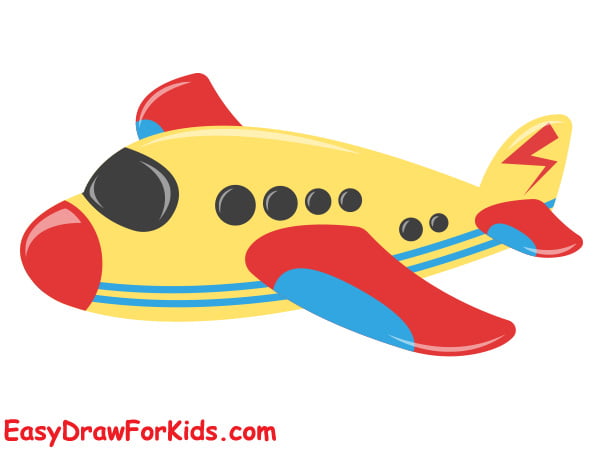
Step 6: Color your drawing by your style or as shown the picture
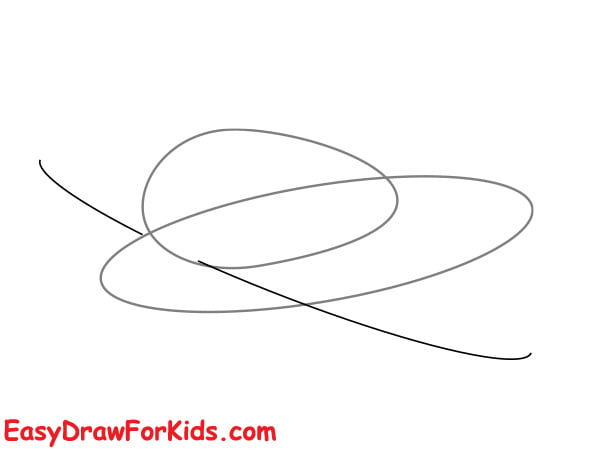
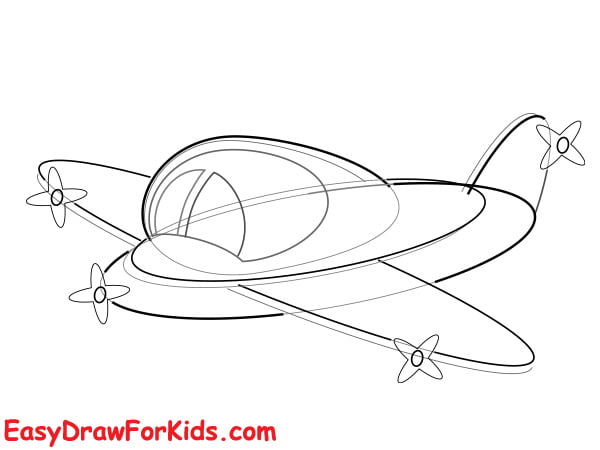
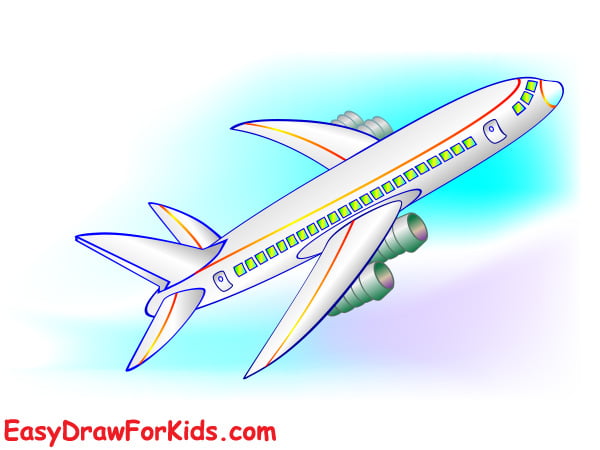
6. Airplane drawing
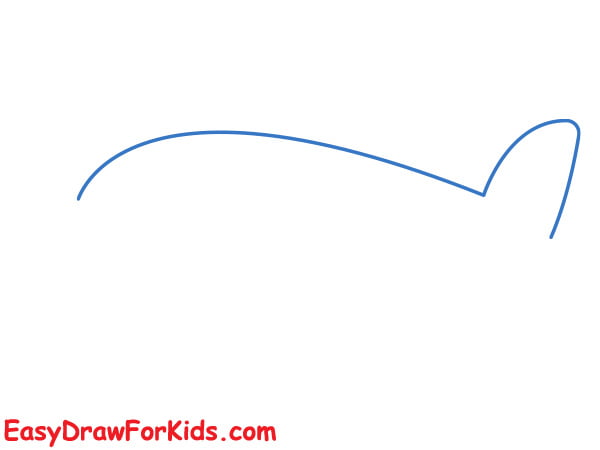
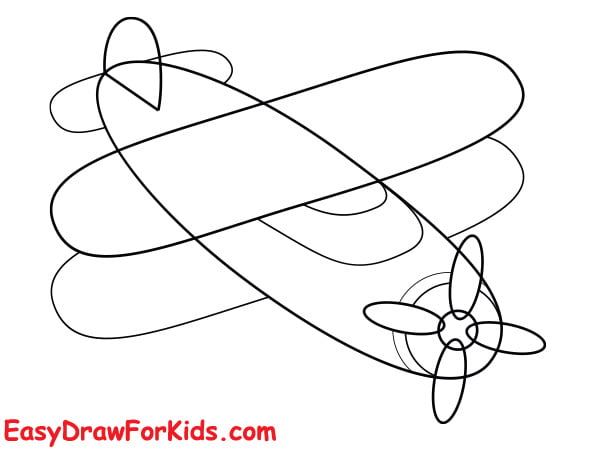
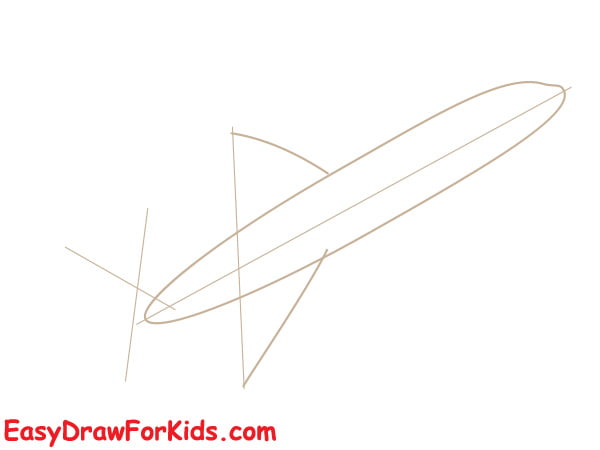
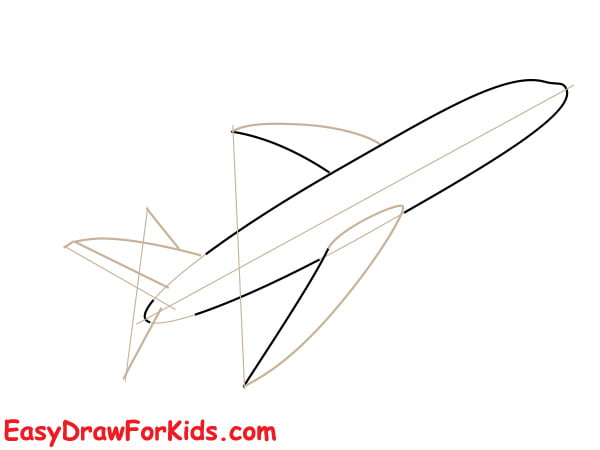
Step 1: Draw the body and top wing
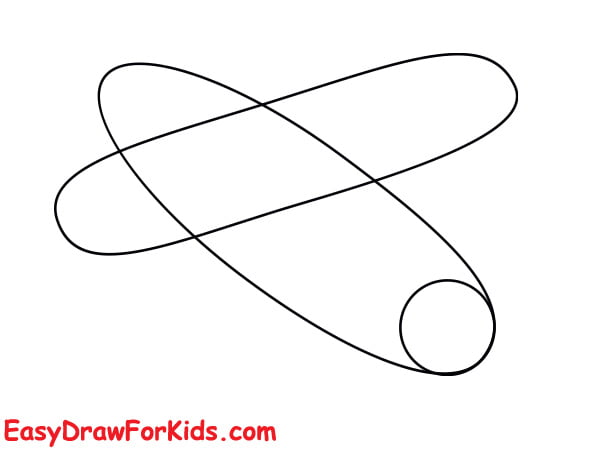
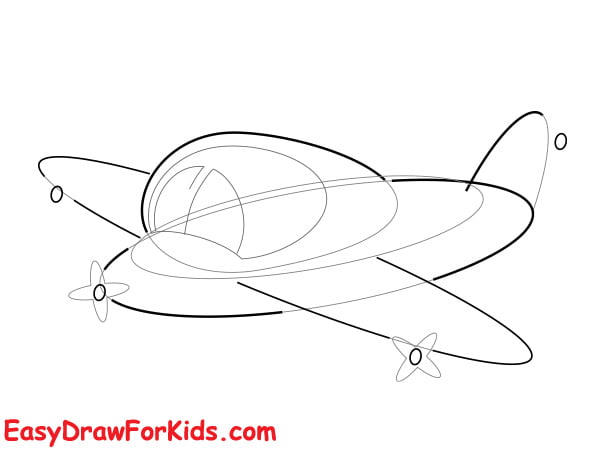
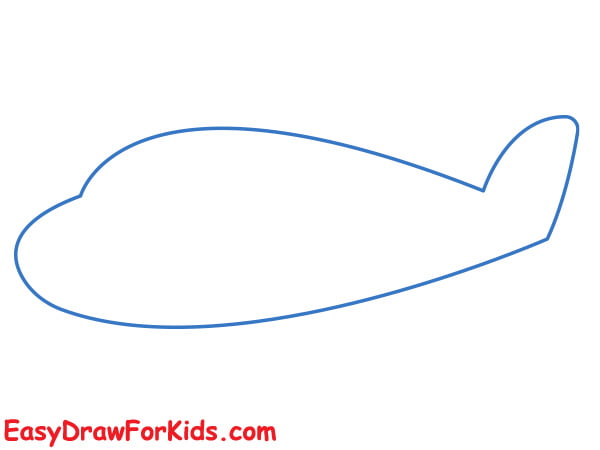
Step 2: Draw the bot wing and tail
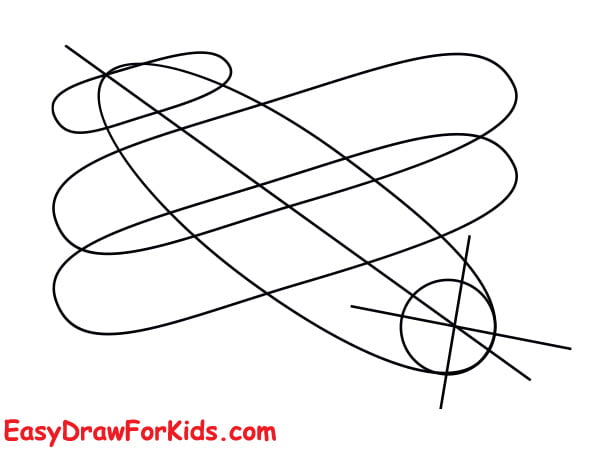
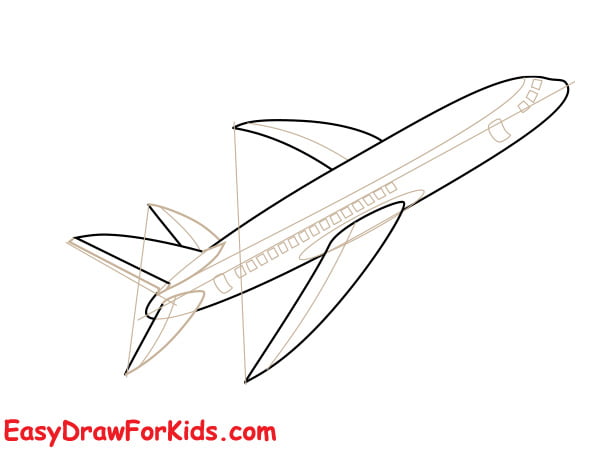
Step 3: Draw the fan in front of the airplane
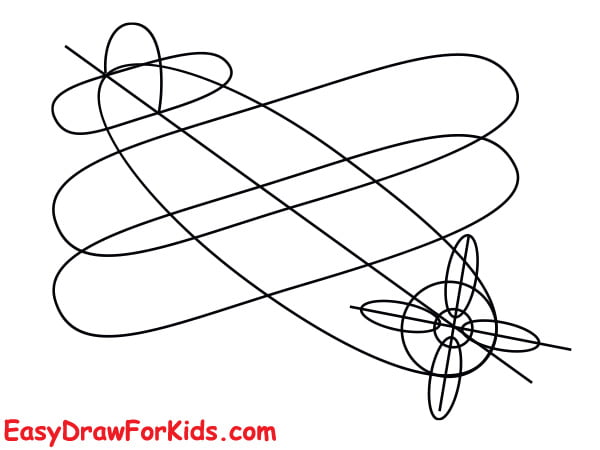
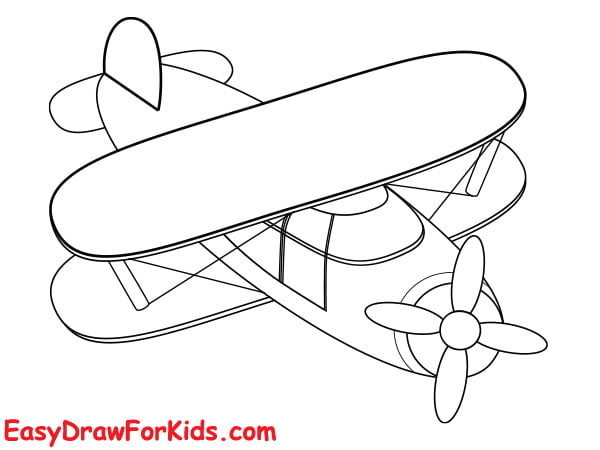
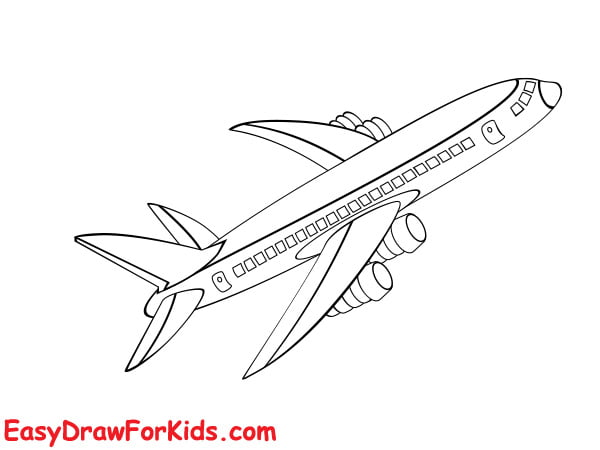
Step 4: Erase Unnecessary Lines
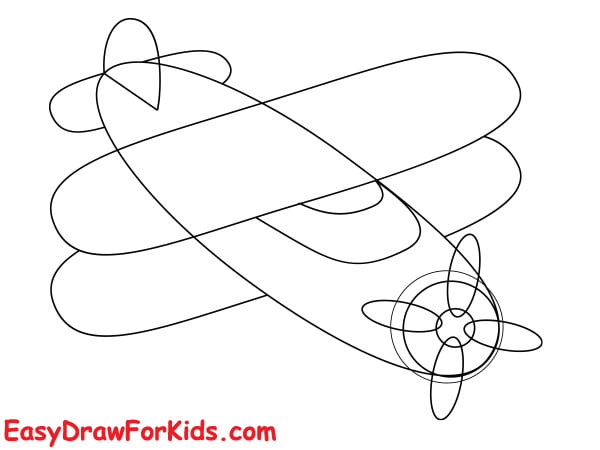
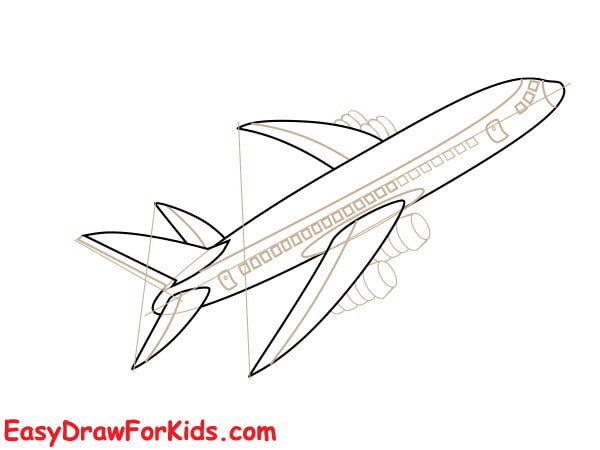
Step 5: Drawing the Engine Nacelles
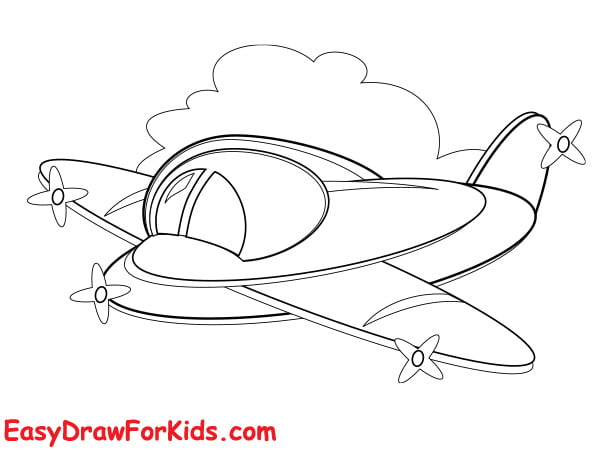
Step 6: Add details to the airplane

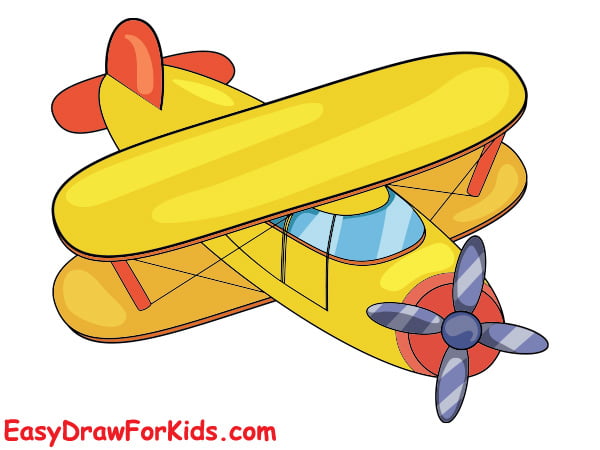
Step 7: Adding Textures
Step 8: Coloring
7. Realistic Plane Drawing
Step 1: Draw the body of plane
Step 2: Draw the wings and tail
Step 3: Adding Windows and Doors
Step 4: Adding the air intakes, exhaust nozzles
Step 5: Erase Unnecessary Lines
Step 6: Color the drawing
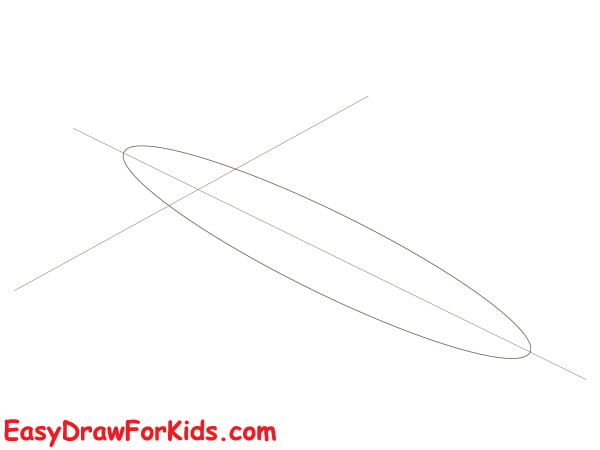
8. Fighter Jet Drawing
Step 1: Begin by drawing a long, cylindrical shape to represent the fuselage.
Step 2: Near the front of the fuselage, draw a curved line for the cockpit area.
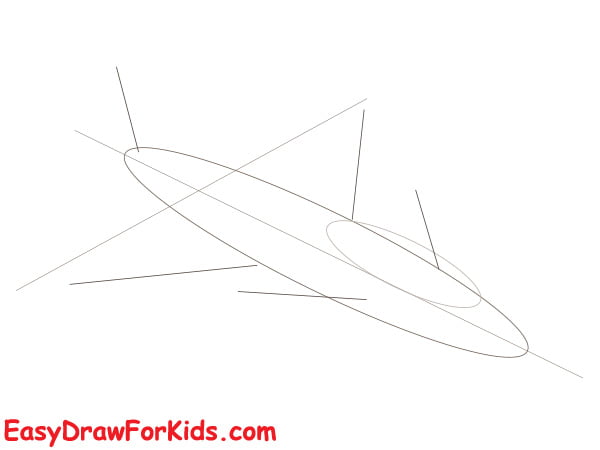
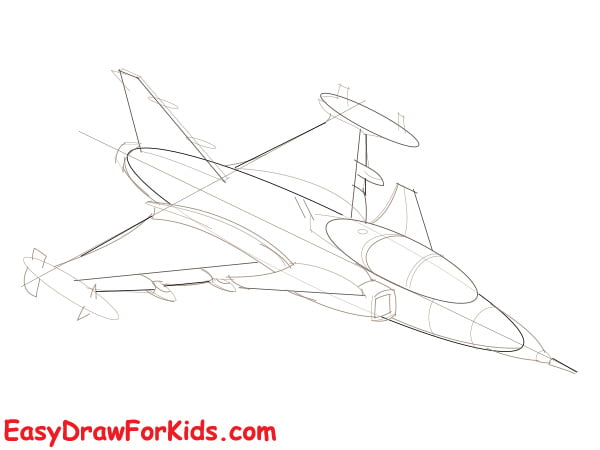
Step 3: Drawing the Wings
Draw the wings extending from the fuselage, tapering towards the wingtips.
Add details like leading and trailing edges.
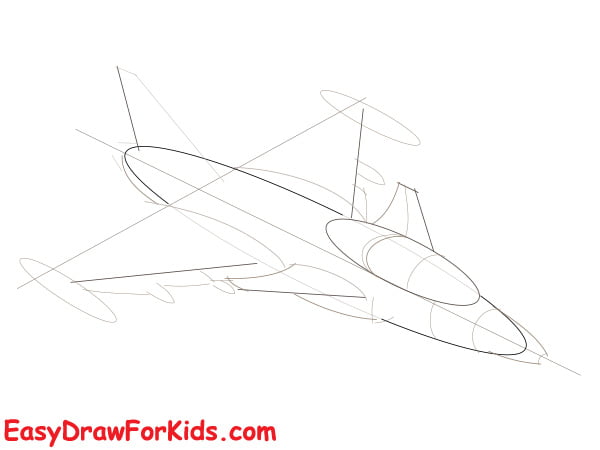
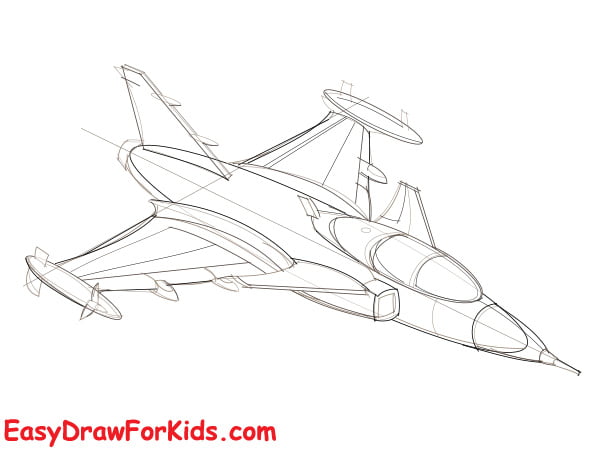
Step 4: The fourth step on guide how to draw an airplane by drawing the vertical stabilizer and horizontal stabilizers towards the rear of the fuselage.
Step 5: Draw oval shapes for the engine intakes on either side of the fuselage as shown the picture
Step 6: Add final touches like panel lines, rivets for your drawing.
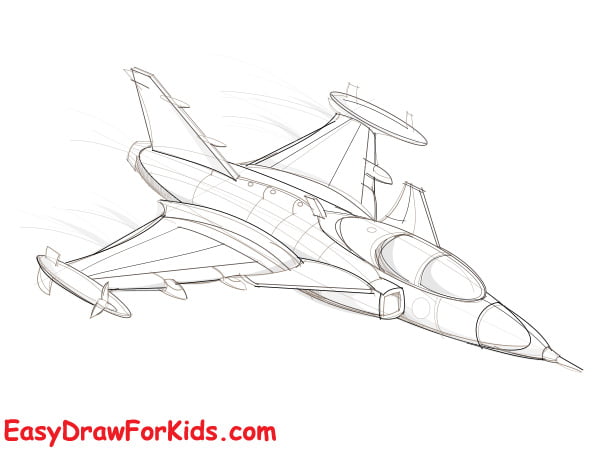
The airplane is ready! I hope you enjoyed the creative process and are pleased with the outcome of your work.
If you wish to enhance your drawing, feel free to add variously shaped clouds around the plane.