Hey everyone!
Calling all future Picassos!
Today, we’ll learn how to draw an artist holding his palette and brush — simple shapes, fun details, and a lot of creativity!
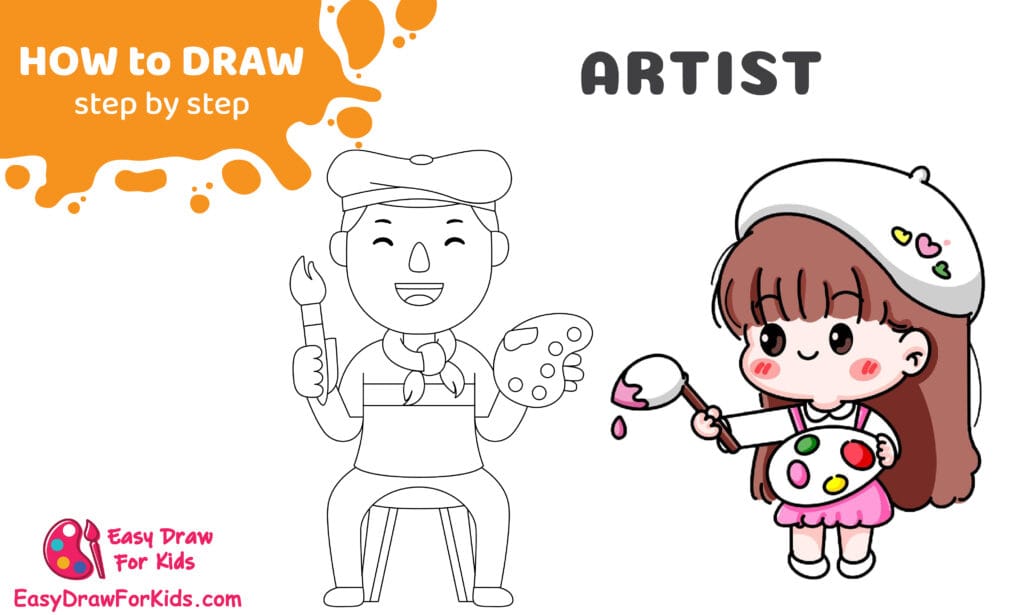
How To Draw An Artist – A Step by Step Guide
1. How To Draw An Artist Girl
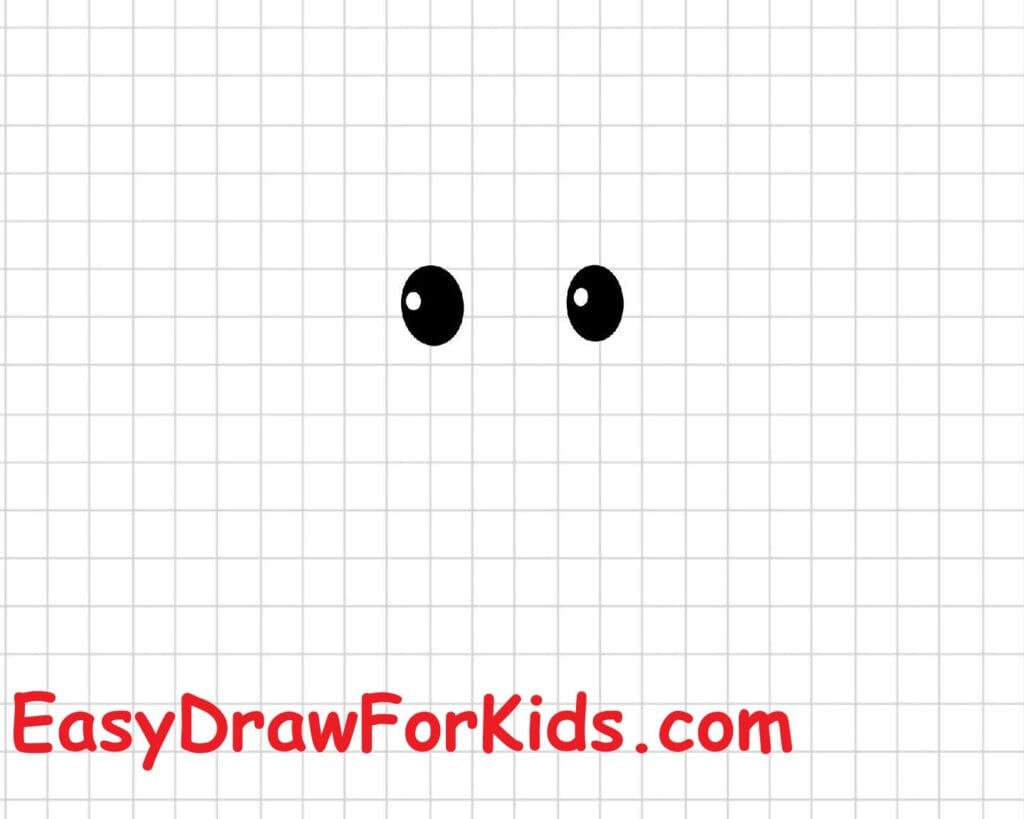
Step 1 – Draw the eyes
Start by drawing two small, vertical oval shapes in the middle of your paper. These will be her cute eyes.
Leave a tiny white spot in each oval to make them look shiny and alive.
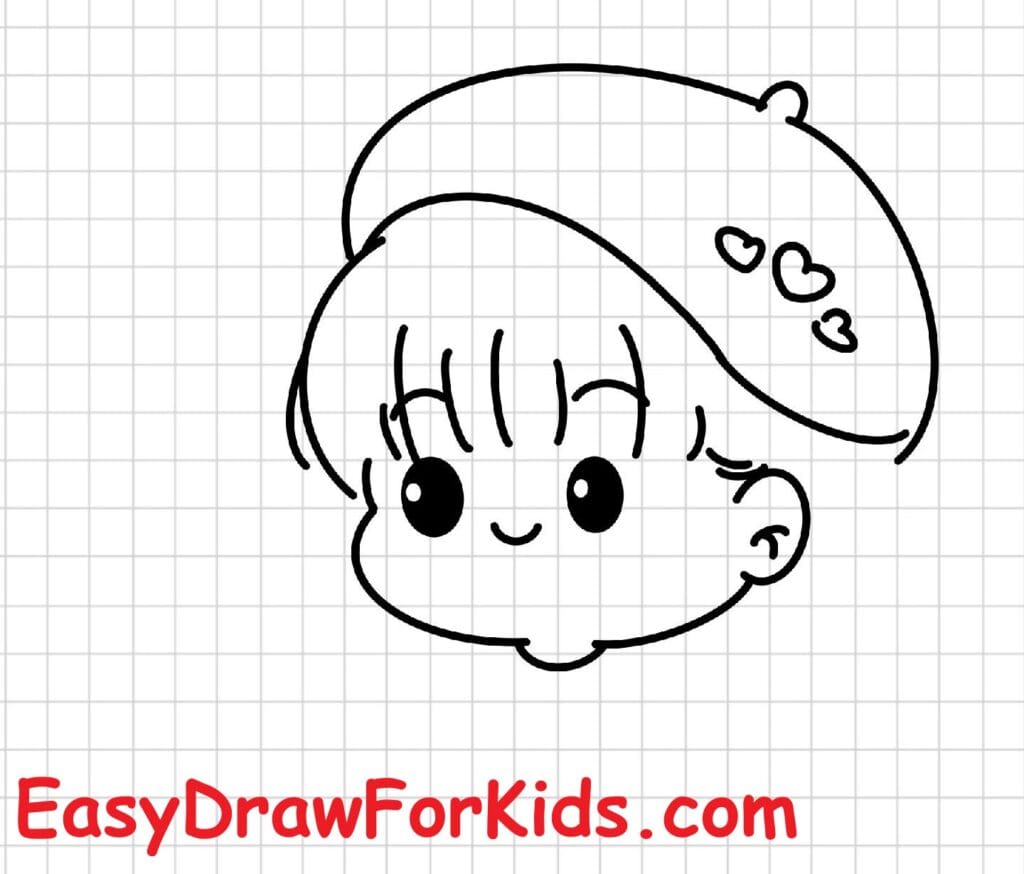
Step 2 – Add the hairline and face outline
Above the eyes, draw her bangs — short, curved lines that fall slightly over her forehead.
Then, sketch the round outline of her face, adding a small ear on one side.
Inside the face, draw her little smile just below the eyes.

Step 3 – Draw the hat and more hair
On top of her head, draw her artist’s beret — a soft, curved shape that leans slightly to one side.
Add a small oval on the hat for decoration (a classic painter’s look).
Extend wavy lines down from under the hat to form her long, flowing hair.
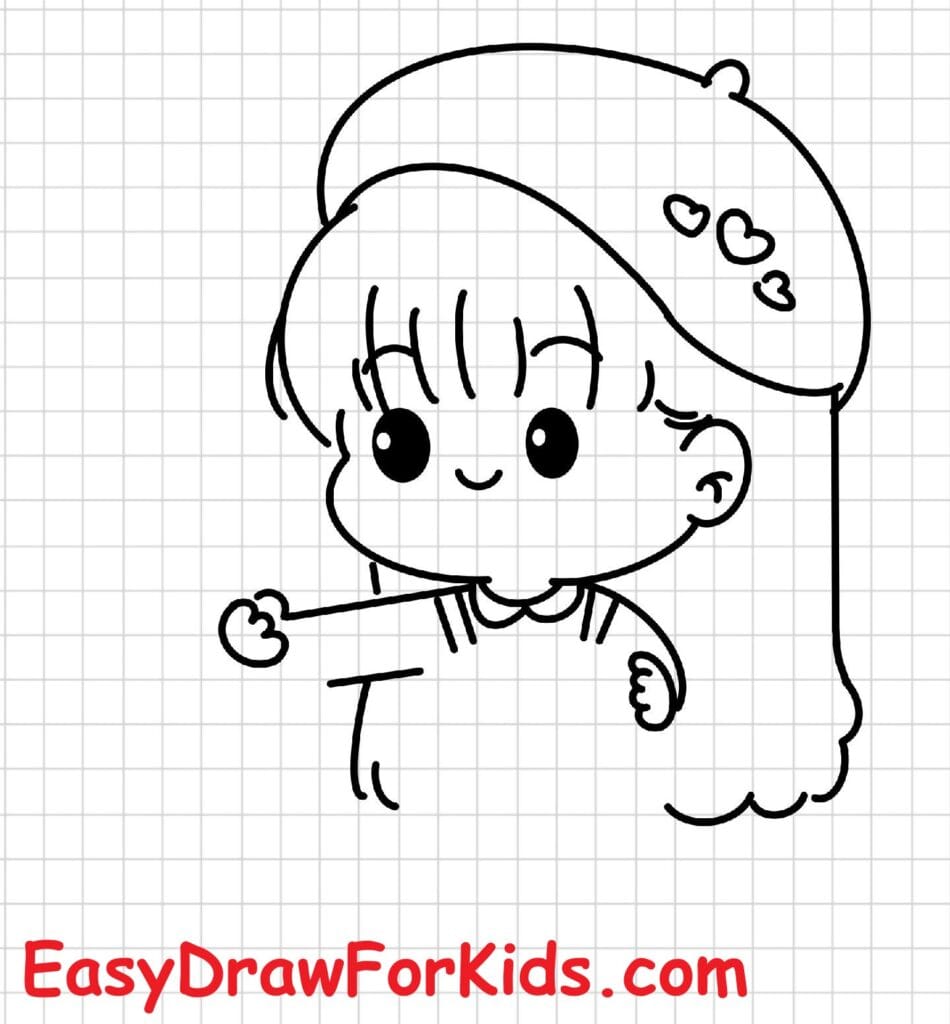
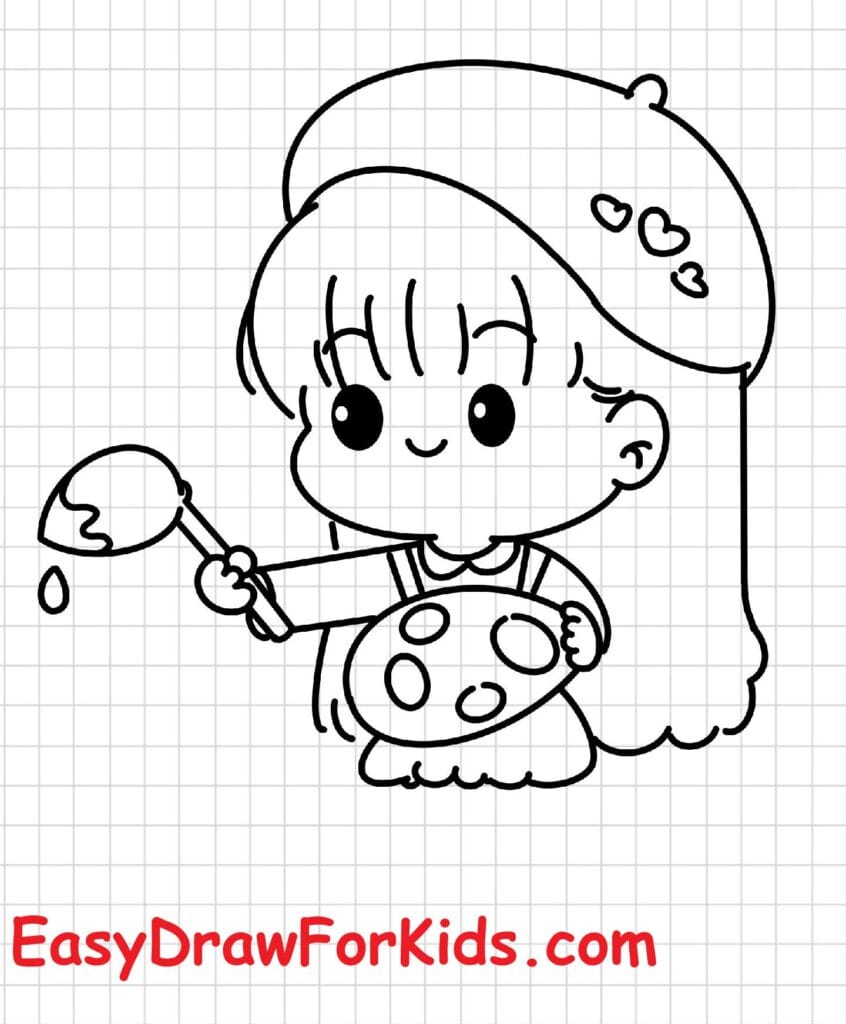
Step 4 – Sketch her arm and brush
From one side of her body, draw her arm extending forward and holding a paintbrush.
Make the brush simple: a thin stick with a small teardrop shape at the end for the bristles.
Add a tiny drop of paint dripping from the brush for a cute effect.
Step 5 – Draw her second arm and palette
Now, draw her other arm bent upward, holding a painter’s palette in front of her.
The palette should be oval-shaped with small circles inside it to represent blobs of paint.

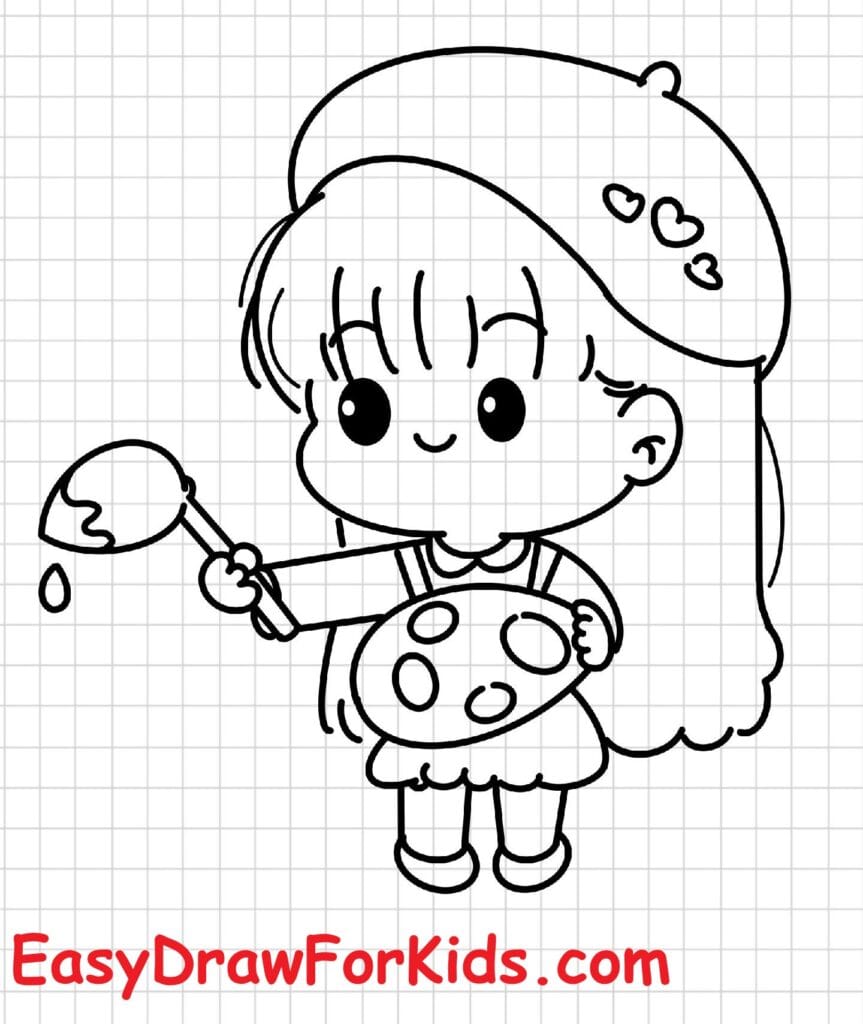
Step 6 – Add her dress and body
Draw a short dress that flares slightly at the bottom.
Keep the style simple and round to match her cute, cartoon proportions.
Add small sleeves connecting to her arms.
Step 7 – Draw her legs and shoes
Under the dress, draw two short legs and small rounded shoes.
Make the shoes slightly curved to keep the cute, chibi-like style.
Now you can go over your lines to make the drawing cleaner and bolder.
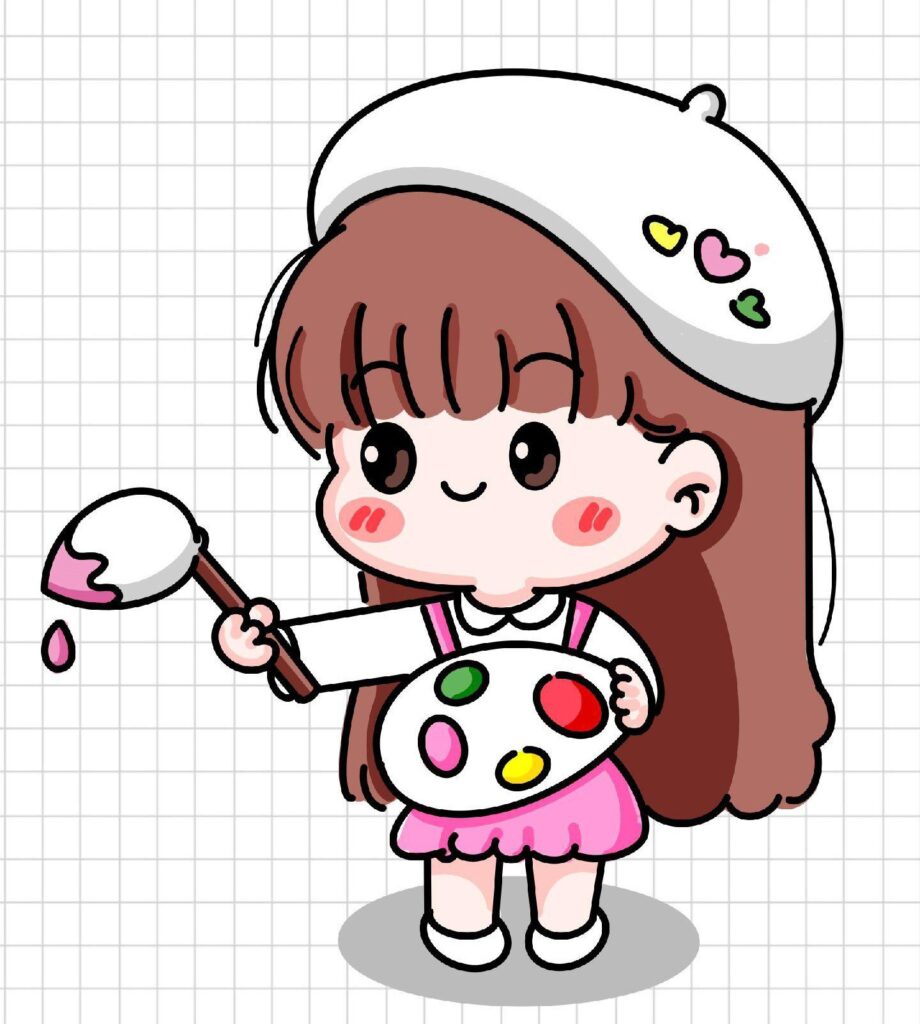
Step 8 – Color your drawing
Use bright, cheerful colors:
Hair: brown
Hat: light gray or beige
Dress: gray or pink
Palette: brown with red, yellow, blue, green, and purple paint spots
Skin: light peach
Shoes: purple or pink
Add blush on her cheeks and color the brush tip with red or pink paint.
>>>Read more: How To Draw A Doctor – 4 Ways (With Pictures)
2. Easy Artist Drawing
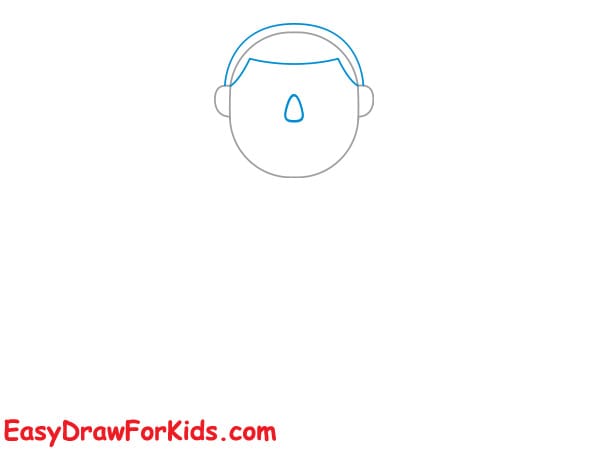
Step 1 – Start with an oval or round shape in the center of your paper.
Add two small semi-circles on each side for the ears.
This will be the outline of the artist’s head.

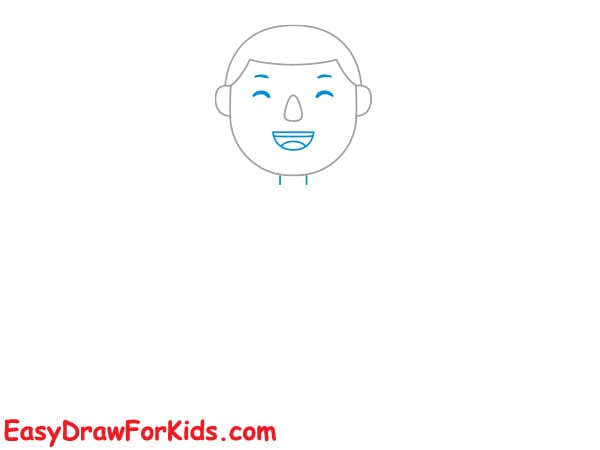
Step 2 – Draw a curved beret sitting on top of his head — it should look like a soft, puffy hat with a little tip on one side.
Inside the head, sketch two small circles for the eyes and a tiny nose in between them.
Step 3 – Now, draw his smiling mouth just below the nose.
Add small dots inside the eyes for pupils.
You can also draw short curved lines above the eyes for eyebrows.
Don’t forget to add a little line under the mouth for the chin!
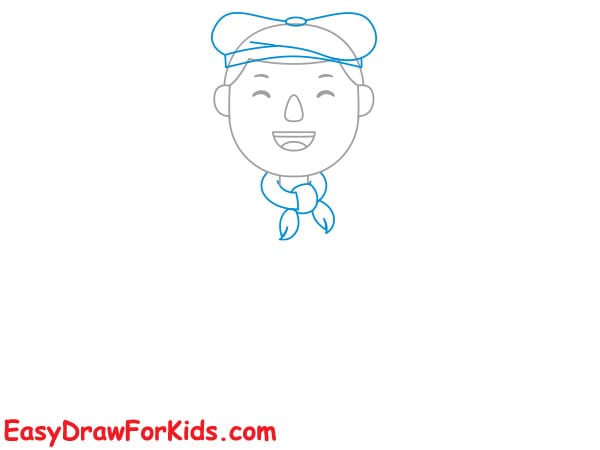
Step 4 – Refine the shape of his beret by adding the folded edge around it.
Then, draw a small scarf tied around his neck — make two short ends hanging down to show the knot.
Step 5 – Draw his shirt by adding two curved lines down from the scarf.
Sketch both arms bent upward — one pointing to the side, the other raised as if holding something.
Add small hands at the end of each arm.

Step 6 – From the bottom of his shirt, draw two straight lines going down to make his pants.
Add simple shoes or short boots at the end.
Now your little artist is starting to take shape!
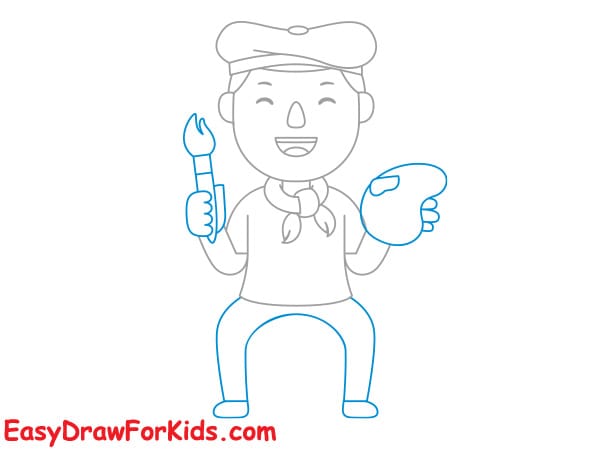
Step 7 – In one hand, draw a paintbrush with a small teardrop shape at the tip for the bristles.
In the other hand, draw an artist’s palette — a small oval shape with several tiny circles on it representing blobs of paint.
You can also add a few paint drops for a fun touch.

Great job, everyone!
You’ve learned how to draw an artist step by step — simple, fun.
Now it’s time to grab your colors and make his world come alive.
>>>Read more: How To Draw A Soldier – 2 Ways (With Pictures)