If you’ve ever wanted to sketch the Dark Knight but didn’t know where to start, this guide is perfect for you.
In this tutorial, you’ll learn step-by-step how to draw Batman in a simple, fun, and beginner-friendly way.
Let’s draw Batman, one step at a time!
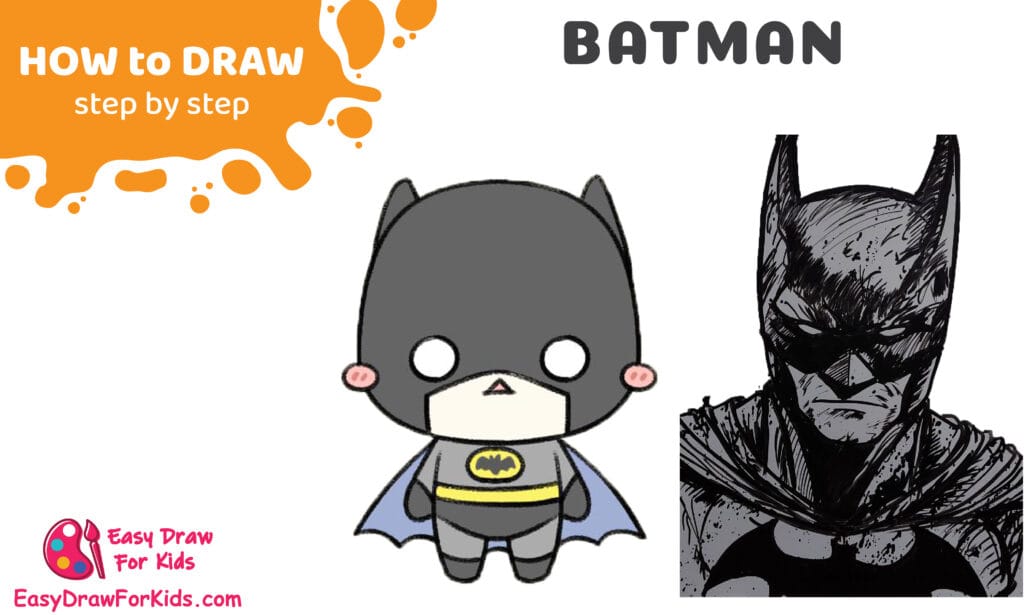
How To Draw BatMan – A Step by Step Guide
1. How to draw Batman easy
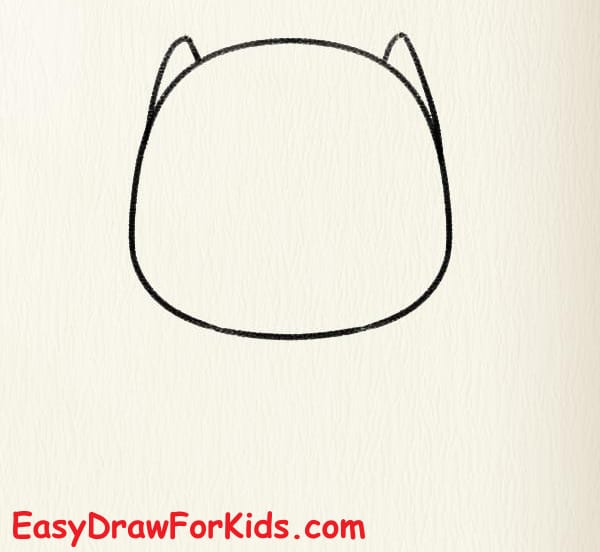
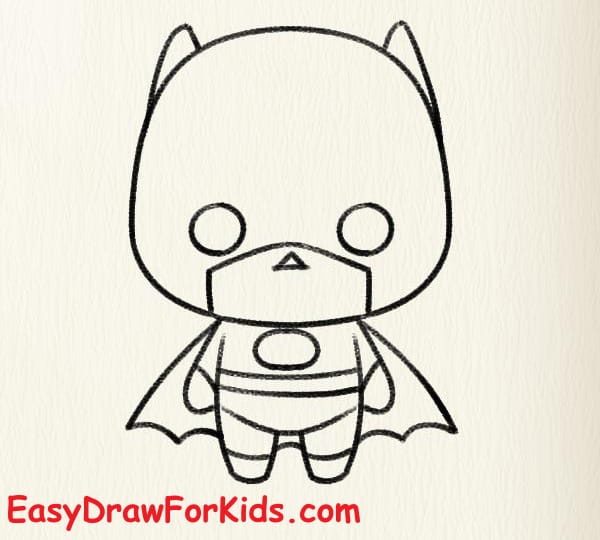
Step 1: Draw the Head Shape and Ears
Lightly sketch a large oval for the head (bigger than the body).
Add two small triangular ear points near the top-left and top-right, these form Batman’s cowl ears.
Keep edges soft — chibi heads are rounded and oversized.
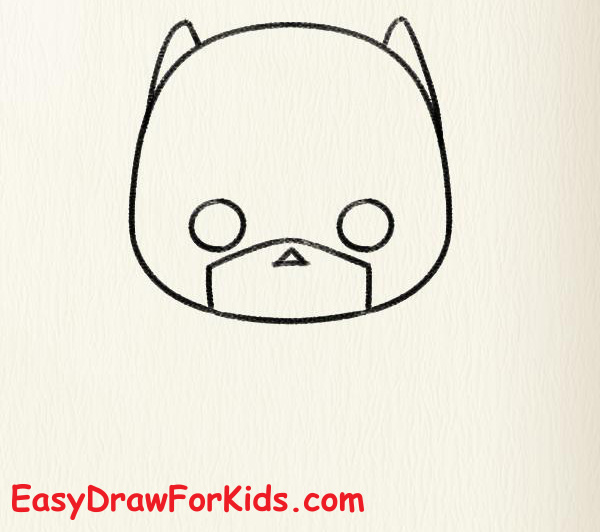
Step 2: Add the Face Guides and Eyes
Draw a vertical center line and a horizontal eye-line low on the face.
Place two large round eye holes on that line — leave them empty.
Below the eyes, draw a small trapezoid. This shape looks like a small upside-down trapezoid centered on the face.
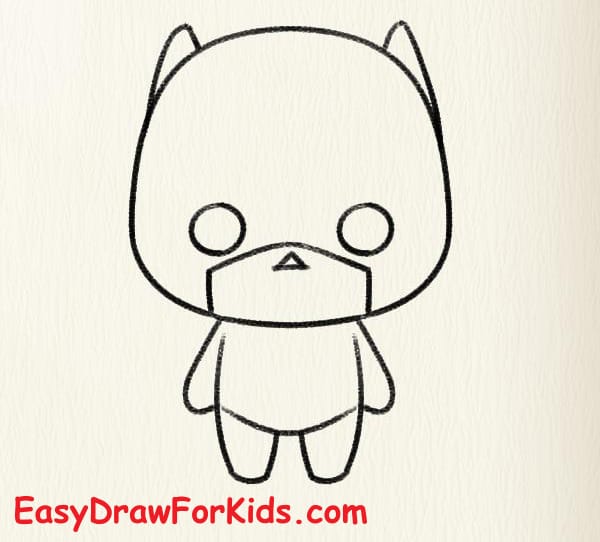
Step 3: Sketch the Body Basic Shape
Under the head, draw a tiny, rounded rectangle or pear shape for the body, much smaller than the head.
Connect the head and body with short neck lines so the head slightly overlaps the body.
Add two short rounded arms on each side of the torso; keep them simple.
For the legs, draw two tiny stubby legs directly under the torso, chibi proportions: short and stocky.
You can position the arms slightly out to the sides so the character looks relaxed.
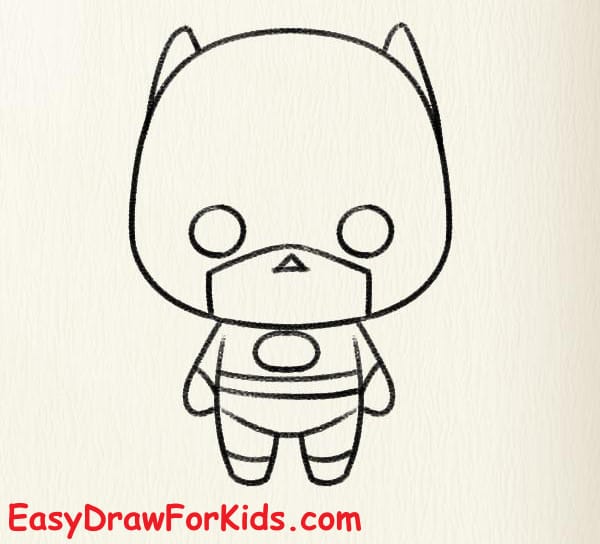
Step 4: Costume Details — Emblem, Belt, Cape
Chest emblem: draw an oval or horizontal rectangle on the chest and add a small bat silhouette or a simple black oval with a yellow center, keep it simple and stylized.
Belt: draw a horizontal band across the lower torso with small square pouches.
Cape: from the shoulders, sketch a scalloped or gently curved cape that hangs down behind the body; show a small bit of the cape in front if desired.
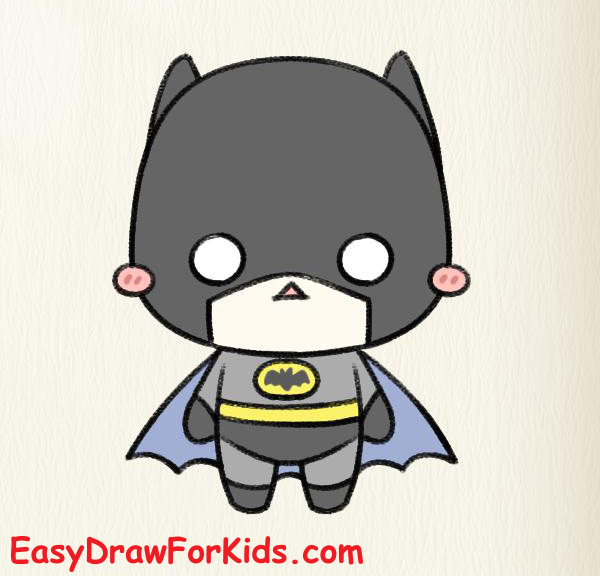
Step 5: Face & Cowl Final Details
Refine the eyes by outlining them neatly; inside the white holes you can add a tiny black dot for pupils if you want expression, or leave fully white for the chibi look.
Add small blush circles on the cheeks if you want the cute style.
Define the nose by a tiny curved line or leave it out for an even simpler face.
Draw small mitten-like hands at the ends of the arms; you can show fingers as simple lumps or indicate a thumb.
Ddd a small sole line at the bottom of each leg and a curved top for little boots.
Step 8: Coloring
Cowl and cape: dark gray or black
Body suit: medium gray
Belt: yellow
Cheeks: soft pink for blush
Inner mask: light gray or skin tone if you left the mouth exposed
Shade lightly under the cape and beneath the head for depth. Use a slightly darker tone along edges to suggest volume.
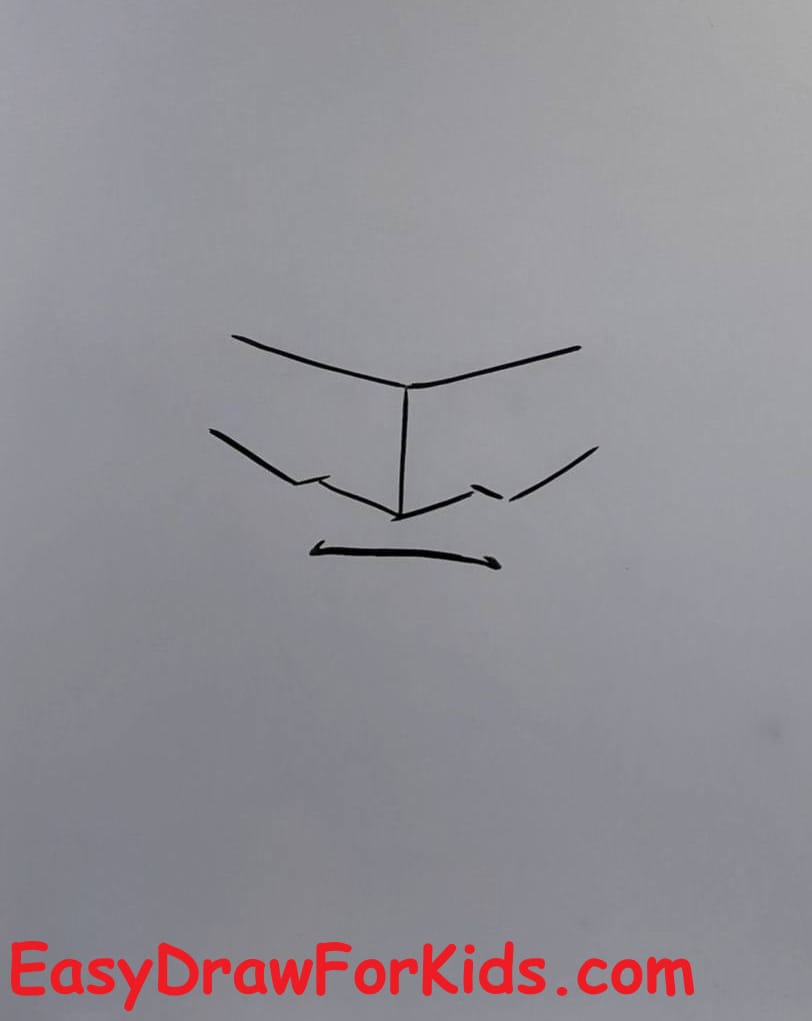
2. How to draw Batman realistic
Step 1: Lightly draw a vertical center line and a horizontal eye line low on the head.
Mark the chin point and jawline, Batman’s jaw is strong and square.
Draw the mouth as a tight, straight line or slight frown.
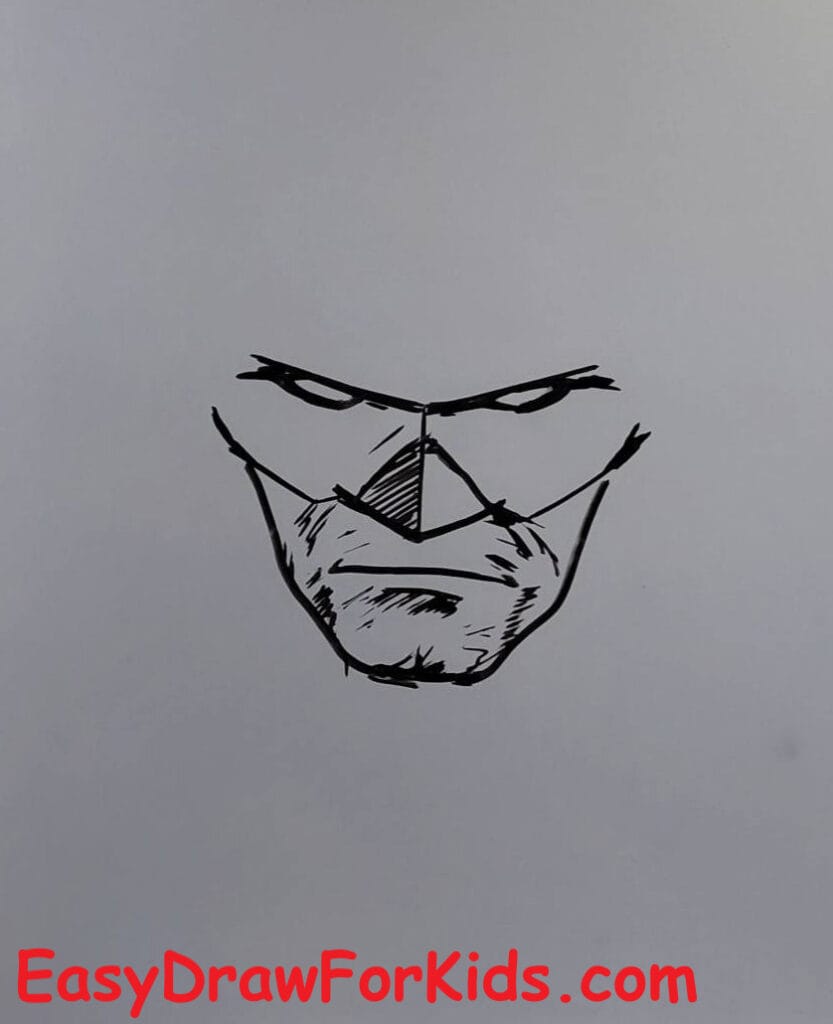
Draw a small perpendicular line to indicate nose base and a horizontal mouth line a bit below it. These will help position mask openings and facial features.
Step 2: On the lower face, define a deep, squared chin and a pronounced jawline. Add a slight cleft in the center of the chin.
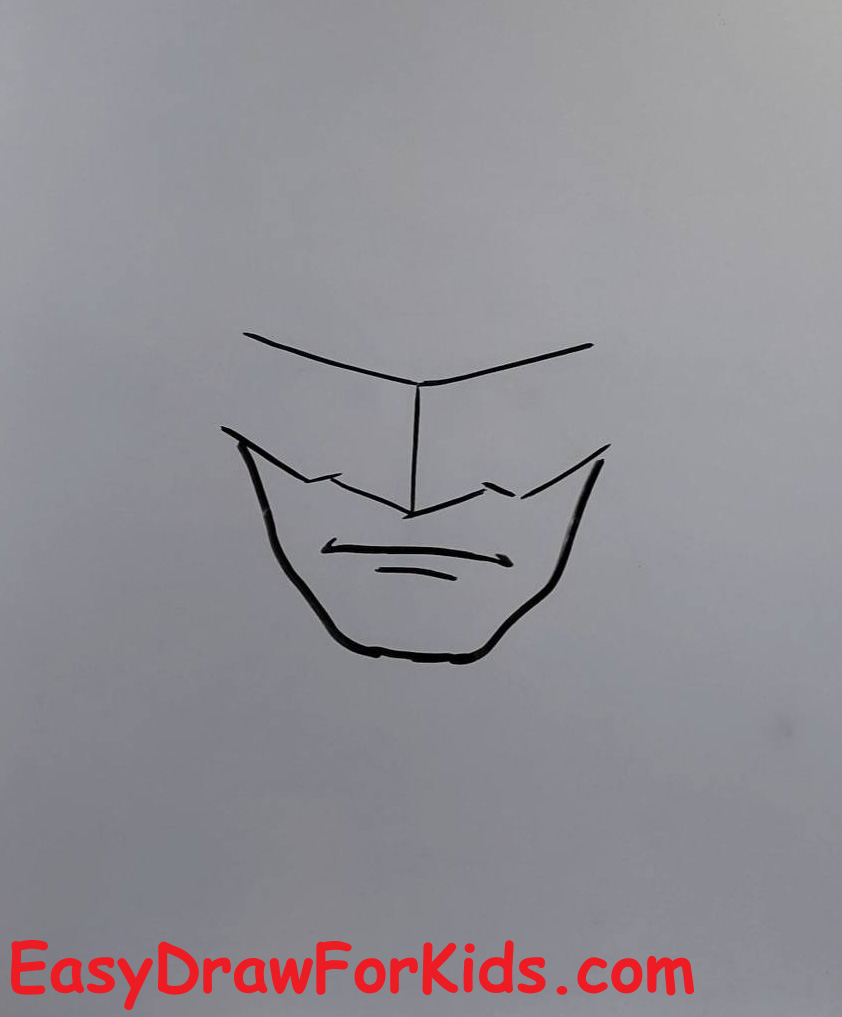
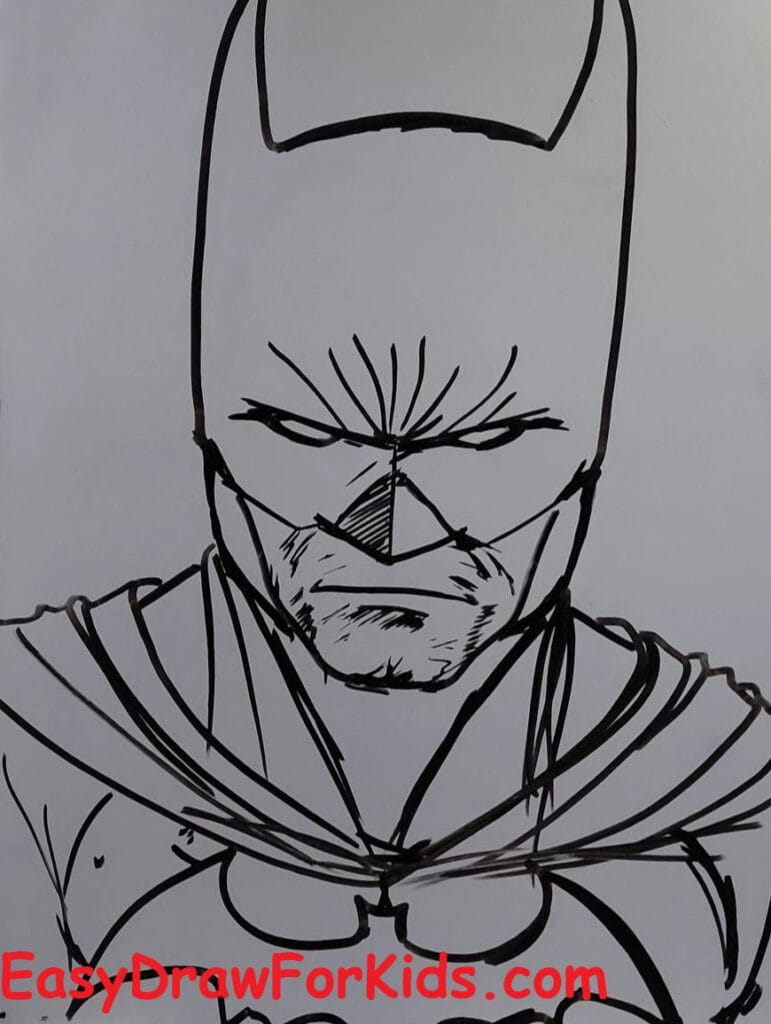
Step 3: Place the eyeholes on the eye line; make them narrow, slightly slanted inward, this creates the squinting, intense look.
Above each eyehole, mark strong brow ridges under the cowl. Use short angular strokes to suggest furrows and tension.
Draw the mask nose bridge as a tapered triangular piece that frames the nose area, it sits above the fleshy nose but belongs to the cowl.
Draw the mouth as a tight, straight line or slight frown; add compression lines at the corners and a short vertical crease beneath the lower lip area to emphasize age.
Add a subtle stubble or five o’clock shadow with short, light pencil strokes if the reference shows facial hair.
Step 4: Draw a thick neck: Batman’s neck is muscular and partly covered by the cowl collar. Indicate trapezius muscles that flow into the shoulders.
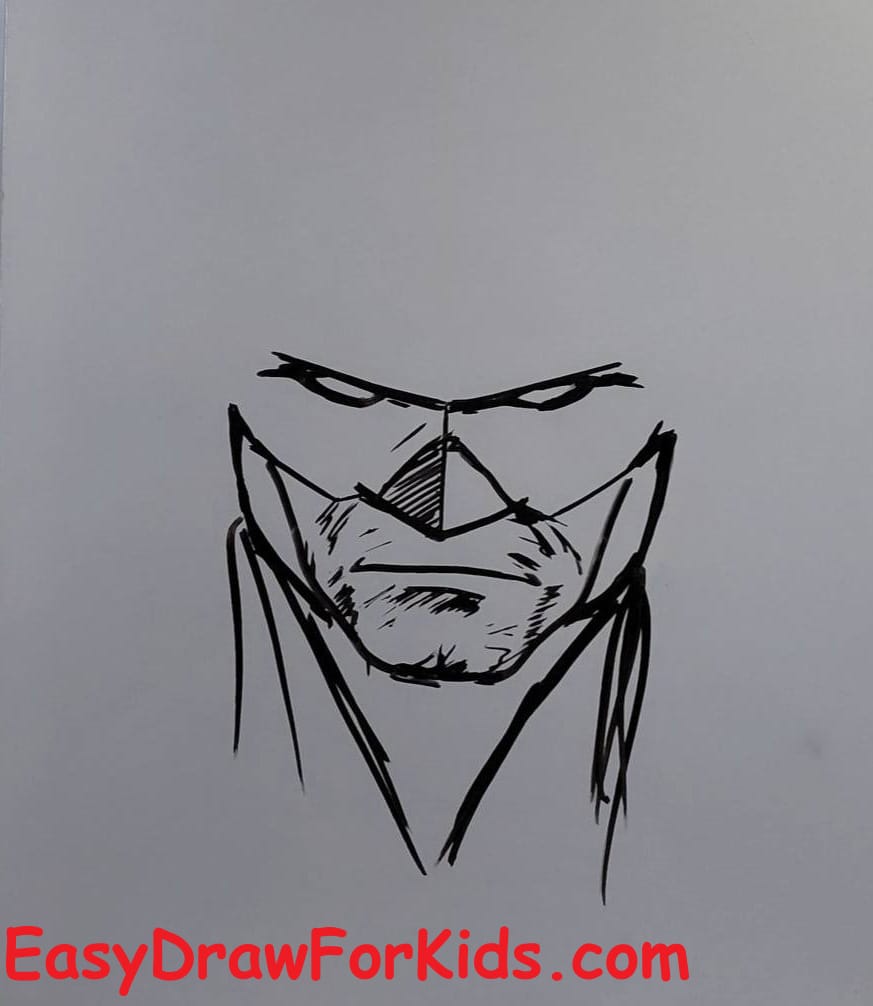
Step 5: Sketch the cape attachment: broad, overlapping folds at the shoulders and collarbone area. Block in the primary cape mass, large and heav, falling behind and around the chest.
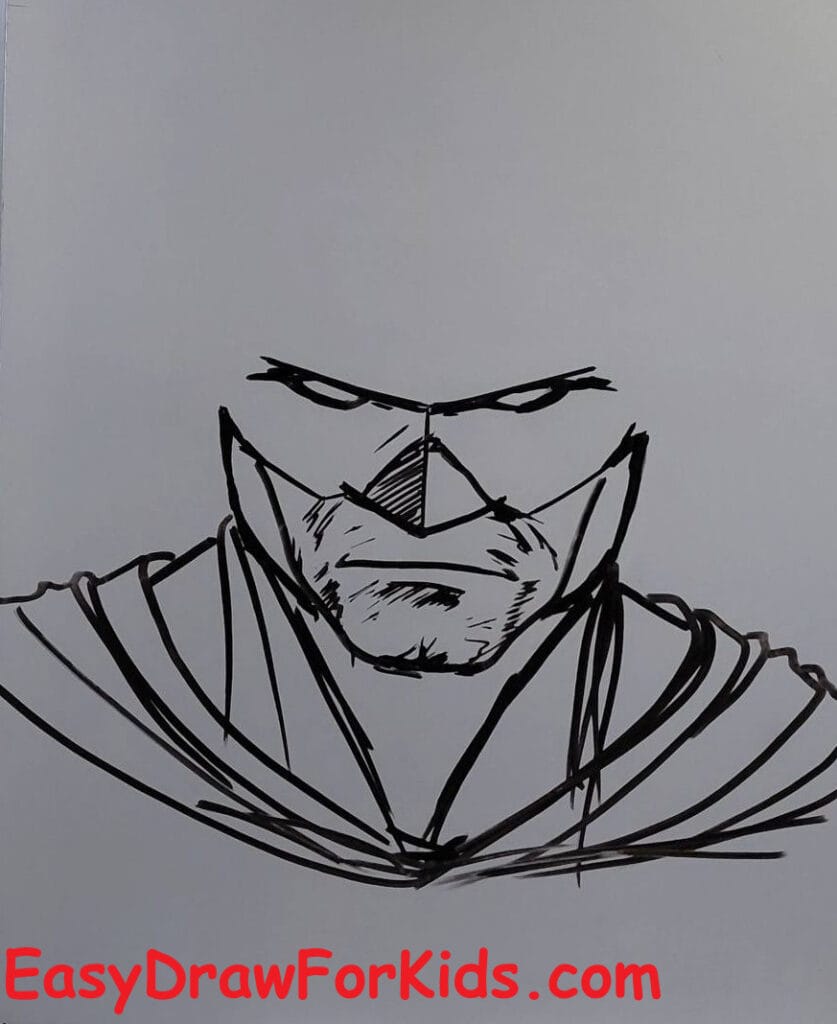
Step 6: Refine hard mask edges: add subtle seams or panel lines where the cowl joins the face.
Indicate skin planes around the exposed lower face with light shading, cheek hollows, nasolabial lines, and the area under the jaw.
Add small wrinkles on the bridge of the nose and between brows for a weathered expression.
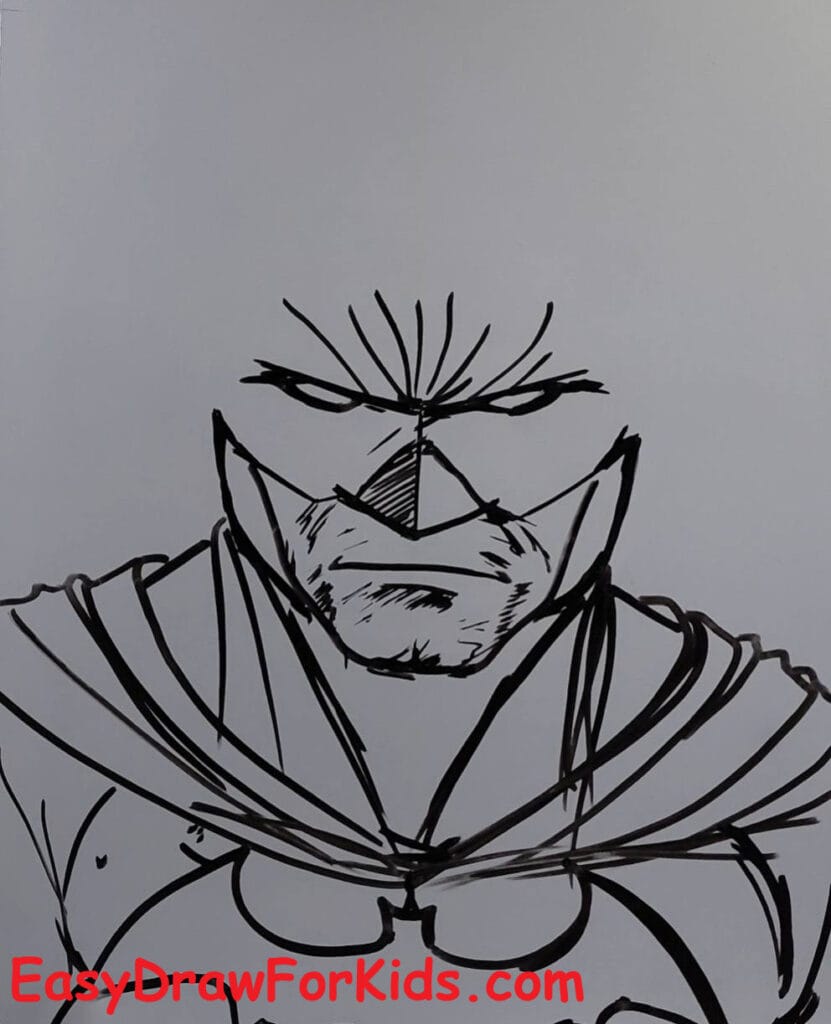
Step 7: Around the top of the head, sketch the cowl outline that hugs the forehead and temples, then rises into the two tall, tapered ear points. The ears are long and slightly curved inward.
From the temples toward the mid-face, draw the mask edges that dip to form the triangular eye openings. Keep the mask edge sharp and angular to convey a stern expression.
Step 8: On the chest just below the throat, draw the bat emblem or the plate shape suggested in your reference. Keep it centered and slightly recessed within the suit.
Sketch the cape folds and the beginning drape: use long curved lines for the heavy outer folds and shorter lines for inner folds. Make the fabric look thick by overlapping folds and showing weight.
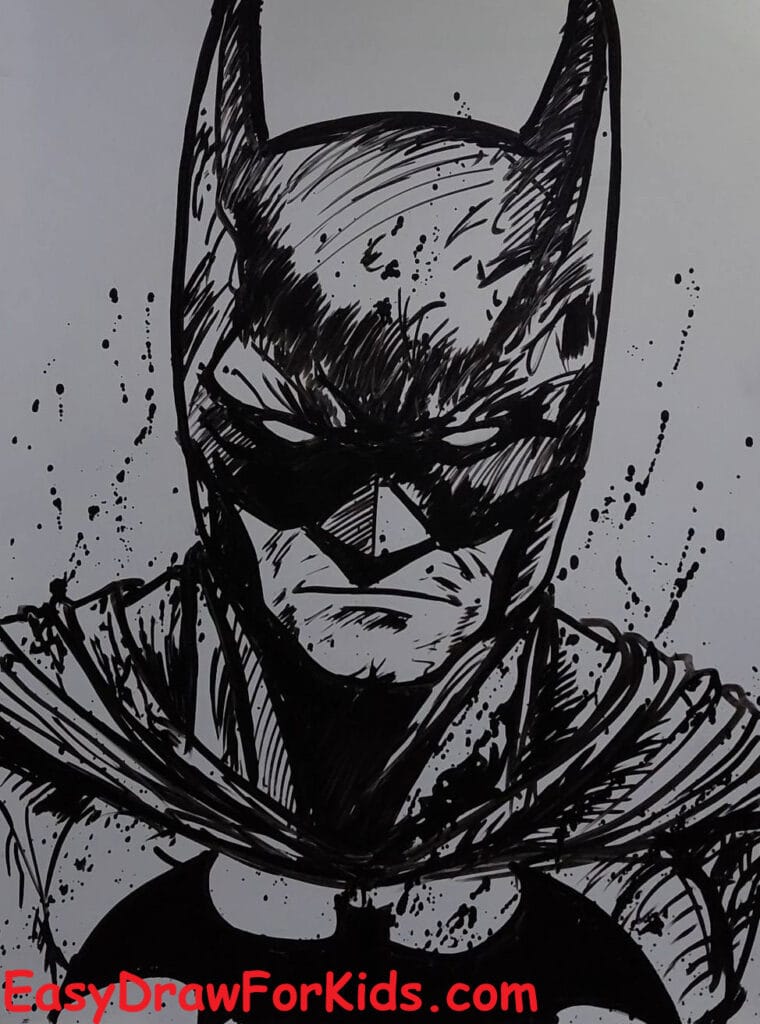
For a rugged realistic look, use cross-hatching around the cheeks, under the brow ridge, and along the neck. Use longer, denser hatching for the mask and cape.
Add fine scratches, scuffs, and ink splatters for a gritty comic-book realism.
Darken the area beneath the head where the cape overlaps to reinforce depth.
Congratulations!
With just simple shapes and patient steps, you created a powerful Batman drawing.
Try drawing Batman’s friends or enemies next—maybe Joker, Robin, or Catwoman.
>>>Read more: How To Draw Iron Man – 3 Easy Methods For Beginners