If you’re a fan of Gojo, you’ll love this!
Today, I’ll show you how to draw Gojo Satoru step by step.
In this tutorial, we’ll break down Gojo Satoru’s cool design—from his blindfold to his flawless smile—into easy steps.

How to Draw Gojo Satoru from Jujutsu Kaisen – A Step by Step Guide
1. How to Draw Gojo Satoru Easy
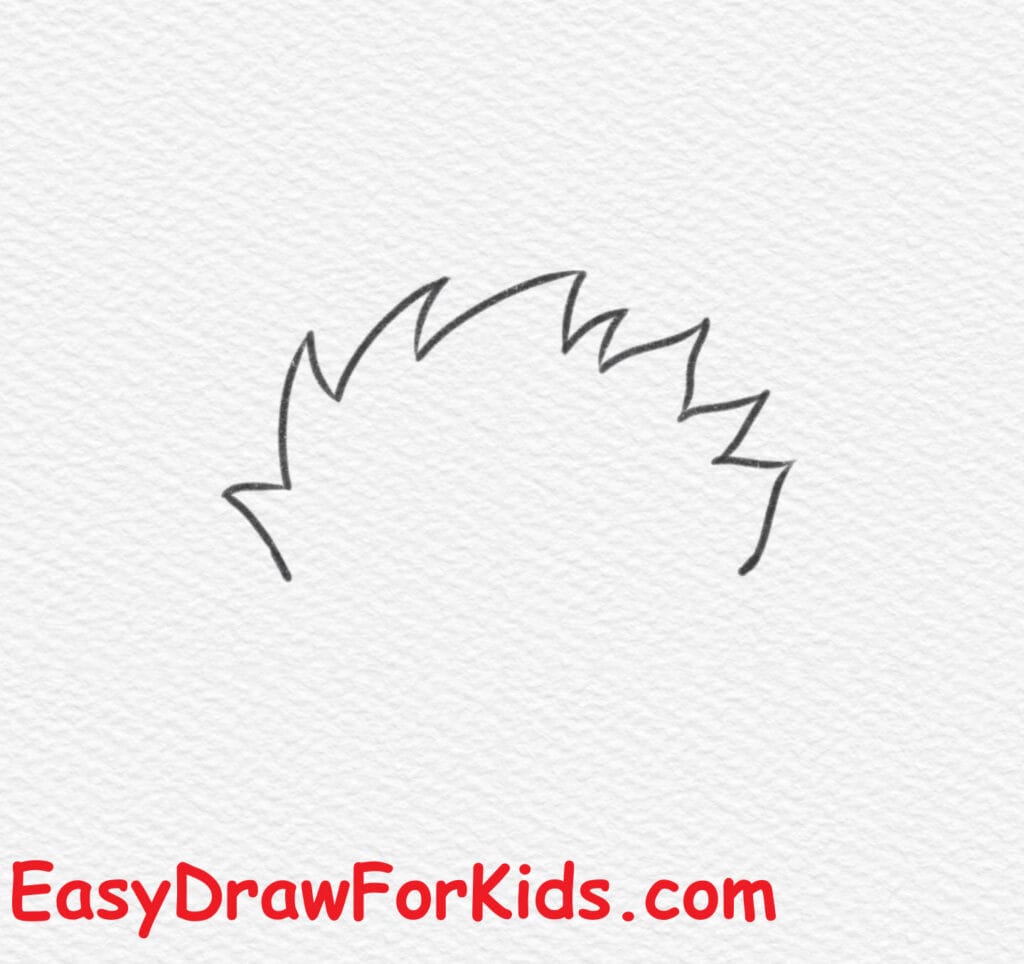
Step 1: Start by sketching Gojo’s spiky hair.
Use short, sharp lines that point outward to create the messy, jagged hairstyle.
This outline forms the top shape of his head.
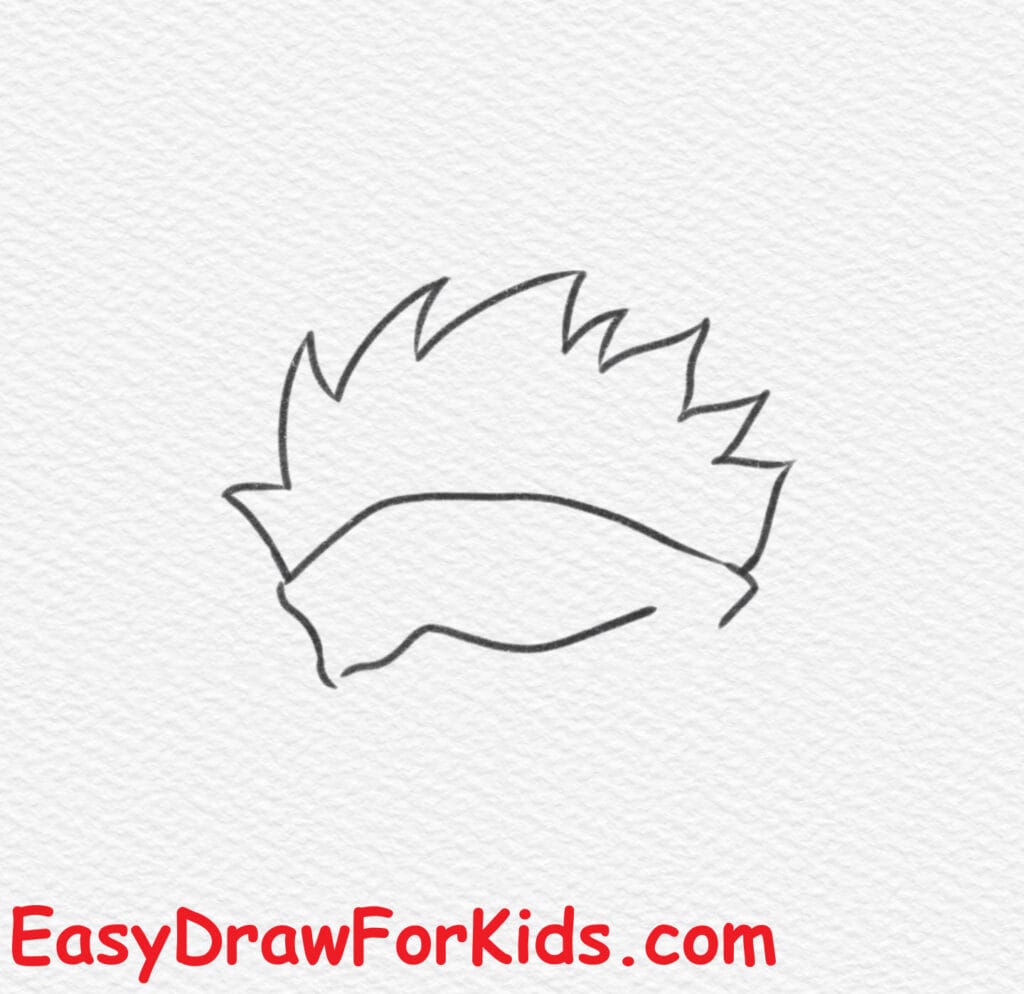
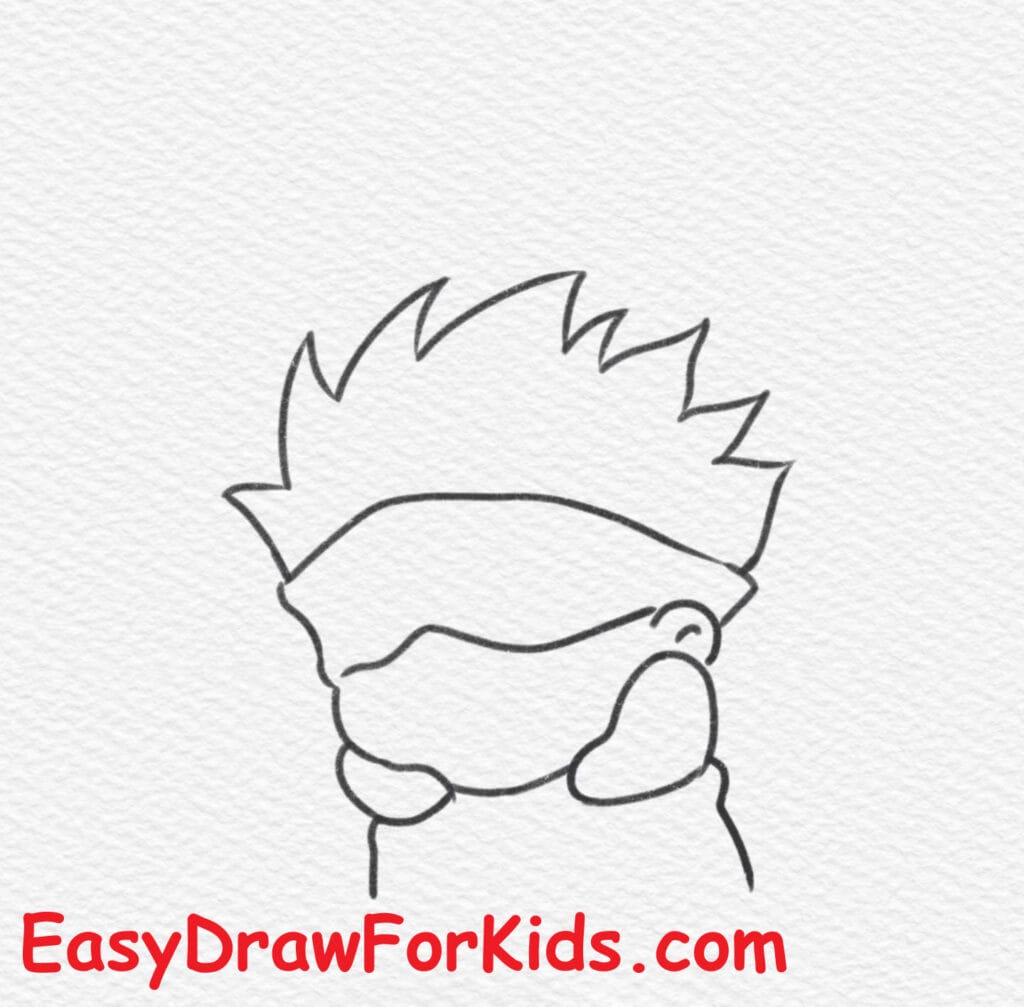
Step 2: Draw a wide, curved band across the lower part of the hair. This will serve as his iconic blindfold.
Make the top and bottom edges slightly curved to show that it wraps naturally around his head.
Step 3: Add the round outline of Gojo’s face beneath the hair and band. Use soft curves to create a cute, chibi-style face with small cheeks.
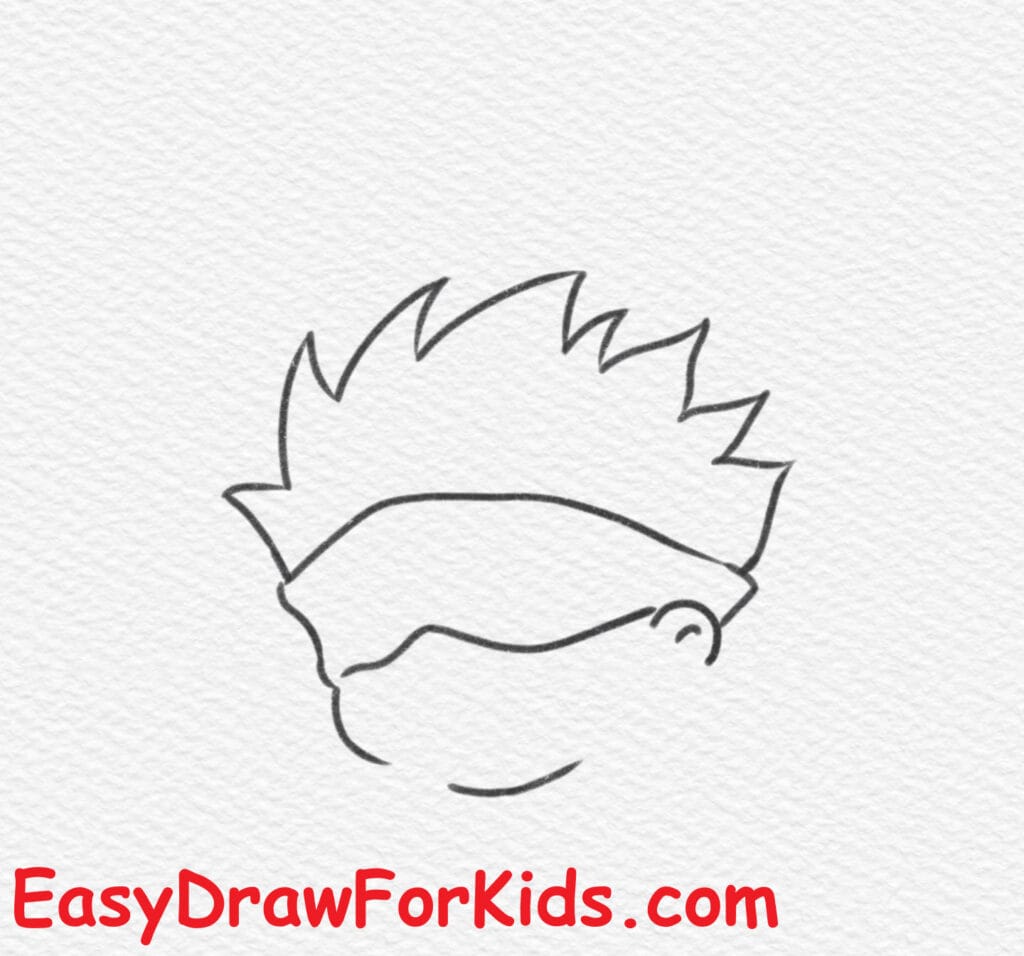
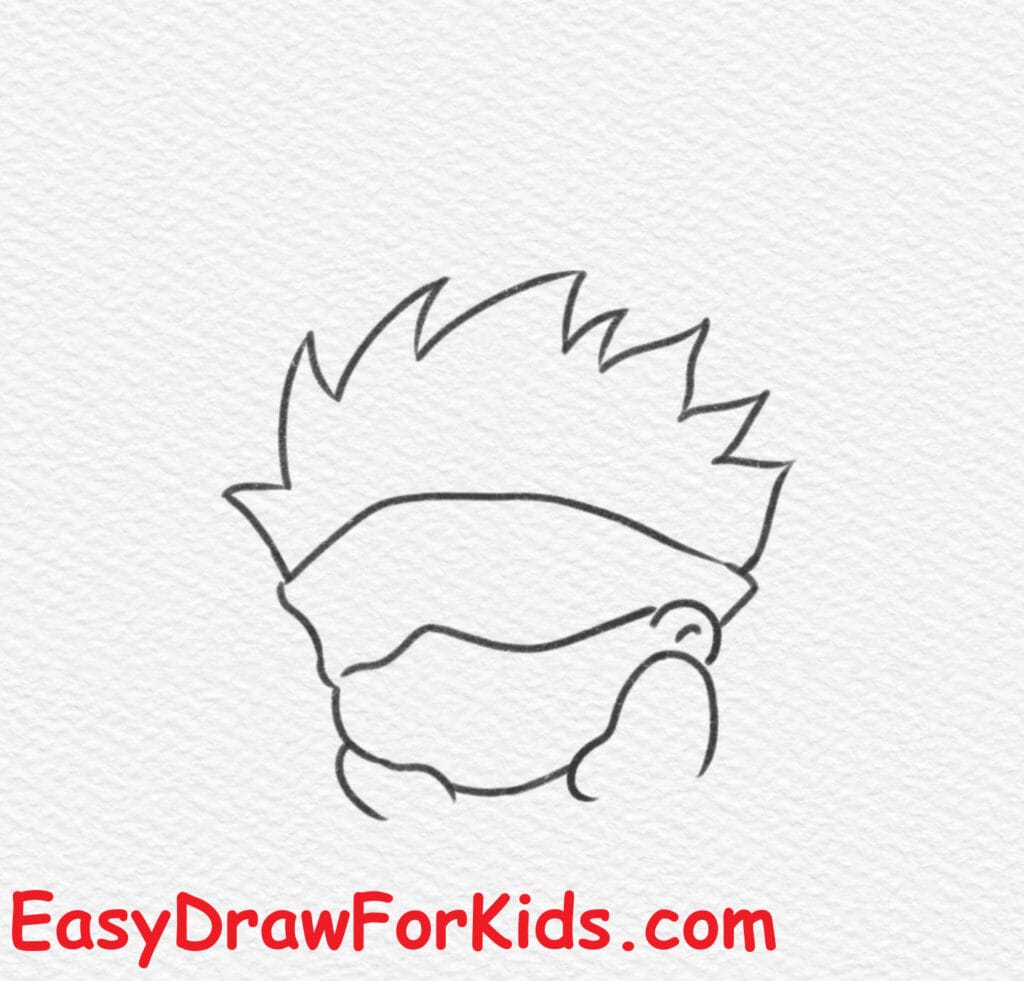
Step 4: Draw two small ears on each side of his head.
On each side of the face, draw his hands resting against his cheeks.
Use rounded shapes for a childlike, adorable style.
His fingers should be simple curves rather than detailed fingers.
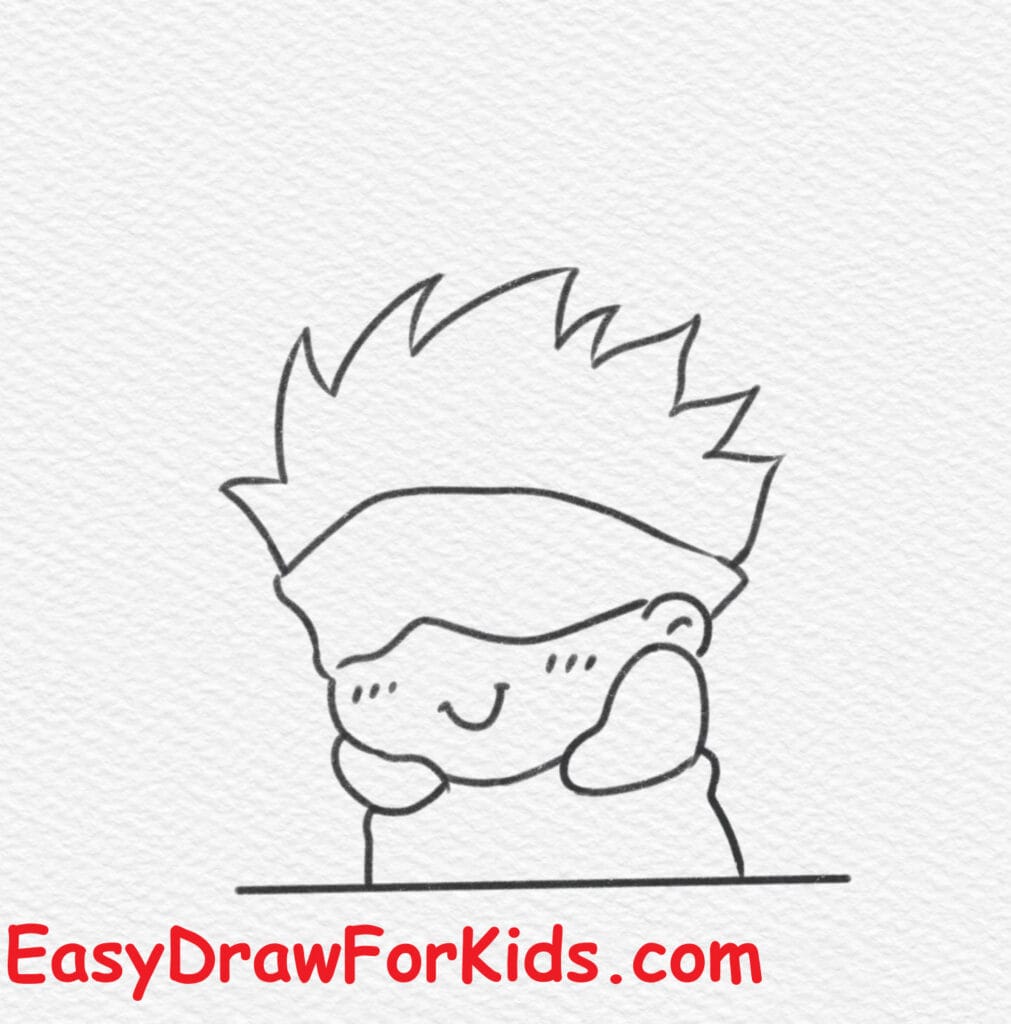
Step 5: Add a simple curved line below his head to form the shoulders.
Keep the body very minimal—just a small shape since the focus is on the facial expression.
Step 6: Add small curved blush marks under the band to enhance the cute expression.
Sketch little lines on the band to suggest folds or creases.
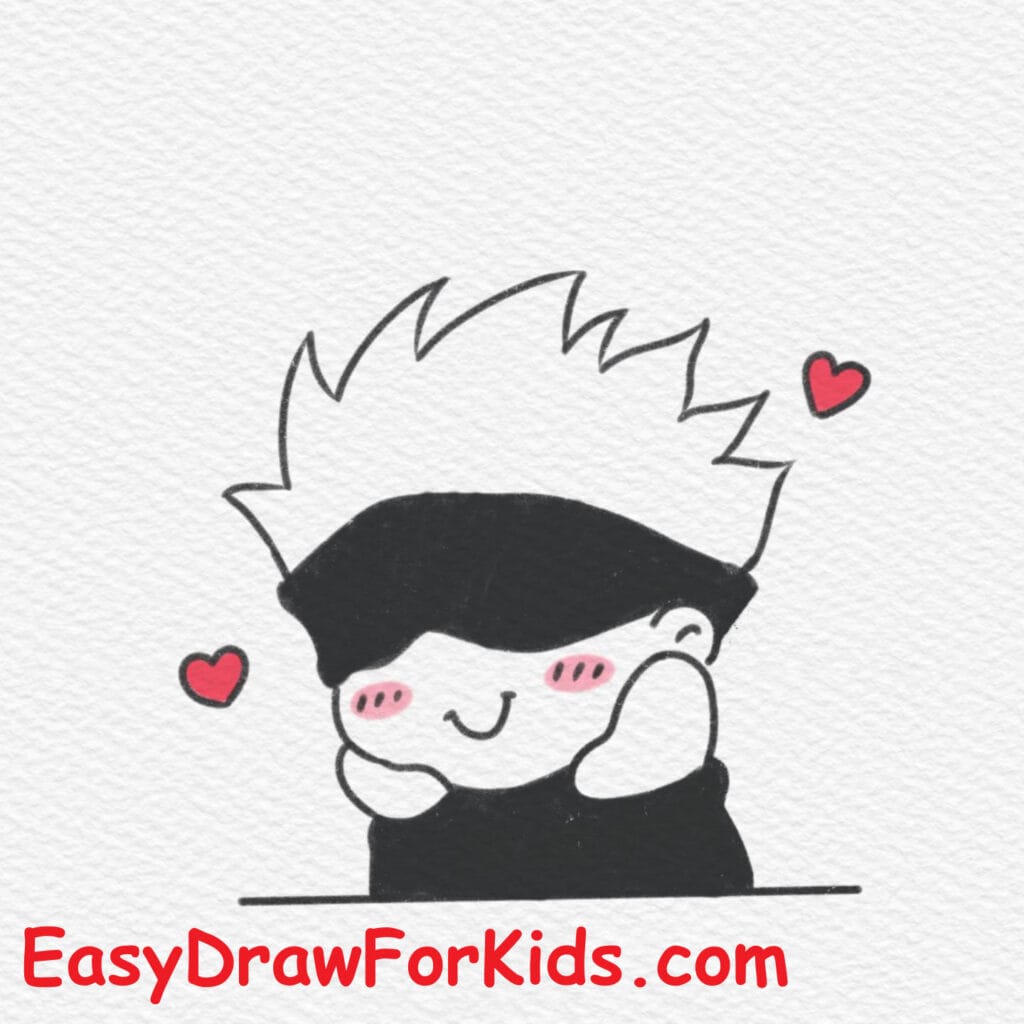
Step 7: Draw small heart shapes around Gojo’s head to give a playful, adorable vibe, matching the style in the final image.
Color the hair black while keeping some white strokes to represent shiny highlights.
The band remains white or light gray, just like the reference.
>>>Read more: How to draw Portgas D. Ace from One Piece – 2 Ways (With Pictures)
2. How to Draw Gojo Satoru from Jujutsu Kaisen
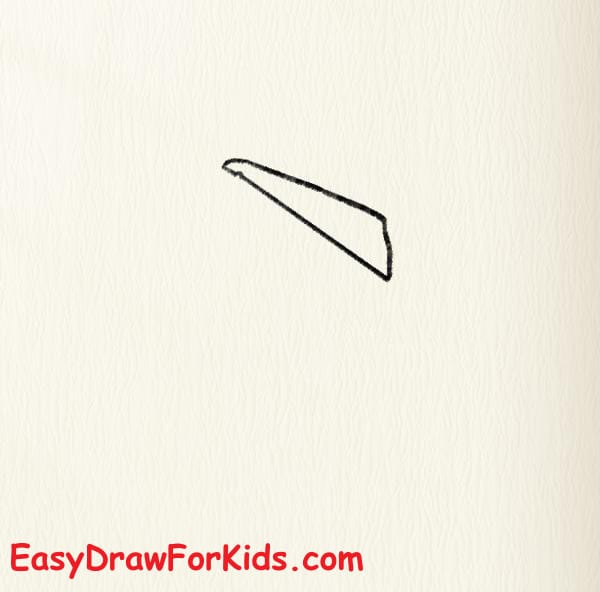
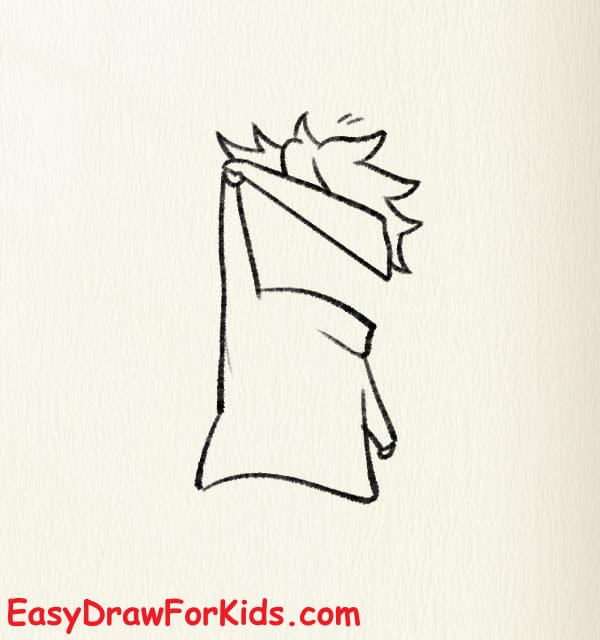
Step 1: Draw the Cloth Shape
Start by sketching a long, curved triangular shape.
This will become the edge of Gojo’s blindfold or cloak blowing in the wind.
Keep the lines smooth and slightly tilted to make the pose dynamic.
Step 2: Add Gojo’s Head and Hair
Draw Gojo’s head shape behind the cloth—use a simple curved outline.
Add his spiky hair on top. His hair should be sharp, messy, and pointing outward in multiple directions.
Then draw the rest of the cloth covering part of his face and body, making sure it curves naturally.
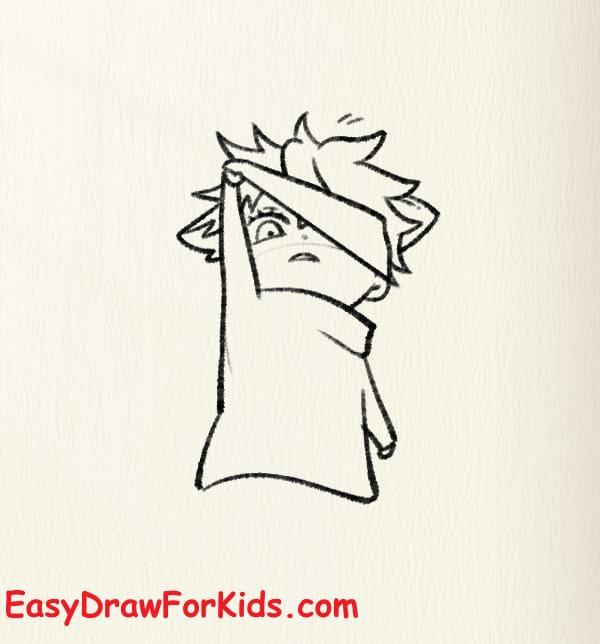
Step 3: Add Facial Details and Body Outline
Begin sketching Gojo’s visible eye—since one side of his face is covered, only draw one eye.
Add his eyebrow, slightly angled for an expressive look.
Continue refining the cloth wrapped around him, drawing folds and curves.
Sketch the basic outline of his upper body beneath the cloth.
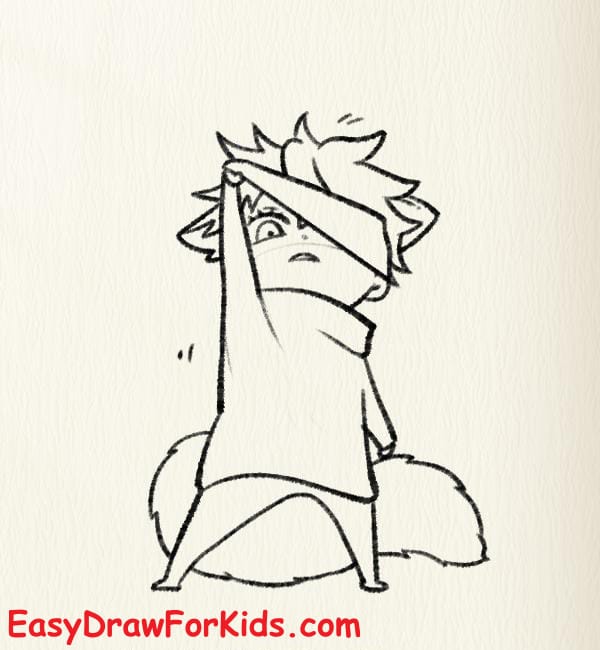
Step 4: Draw Gojo’s Legs and Clothing Details
Add his legs sticking out from under the cloth, bent slightly as if he’s sitting or hovering.
Draw the folds and creases on the cloth to give it movement and volume.
Add small details on his clothing such as wrinkles, edges, and shading lines.
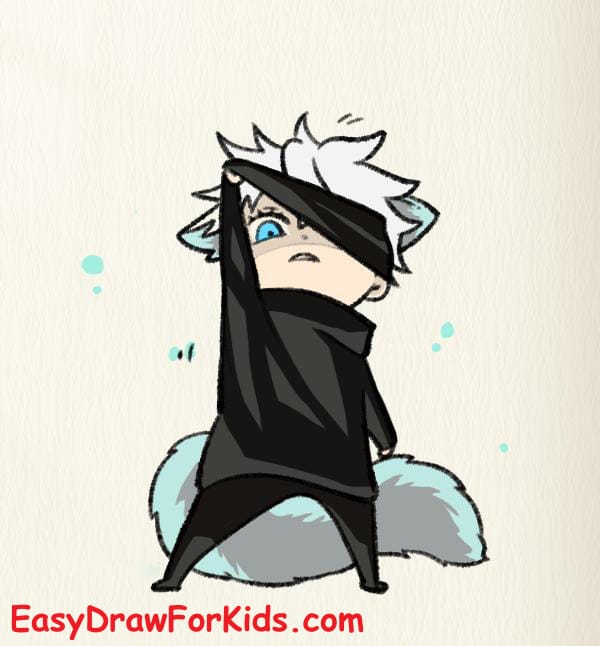
Step 5: Final Details and Color
Draw Gojo’s full face: his eye, eyebrow, and part of his nose.
Add shadows on his face and clothes to create depth.
Draw water or energy effects under him (based on the image).
Color the drawing:
Hair: silver or light grey
Eye: bright blue
Cloak: black
Effects: light blue tones
Thanks for drawing with me! Stay tuned for more Jujutsu Kaisen character tutorials and keep refining your art style.
>>>Read more: How to draw Vegeta – 3 Ways (With Pictures)