Welcome to today’s drawing lesson!
If you’ve ever wanted to create your own royal artwork, you’re in the right place.
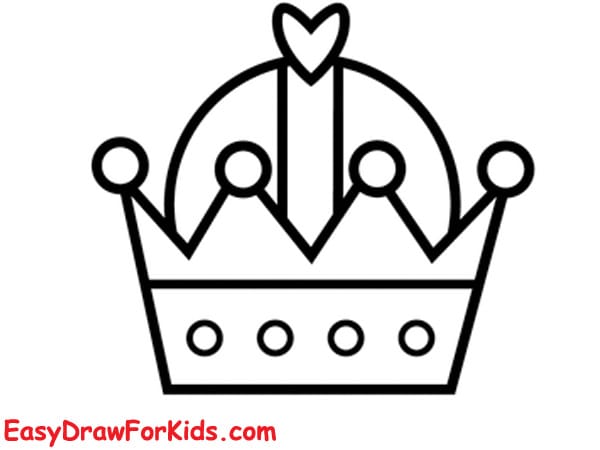
In this lesson, you’ll learn how to draw a crown using simple shapes that gradually come together to form an elegant royal accessory.

How to Draw a Crown – A Step by Step Guide
1. How to Draw a Crown for a King
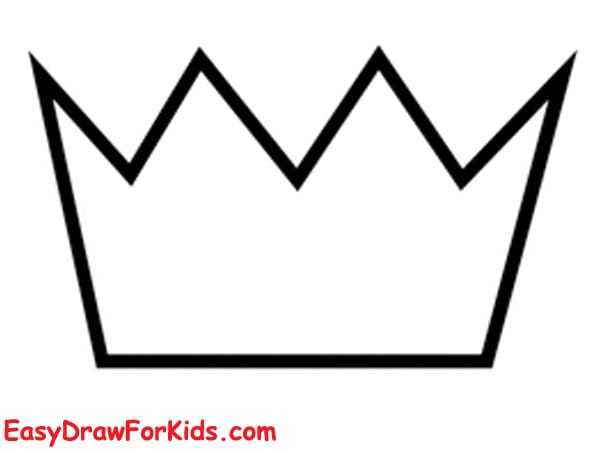
Step 1: Start by drawing the main outline of the crown:
Draw a wide horizontal trapezoid at the bottom (narrower at the top, wider at the bottom).
On top of that base, draw five tall spikes.
Each spike should look like a triangle, and the middle spike should be the tallest.
This forms the basic crown outline.
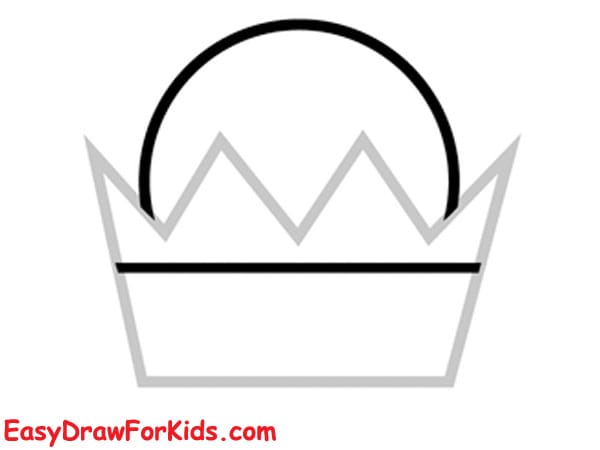
Step 2: Draw a large curved arch above the center of the crown.
The ends of the arch should touch the tops of the spikes on each side.
This arch represents the top frame of the crown.
Step 3: Inside the arch, draw two vertical lines coming down from the top of the arch.
Connect the lines at the bottom with a small V-shaped point that reaches toward the middle spike.
This creates the decorative central bar of the crown.
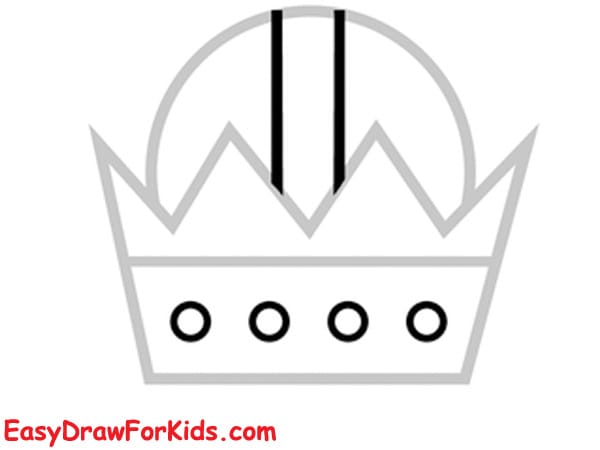
Step 4: Now add jewel decorations:
Draw five small circles, one placed on top of each spike.
Draw four small circles inside the bottom band of the crown, evenly spaced. These represent gemstones.
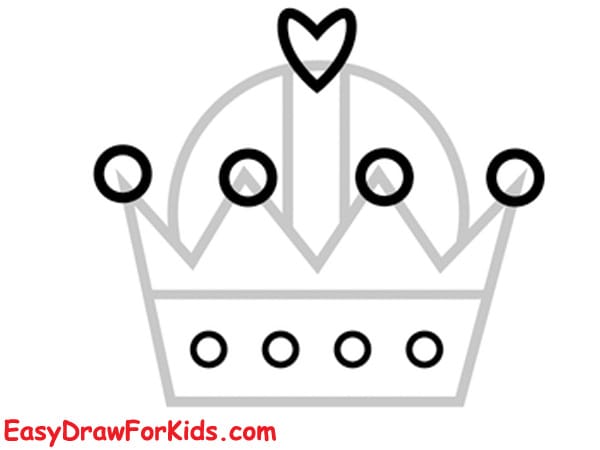
Step 5: At the very top of the arch, draw a small heart shape. This is the crown’s central decorative jewel.
Step 6: Finish your drawing with bright colors:
Color the main crown yellow or gold.
Color the upper arch red or pink.
Color the circles (jewels) different bright colors such as red, orange, or pink.
Make the heart jewel a pink or red color.

>>>Read more: How To Draw A Gift Box – 4 Ways (With Pictures)
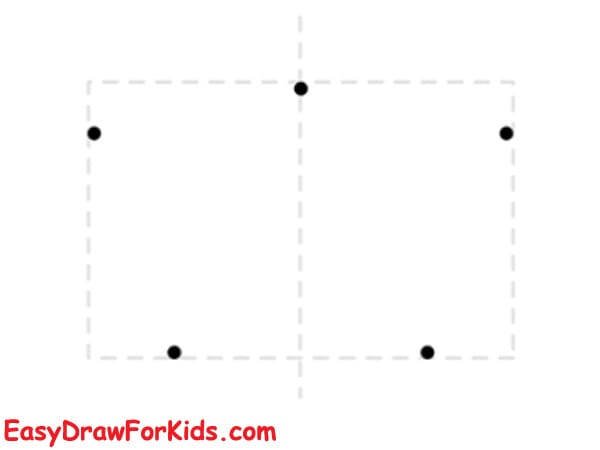
2. How to Draw a Queen Crown
Step 1: Lightly draw a horizontal rectangle where the crown will sit. Put a faint vertical centerline down the middle of that rectangle.
Add four small guide dots (two near each corner) to help place the jewels and peak positions evenly later.
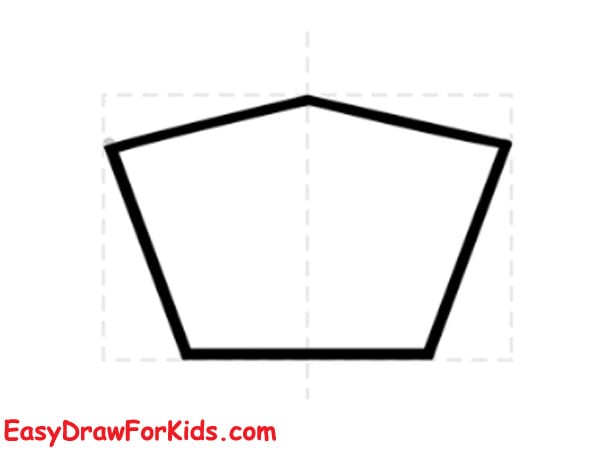
Step 2: Using the rectangle as a guide, draw the crown’s outer silhouette: the bottom edge follows the rectangle, and the top edge angles up into a five-point shape (a gentle pentagon curve).
Make the side edges slightly flared so the band looks like it sits around a head. Darken the main outline once the shape looks balanced.
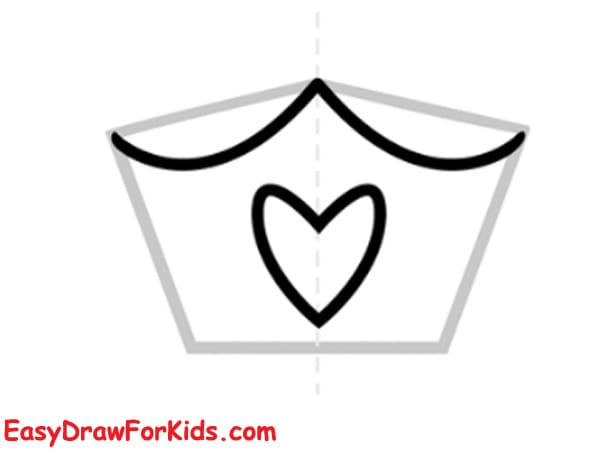
Step 3: Near the top of the band, draw a soft scalloped trim (two small curved hills) across the front.
In the center of the crown’s face, sketch a heart-shaped motif (or another central gem shape). This gives the crown a royal focal point.
Step 4: At the tip of each crown point draw a small circle (these are the round jewels).
Add a few smaller circles along the arch between peaks to create additional bead-like ornaments.
Keep the spacing even by using the guide dots and centerline as reference.

Step 5: Smooth the curves and make the bottom band lines (the decorative ridges) parallel and slightly curved to show band thickness.
Erase construction marks so the crown reads clean and symmetrical.

Step 6: Color the crown a warm gold or yellow.
Color the central heart and the round jewels with contrasting colors (pink, red, blue, etc.).
Add a darker band or stripe near the bottom for depth (two thin curved lines).
Finally, add small white highlights on the jewels and a subtle shadow under the crown to give it dimension.

>>>Read more: How To Draw An Angel – 3 Ways (With Pictures)
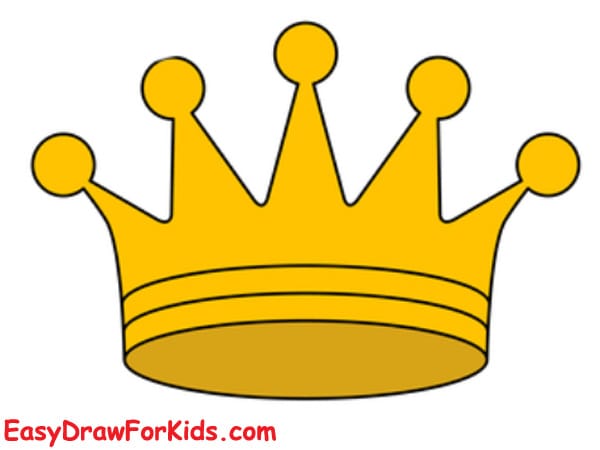
3. How to Draw a Crown Easy
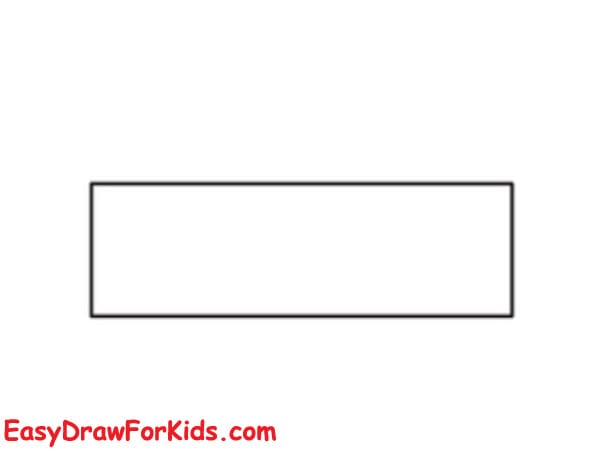
Step 1: Draw a horizontal rectangle near the center of your page. This rectangular band is the crown’s base (the part that wraps around the head). Keep it wider than tall.
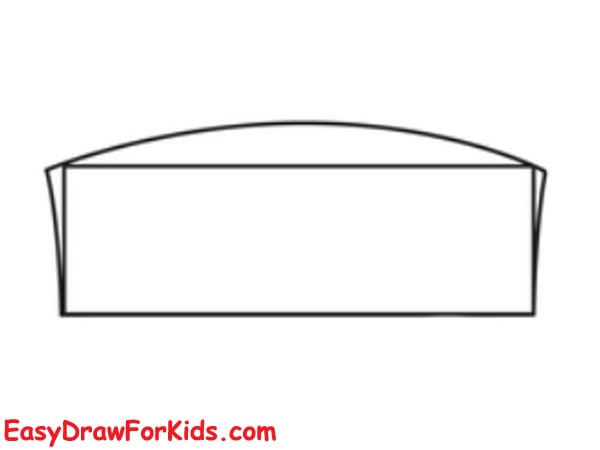
Step 2: Add a slightly curved top edge to the rectangle so the band looks three-dimensional.
Draw a second line just under the top curve (following the same curve) and connect the sides, this gives the band thickness and a visible top rim.
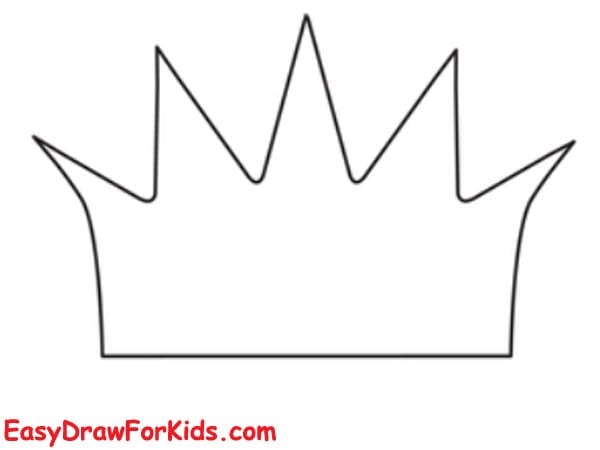
Step 3: Along the top rim, draw a row of tall, pointed triangular peaks (spikes). Space them evenly—five peaks is a classic, balanced look.
Make the outer two slightly angled outward so the crown reads symmetric.
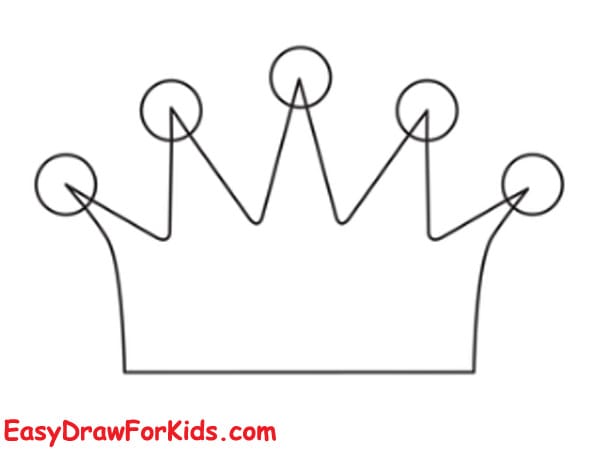
Step 4: On the tip of each triangular peak draw a small circle (these represent round jewels or ornaments).
Make the circles equal size and centered on each peak tip.
Step 5: Draw two or three curved horizontal lines inside the crown band near the bottom half to show decorative ridges.
These lines should follow the curve of the band (slight arch) so they look natural and three-dimensional.

Step 6: Color the crown a rich gold or yellow; color the circular jewels with contrasting colors (red, blue, green, etc.).
Add small white highlights on the jewels and along the top rim to give shine.
Optionally add a subtle shadow underneath the crown to ground it.
And that’s it! You’ve learned how to draw a crown from start to finish.
With simple shapes and a few decorative touches, you now have your own royal artwork.
Feel free to color it and make it shine!