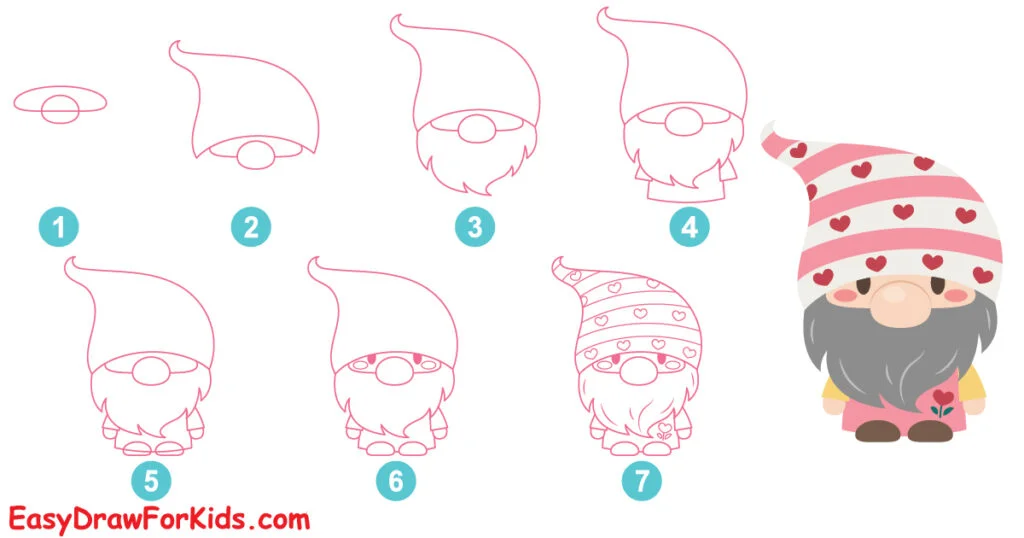
Gnomes are charming, whimsical creatures often found in fairy tales and fantasy stories.
In this tutorial, easydrawforkids.com will guide you learning how to draw a gnome step by step.
How to Draw a Gnome – Let’s Begin
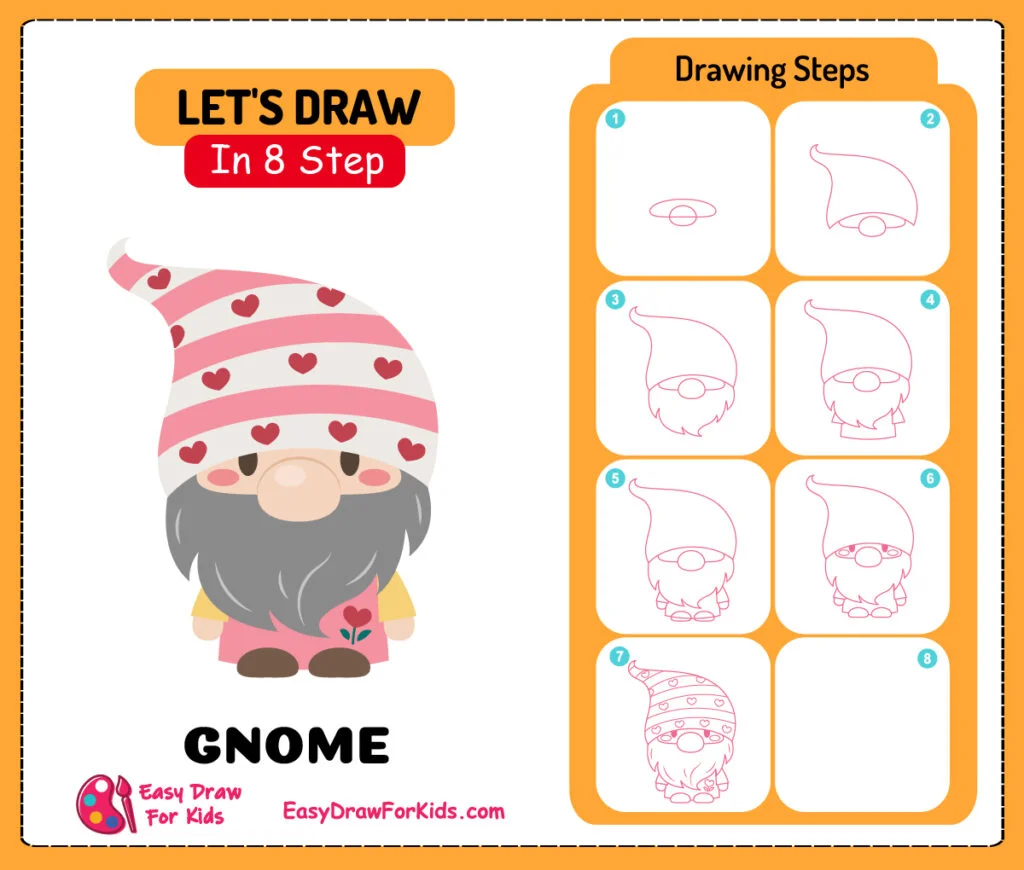
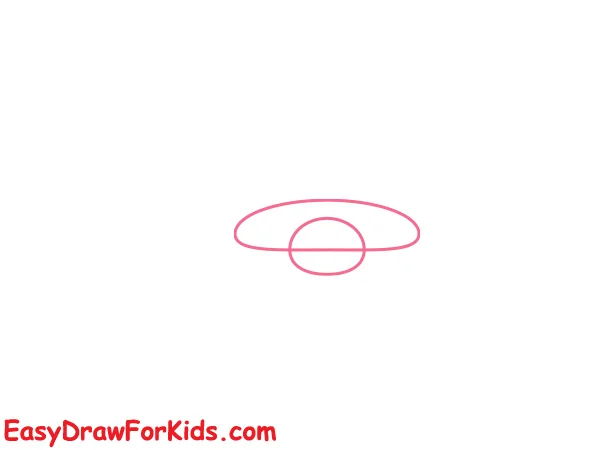
Step 1: Sketching the Basic Shape
Sketch a circle for the gnome’s head, leaving space at the bottom to add the beard later.
In the center of the face, draw a small circle for the nose.
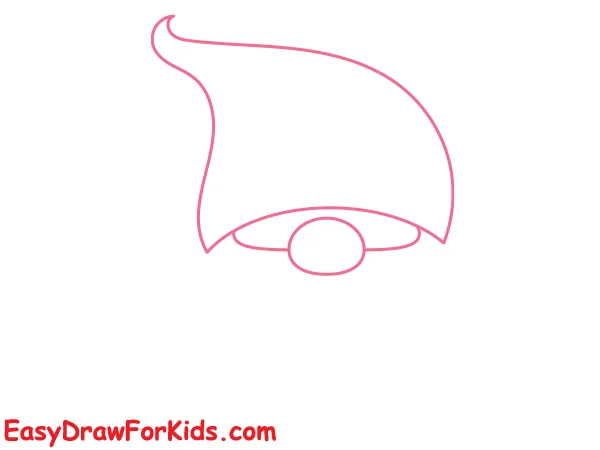
Step 2: Next, sketching a Flopppy Hat
On the top of the head, draw a cone shape angling downwards, add a pom pom ball at the end.
Step 3: Below the chin, draw a fluffy, cloud-shaped beard
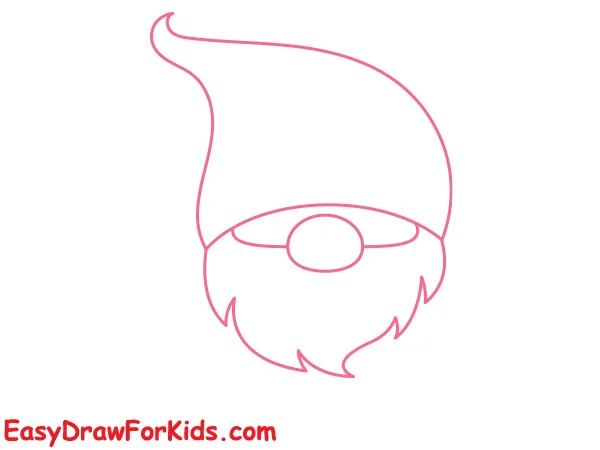
Step 4: Drawing the Clothes
Draw a long tunic on the torso, extending downwards for the clothes.
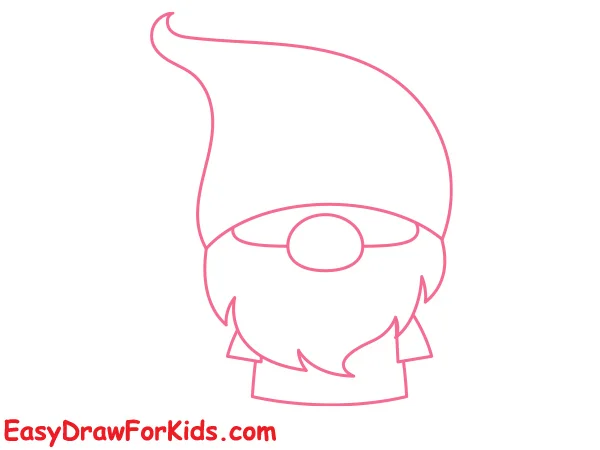
Step 5: Draw His Hands, Feet
Draw oval shapes like potatoes for the hands and feets.
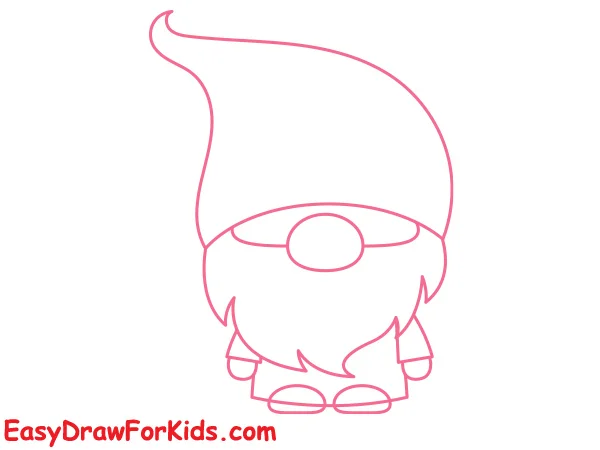
Step 6: Next, Draw His Facial Details
Draw two oval shapes for the eyes, a small triangle for the nose.
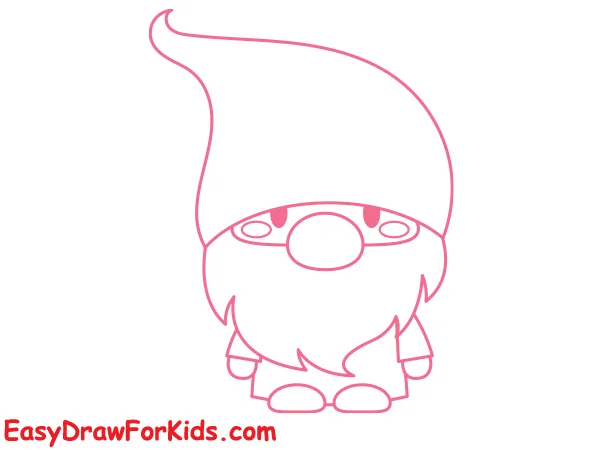
Step 7: Add some wrinkles and folds to the clothes.
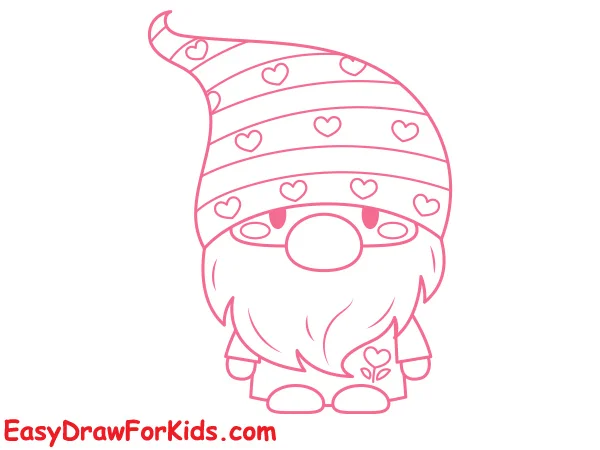
Step 8: Coloring Your Gnome Drawing
Now for the fun part—bringing your gnome drawing to life with vibrant color!
Choose earthy tones like maroon, yellow and sky blue to color your drawing with bright spots of color like on a hat feather.
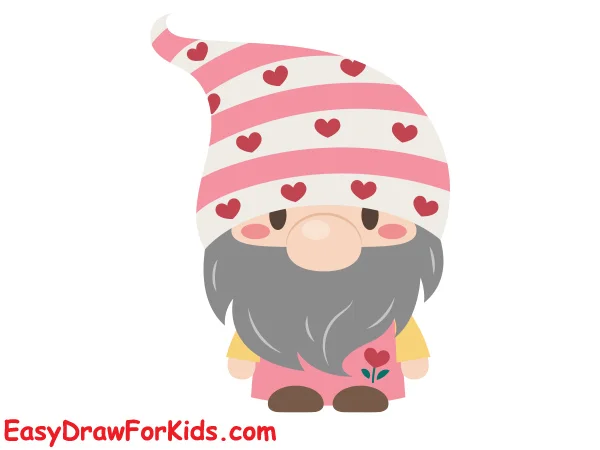
Now you complete this guide how to draw a gnome.
Why not create a whole family of delightful characters dancing, planting flowers?
