Learning how to draw Santa Claus is a fun Christmas activity for both kids and adults.
This drawing tutorial is designed specifically for beginners.
All you need is a pencil, an eraser, and a sheet of paper, and you’ll be able to draw a cute Santa in no time!
How To Draw Santa Claus – A Step By Step Guide
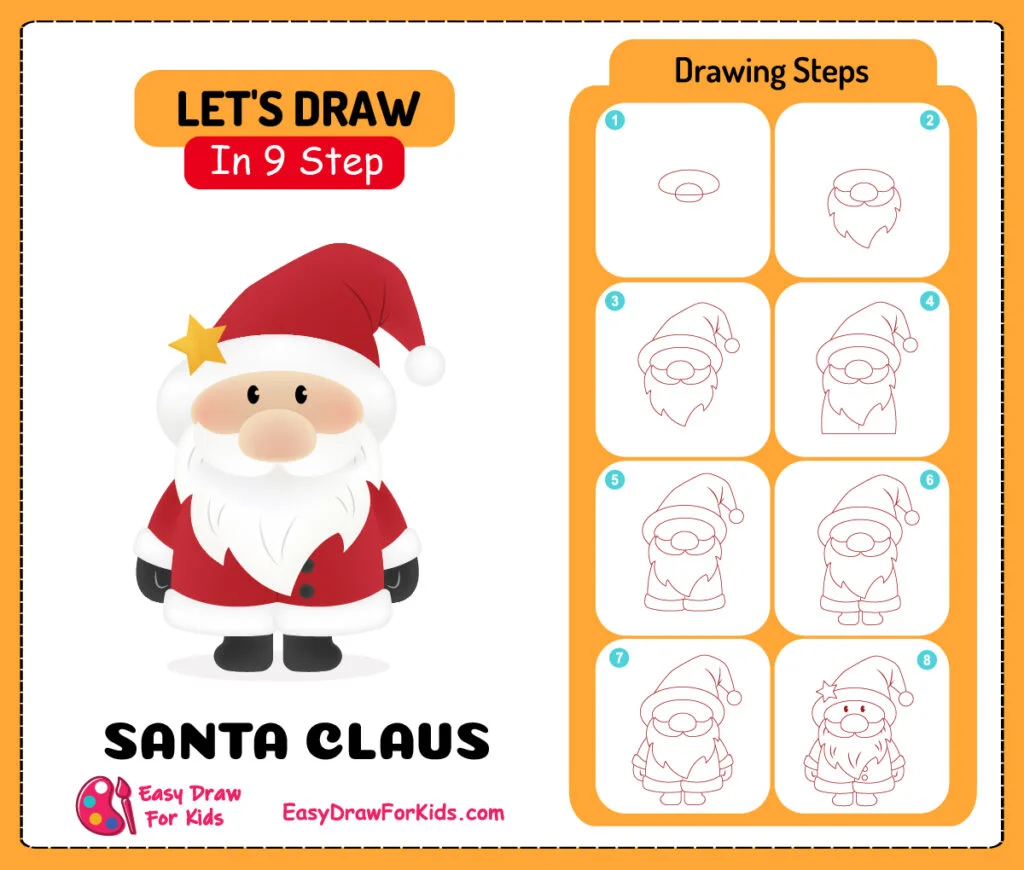
1. Cute Santa Claus Drawing
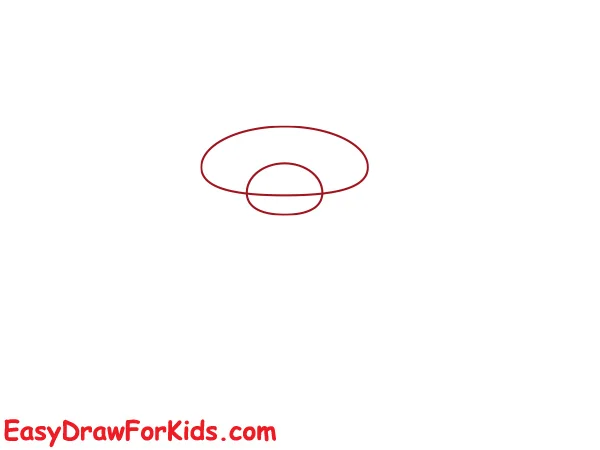
Step 1: Sketch a large oval shape near the top of your paper for Santa’s head, draw a small circle below the head for the nose.
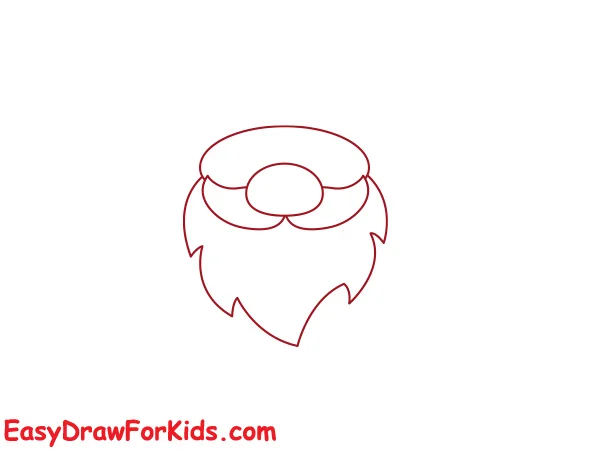
Step 2: This step guide on how to draw Santa Claus will focus on Santa’s beard.
Draw some long, wavy lines below the nose extend to the bottom of the face.
Sketch in a big mustache along the upper lip made of several rows of thick, soft curves.
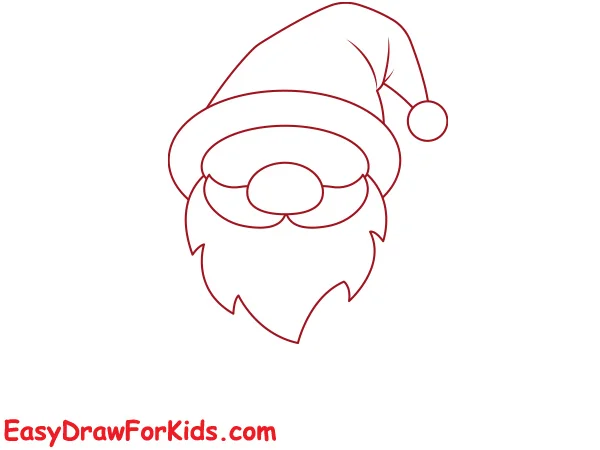
Step 3: Draw a triangle above Santa’s head for the hat. Then, draw a curved line across the bottom of the triangle for the brim of the hat.
You can also add a pom-pom at the end of the hat by drawing a small circle.
Step 4: Below the head, draw an oval shape for his torso, make the shape nice and wide.
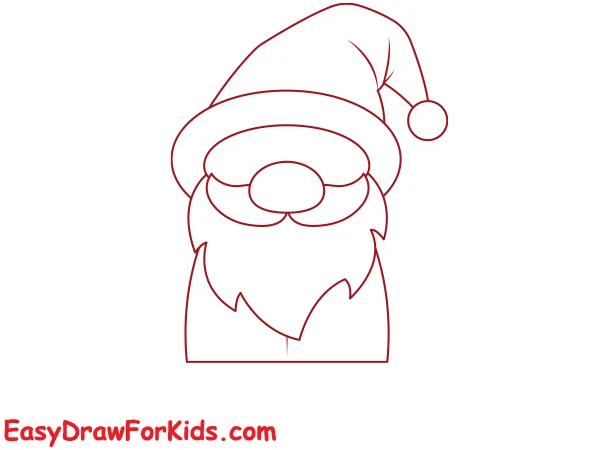
Step 5: Draw a curved line across the top of the oval for the collar and then another curved line below it for the bottom of the coat.
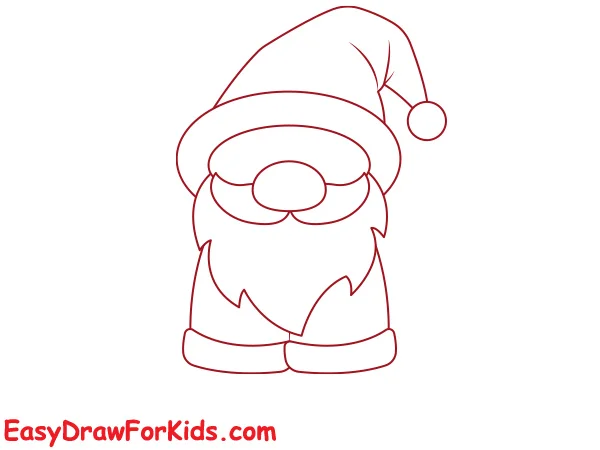
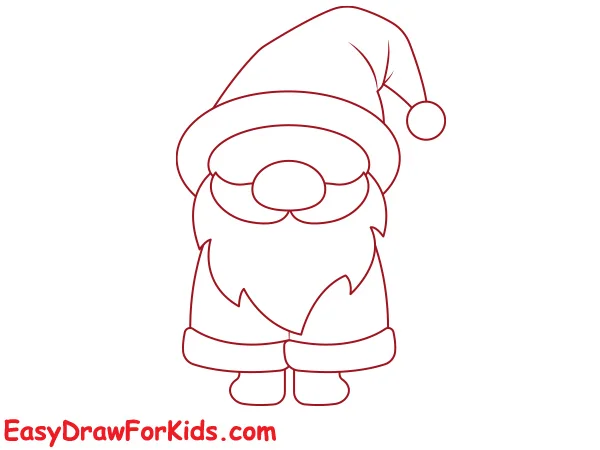
Step 6: Draw two long and thin ovals for the legs below the body.
For Santa’s boots, draw two curved lines at the bottom of each leg.
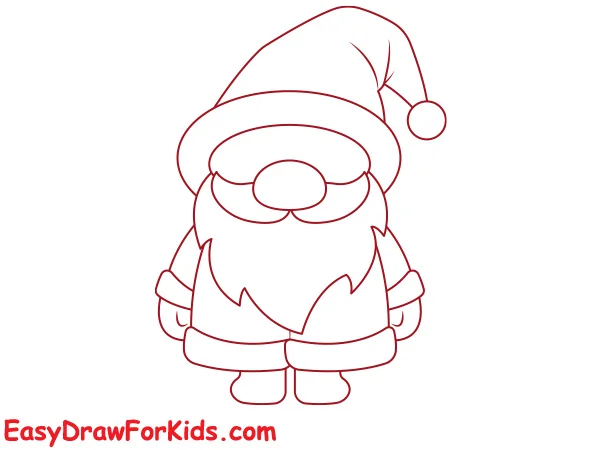
Step 7: Sketch a curved line for each arm, then draw a hand.
Add a thumb to each mitten-style hand.
Step 8: Draw a small circle for the eyes, add small dot for a pupils.
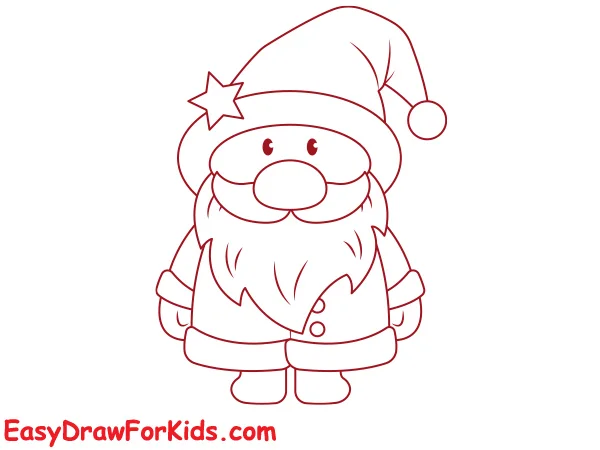
Step 9: Coloring your Santa Claus drawing

Use red to colour in Santa’s hat, coat, pants, and boots.
Leave the white beard and moustache bright contrast against the red.
2. Santa Claus With Gifts Drawing
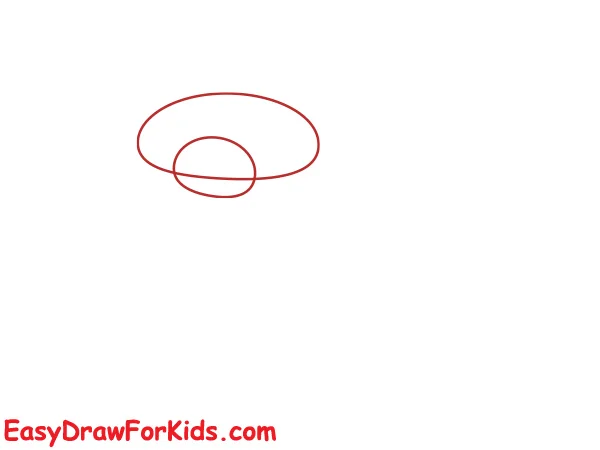
Step 1: Draw a circle near the top of your paper for the head. Then, add an upside-down triangle for his nose.
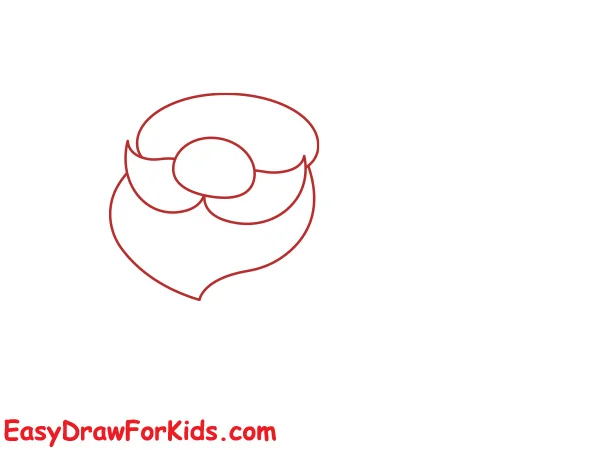
Step 2: Draw Santa’s face by adding a fluffy beard and mustache.
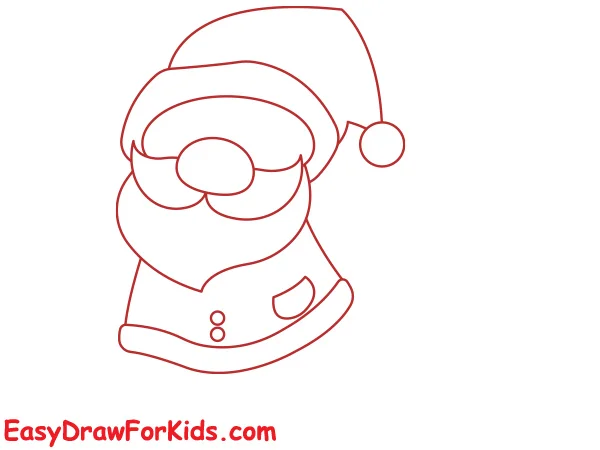
Step 3: Draw a wide upside down triangle shape above the head oval. Add a white trim line along the bottom of the hat. Draw a puff ball at the top of the hat.

Step 4: Extend two lines downward from the head to create his body. Give him a rounded belly by drawing a curved line below the head.

Step 5: Draw a curved line across his belly to separate his coat from his pants.
Step 6: Draw two curved lines that start from the sides of his body for the arms. Bend the lines to create his hands, which will be holding the bag.
Extend two lines downward from belly to form his legs.
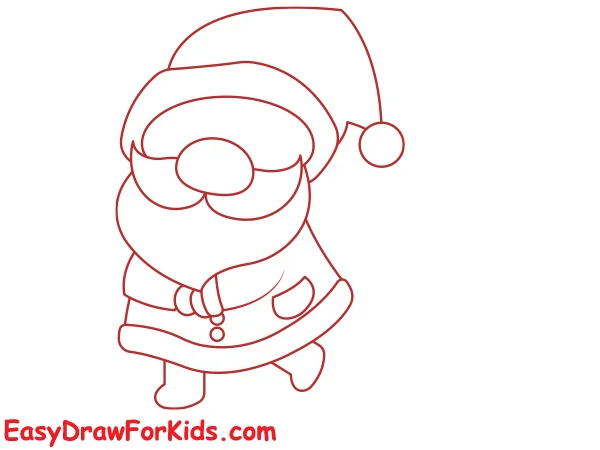
Step 7: Draw a sizeable curved rectangle shape behind Satan for the bag. Add some curved lines to indicate folds and wrinkles on the bag.
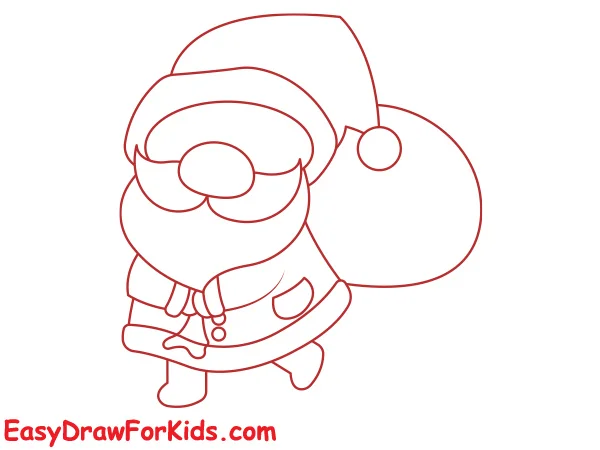
Step 8: Draw two half-circle shapes for the smile eyes.
Then, on either side, add rosy circle shapes on the cheeks.
Finally, sketch a wide smile below Santa’s nose.
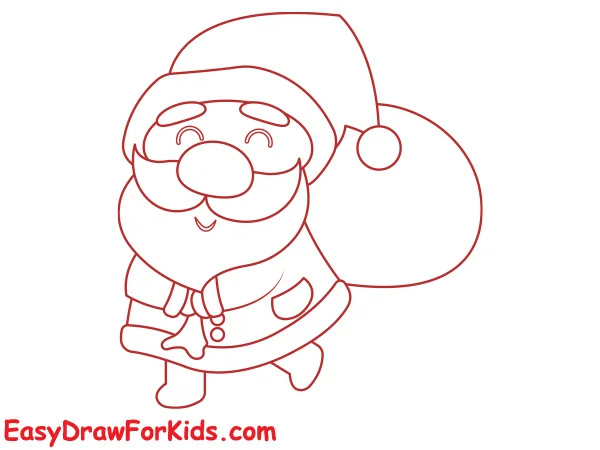
Step 9: Add some lines or dots on the bag to represent the texture or presents inside.
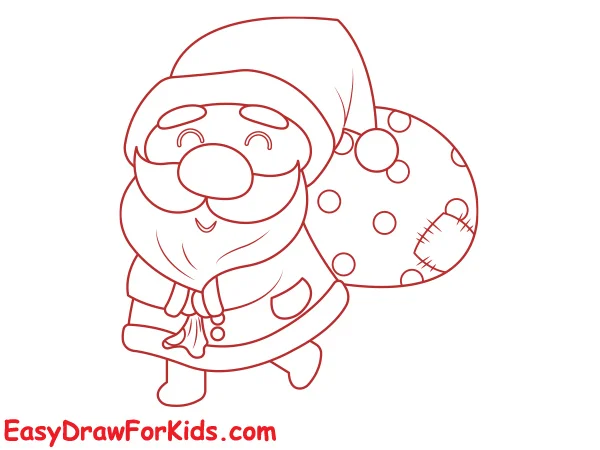
Step 10: Color your drawing using traditional Santa colors like red for suit, white for beard and trim, and black for belt and boots.
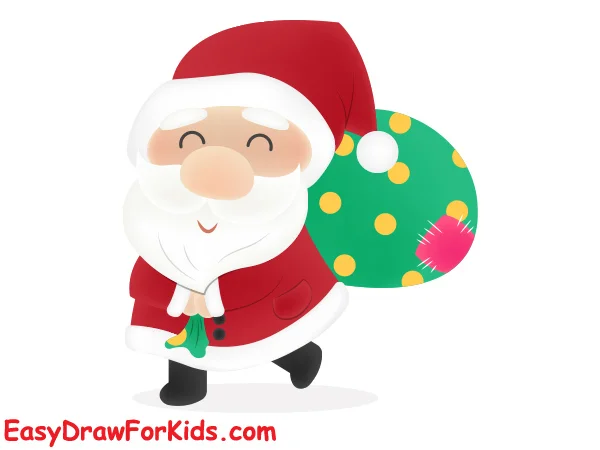
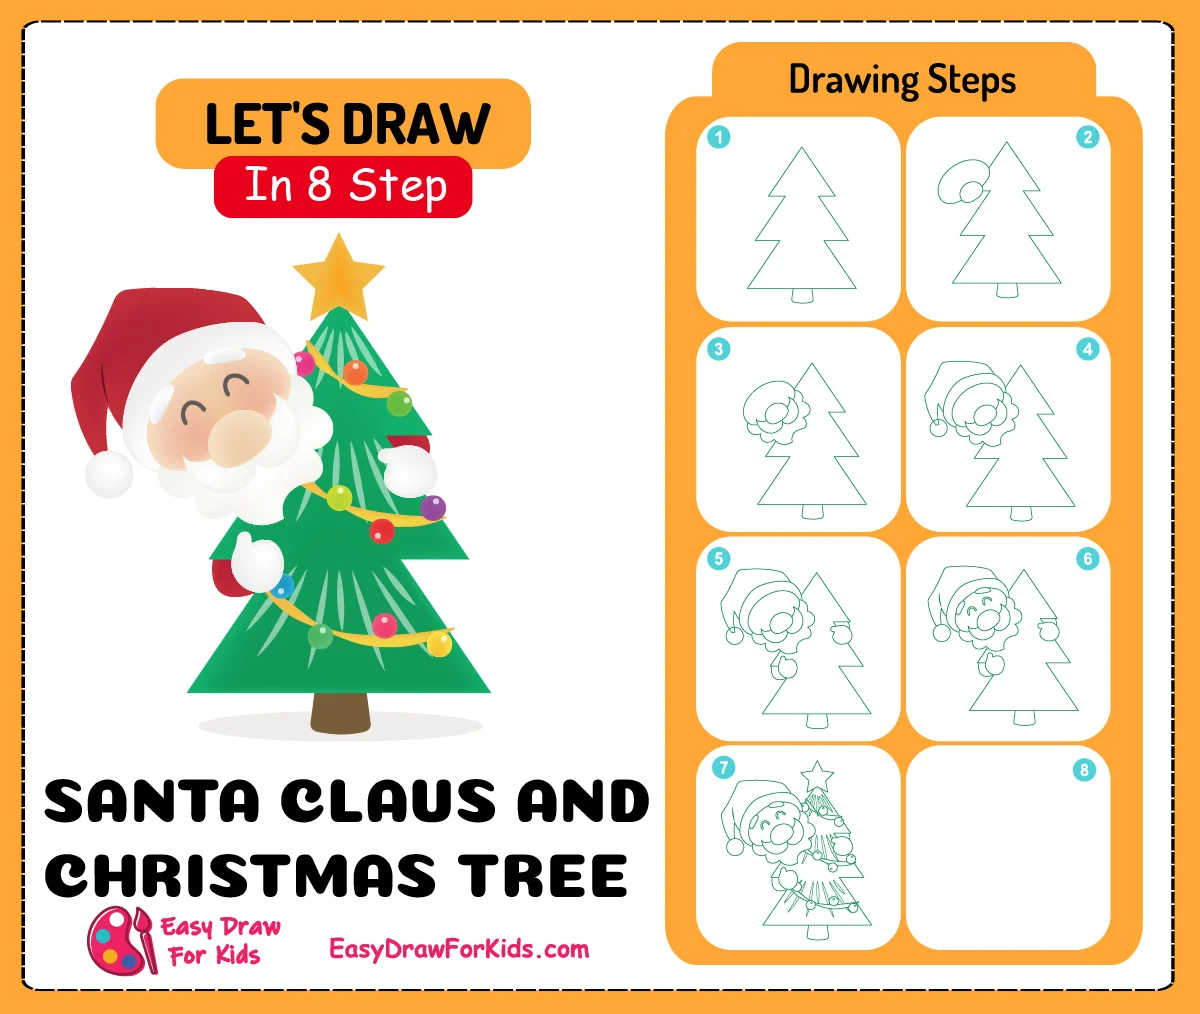
3. Santa Claus And Christmas Tree Drawing
Step 1: Drawing the Christmas Tree
Draw a wide triangular shape with a straight trunk coming down.
Add some criss-cross lines within the tree to indicate branches.
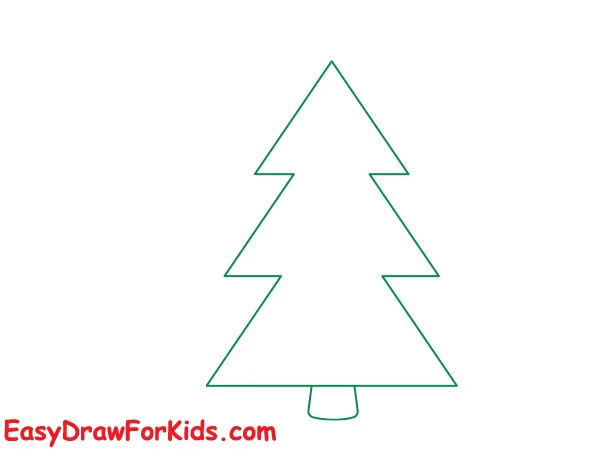
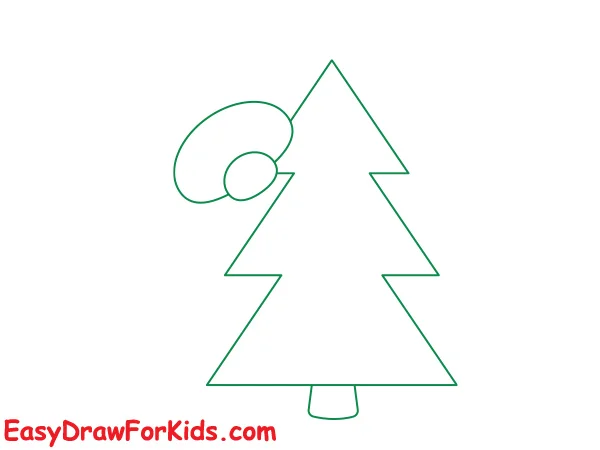
Step 2: Draw a circle in the open space above the tree – this will be Santa’s head peeking out from behind the top of the tree.
Step 3: Next, add a long oval shape below the head for Santa’s beard
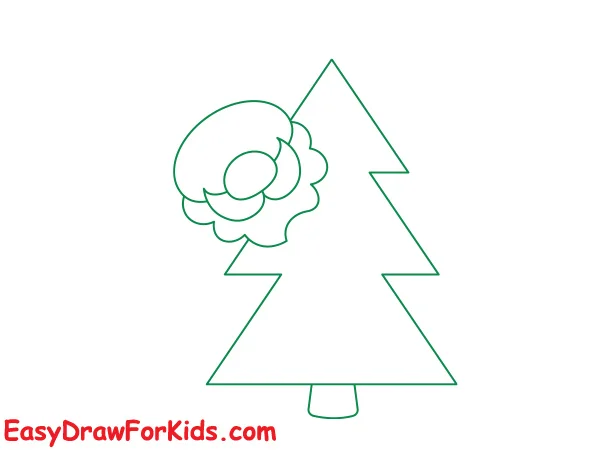
Step 4: Sketch an upside-down triangle above the head for the hat’s brim.
Draw a wide U-shape over that for the pointed hat top.
Add a fluffy white ball at the top of the hat for a pom-pom.
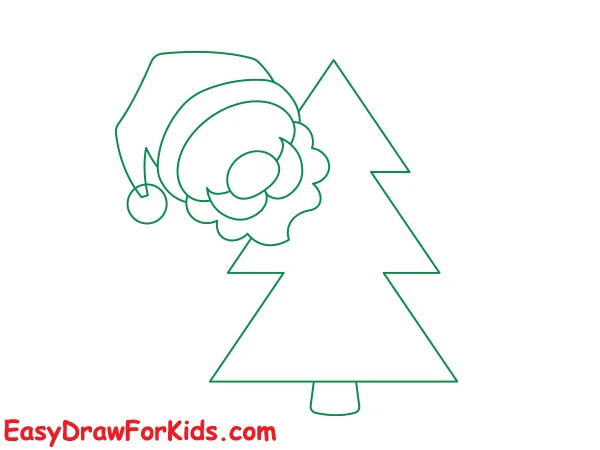
Step 5: Extend Santa’s arms towards to hug the tree. Draw his white-gloved hands in curved C shapes.
Draw his hands overlapping on the other side of the tree.
This will give the illusion of depth and make it look like he’s really hugging the tree!
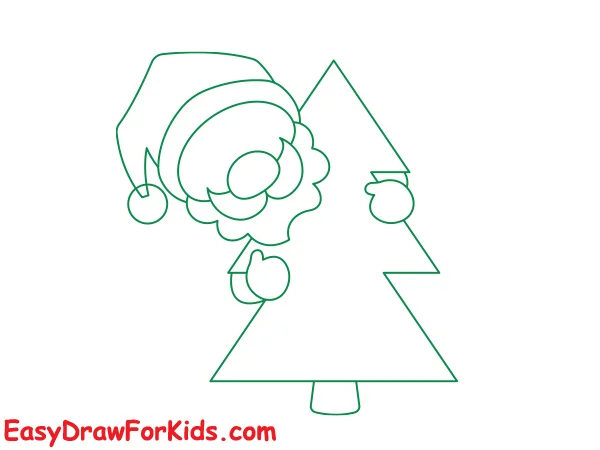
Step 6: Add simple oval shapes for his eyes, a triangle nose and a smiling curved mouth.
You can also sketch in some round, rosy cheeks to make Santa look extra jolly.
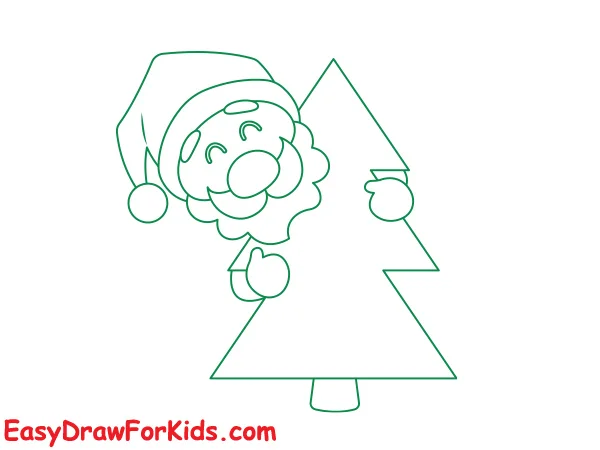
Step 7: Decorating the Christmas Tree
Use silver and gold lines radiating outwards to show shiny tinsel strands.
Draw big decorative bows on branches in red, green or other fun colours.
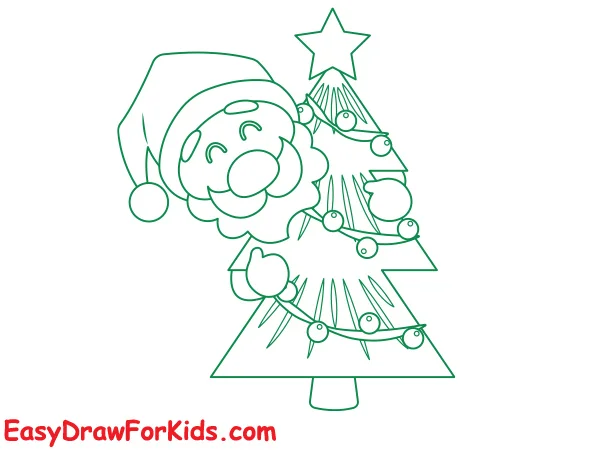
Step 8: Coloring the Drawing

Finish this guide how to draw Santa Claus is colouring him and Christmas tree.
Santa Claus: Red hat, white fur trim, white beard, rosy red cheeks
Christmas Tree: Green, with colourful ornaments
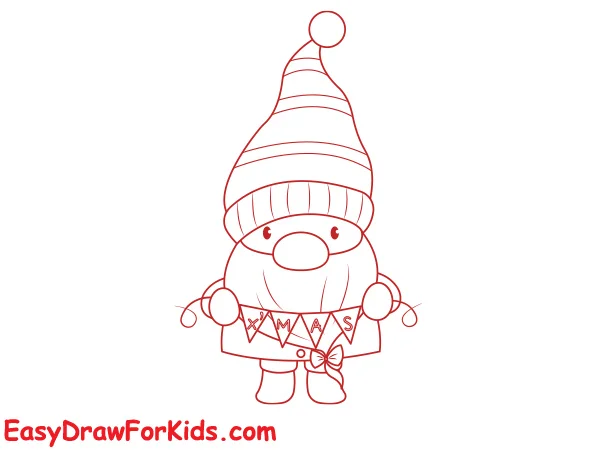
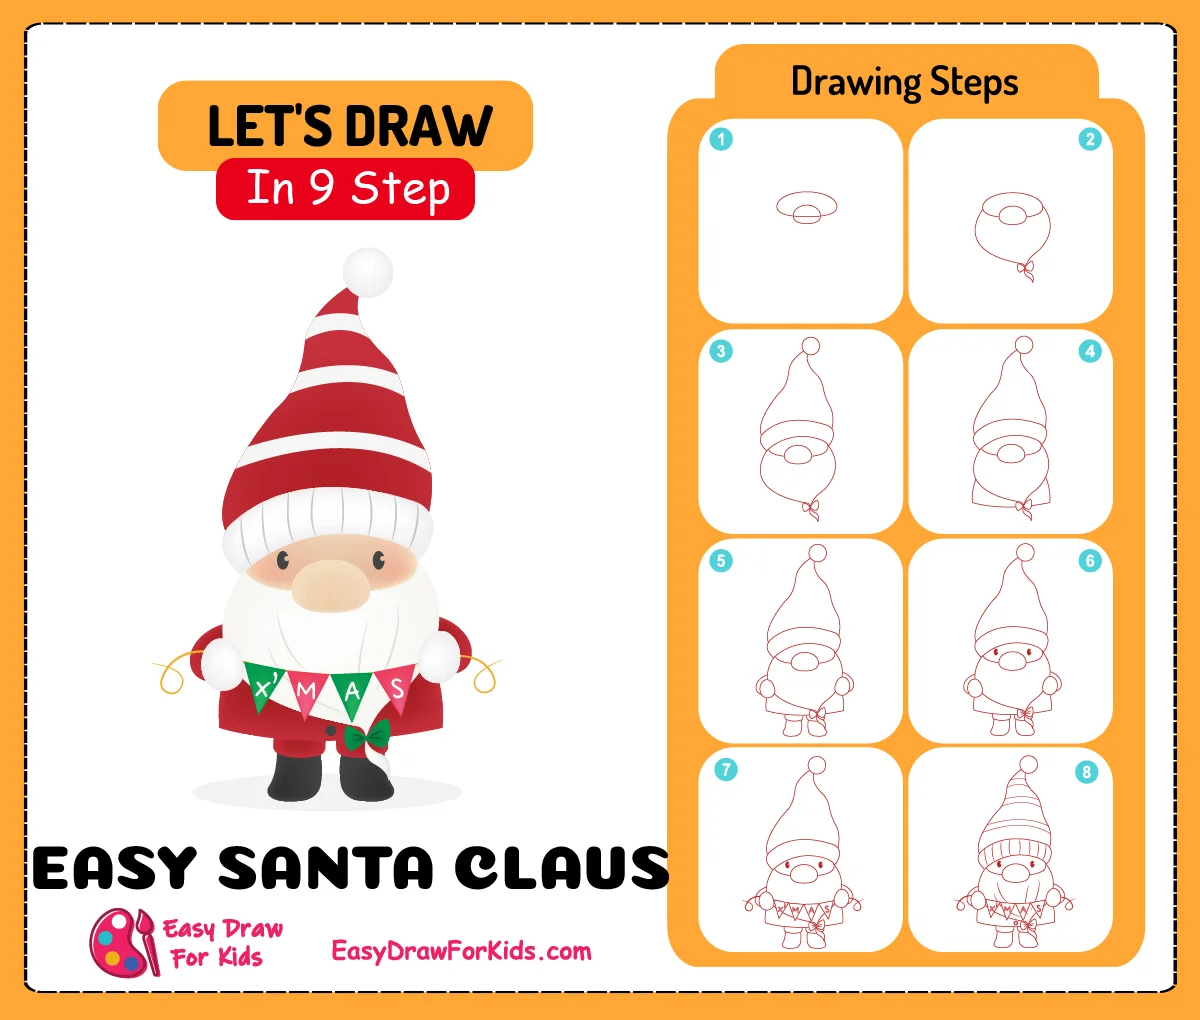
4. Easy Santa Claus Drawing
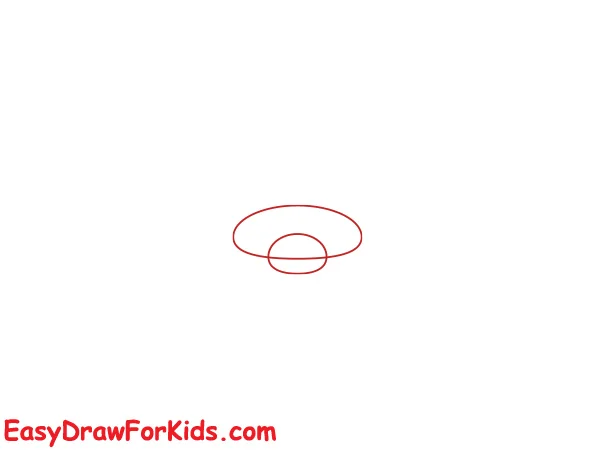
Step 1: Start by drawing a circle for the head.
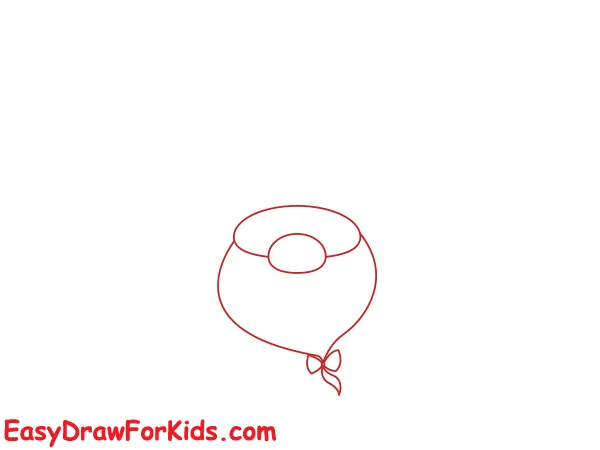
Step 2: Draw a curved line below the head for Santa’s beard.
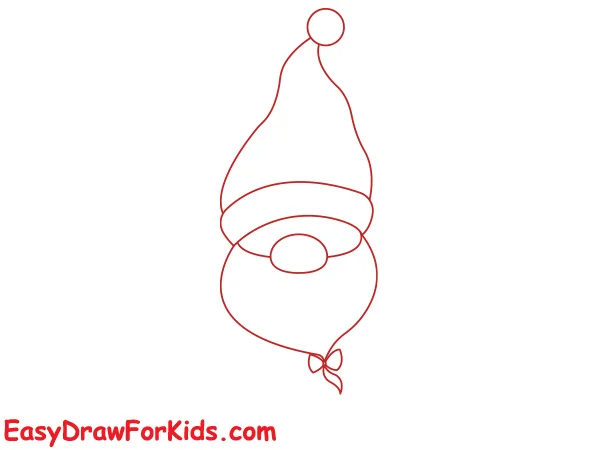
Step 3: Add a rounded triangle shape on top of Santa’s head for his hat. Decorate the hat with a fluffy pompom at the end.
Step 4: From the sides of Santa’s head, draw two curved lines for the body.
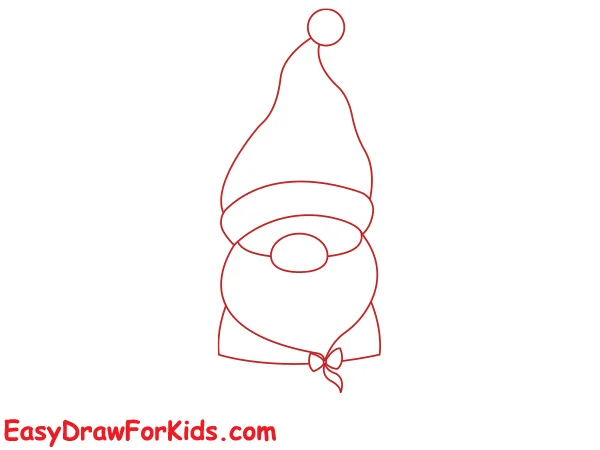
Step 5: Draw two long, curved lines on each side of the body for the arms.
Add smaller curved lines at the end of each arm to form Santa’s hands.
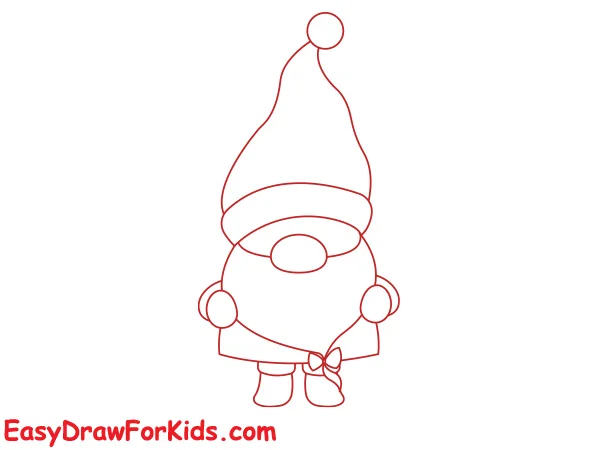
Step 6: Add two small circles within the head circle for the eyes.
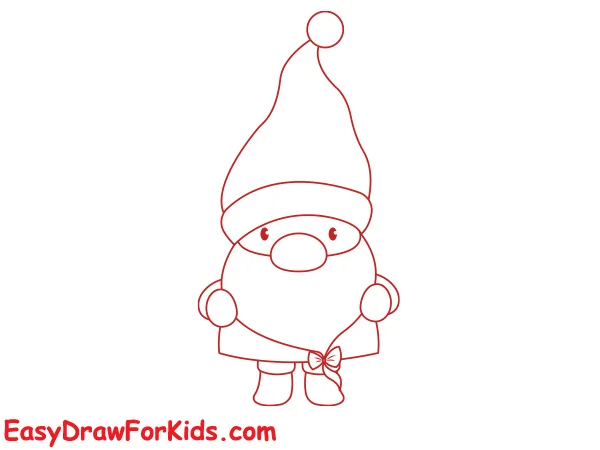
Step 7: Draw the party garlands
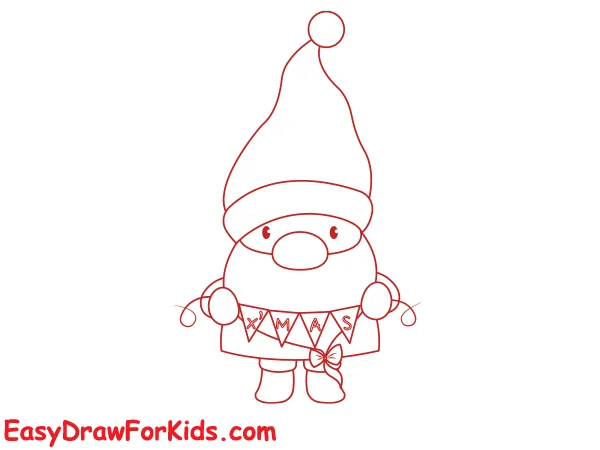
Step 8: Add additional details to Santa, such as his boots and a sack of presents if desired.
Step 9: Color your drawing
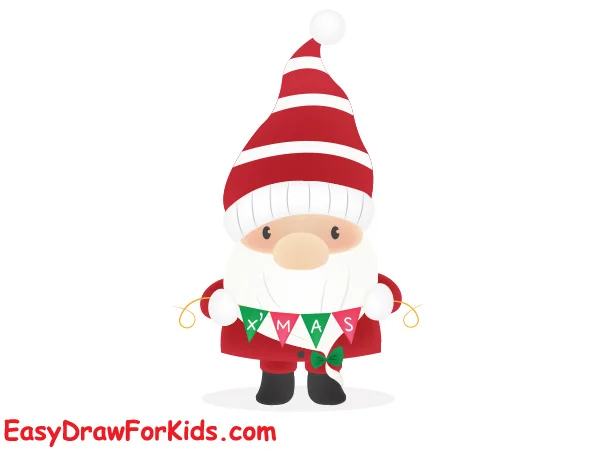
You can use traditional Santa colors like red for his suit, white for his beard and trim, and black for his boots and belt. For the garlands, you can get creative with different colors.
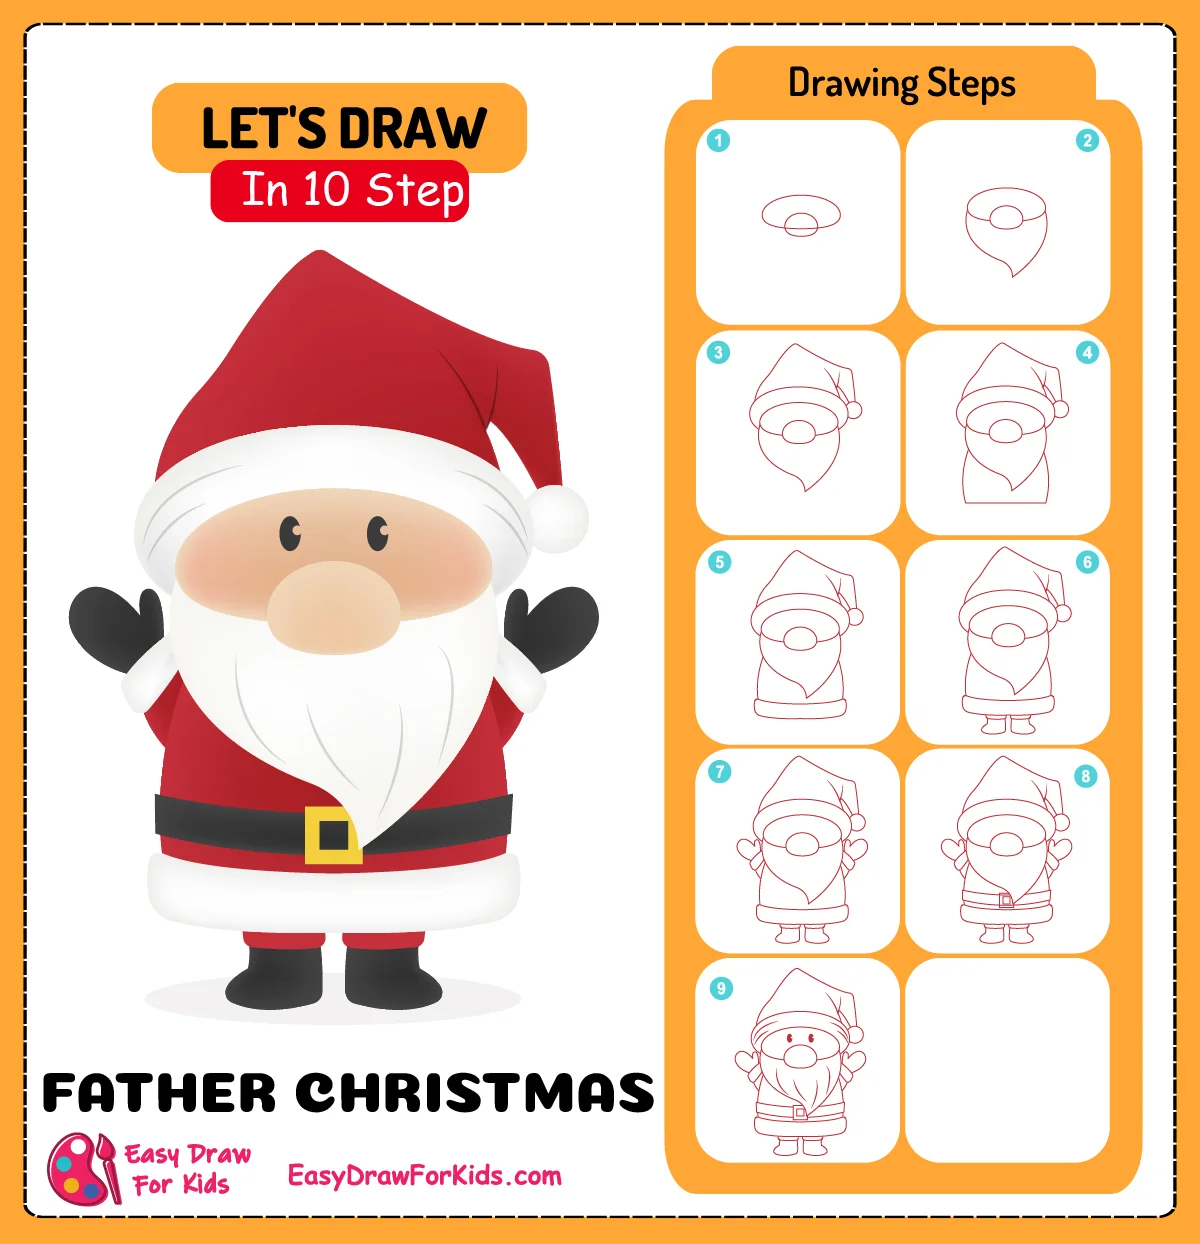
5. Father Christmas Drawing
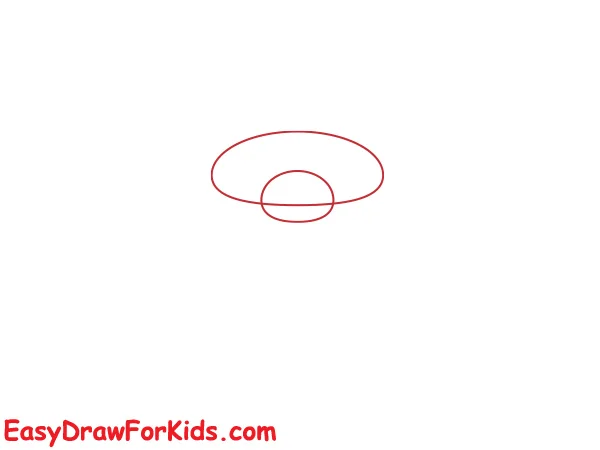
Step 1: Draw a large oval shape for the face, add another smaller oval below it for the nose.
Step 2: Draw a sideways letter “M” shape along the lower edge of Santa’s oval to indicate the moustache.
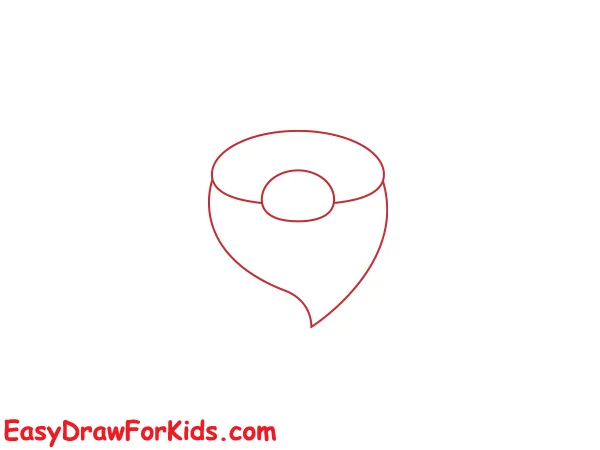
Step 3: The third step on guide how to draw Santa Claus, draw an upside-down triangle shape above Santa’s head, with the corners slightly rounded over for the hat.
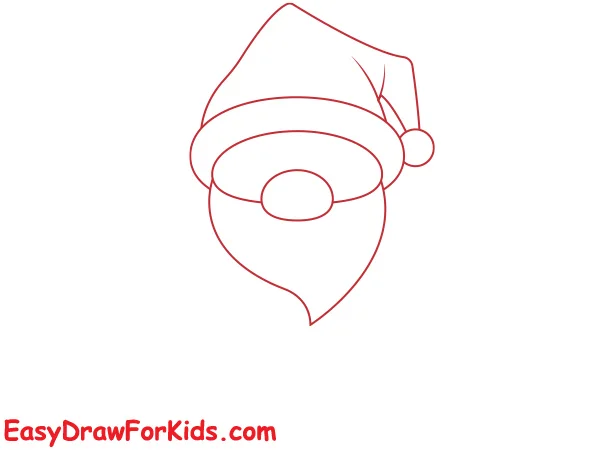
Step 4: Draw an oval shape below the head for the belly.
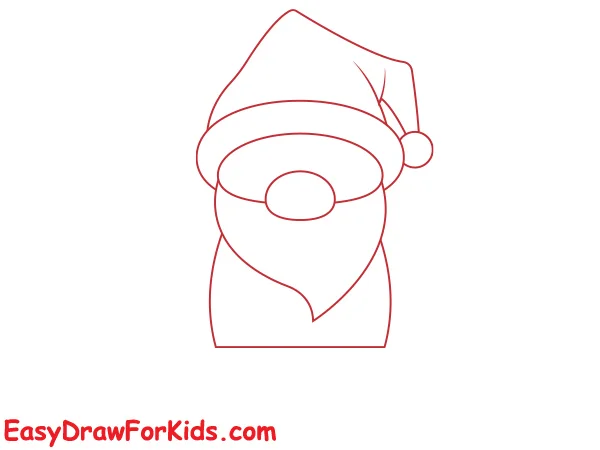
Step 5: Divide Santa’s torso in half vertically with a line. Then, add a sideways oval across the centre to map out the belt.
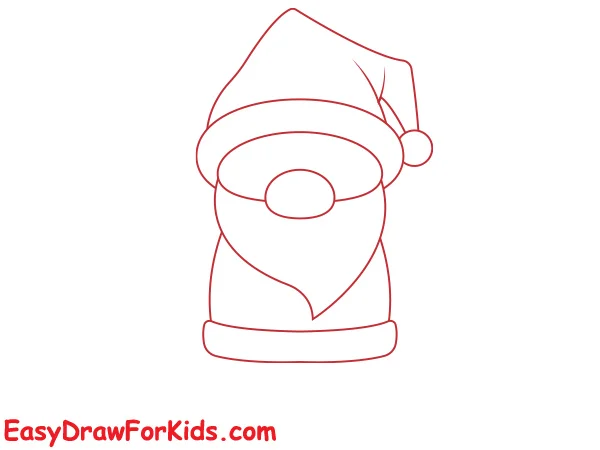
Step 6: Draw lines from lower torso for the legs, draw his black boot shapes.
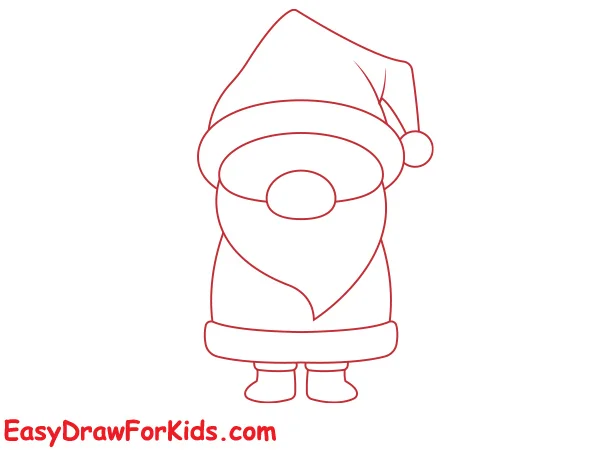
Step 7: On either side of Santa’s body, draw lines for the upper arms and hands.
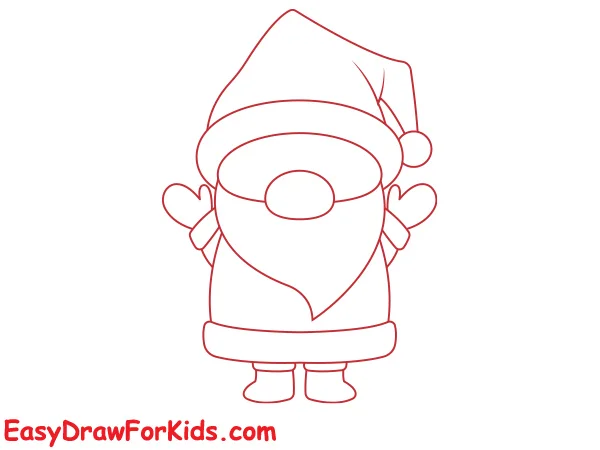
Step 8: Draw a rectangle over Santa’s belly oval for the belt.
Sketch a large buckle in the centre of the belt rectangle.
Draw lines at the wrists for the coat cuffs peeking out by his hands.
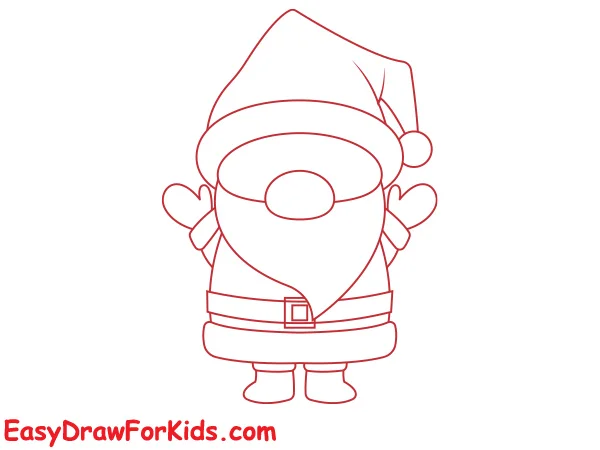
Step 9: Draw two circle for the eyes, add smaller circles in each eye for the pupils.
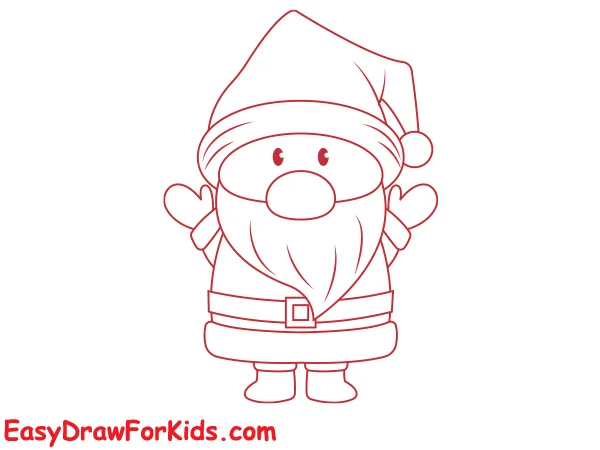
Step 10: Color his hat and coat red. Leave white space for the fur trim along the coat hem and wrist cuffs.
Use black to colour his belt, boots, gloves, and eyes.
Try a night sky with stars, snowy landscape, Christmas tree, etc.

Now that you know the techniques for drawing Santa, you can apply these tips to drawing other cartoon people as well.
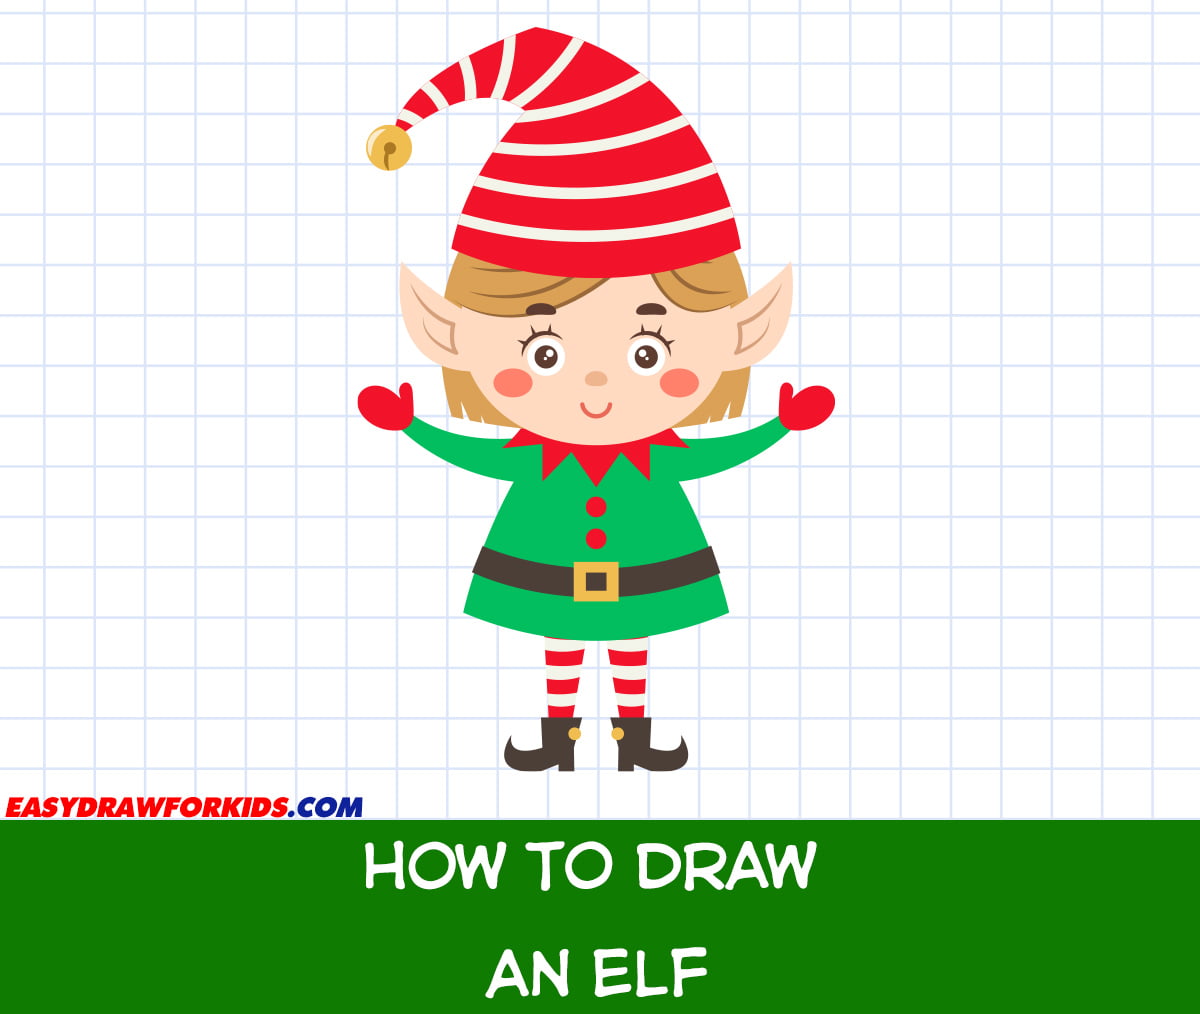
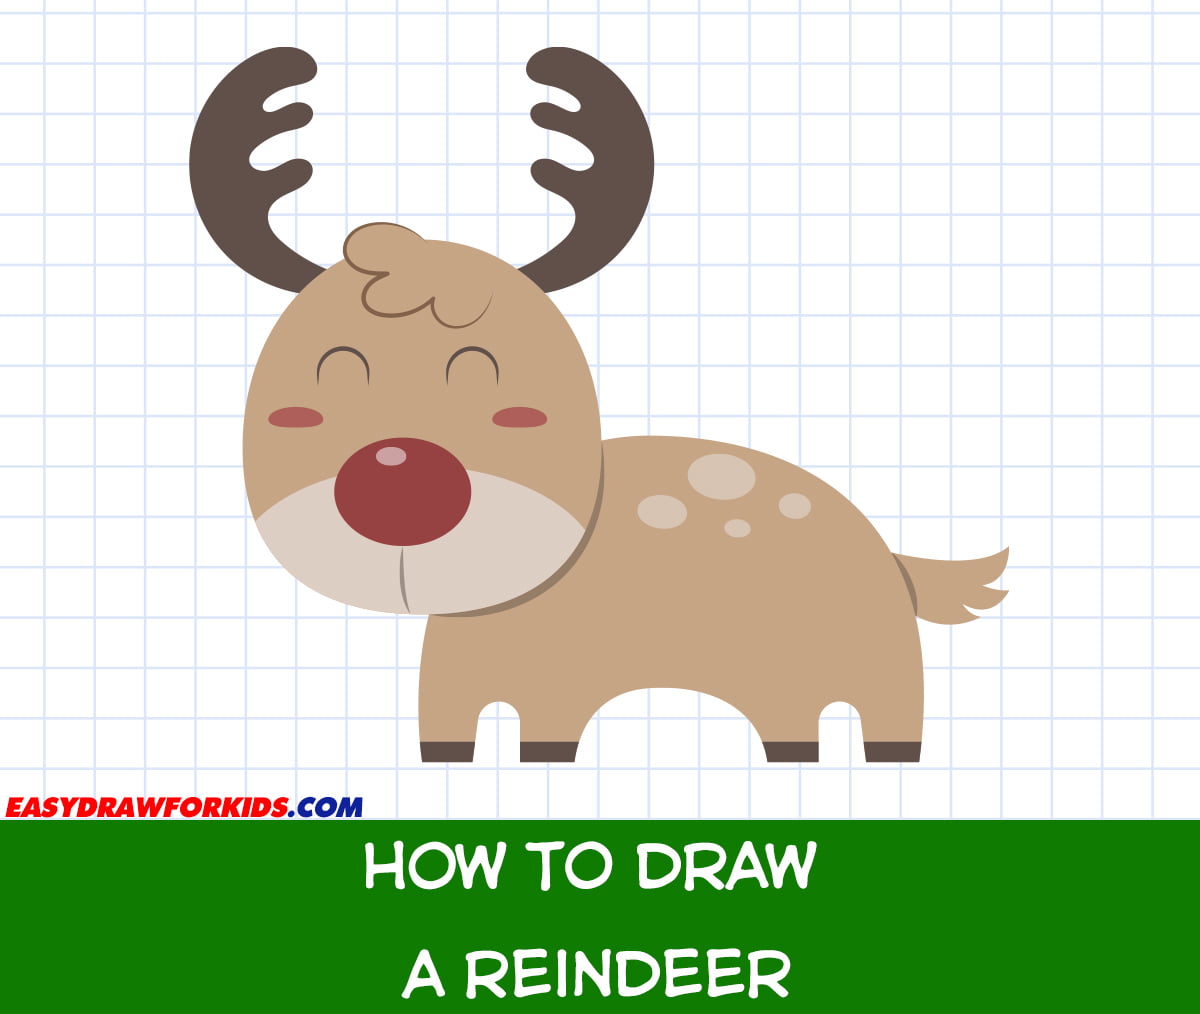
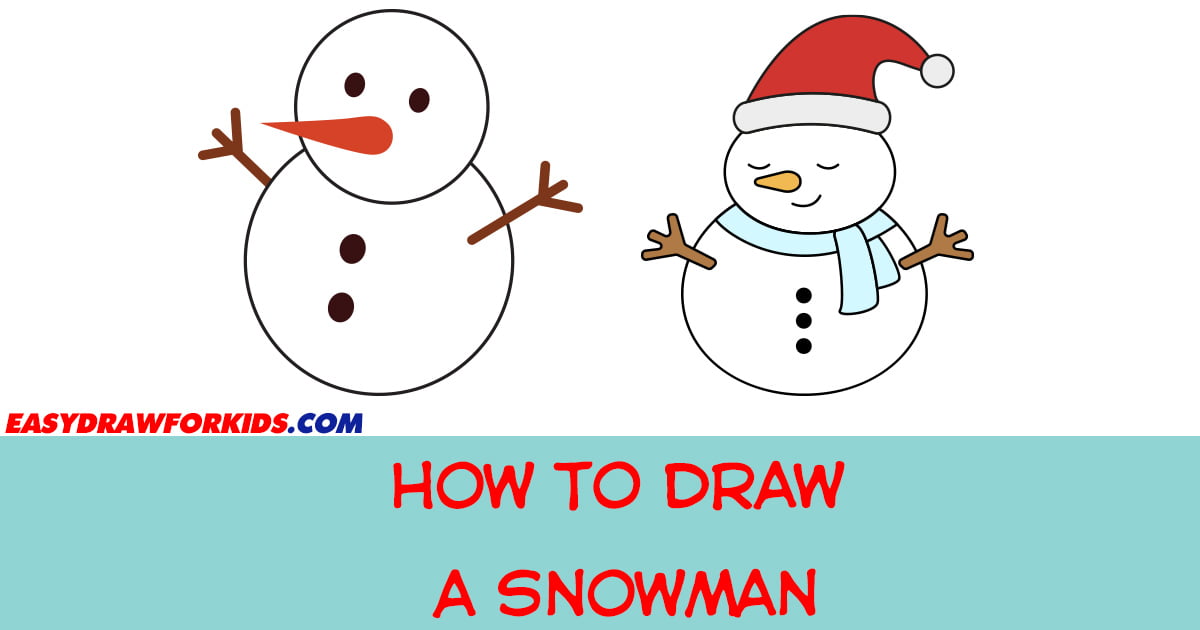
Why not try your new skills on Mrs. Claus, elves, reindeer, or whoever else helps make your Christmas bright?

Leave a Reply