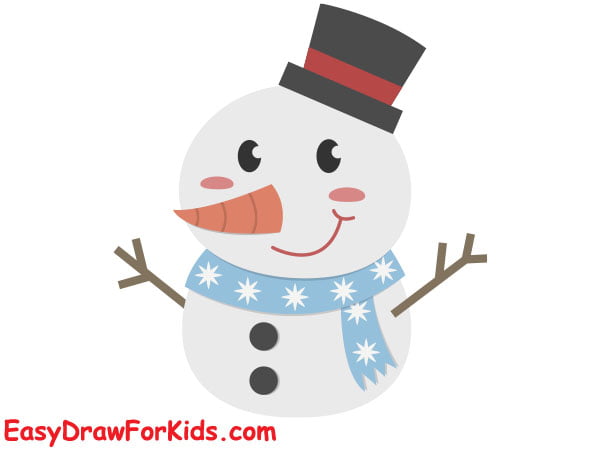
If you’re wondering how to draw a snowman, wonder no more!
This guide, easydrawforkids.com will help you drawing a cute snowman with 8 ways.
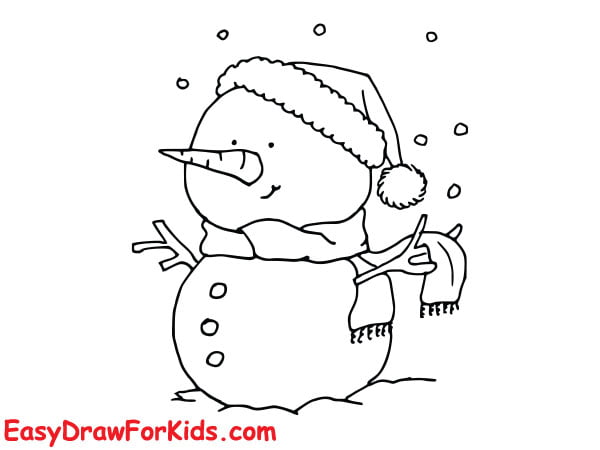
How To Draw A Snowman – A Step By Step Guide
1. Cartoon Snowman Drawing
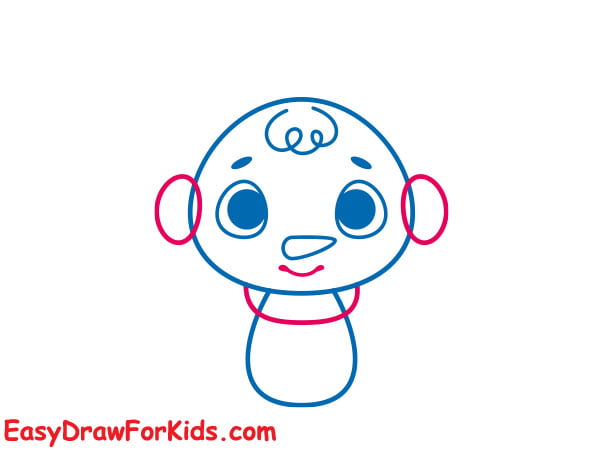
Step 1: Start with an oval shape for the head
Step 2: Inside the head, you draw two circles with sparkles for the snowman eyes

Step 3: Draw two short lines above the eyes for eyebrows
Step 4: Now, you draw an oval shape below the head for the body, a long triangle for the nose and wavy line on the head for the hair of the snowman
Step 5: Next, you draw a smiling mouth and scarf
Step 6: Add the snowman’s accessories

Step 7: Draw two stars on the top of the head
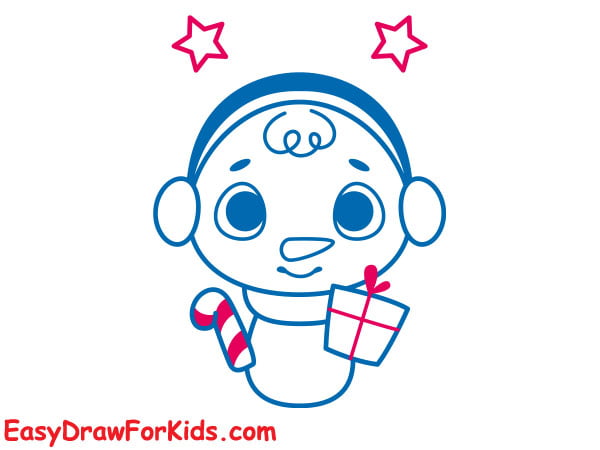
Step 8: Draw the hand holding the gift and candy
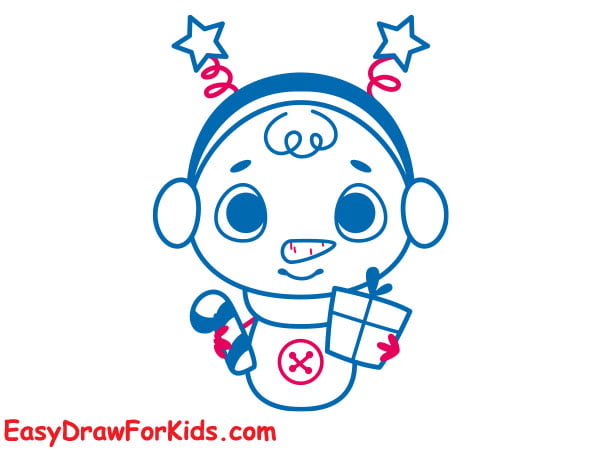
Step 9: Color cartoon snowman drawing

2. Christmas Snowman Drawing
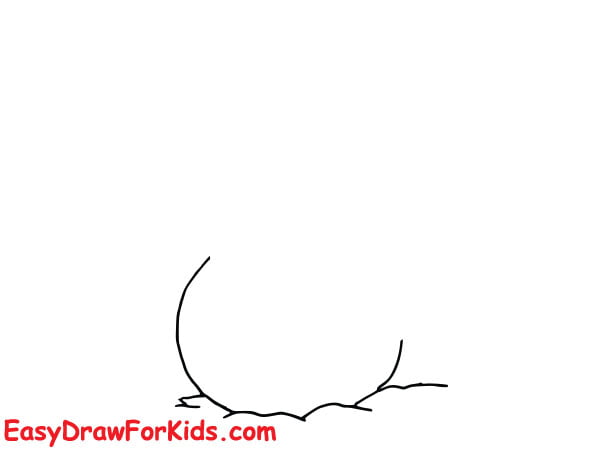
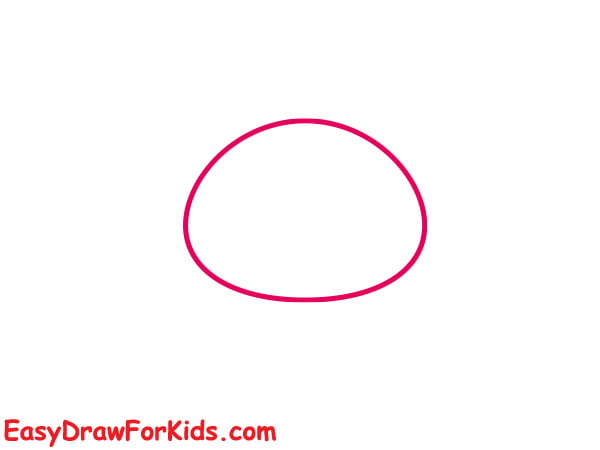
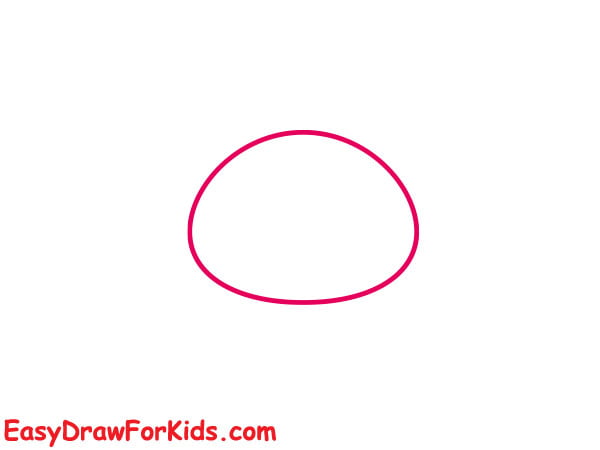
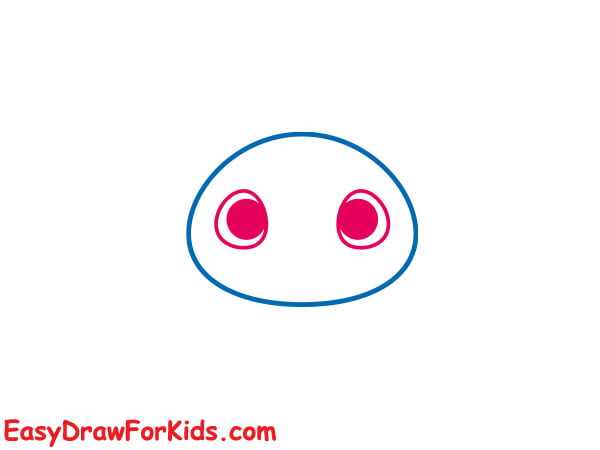
Step 1: Draw a curved line for the body and wavy line for the land
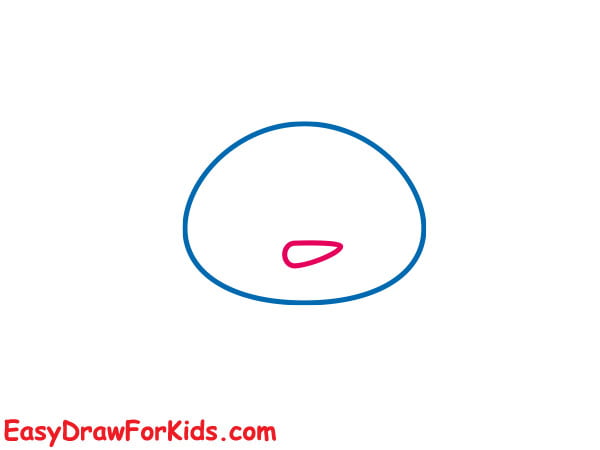
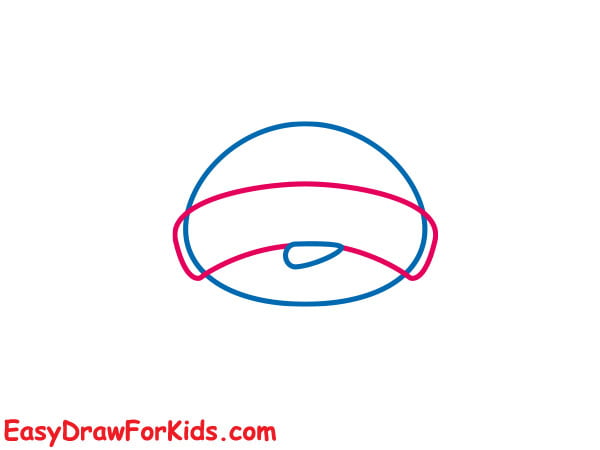
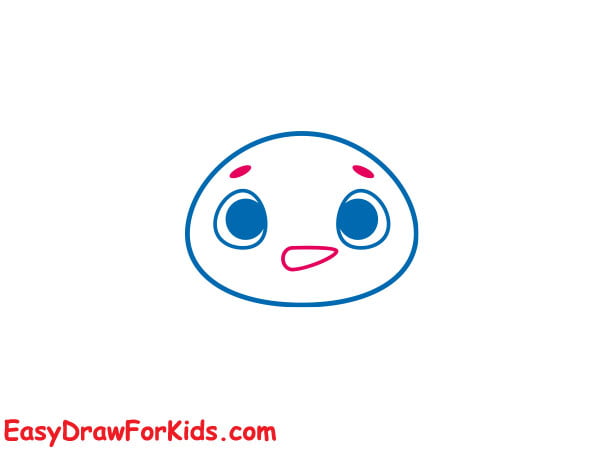
Step 2: Now, you draw a snowman head, a nose like carrot and a scarf around the neck.
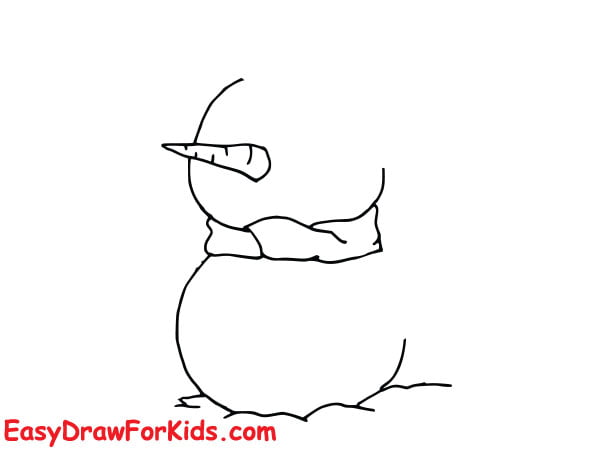
Step 3: Next, draw a hat for your christmas snowman

Step 4: Draw the first twig arm and the scarf’s end dangling down
Step 5: Continue drawing the second twig arm
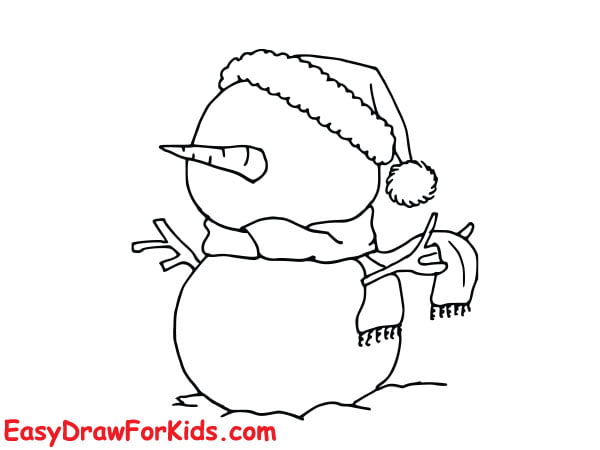
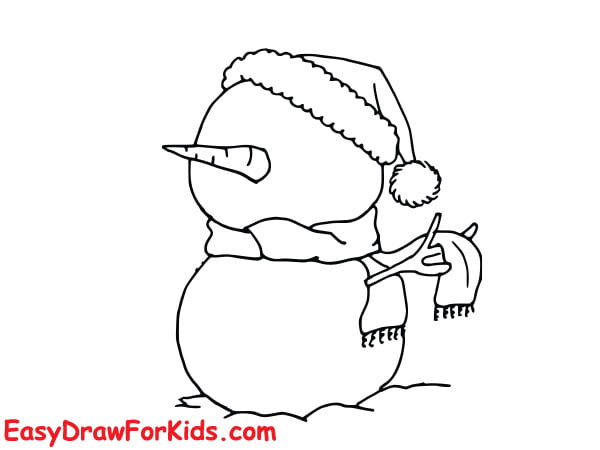
Step 6: Drawing the snowman’s face

Step 7: Draw three circles down the center of the body for the snowman’s buttons.
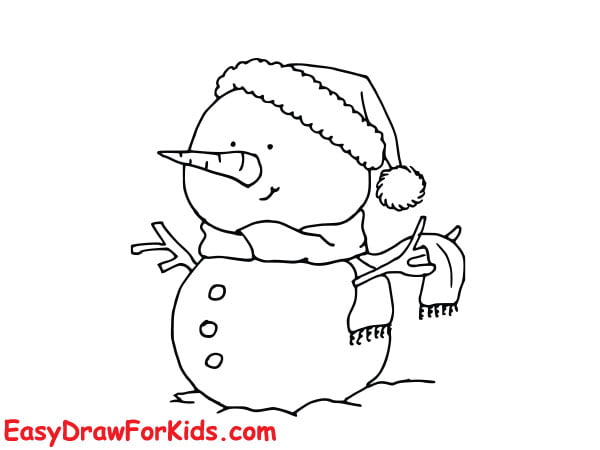
Step 8: Add falling snowflakes to set your snowman in a winter wonderland.
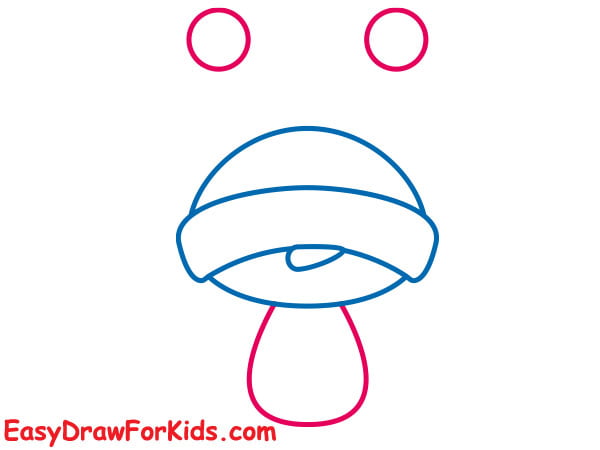
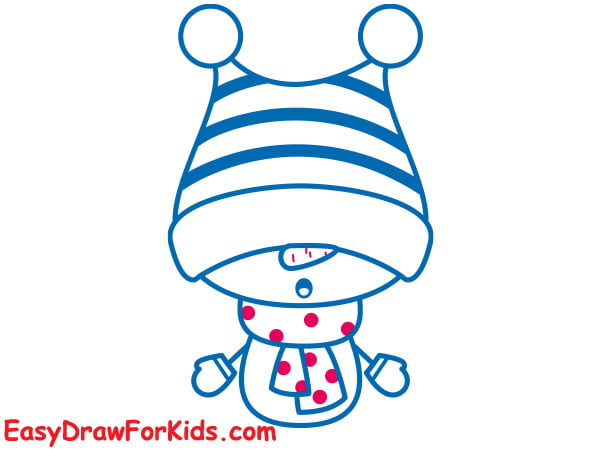
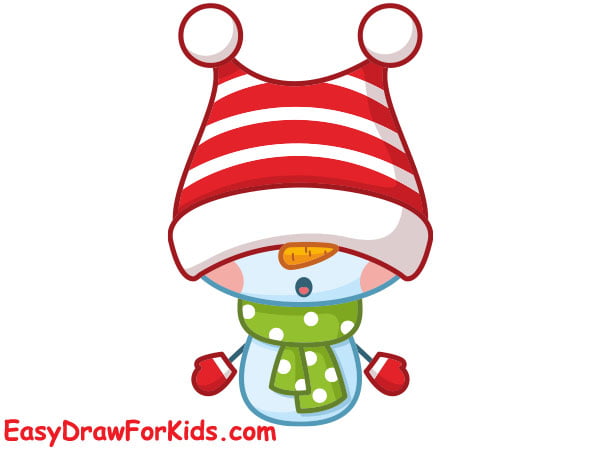
3. Cute Snowman Drawing
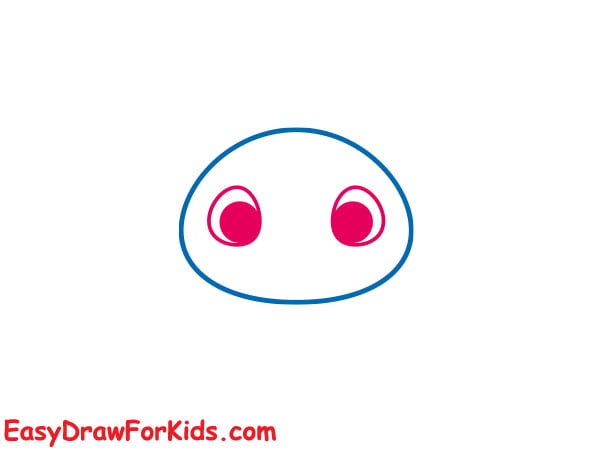
Step 1: Draw a circle for the cute snowman head
Step 2: Drawing the snowman’s carrot nose
Step 3: Now, draw a curved rectangle on the nose for the brim of the hat
Step 4: Below the head, draw a rounded cylinder for the body and two circle on the top of the head for the pompom
Step 5: Now, use the lines to connect the pom pom with the brim to complete the hat
Then, adding a scarf around the neck.
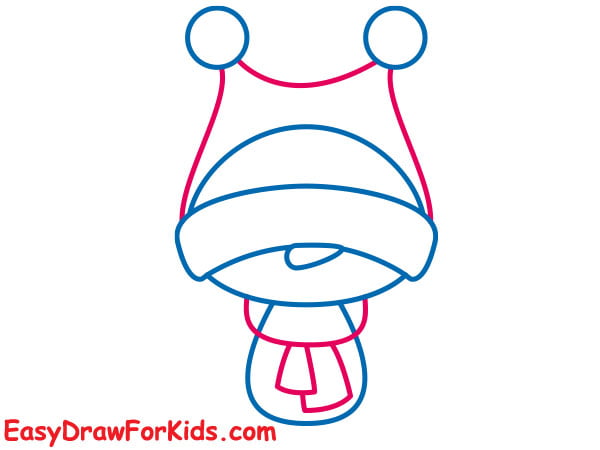
Step 6: Draw two gloves on the side of the body
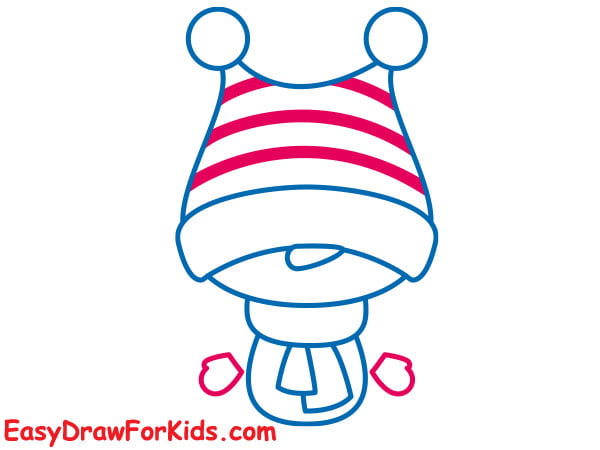
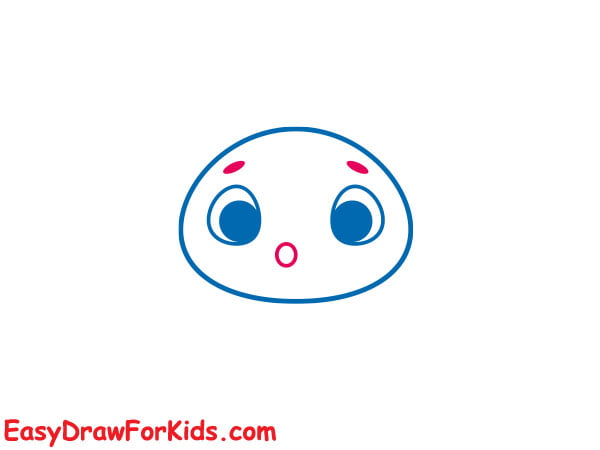
Step 7: Extend two lines from the body to the gloves for the arms and a circle for the mouth.
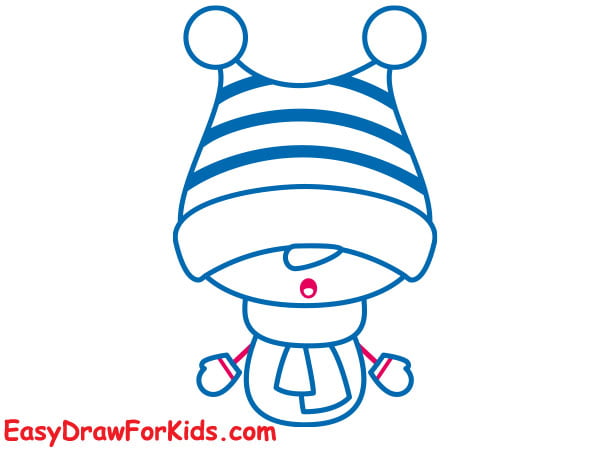
Step 8: Adding details to the snowman
Step 9: Adding color
4. Easy Snowman Drawing
Step 1: Sketching the snowman’s head

Step 2: Now, drawing the eyes inside the head
Step 3: Adding the eyebrows
Step 4: Creating the nose, brim and body of the snowman

Step 5: Creating the snowman’s arms and hands
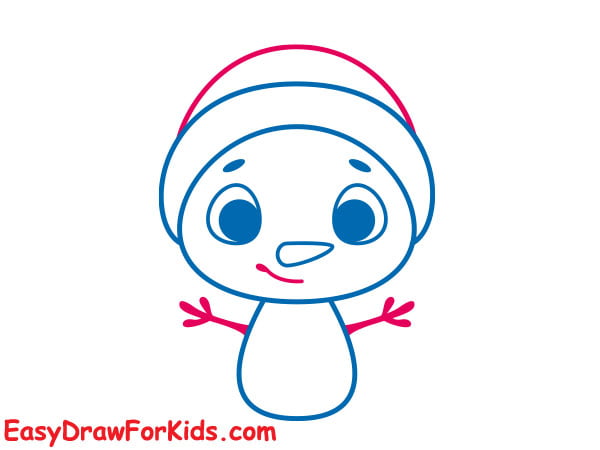
Step 6: Draw the pompom and decorate the snowman with heart buttons
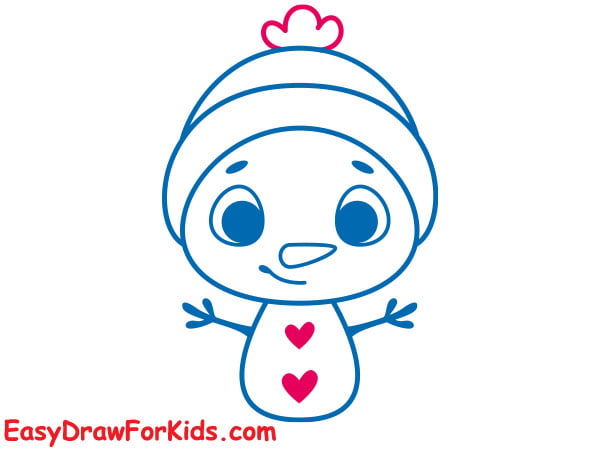
Step 7: Draw a house lantern hanging from the snowman’s hand.
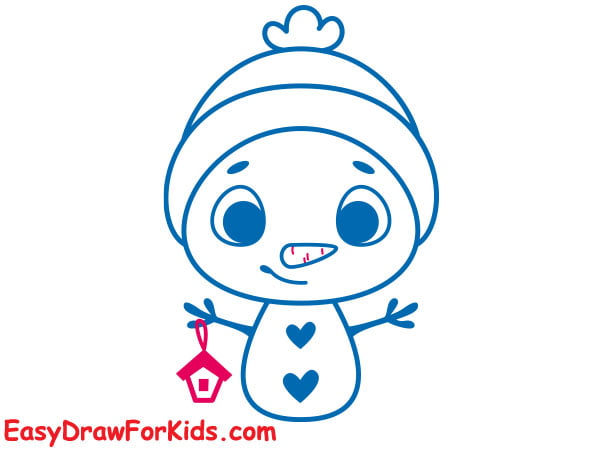
Step 8: Coloring

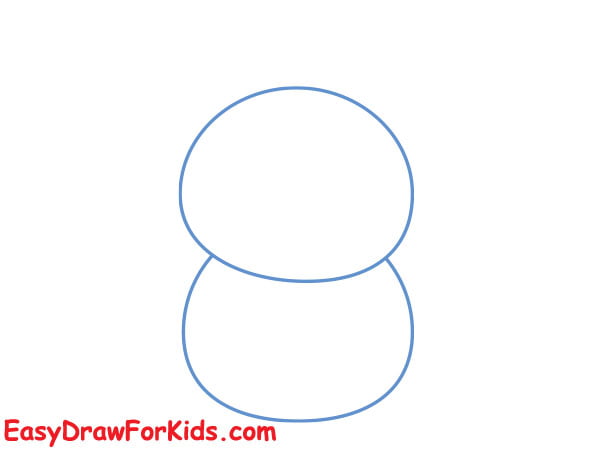
5. Simple Snowman Drawing
Step 1: Start with the large circle at the bottom, then a smaller circle on top. Make sure they overlap slightly.
Step 2: Draw a hat on the top of the head
Step 3: Adding two twig arms on either side of the body
Step 4: Sketching the long nose and scarf
Step 5: Drawing the snowman’s face and decorate it
Step 6: Coloring the simple snowman
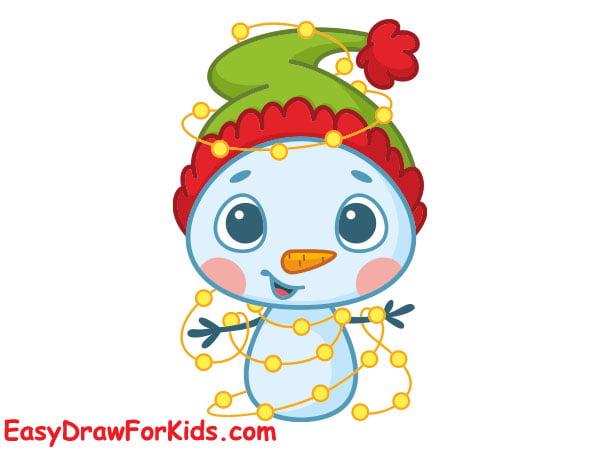
6. Winter Snowman Drawing
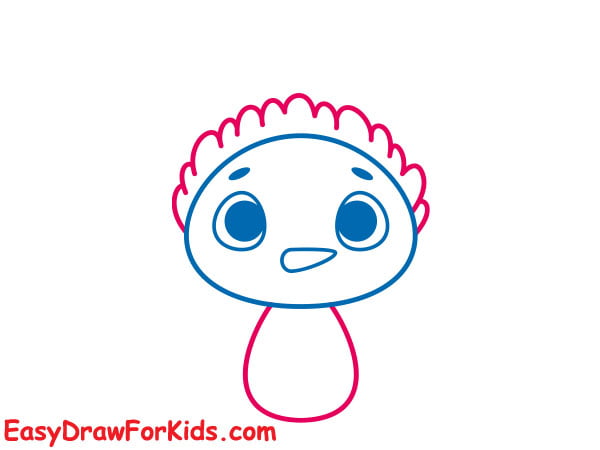
Step 1: At first, draw an oval shape to present the head
Step 2: The second step on guide how to draw a snowman, adding the eyes
Step 3: In this step, add a nose and eyebrows for your snowman
Step 4: Sketching the body and brim
Step 5: Adding the arms and mouth
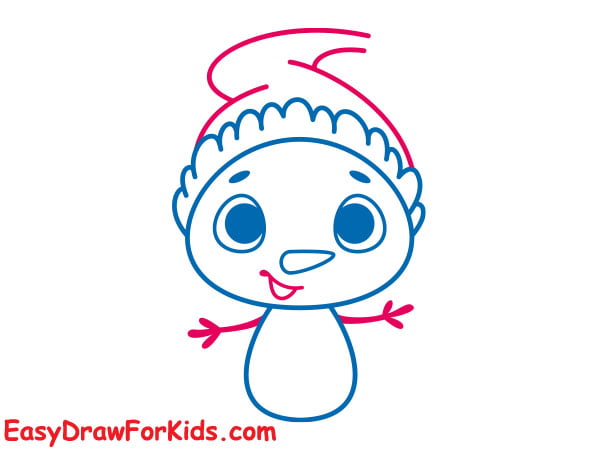
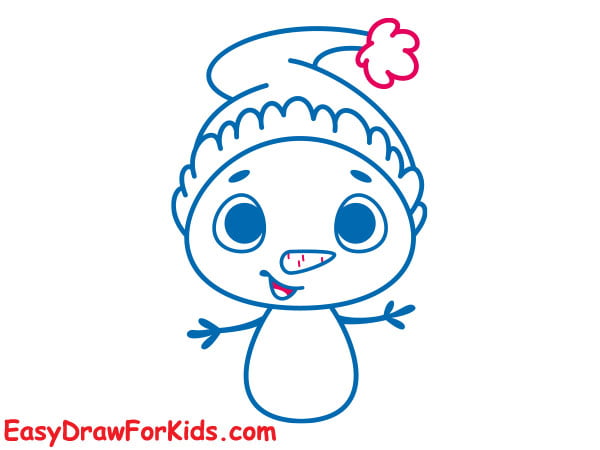
Step 6: Adding pompom on the top of the hat
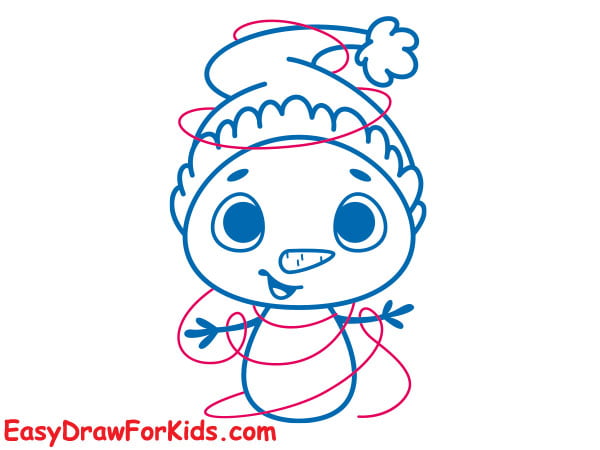
Step 7: Draw electric wires wrapped around the snowman
Step 8: Adding light bulbs on the wire
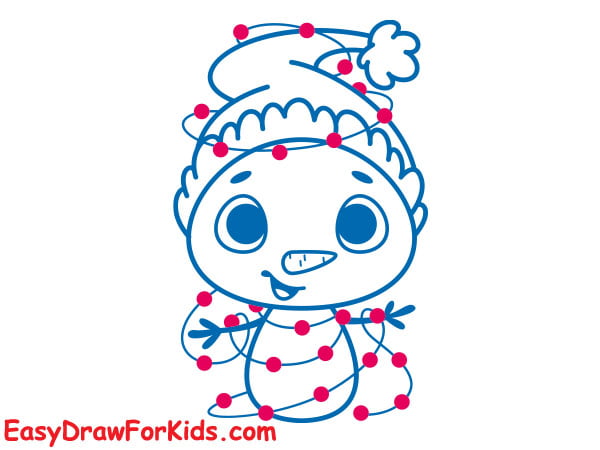
Step 9: Coloring
7. Another Simple Snowman Drawing
Step 1: First, draw a small circle for the snowman’s head.

Step 2: Draw a bigger circle below the first one for the snowman’s body.

Step 3: Add a nose like carrot in the center of the face

Step 4: Use your black marker to draw eyes and buttons on the snowman’s body.

Step 5: Draw the arms and hands
To make the snowman’s arms, draw two straight lines coming out from the sides of the body.
For the hands, simply draw short lines at the ends of the arms.

Step 6: Now you’re ready to color in your snowman drawing!

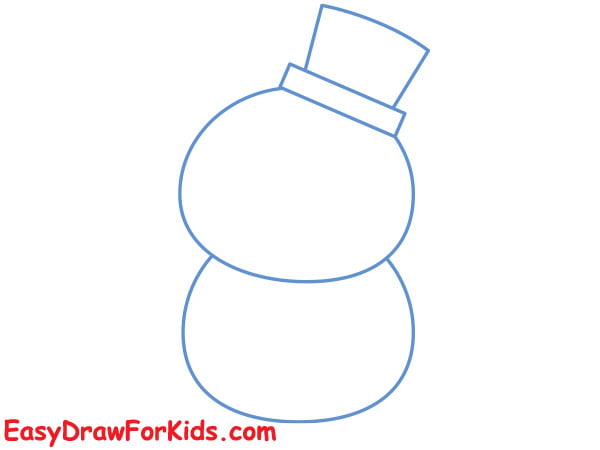
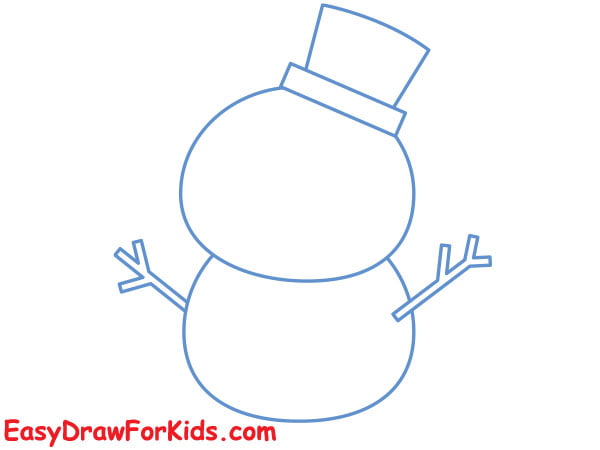
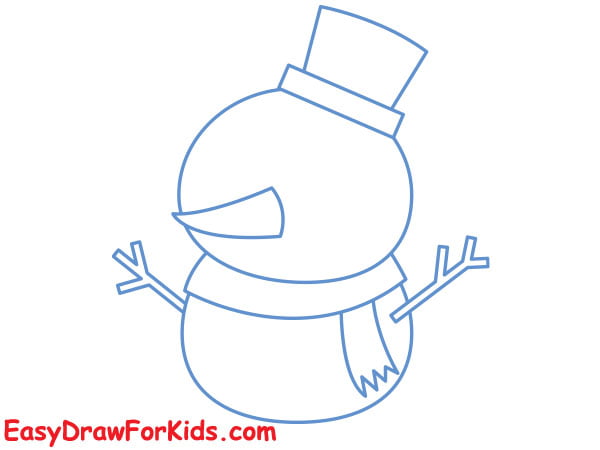
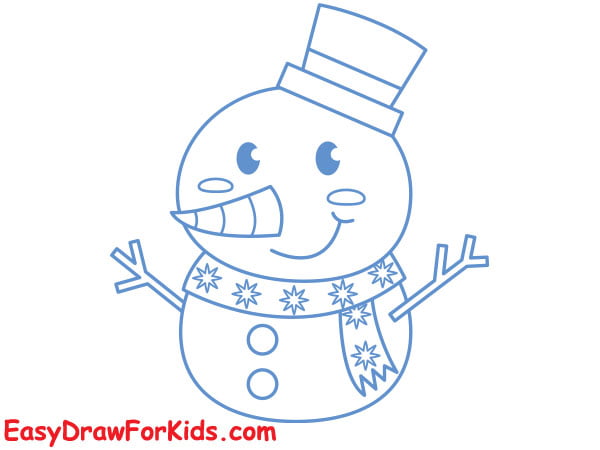
8. Another Snowman Drawing Easy
Step 1: The first step on guide how to draw a snowman, sketch the snowman’s head

Step 2: At the bottom, depict a larger diameter oval shape for the torso.

Step 3: Draw the pretty hat

Step 4: Depict the snowman’s face

Step 5: On the neck draw the scarf of the same shape as in the example.

Step 6: On each side, add two arms by drawing two straight lines extending from the body and fingers like the branches.

Step 7: Color the snowman

Now that you know how to draw a snowman, why not try drawing a whole family of them?
Share your impressions in the comments, I would be interested to know your opinion.