If you want to learn how to draw a gun, you’ve come to the right place!
This tutorial will show you how to draw a gun step by step using simple line drawings.
Guns are a popular subject for drawing, but they can be tricky to get right.
Luckily, by following a few simple steps, you can draw a gun that looks realistic and impressive.

How to draw a gun – a step by step guide
Step 1: Draw a barrel of the gun
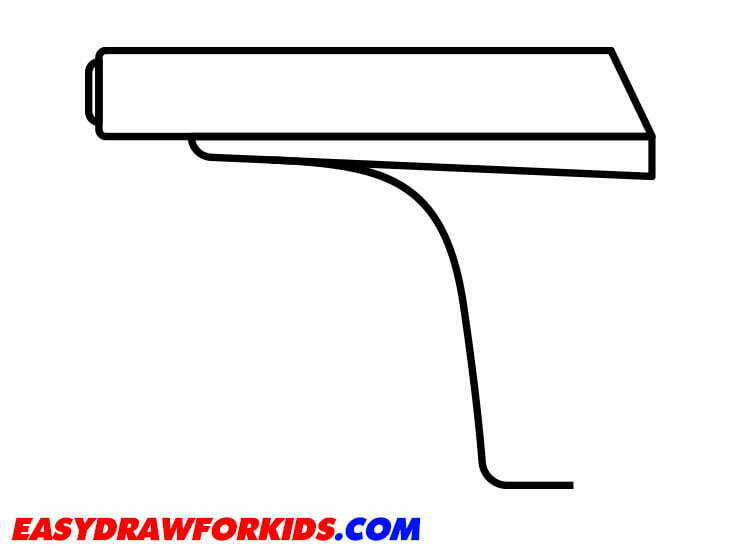
To start, draw a rectangle as shown the picture to form the barrel of the gun.

Step 2: Drawing the muzzle of the gun
Under the barrel of the gun, draw another one but smaller.
Then, draw a cylinder in front of the barrel to create the muzzle of the gun.

Step 3: Draw the front of the gun’s handle
Add a cylinder shape below the barrel to form the gun’s handle.

Step 4: Complete the gun’s handle
Draw a line that extends outwards from the top of the main barrel and curves back in towards the bottom.
This line should meet the other line you drew in step 3.
Next, add the trigger to the lower left corner of the handle.

Step 5: Draw out some details on the grip as shown in the picture

Step 6: Add the details
Add a few lines such as zig-zag around the gun.
Next, draw a curved lines in the center of the trigger as shown the picture.

Step 7: Complete the trigger
To complete the gun, finish drawing a curved line from the step 6

Step 8: Color your gun drawing
Next, it’s time to color in your drawing. For a realistic gun, use a dark color like black or gray.
You can also use other colors like brown or silver.
If you want your gun to stand out, use a bright color like red or blue.

Now that you know how to draw a gun, why not try drawing other weapons like a knife or a sword? Or, you could even try drawing a whole arsenal of guns.
With a little practice, you’ll be able to draw any kind of gun you can imagine!


