If you are looking to learn how to draw nature, then you have come to the right place.
In this tutorial, easydrawforkids.com will guide you through the process of drawing different elements of nature.
How To Draw Nature – A Step by Step Guide

Step 1: Depict the Frame
In this first step in this guide on how to draw nature by determine the size of the drawing and use straight lines to draw an even rectangle.
Then, depict the surface of the earth by using a straight line at the center of the frame.

Step 2: Sketching a rough outline of the mountain’s shape

Step 3: With smooth lines draw the third mountain as shown the picture

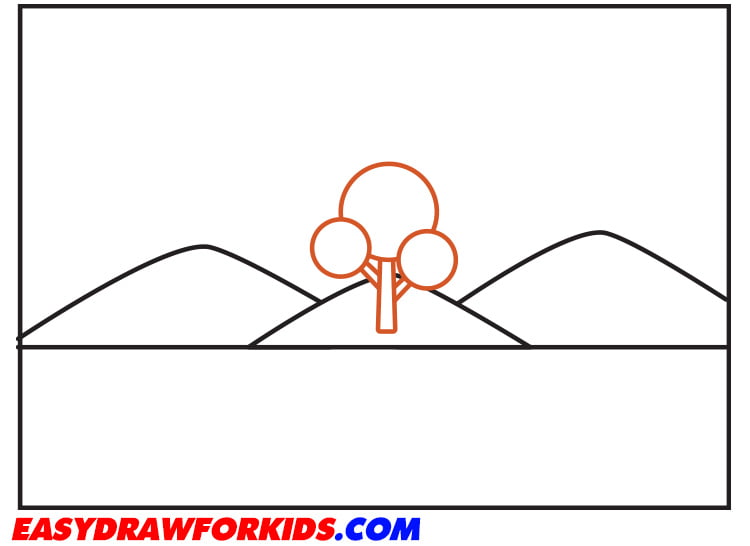
Step 4: Drawing a simple shape for the trunk and then add branches at the center on the moutain for the tree
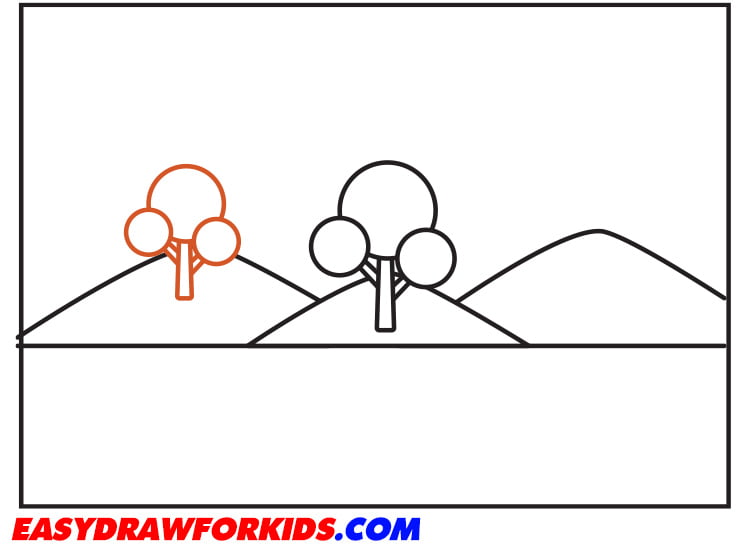
Step 5: Add one tall tree on the left side as shown the picture
Step 6: Add the last tree on the left side

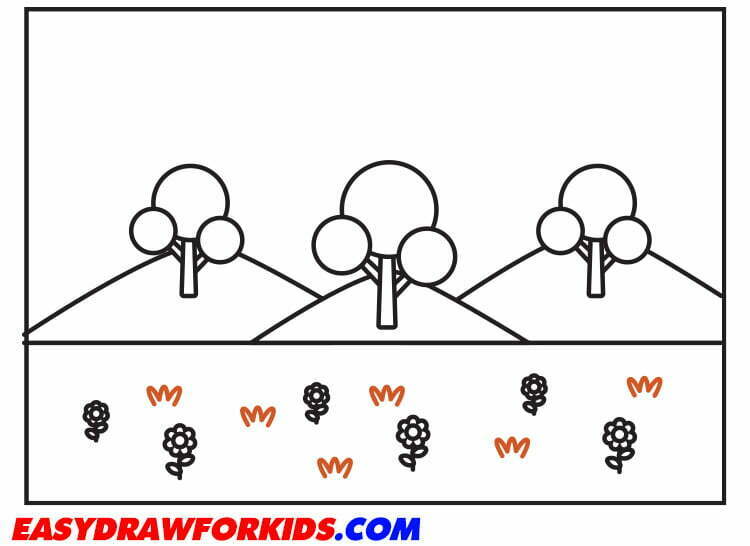
Step 7: Draw some flowers with different sizes using freeform lines

Step 8: Draw some grasses using freeform lines beside the flowers
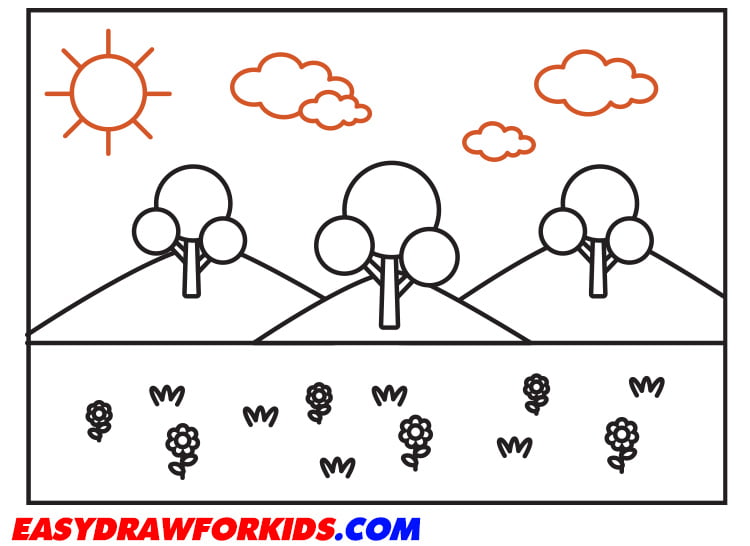
Step 9: Draw the sun and clouds
Draw an even circle and straight lines at the left top of the drawing.
Then, add some clouds using freeform lines.
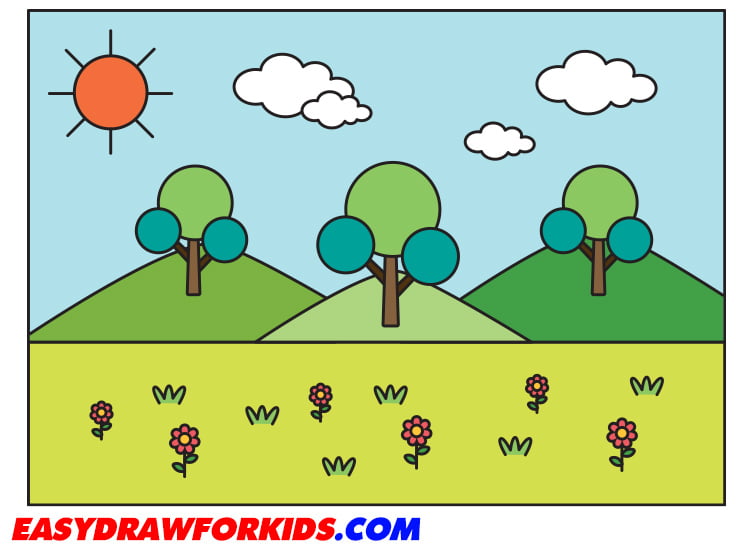
Step 10: Color the nature picture
Once you have added all the details, it’s time to shade and color your drawing.
You can use creativity when selecting colors and color your nature drawing.
By following these simple steps on guide how to draw nature, you can draw beautiful nature with ease!
Nature offers a wealth of subjects to explore, from mountain to river.
Drawing nature allows us to become more attuned to your surroundings.
Adding color to your nature drawings brings them to life.