Drawing a road is an essential skill for create a cityscape, countryside scene, or urban setting.
In this tutorial, easydrawforkids.com will guide you learn how to draw a road, with basic steps you can master it in no time.
How to Draw a Road – A Step By Step guide

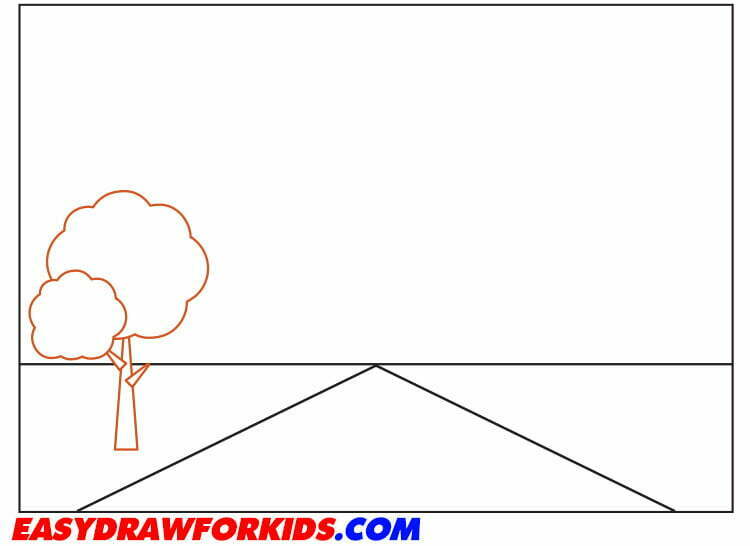
Step 1: Start by drawing a horizontal line for the horizon and indicate where the road will be placed.

Step 2: Draw the sides of the road
Determine the vanishing point on the horizon, draw two diagonal lines that extend outward and downward to form the sides of the road.

Step 3: Add trees along the sides of the road
Draw trees along the sides of the road by using curved line or a vertical line that will serve as the trunk of the tree.
Draw a series of branches extending outward in different directions.
From the top of the trunk, draw the leaves by using small, rounded shapes to indicate clusters of leaves.
Step 4: Continue adding trees to the right of the road
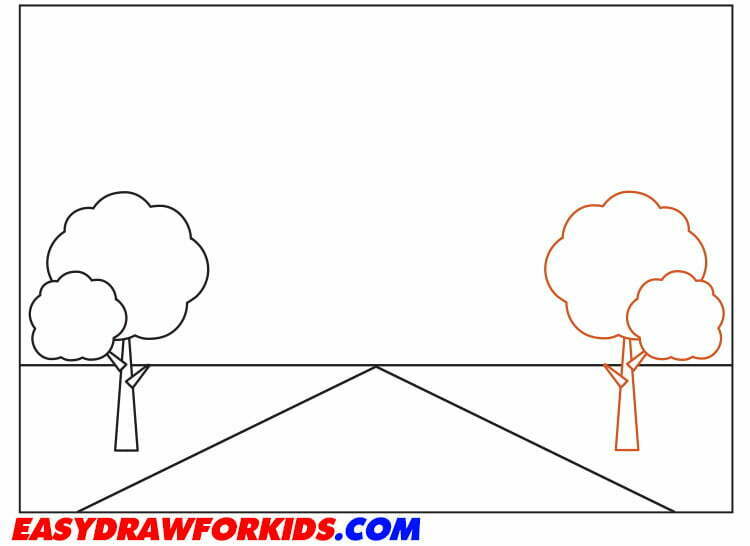
Step 5: Create depth and perspective by draw a smaller tree behind the tree in step 3 as shown the picture

Step 6: Depict the fourth tree
Vary the height, thickness, and spacing of the trunks to create visual interest.

Step 7: On the left side draw a tree near horizon, partially covered by the other.

Step 8: In this eighth step on guide how to draw a road, you will draw the last tree on the right side of road

Step 9: Draw the sun and clouds
Draw the wavy lines of freeform shapes for the clouds at the sky.
Draw a circle for the sun and straight lines of the same length for the sun rays.
You can go over a few ideas by how to draw the sun of us.

Step 10: Color the drawing
Roads are commonly gray, brown or black, add some green for the trees and blue for the sky to complete the scene.
You can create depth and perspective by using shading.
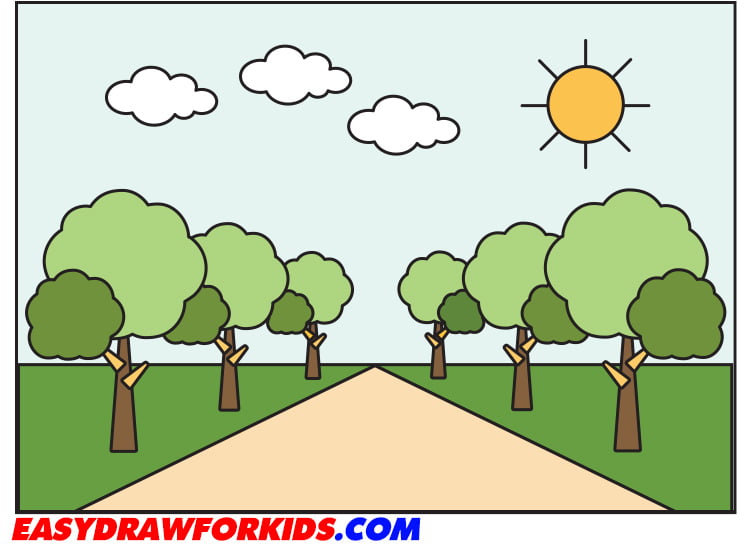
You have completed all of the steps in this guide on how to draw a road.
I hope this guide will help you draw an easy road.