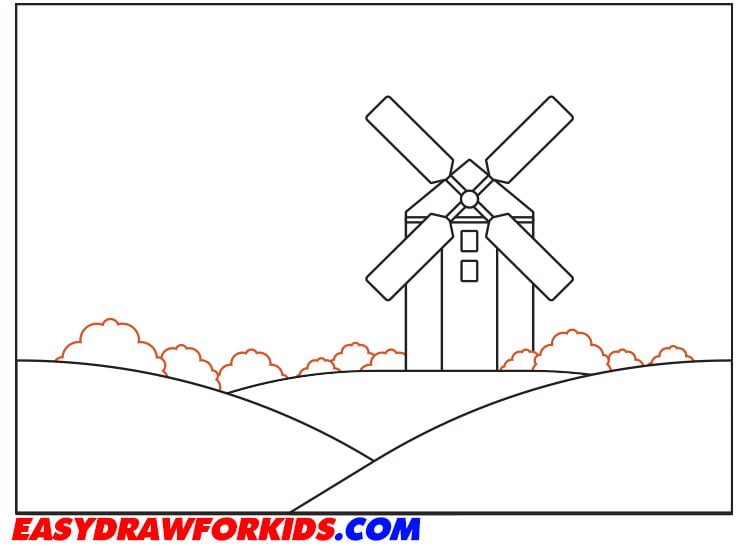
Windmills are iconic structures, symbolizing the harmony between human ingenuity and nature’s power.
In this tutorial, easydrawforkids.com will walk you through learning how to draw a windmill with 2 ways.
How to Draw a Windmill – A Step by Step Guide
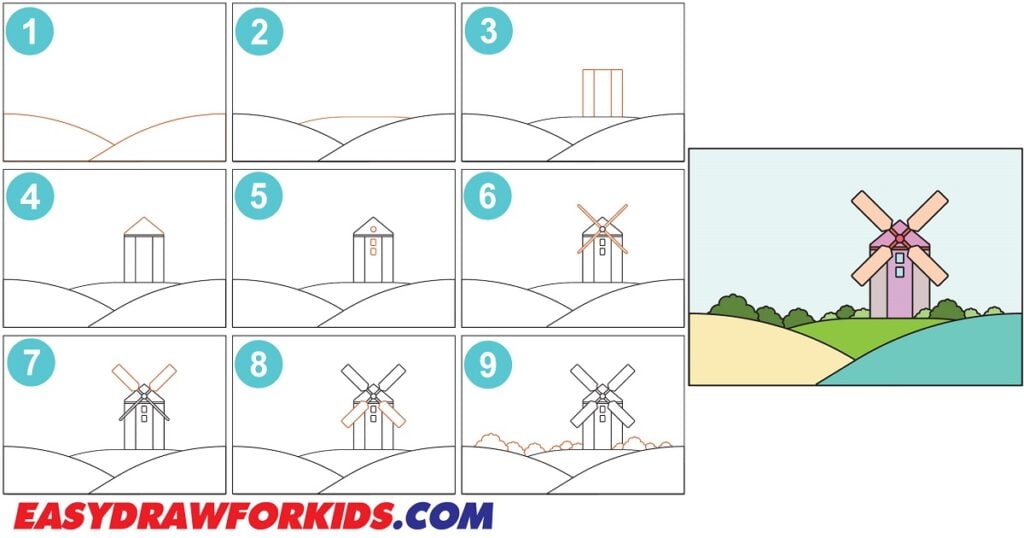
1. Easy Windmill Drawing
Step 1: Draw the Fields
Draw irregular, wavy lines that extend horizontally across the paper.
These lines will represent the rows of crops or grass in the field.
Vary the height and spacing of the lines to create a natural look.
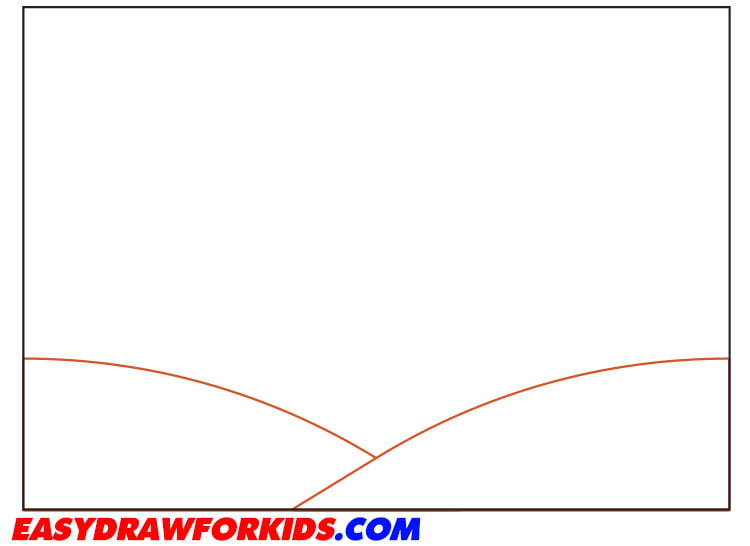
Step 2: Draw the same wavy line for more rows of crops

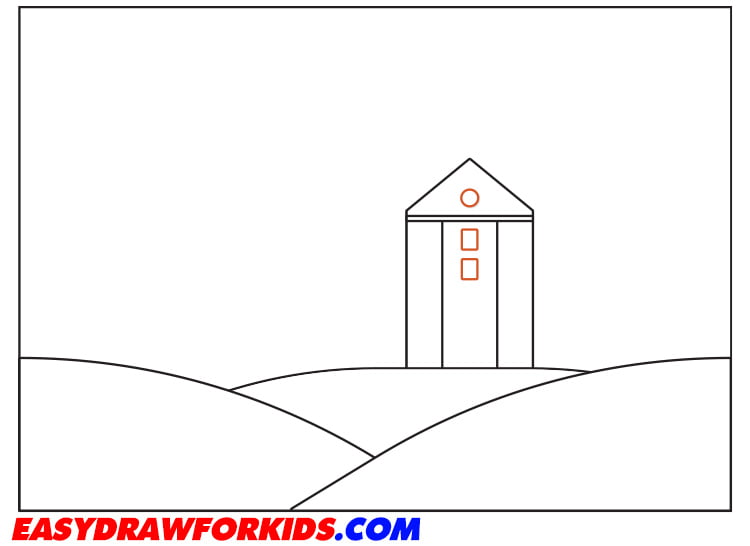
Step 3: Draw the Tower
An easy way to start is to draw a vertical rectangle, making it slightly taller to form the main body of the tower.
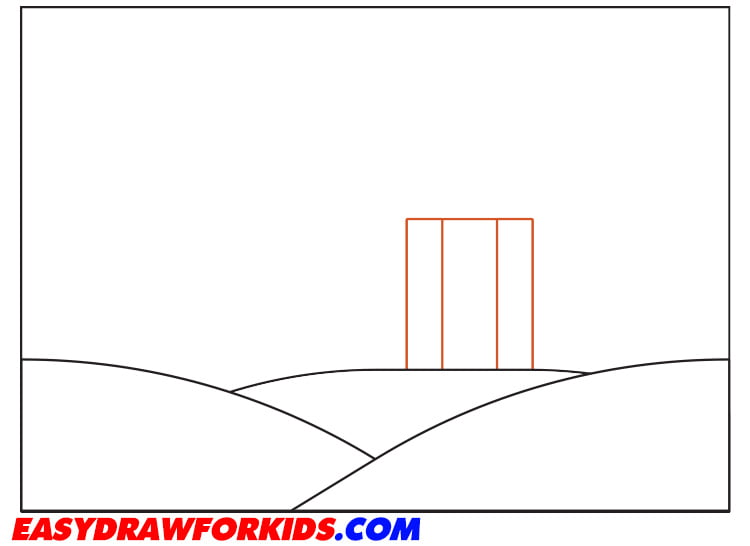
Step 4: Sketch triangle shape at the top of the tower for the roof
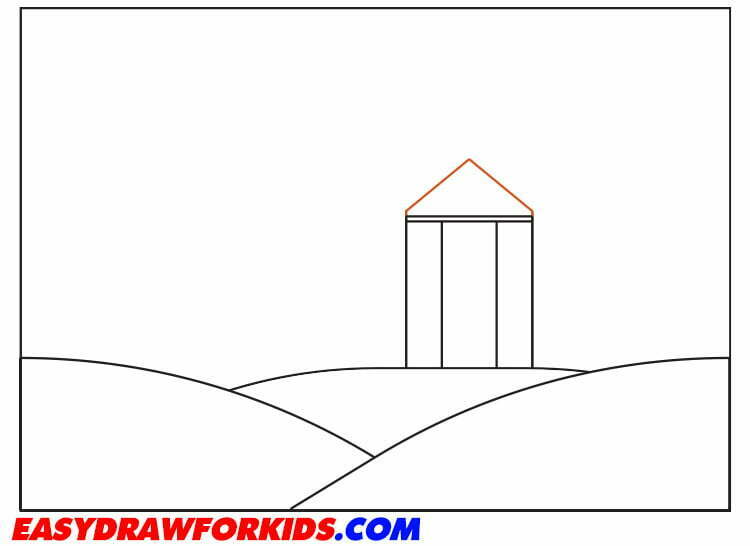
Step 5: Add details to the Base and Walls
Along the edges of the windmill’s main body, draw a border to represent the siding.
Adding doors, windows, or other architectural details to make your windmill unique.
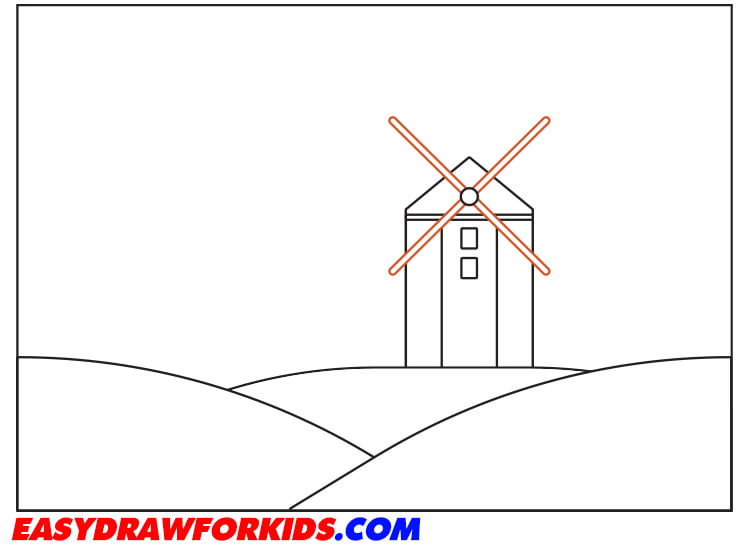
Step 6: Add the Windmill Blades
Now it’s time to draw on the windmill blades that make this structure so recognizable.
Draw a big X shape over the front of the windmill. Position the center point of the X directly over the center of the building.
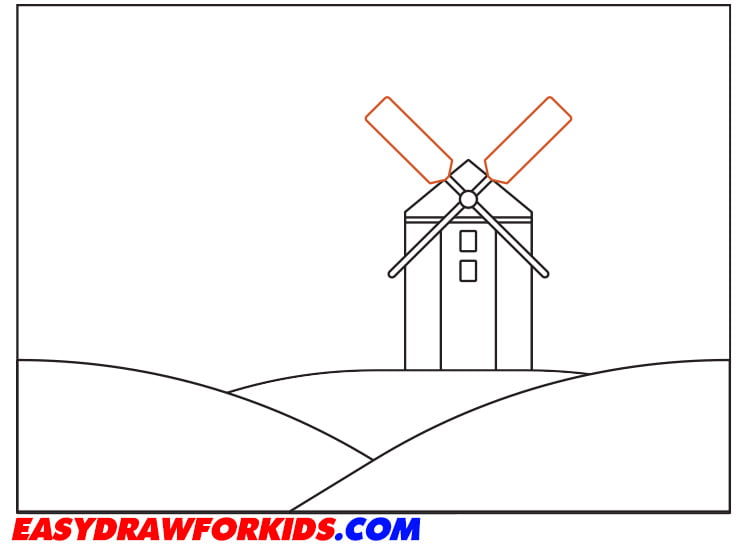
Step 7: Drawing the top windmill blades by using rectangular shape fill in the space from each blade to the center point.
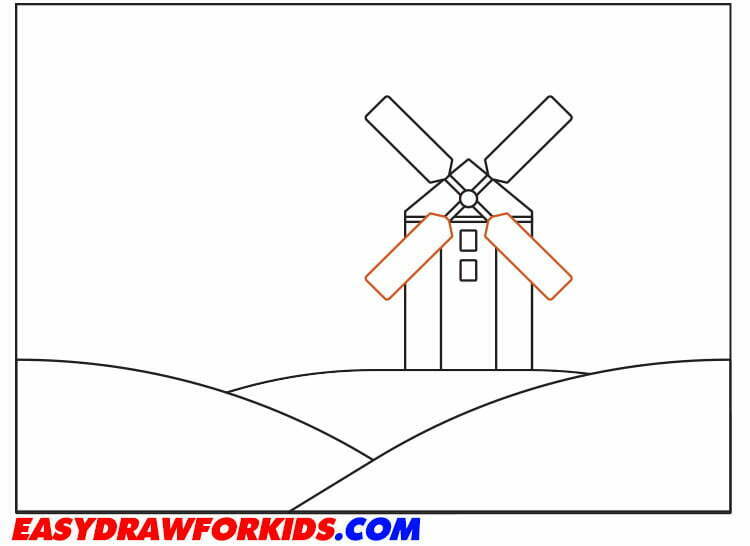
Step 8: Repeat this process on guide how to draw a windmill by creating two bottom windmill blades
Step 9: Add grass, trees, or farm fields in the background to situate the windmill in a countryside setting.
Step 10: You can color your drawing by your style

2. Realistic Windmill Drawing
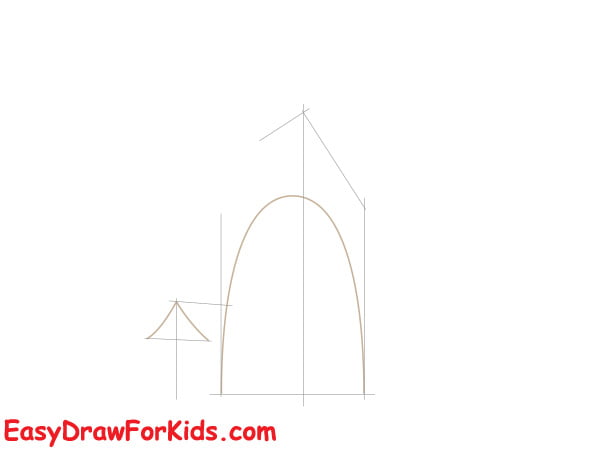
Step 1: Drawing the Base
Start by drawing a horizontal line to form the surface on which the windmill will stand.
Draw a series of vertical lines to mark the width and position of the base.
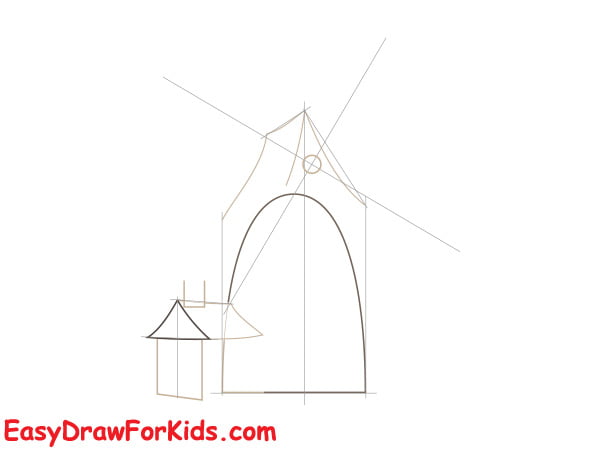
Step 2: Adding the Blades
Sketch a small circle at the center of the base to mark the rotation point for the blades.
From the center point, draw four evenly spaced lines radiating outward.
Step 3: Drawing the Tower
At the center of the base, draw a curved line extending upward to form the main structure of the tower, draw a triangel to indicate the top of the tower.
Add details to the tower, such as windows, doors, or ladders.
With the tower in place, your windmill drawing is starting to take shape. Now, let’s move on to the next step and add some finishing touches!
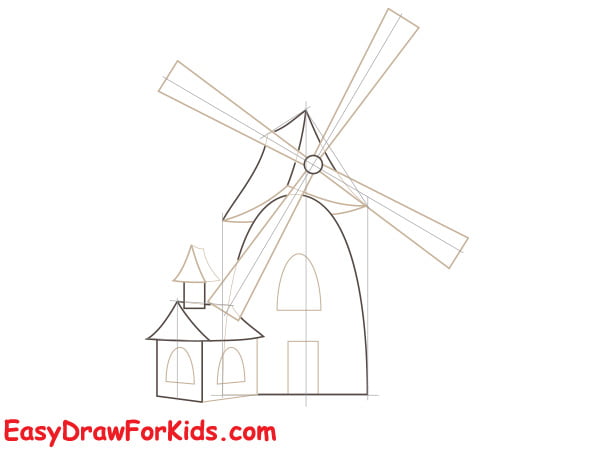
Step 4: Add details
Draw dividing lines or panels on the blades to create a more realistic appearance.
Draw windows or openings along the tower to indicate the interior structure.
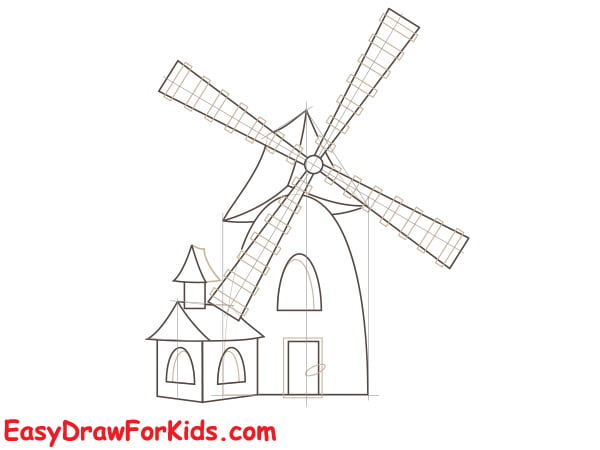
Step 5: Use your eraser to clean up any stray or unwanted lines in your drawing.
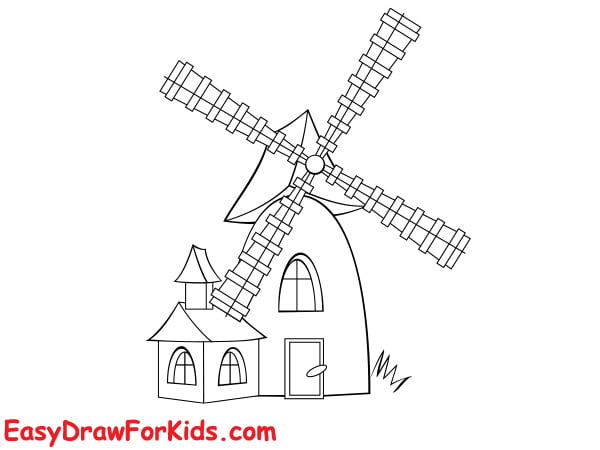
Step 6: Color your drawing, add background such as a landscape, clouds, or other buildings.
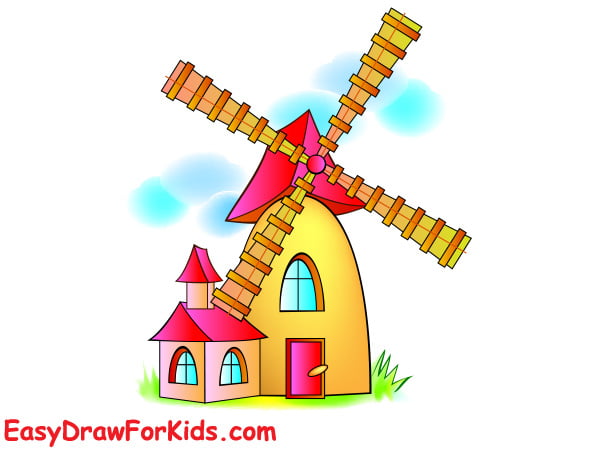
By following basic steps to build up the tower, roof, sails, and details, anyone can learn how to draw a windmill.
Remember, the key to success in drawing is practice, patience, and attention to detail.