Do you want to draw a spooky cute zombie?
If so, you’ve come to the right place.
Zombies are often depicted as scary, rotting corpses hungry for brains.
In this tutorial, easydrawforkids.com will guide you learn how to draw a zombie with 3 ways.

How To Draw A Zombie Bunny – A Step by Step Guide
1. Zombie Boy Drawing
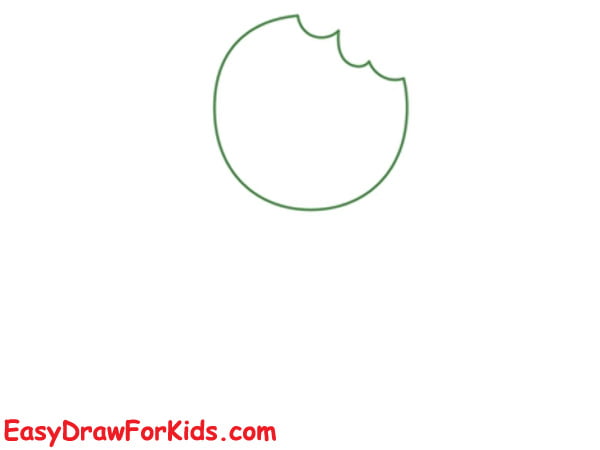
Step 1: Start with a circle for the head, make it misshapen features due to decay.
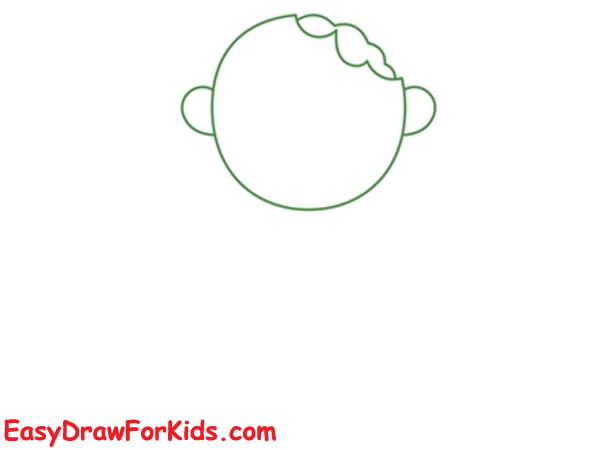
Step 2: Draw the rotting brain at the top of the head, and draw two half-circle for the ears.
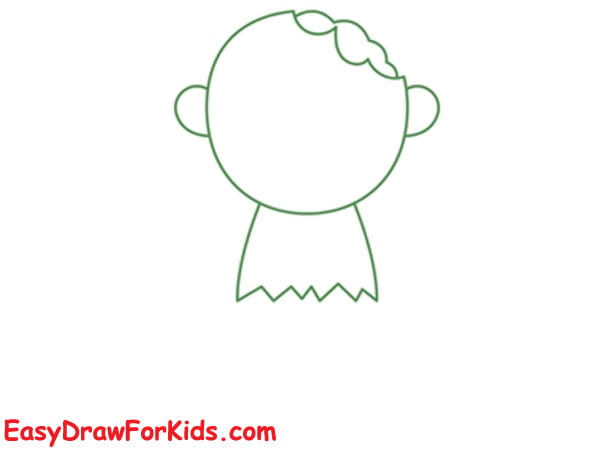
Step 3: Draw a rectangle for the body
Step 4: Adding clothing to its decaying body.
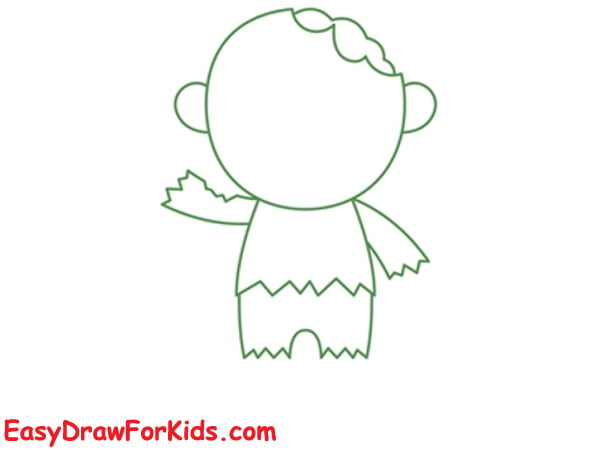
Step 5: Drawing the hands and legs
For the hands, draw them in a claw-like manner with long and sharp fingers.
Draw two long and thin legs coming out of the bottom of the body.
For the feet, draw them in a similar way to the hands, with long and sharp toes.
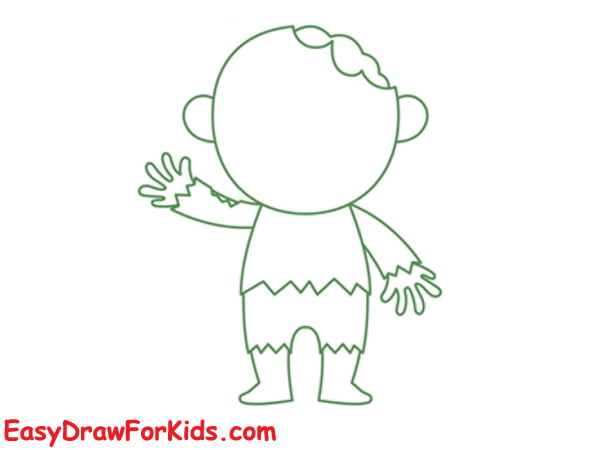
Step 6: Adding details like ripped shirts, shredded pants, or frayed fabrics to give your zombie a more realistic.
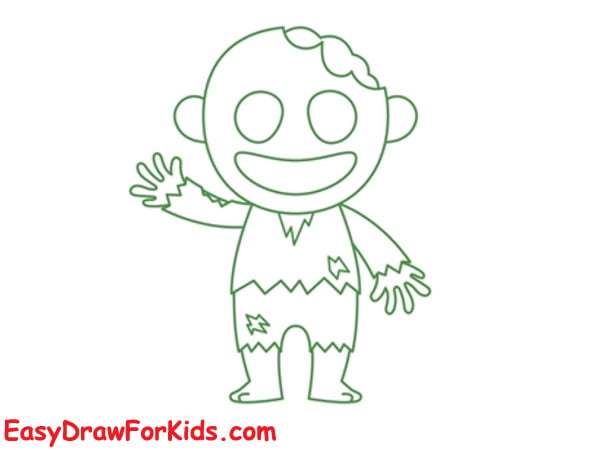
Step 7: Adding Details to the Face
Draw small circles within the eye sockets to represent the iris and pupil, a triangle for the nose.
Next, you will focus on the mouth. Zombies are known for their rotting teeth, so make sure to draw them in a jagged and uneven manner.
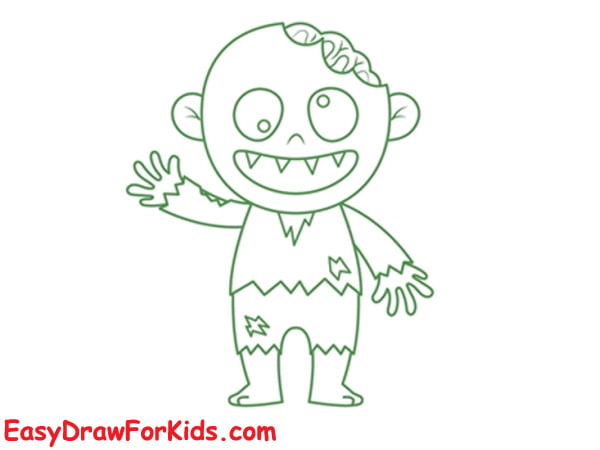
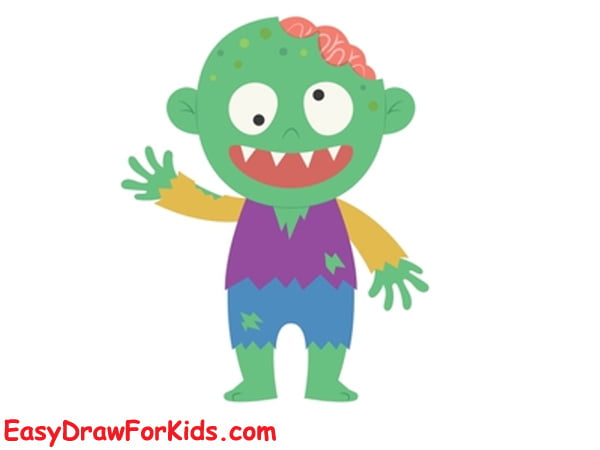
Step 8: This is a good time to add some color to your drawing if you wish.
2. Zombie Bunny Drawing
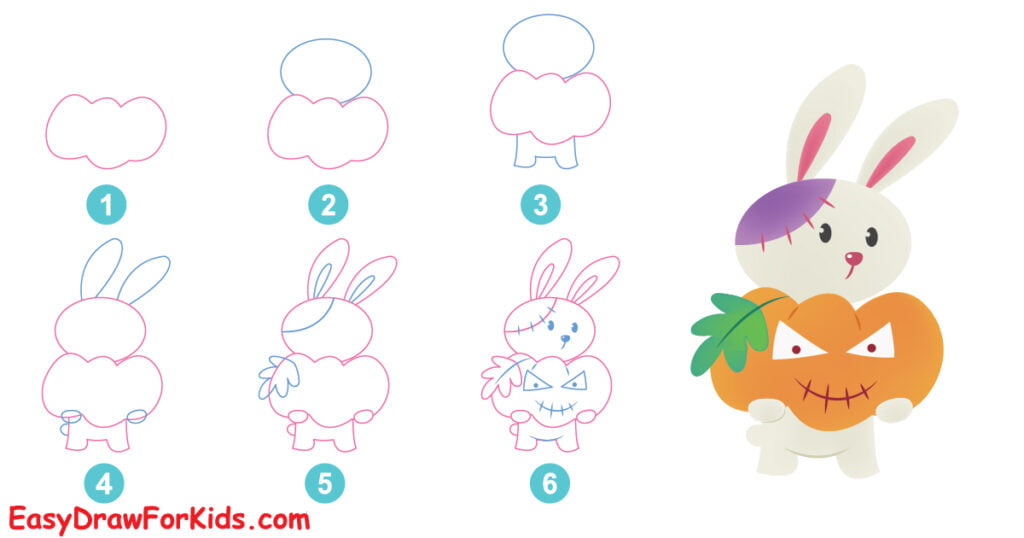
Step 1: Sketch the pumpkin by using an oval shape as shown the picture.
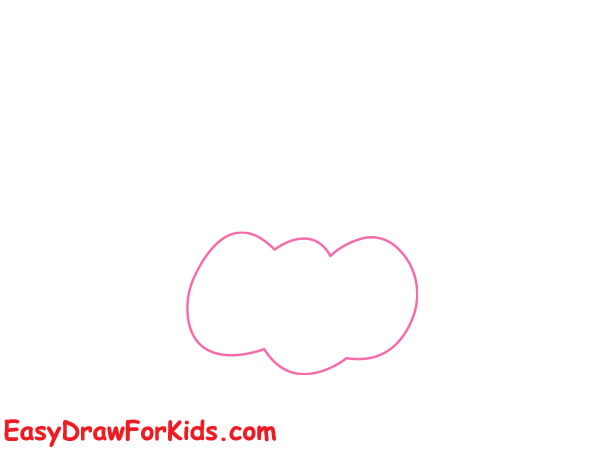
Step 2: Draw an elongated oval shape above the pumpkin for the zombie bunny head.
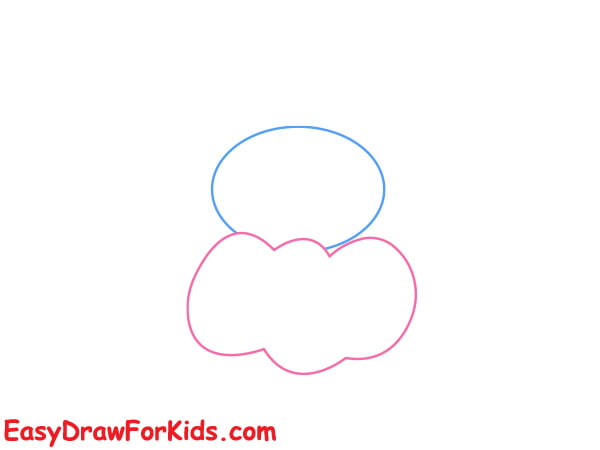
Step 3: Draw the Body and Legs
Sketch the bunny body by drawing two long, curved lines extending below the pumpkin.
Then draw two legs extending down from the bottom of the body.
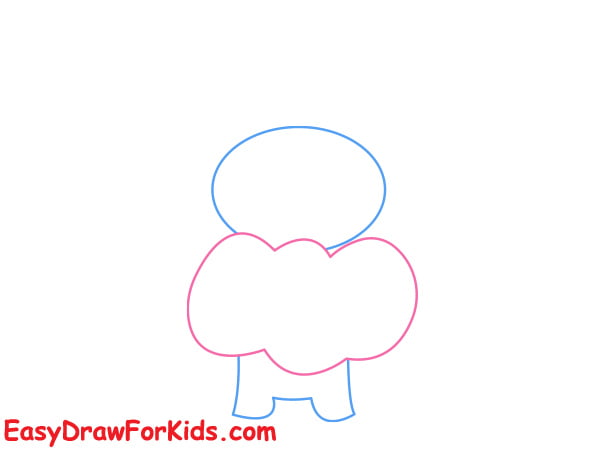
Step 4: Draw the Ears, Hands and Tail
Draw two long, curved lines extending from the sides of the head to create the bunny ears, add two hands hold the large pumpkin.
Draw a half-circle behind the body for the zombie bunny tail.
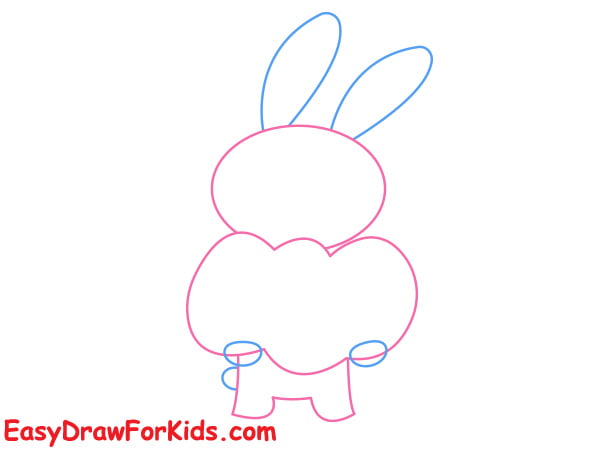
Step 5: Draw a curve line for the leave of the pumpkin.
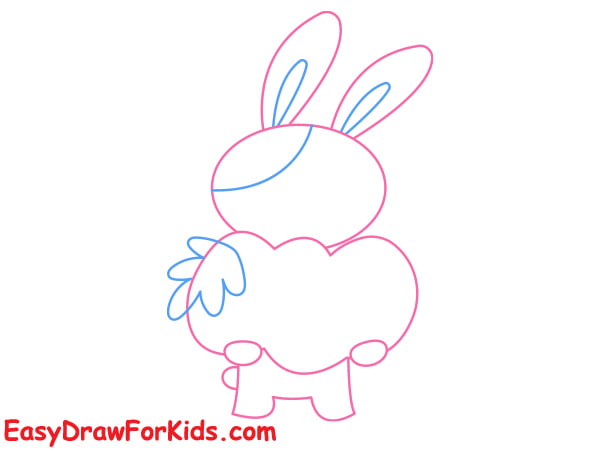
Step 6: Add the Facial Features
Draw two big, round eyes with small pupils. Add a small, stitched nose in the center of the face.
Sketch a stitched mouth beneath the nose.
Then draw triangular eyes and a toothy mouth carved into the pumpkin to make a jack-o-lantern face.
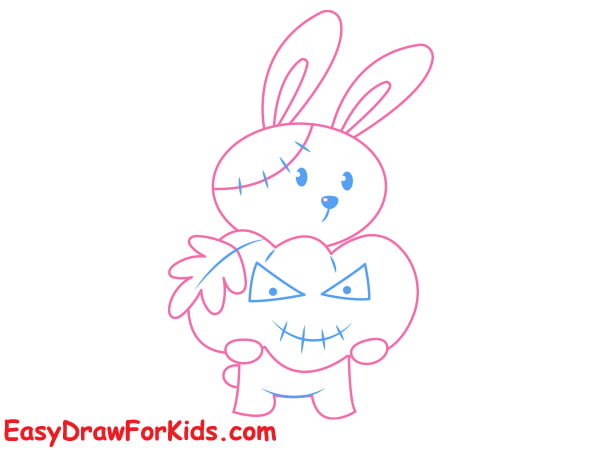
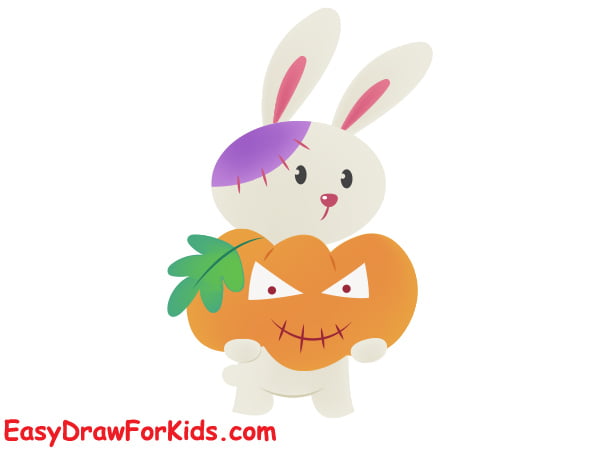
Step 7: Choose Halloween colors like orange, green, and purple to create an eerie vibe.
3. Zombie Ghost Drawing
In this guide, I will walk you through how to draw a zombie ghost in 7 easy steps.
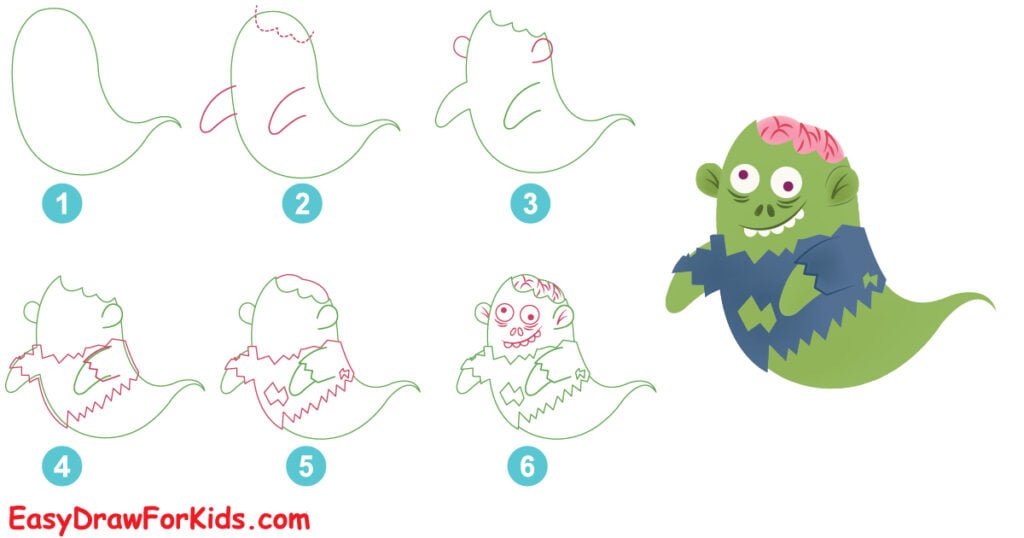
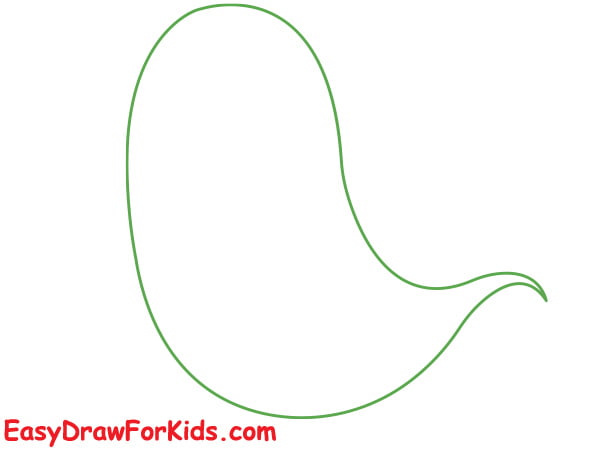
Step 1: Drawing a rough outline of the zombie ghost’s head. From the head, extend two lines downward to create the body and tail.
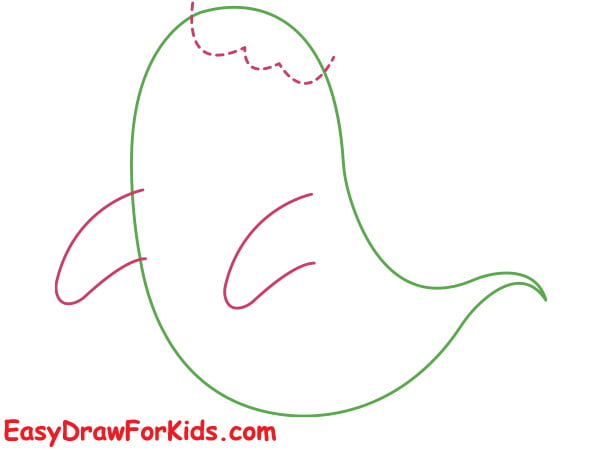
Step 2: Draw the Arms
On each side of the body, sketch two long stick arm shapes.
On the zombie ghost head, draw a curved line for exposed brain.
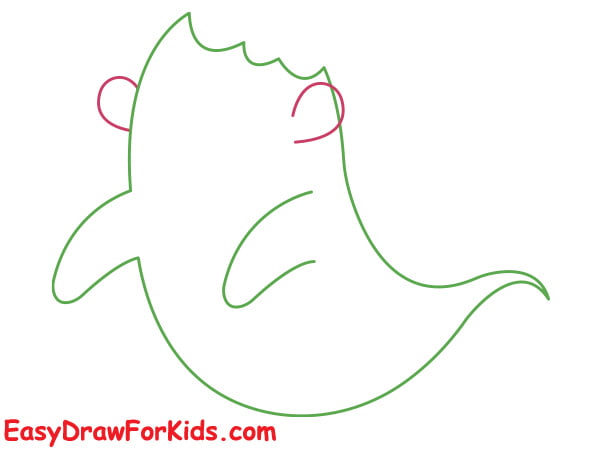
Step 3: On each side of the head, draw two small circles near the top of the head for the zombie ghost ears
Step 4: Draw torn clothes or rags hanging from the limbs.
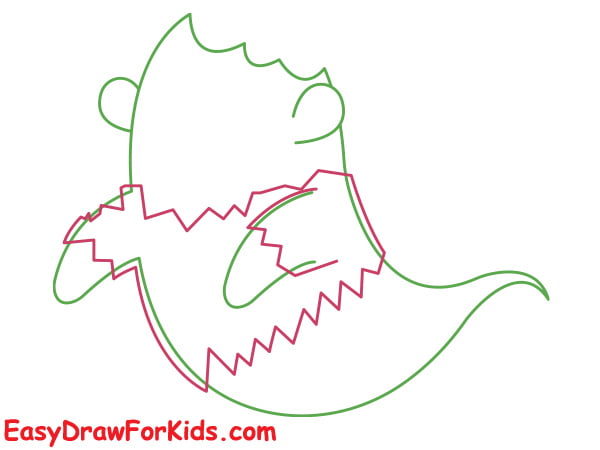
Step 5: Draw gashes, missing flesh, exposed brain, bones exposed through ripped skin, etc.
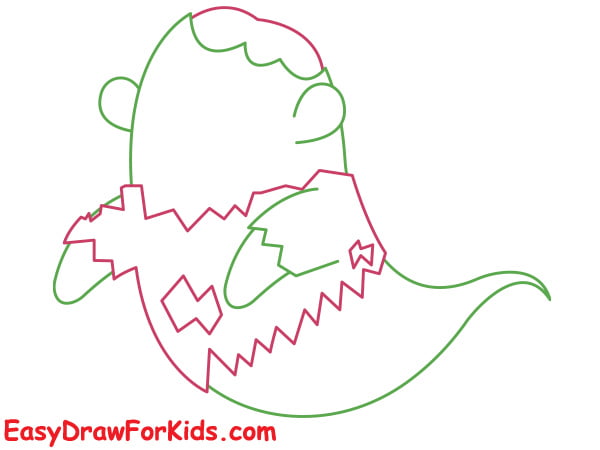
Step 6: Add the Facial Features
Draw two smaller circles inside the head for eyes. Make one eye bigger than the other for an off-kilter look.
Then add a simple line for the mouth, make sharp zigzag lines for the jagged teeth, and a contorted expression. Lightly sketch in a round nose shape.
Add some stitches around the mouth to give your zombie ghost a more gruesome appearance.
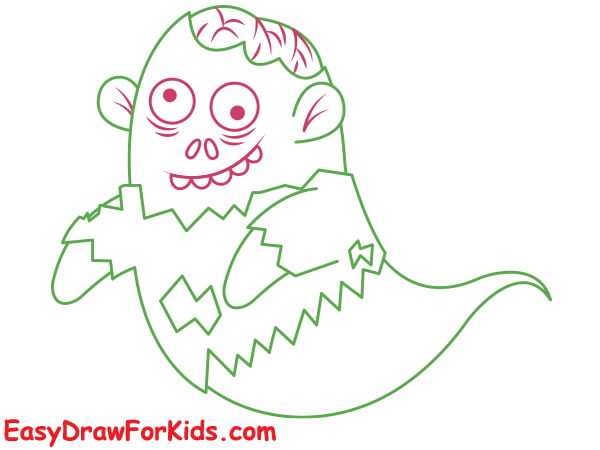
Step 7: Add color to make your zombie ghost more vibrant.
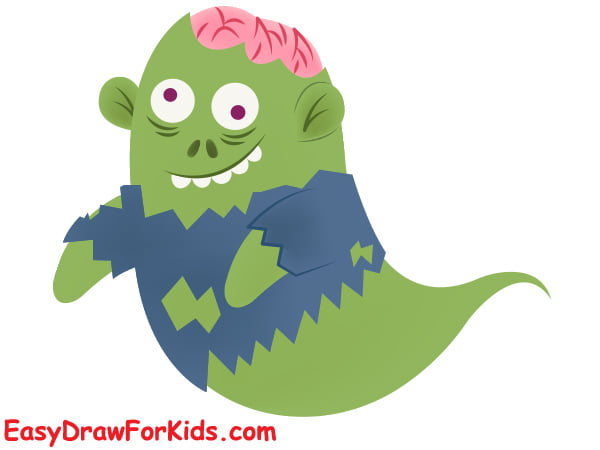
Drawing a zombie is the perfect way to combine creepy themes for Halloween artwork.
With this guide how to draw a zombie , you can create your own spooky yet cute zombie in no time.
Bring your zombie to (un)life this Halloween!


